
In this Photoshop tutorial, I will teach you how to use overlays in Photoshop. We’re going to build 4 Photoshop projects, starting with a very simple and easy composite using just one overlay and building toward more and more stunning effects with each subsequent project.
This post has been adapted from the YouTube tutorial found here.
In this tutorial, I’m going to teach you how to use overlays in Photoshop, starting with a pretty simple project.
I’ve provided six overlays along with several example images that you can download and use to follow along as we go through this tutorial, so be sure to download those. Once you have these files, keep reading for an outline of what we’ll be covering here and the kinds of techniques you can expect to be able to apply by the end of the lesson!
In 4 Photoshop Overlay projects you’ll learn:
Part 1. Using one overlay
In the first project we’ll add some dramatic lighting by adding an overlay.
See before (on the left) and after (on the right) below:
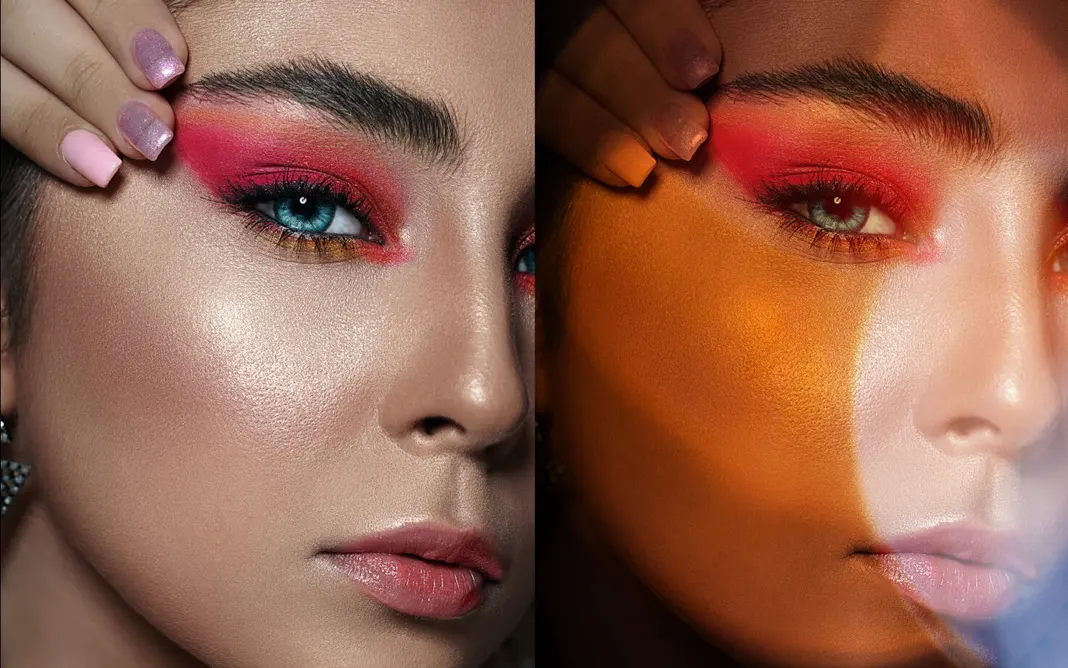
This cool effect is actually very simple to achieve. It just takes a couple of steps and a single blending change and you’ll be able to do the same thing.
Part 2. Using multiple overlays
In the second project, we’re going to introduce multiple overlays. You can see the before and after here:
See before (on the left) and after (on the right) below:
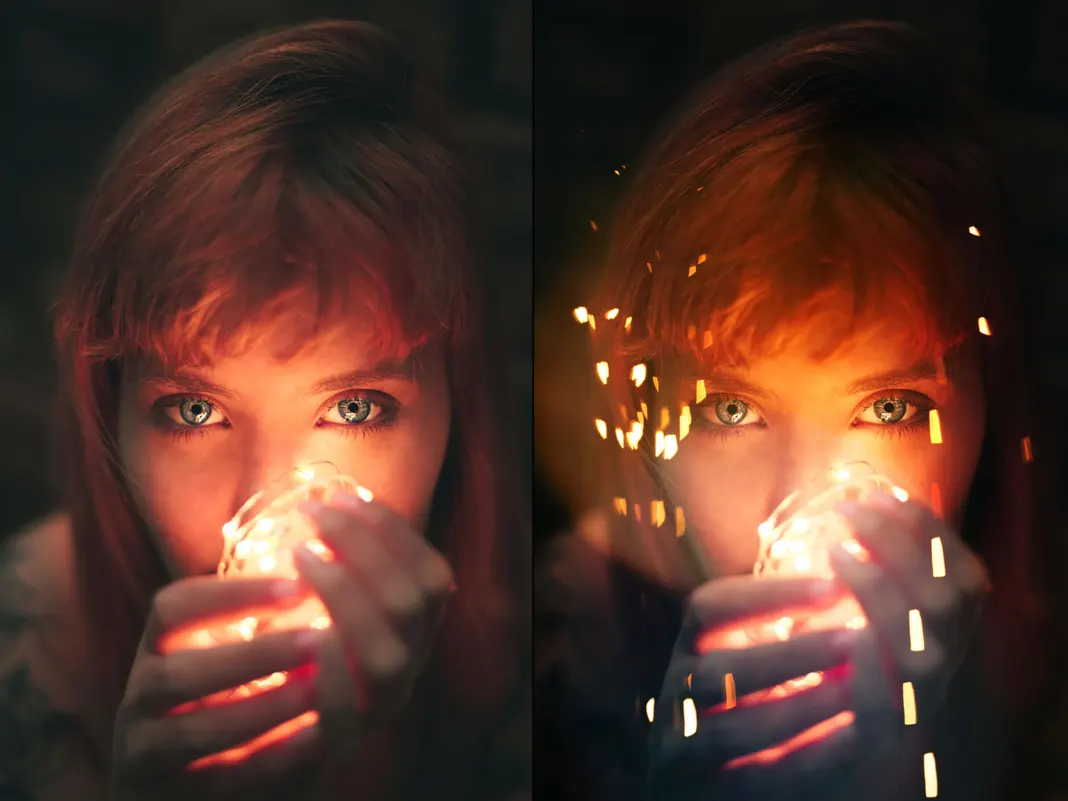
Quite spectacular, right? This effect is actually really simple as well, just like the first project. If you’ve never used overlays before or hardly know any Photoshop, you’ll see how easily we can do this, too.
Part 3. Using neural filters and displacement maps
Then we’ll take it to the next level by learning some of the new effects we can create using what Photoshop has introduced as neural filters. In this project, we’re going to create shadows that follow depth.
You can see the before here:
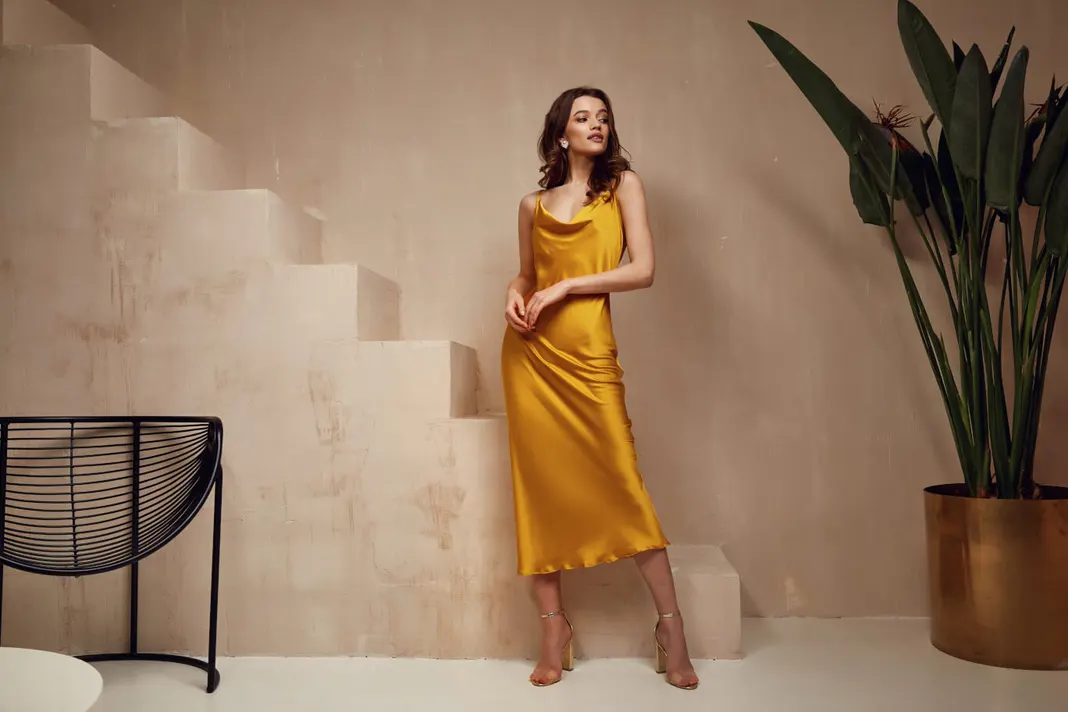
and the after here:

You can see how the shadows in the after image skew around objects, such as the stairs and the floor. This effect may look complicated, but it’s actually simple and makes a big difference, as I will show you.
Part 4. Advanced Photoshop overlays and special effects
Finally, in the last project we’re going to work on adding some special effects. You can see the before (left) and the after (right) here:
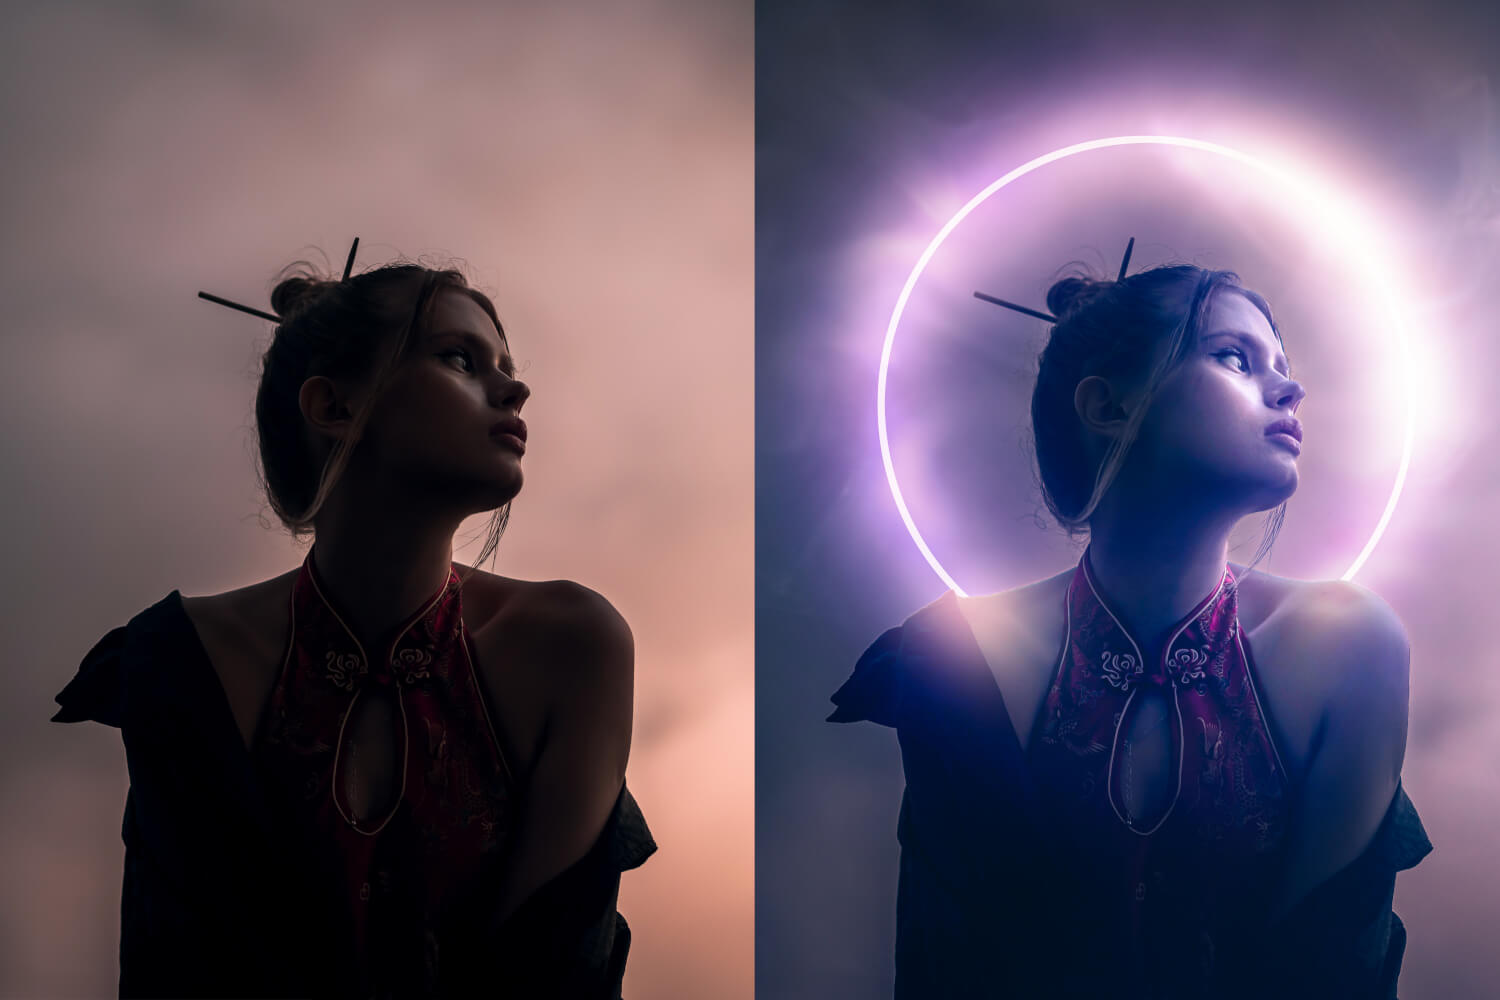
Here is where I’m going to teach you how to use my glow actions, if you have them, as well as how to introduce some smoke or mist and then create a bunch of cool colors using camera RAW and other cool filters.
Let’s get started
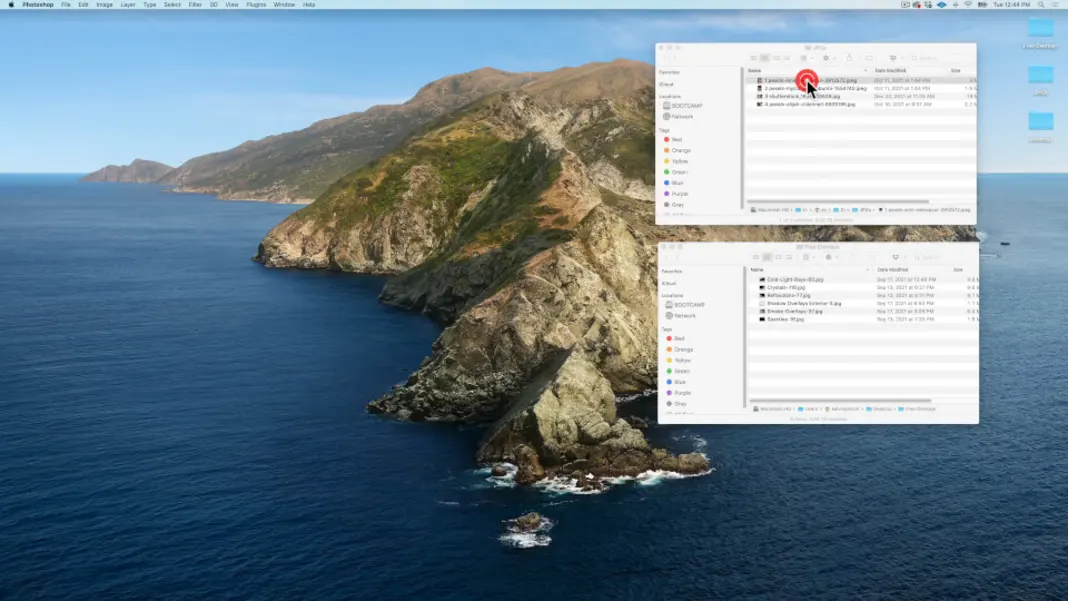
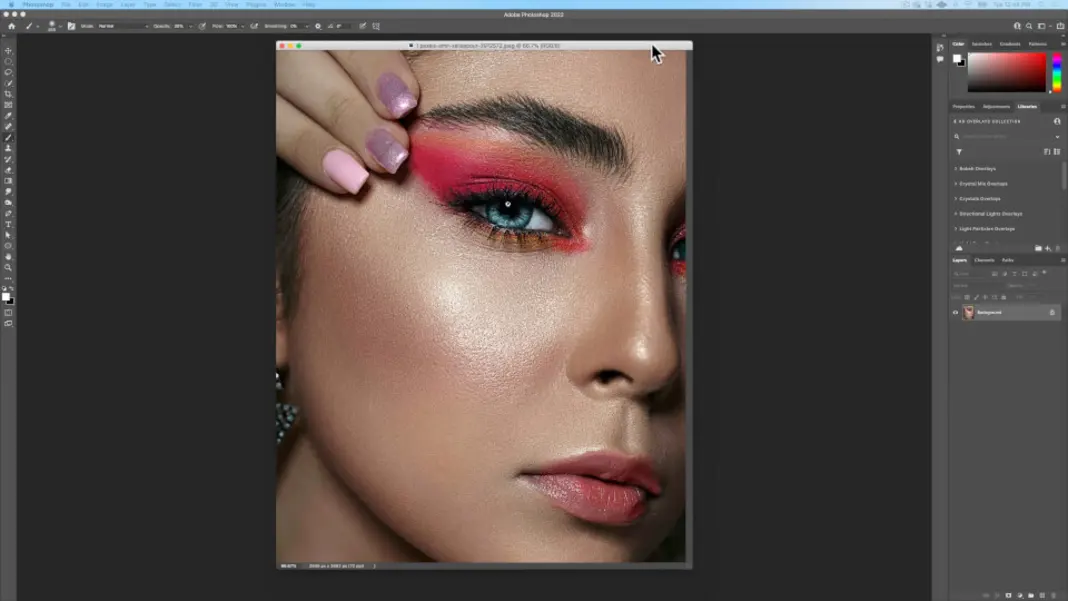
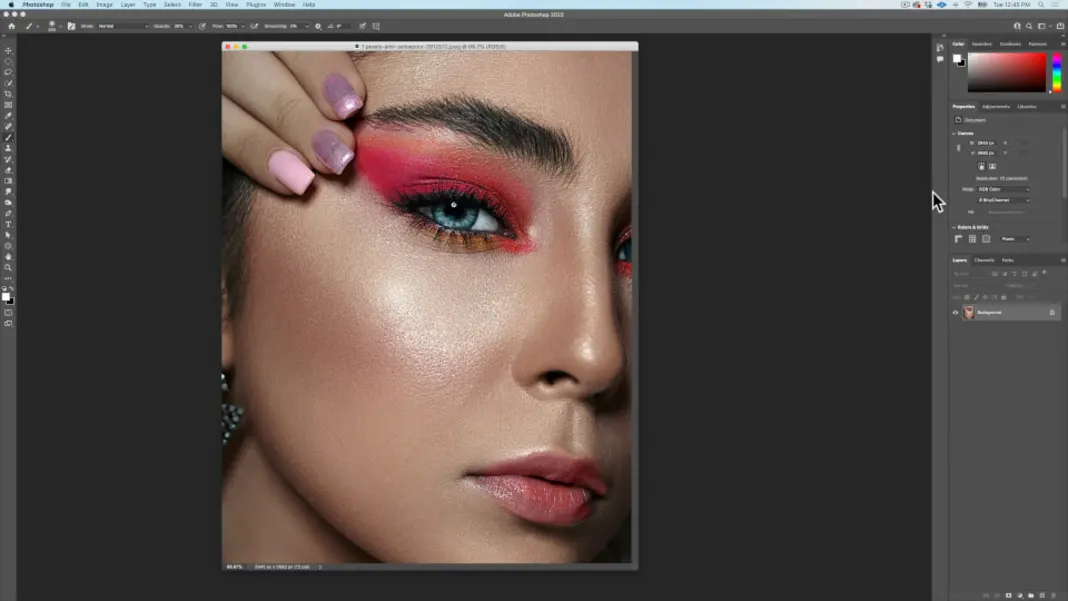
To get started, once you have downloaded the source files we will be working with today, you can navigate to the “Download” > “Example Images” folder and open image 1 in Photoshop.
Now we have this image.
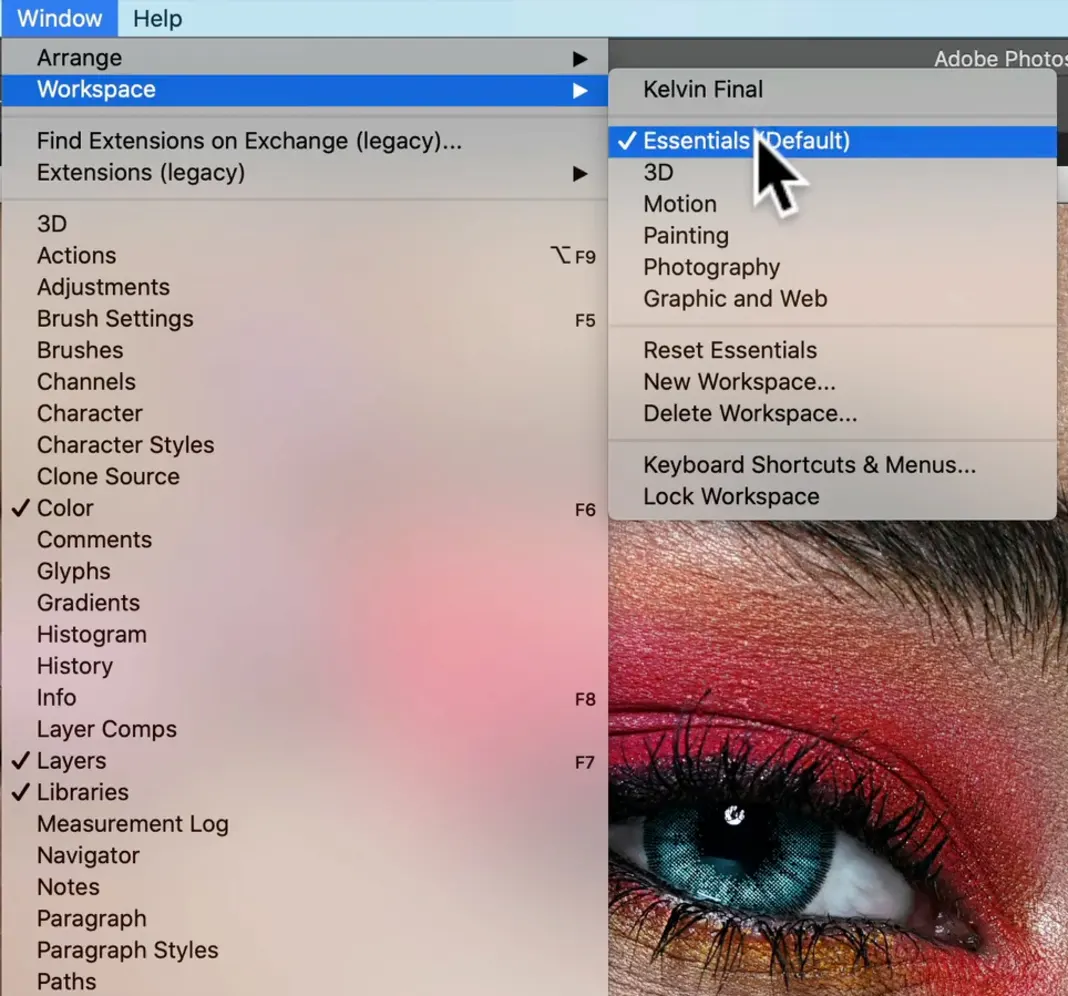
If your Photoshop doesn’t look the same as the above picture, then first open up the Window menu from the top toolbar and make sure “Application Frame” is enabled; that will hide everything else. (Note: if you are on a Windows machine, you won’t have this option.)
The second thing you can do is, in the same Window menu, navigate to Workspace and select Essentials, which should be the default. (see image below)
Finally, if it still doesn’t look the same, hit the Reset Essentials button as shown below.
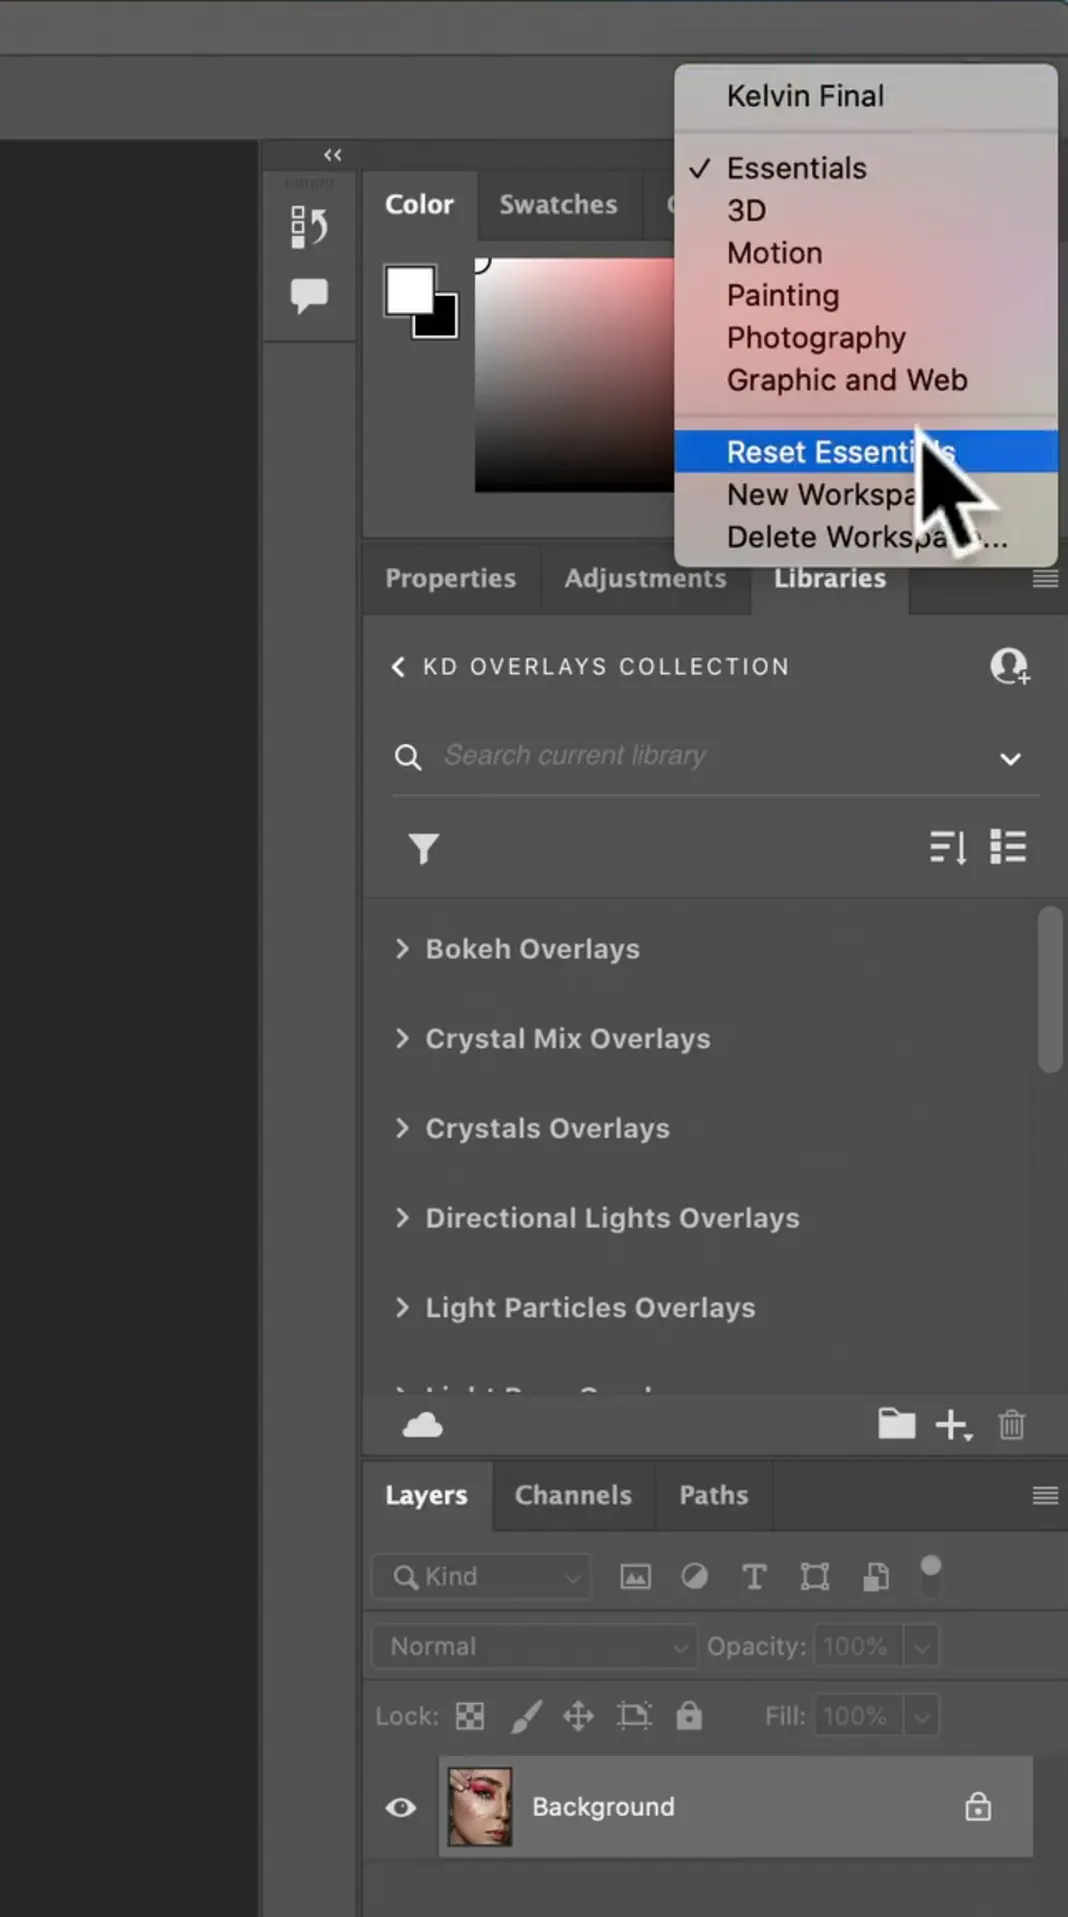
This is what your window should look like now.
The first thing I like to do when working with overlays is put them into my library.
So first we’ll drag the Libraries window to the middle so we have some room, and then we’ll resize it to make it a little bigger.
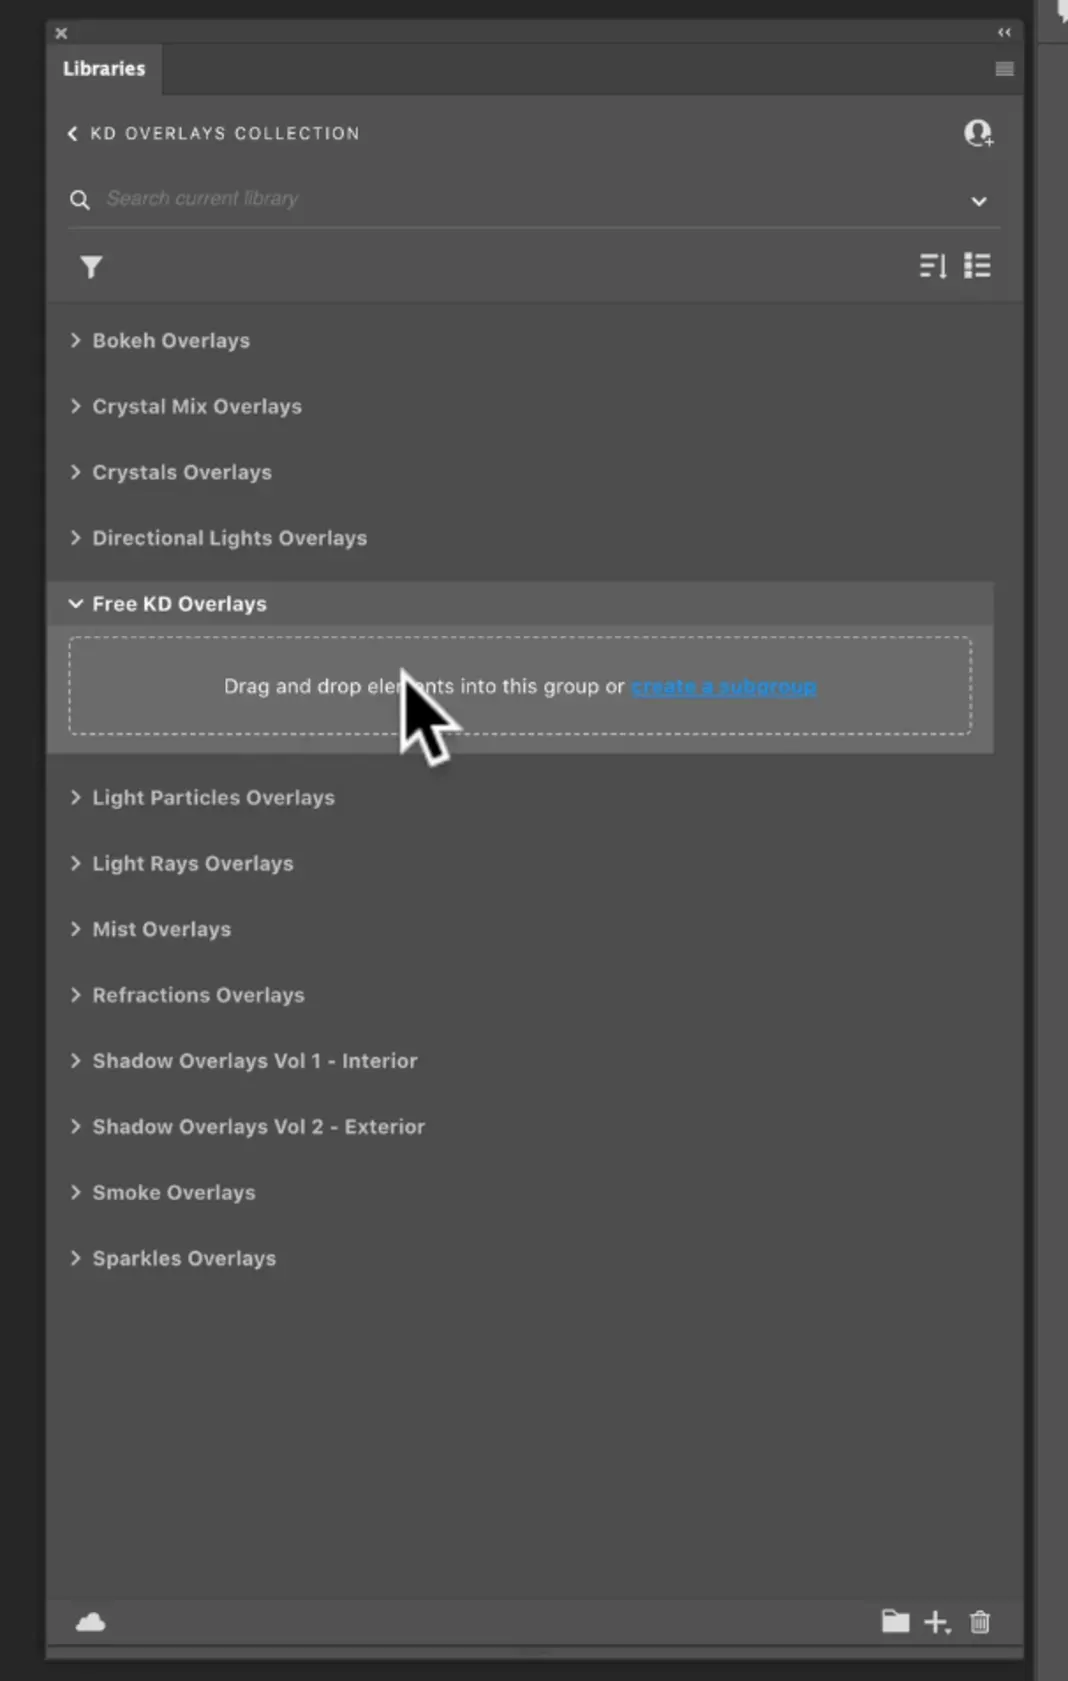
I’m currently in my KD overlays collection, and if you’ve bought my overlays then you know that there are hundreds and hundreds and hundreds of overlays. So, just to keep the free overlays that we are using for this material organized, let’s go ahead and create a new group using the folder icon at the bottom of the window. I’ll call this group “Free KD overlays,” but feel free to name it anything that’ll help you keep this content organized.
You will then be prompted to drag and drop the overlays into the group. So I’m going to go ahead and go back to the Finder window and select these overlays.
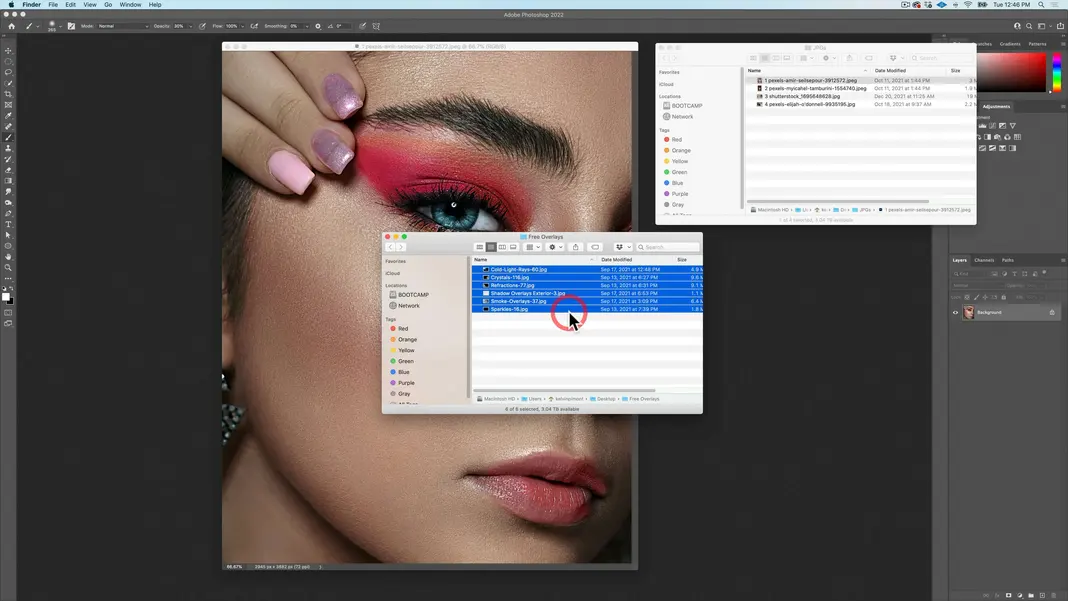
Then I’ll click and drag these overlays back to Photoshop and into the group we’ve just created.

That will put the overlays into this group and also upload them to the cloud so that I have access to my own library from any Creative Cloud device.
Project 1: Using one overlay
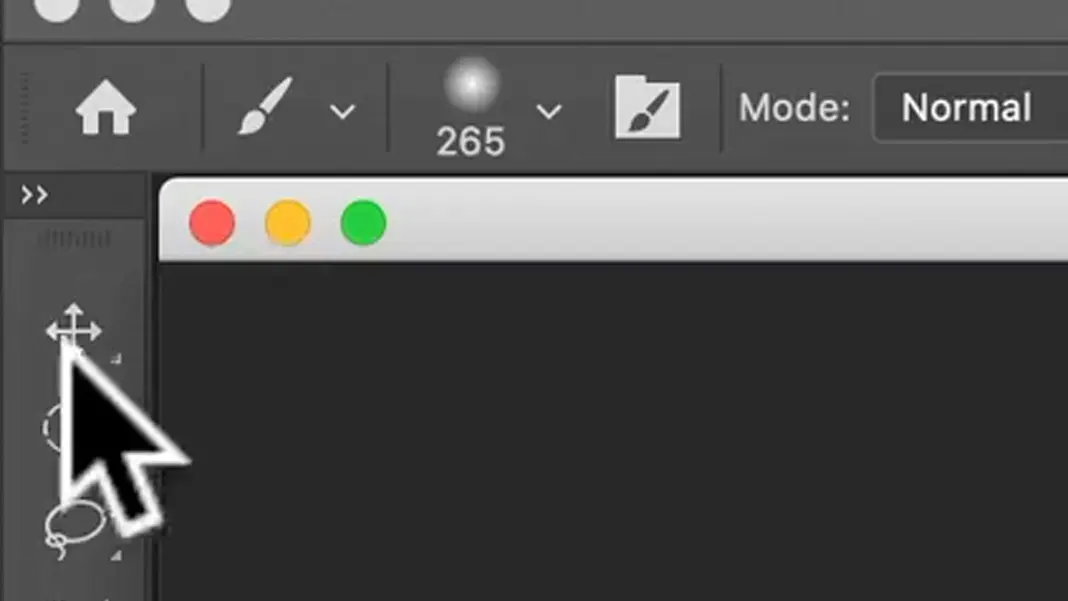
To start off the first project, I’m going to make the picture’s window a little bigger using Command-Plus (+), and then I will make the picture itself smaller by holding the Option key and hitting Command-Minus (-). Now we can go ahead and click on the Move tool.
Now drag and drop the “Crystals-116” overlay from the Libraries window to the picture. When I drag and drop from my library, it automatically creates a layer of the overlay. Then, when I hit return, this overlay is converted into a smart object. You should see a little cloud in the corner of the layer’s icon, meaning that the object is in your library. Now that we have this overlay over our picture as a smart object, I’m going to switch to the Hard Light blending mode
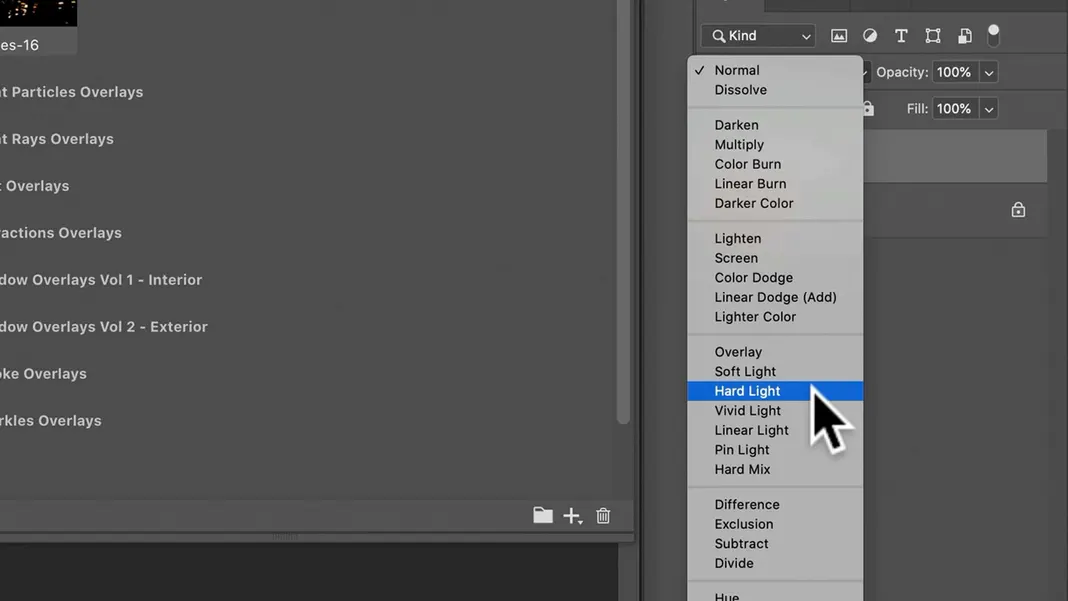
If you’re unfamiliar with blending modes, they are just different ways that layers interact with each other. For example, in the Multiply mode, dark colors darken the underlying image while light colors on the multiply layer are transparent.
Conversely, the Lighten and Screen modes do the opposite; anything that’s white is visible, while anything that’s black is transparent. We won’t cover every blending mode in this tutorial, but we’ll be using some of them for our overlays. When I’m trying to colorize an image using an overlay such as in this case, I use the Hard Light blending mode.
We’ll then switch to the free transform tool. You can use the keyboard shortcut Command-T to switch to it, or you can access it from the Edit menu as shown here.
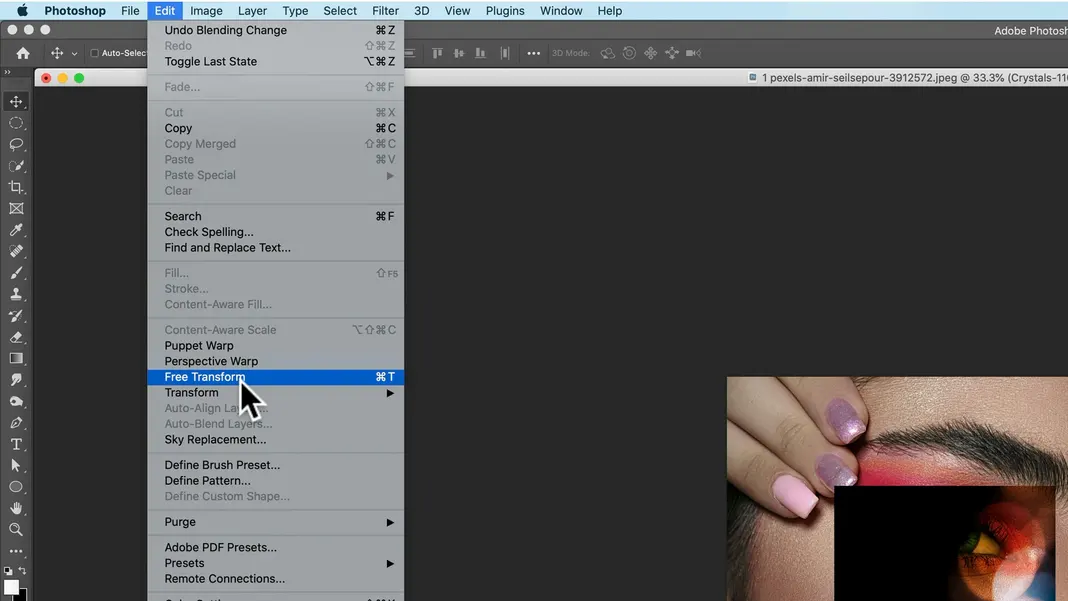
Now we can rotate and resize the overlay as we want by clicking and holding one of the corner handles. If we hold the Option key while resizing, it’ll resize the selection from the center, which is very useful.
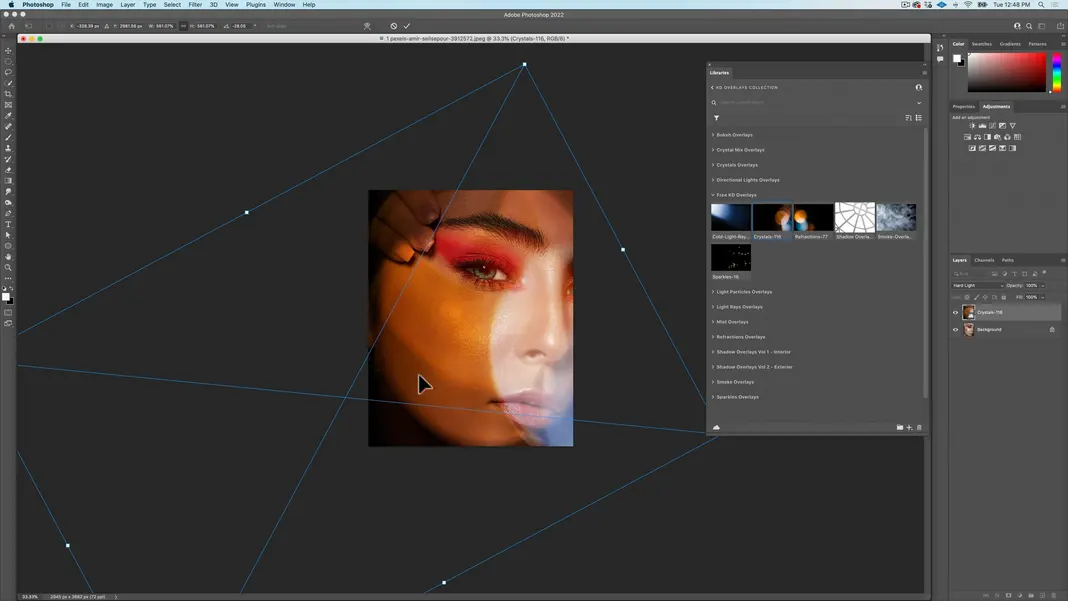
My goal in transforming this layer is to try to outline the woman a little bit using the shapes in the overlay. So I’m going to make the layer quite big and rotate it to highlight some of her features.
My final result is the following. You can see the light follow her jawline and let her lips show through, which I think adds some nice drama and cool lighting effects to the image.
Now we hit return, and it’s as easy as that. We just added a single layer, used a single blending mode, did a little transformation, and we’re done. Now, you can always do other kinds of manipulations on this, but this is, strictly speaking, how you would add a simple overlay to an image.