
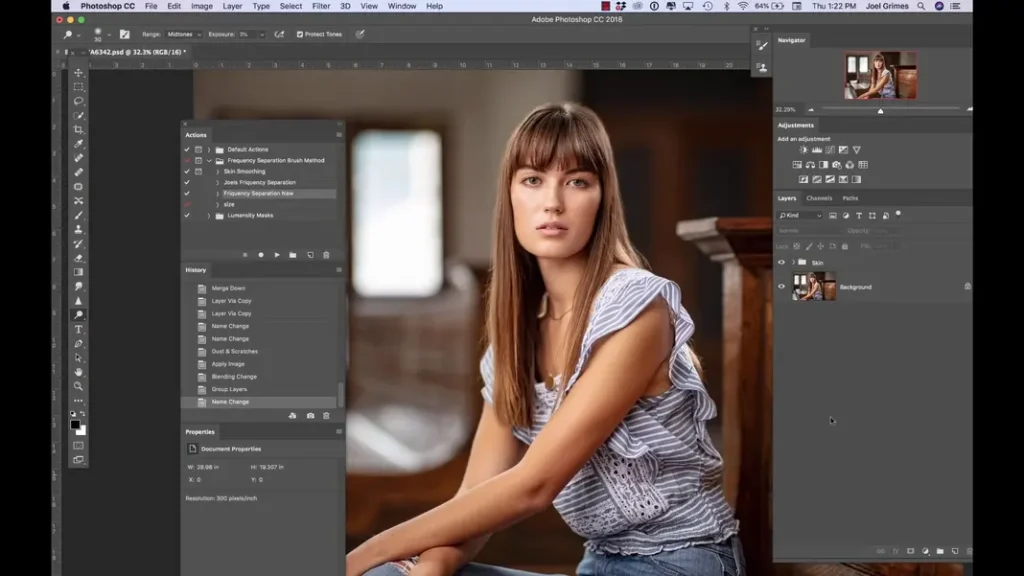
My name is Joel Grimes and today I’m going to teach you a really quick frequency separation technique for skin retouching. If you’re working on a beauty, fashion, or headshot image and need to touch up the subject’s skin, this is the tutorial for you.
You can watch the video below or simply follow along.
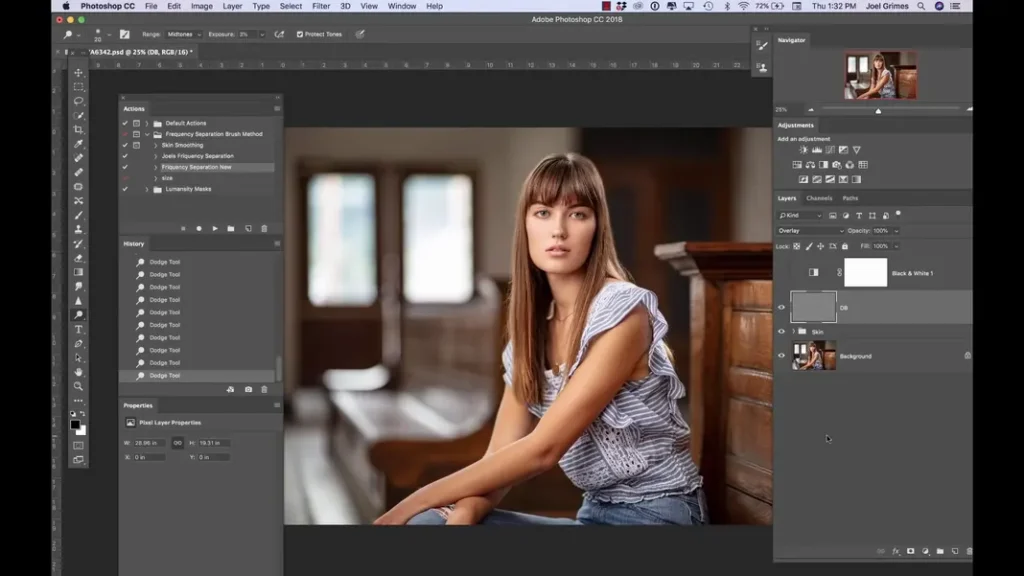
Below is the final result we are going for.

We’ll go through a quick and simple version of frequency separation that focuses on speed and ease of use. Let’s get started!
Setting up the Layers
First, make three layer duplicates of your image (Cmd/Ctrl + J twice), so you have a total of three layers.
- Rename the second layer (Layer 1) to “Low” (this will be our low pass layer)
- Rename the top layer to “High” (this will be our high pass layer)
We’re going to have these two layers counter each other so that when they are on top of each other with the blending mode, they cancel each other out.

Low Pass Layer
With the Low layer selected:
- Go to Filter > Noise > Dust and Scratches
- Set the Radius to 15
- Click OK
You could also use Gaussian Blur here, but a radius of 15 is important as it’ll match the High pass layer soon.
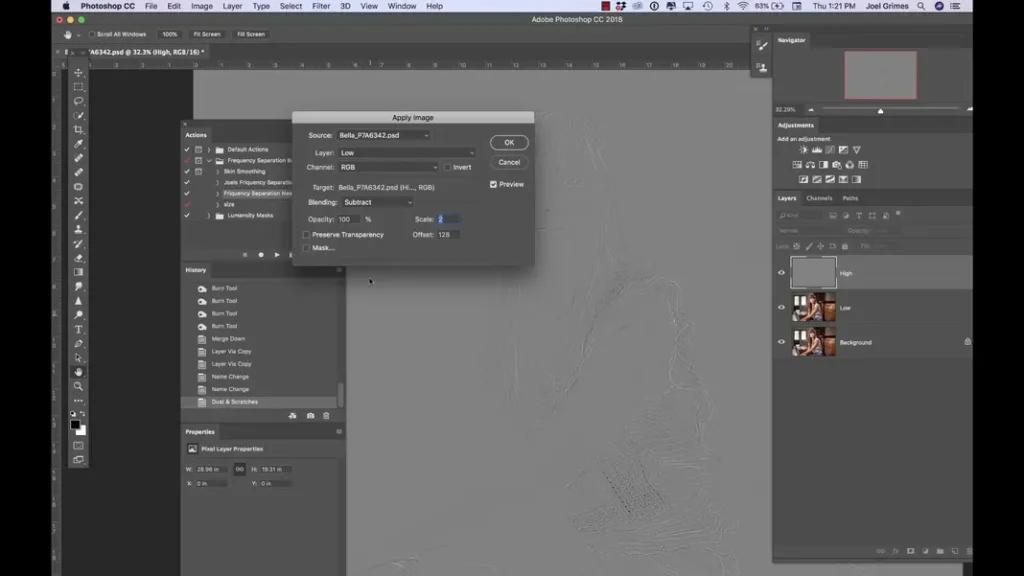
High Pass Layer
With the High layer selected:
- Go to Image > Apply Image
- Set the following options in the dialog:
- Blending: Subtract
- Channel: RGB
- Layer: Low (the layer below the High layer)
- Scale: 2
- Offset: 128
- Invert: Unchecked
- Click OK
- Set the blending mode of this layer to Linear Light
Now group these two layers together (Cmd/Ctrl + G) and name the group “Skin“. Creating an action to do these steps automatically is recommended to save time in the future.
Dodge and Burn Layer
Now we’ll add a blank layer that will be used for dodging and burning:
- Create a new layer (Shift + Cmd/Ctrl + N)
- Set the blending mode to Overlay
- Fill it with 50% gray
Name this new layer “Dodge and Burn” or “DB” for short.
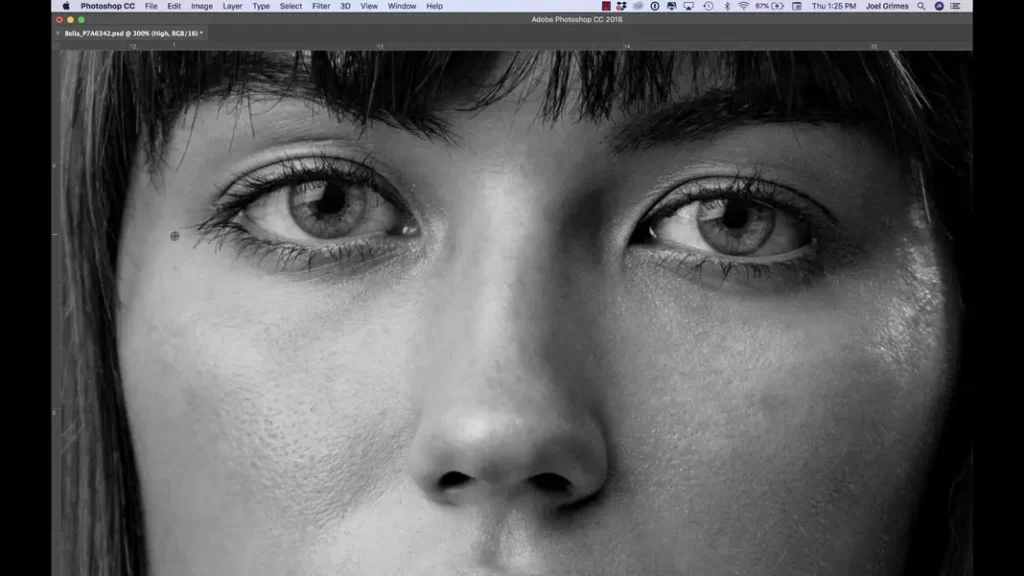
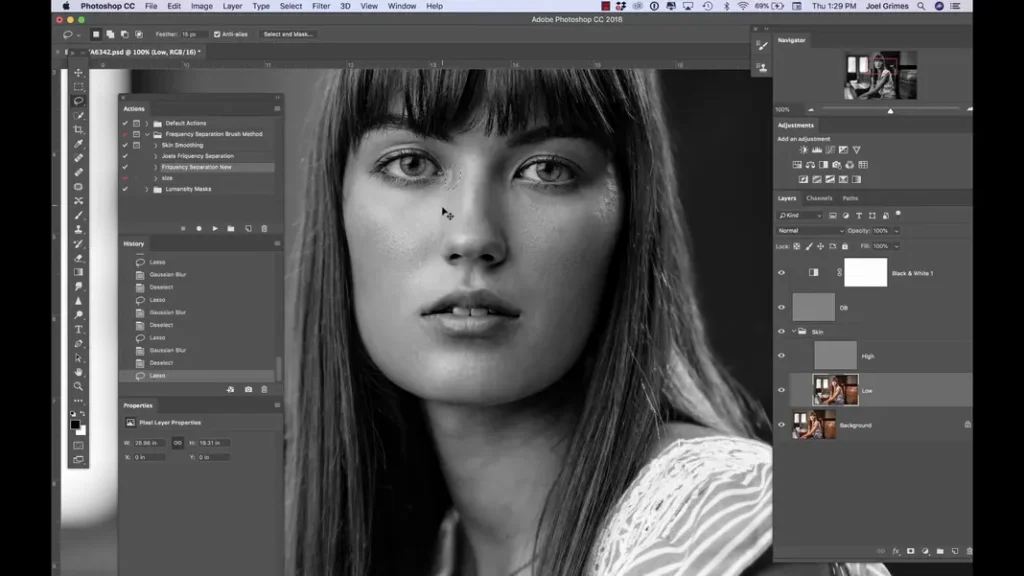
Black and White Adjustment Layer
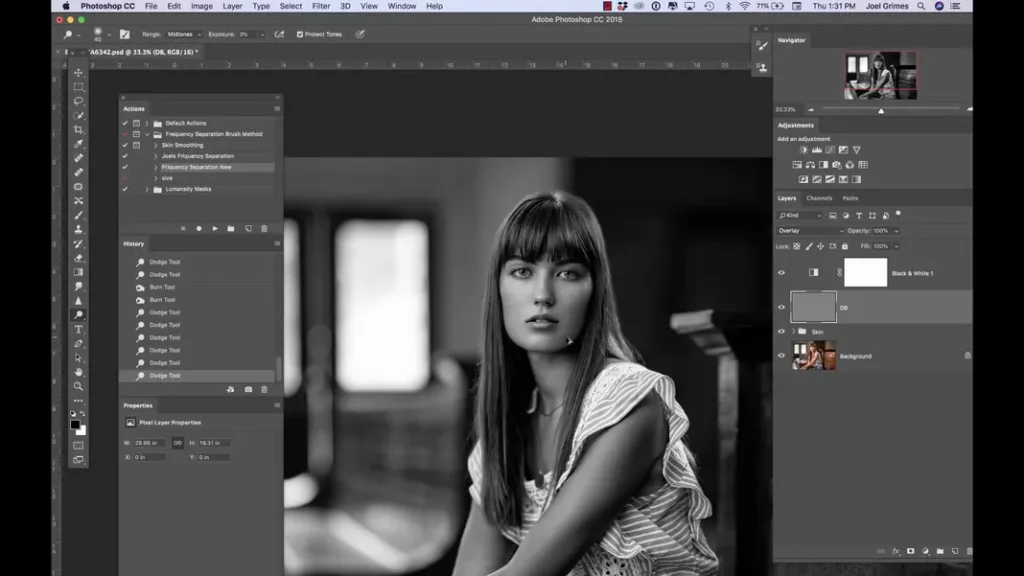
Lastly, we’ll add an adjustment layer to view the image in black and white, which helps see the flaws we need to fix:
- Add a Black and White adjustment layer
- Move it below the Dodge and Burn layer
Now we have all our layers set up: Skin, Dodge and Burn, and Black and White. Now onto the actual retouching process!
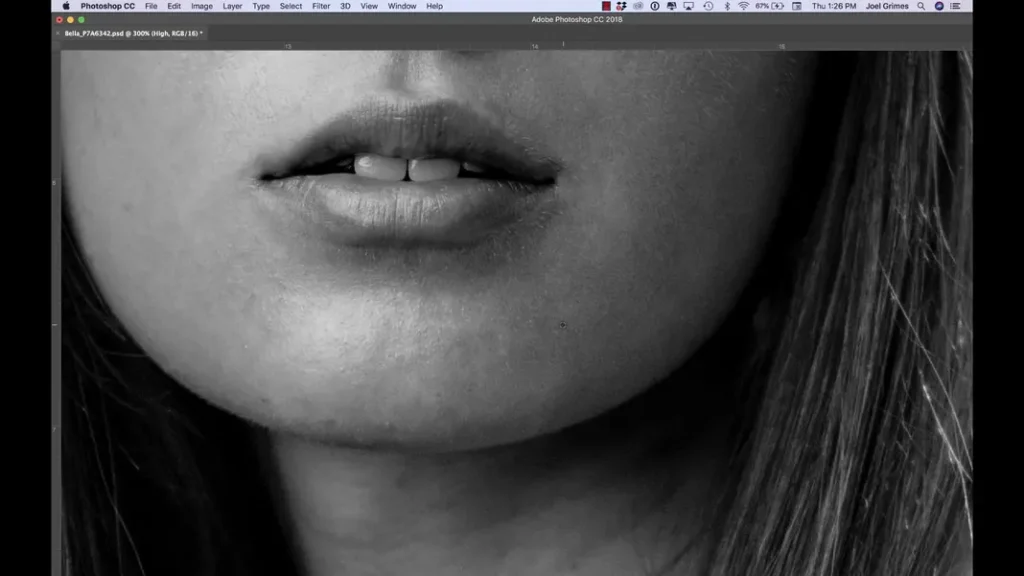
Retouching Process
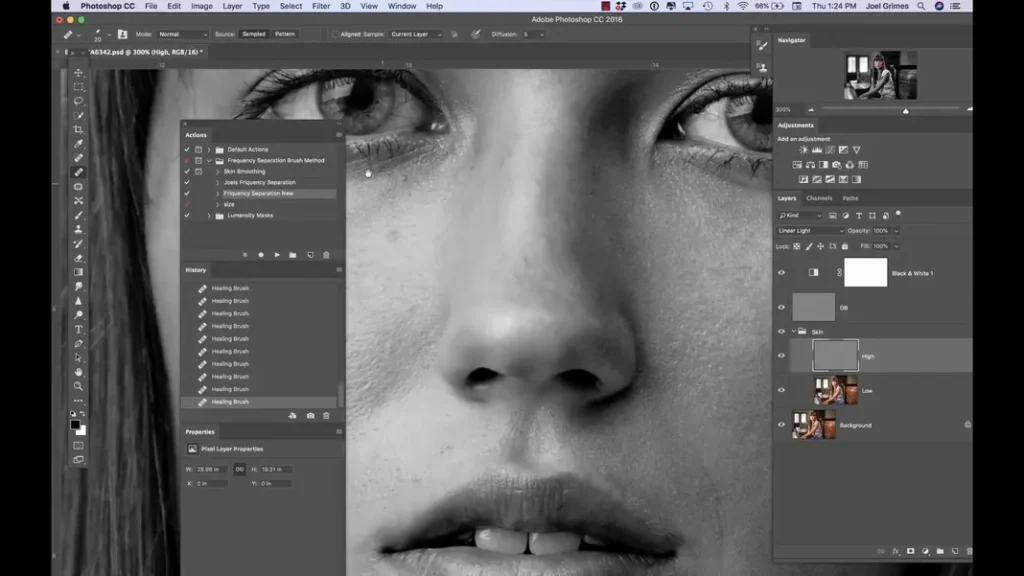
Using the Healing Brush on the High Layer
First, select the Healing Brush (not the Spot Healing Brush) and set it to an elliptical shape (to prevent accidentally using the wrong brush). Then:
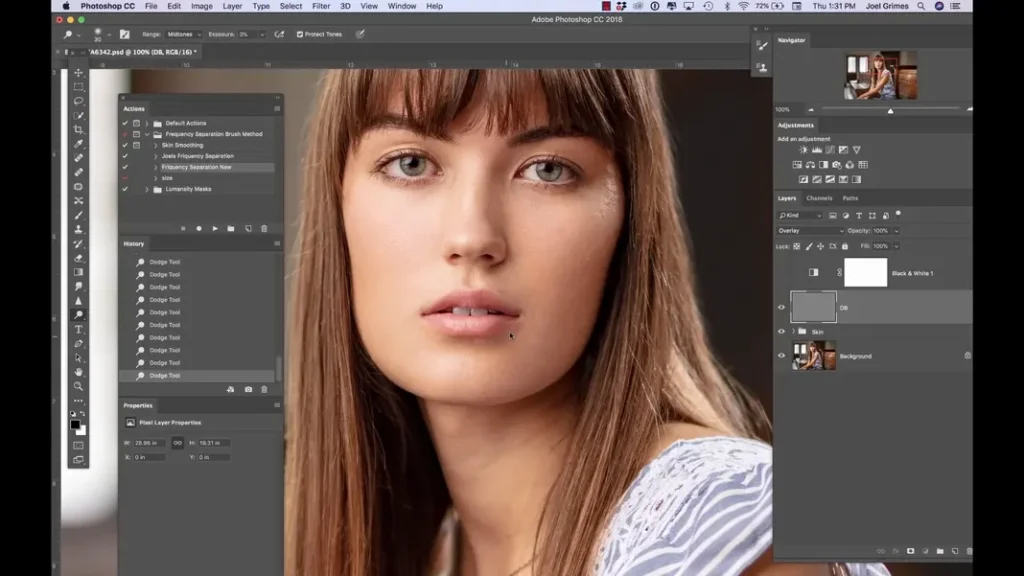
- Zoom into the image and find a flaw to fix
- Open the “Skin” group and select the High layer
- Hold the Alt/Option key and click an area just below or around the flaw to set the source for the clone
- Click and paint over the flaw to fix it
Make a general pass around the entire image, fixing flaws and blemishes on the skin. This technique keeps the texture around the flaws intact for a more natural look.
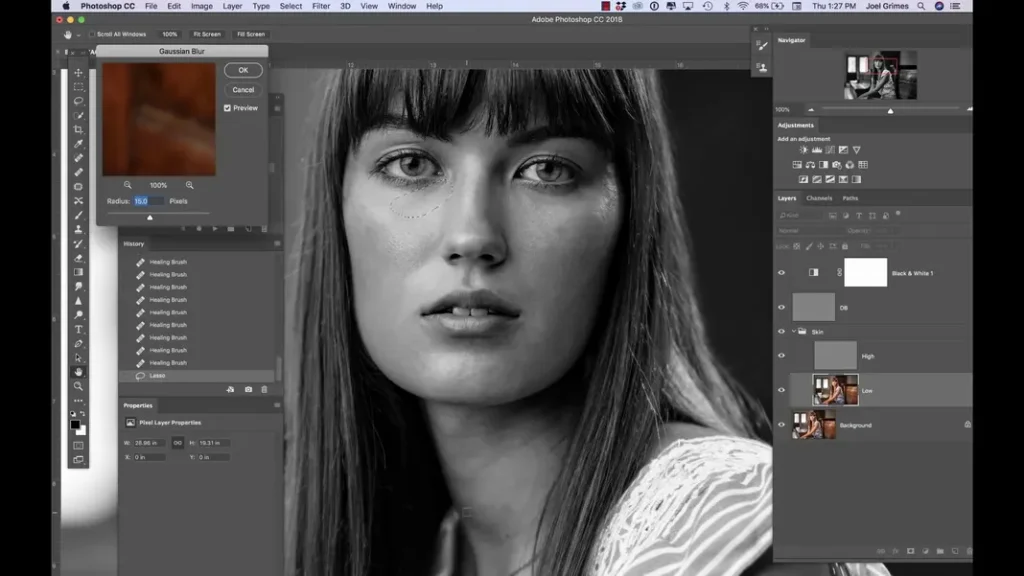
Smoothing the Low Layer with Gaussian Blur
Next, we’ll work on the Low layer to smooth out some areas:
- Select the Lasso Tool and draw a circle around an area that you’d like to smooth out
- Go to Filter > Blur > Gaussian Blur and set the radius between 15 and 25 pixels (you can adjust this as needed)
- Click OK and then deselect (Cmd/Ctrl + D)

Repeat this process for different areas that need smoothing. Using the adjustment layer helps to see areas that need additional work.
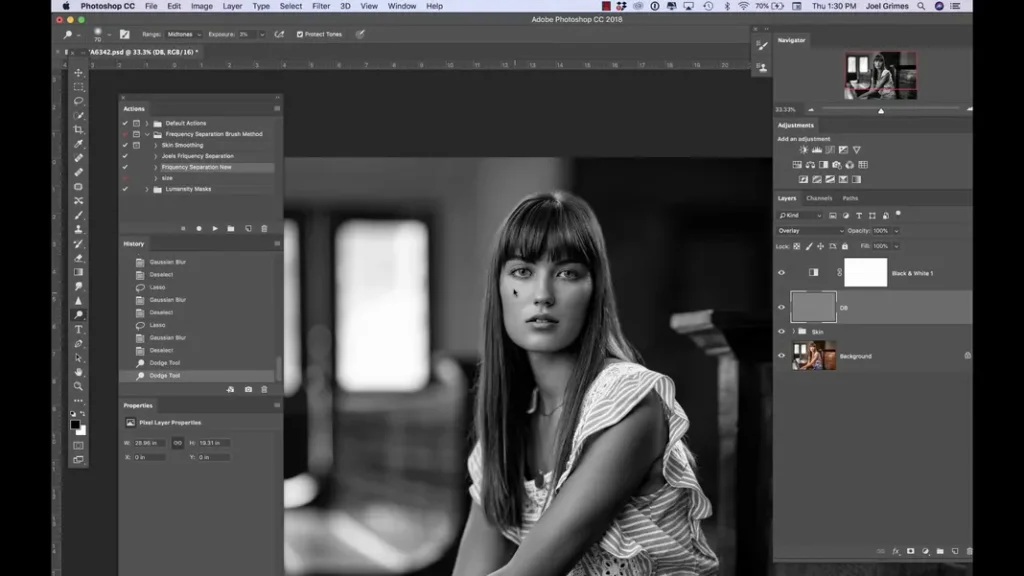
Dodge and Burn
Now let’s work with the Dodge and Burn layer:
- Select the Dodge tool and set the Range to Midtones and Exposure to 3%
- Enable Protect Tones
- Hold the Alt/Option key to switch between Dodge and Burn tools
- Work over the image to dodge and burn as needed to even out the skin and enhance features (like brightening the eyes)
Remember, if you go overboard with dodging and burning, you may see color shifts. Use protective tones to help avoid this issue.
Final Result
With the black and white adjustment layer turned off, you can now see your final result. Toggle the Skin group visibility to see the difference between the original image and your retouched version.

In just a few minutes, we’ve managed to retouch skin using frequency separation in a way that looks natural and eliminates unwanted blemishes without making the subject look “plastic.”
This quick technique is perfect for photographers who need efficient ways to retouch subjects without sacrificing quality. So, I hope you enjoyed this little Frequency Separation MADE EASY tutorial for Skin Retouching in Photoshop. I hope it encourages you to create photos of your own.
Remember to practice and experiment with this technique so that you can incorporate it into your workflow and create amazing images with ease. You can find more on my YouTube channel, and don’t forget to subscribe, like, and hit the notification bell to support our work in creating tutorials like these! Happy retouching!