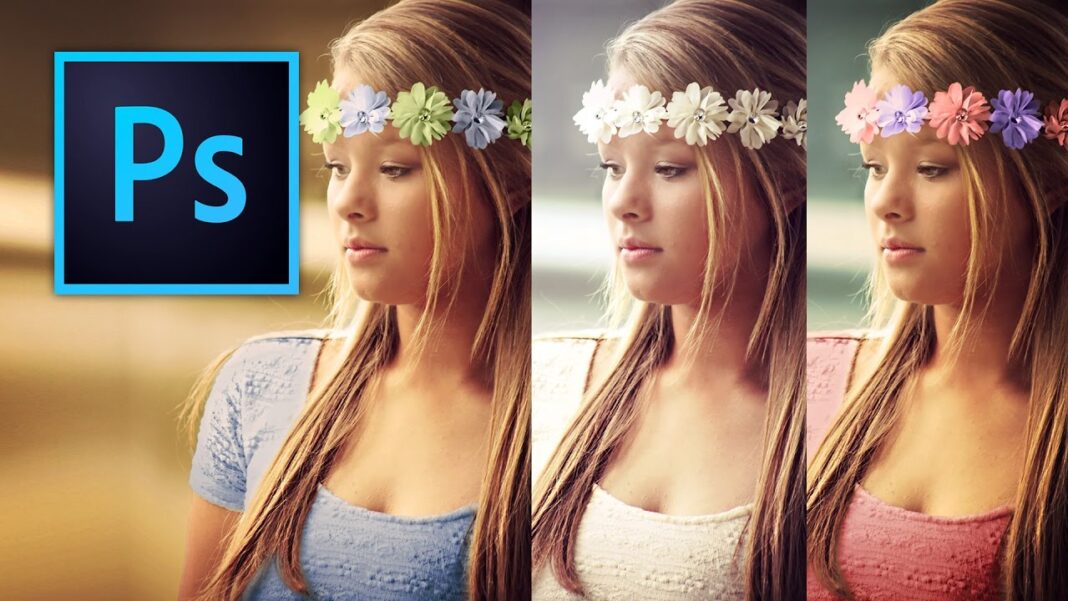
Learn how to change the Color of Anything in Photoshop
In this tutorial, we will be covering how to change the color of anything in Photoshop using a step-by-step process. We will start with a photograph, and by the end of the tutorial, you will learn how to transform it into two different color versions. So, let’s dive in!
First Download the Free Source Files
To follow along with this tutorial, download the images by using the link below. You can also watch the video by clicking here.
Once you have the files downloaded, open the flower girl JPEG in Photoshop.
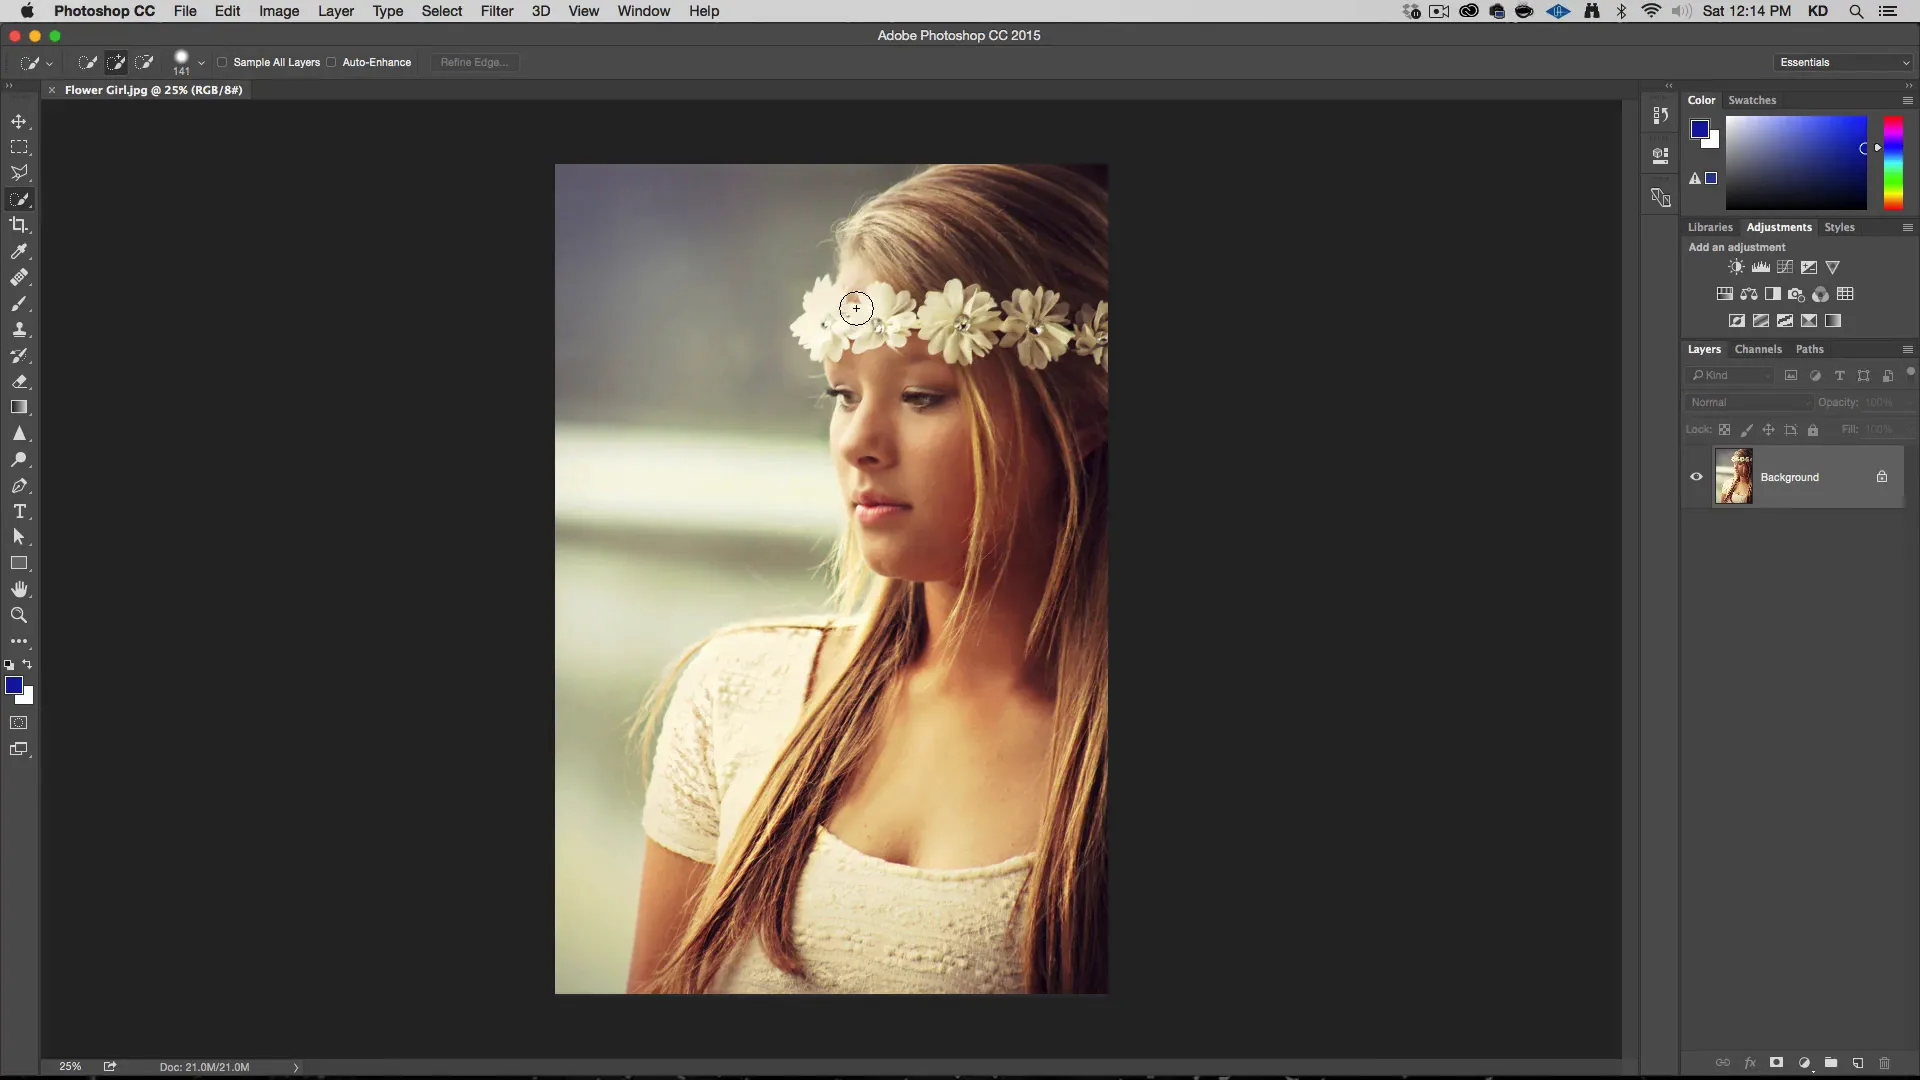
Making Selections in Photoshop to Change Color
Before changing the color of anything, we’ll need to make selections. In this tutorial, we’ll be using the Quick Selection tool. For a more in-depth guide on selections, consider checking out another tutorial called “How to Cut Out Hair.”
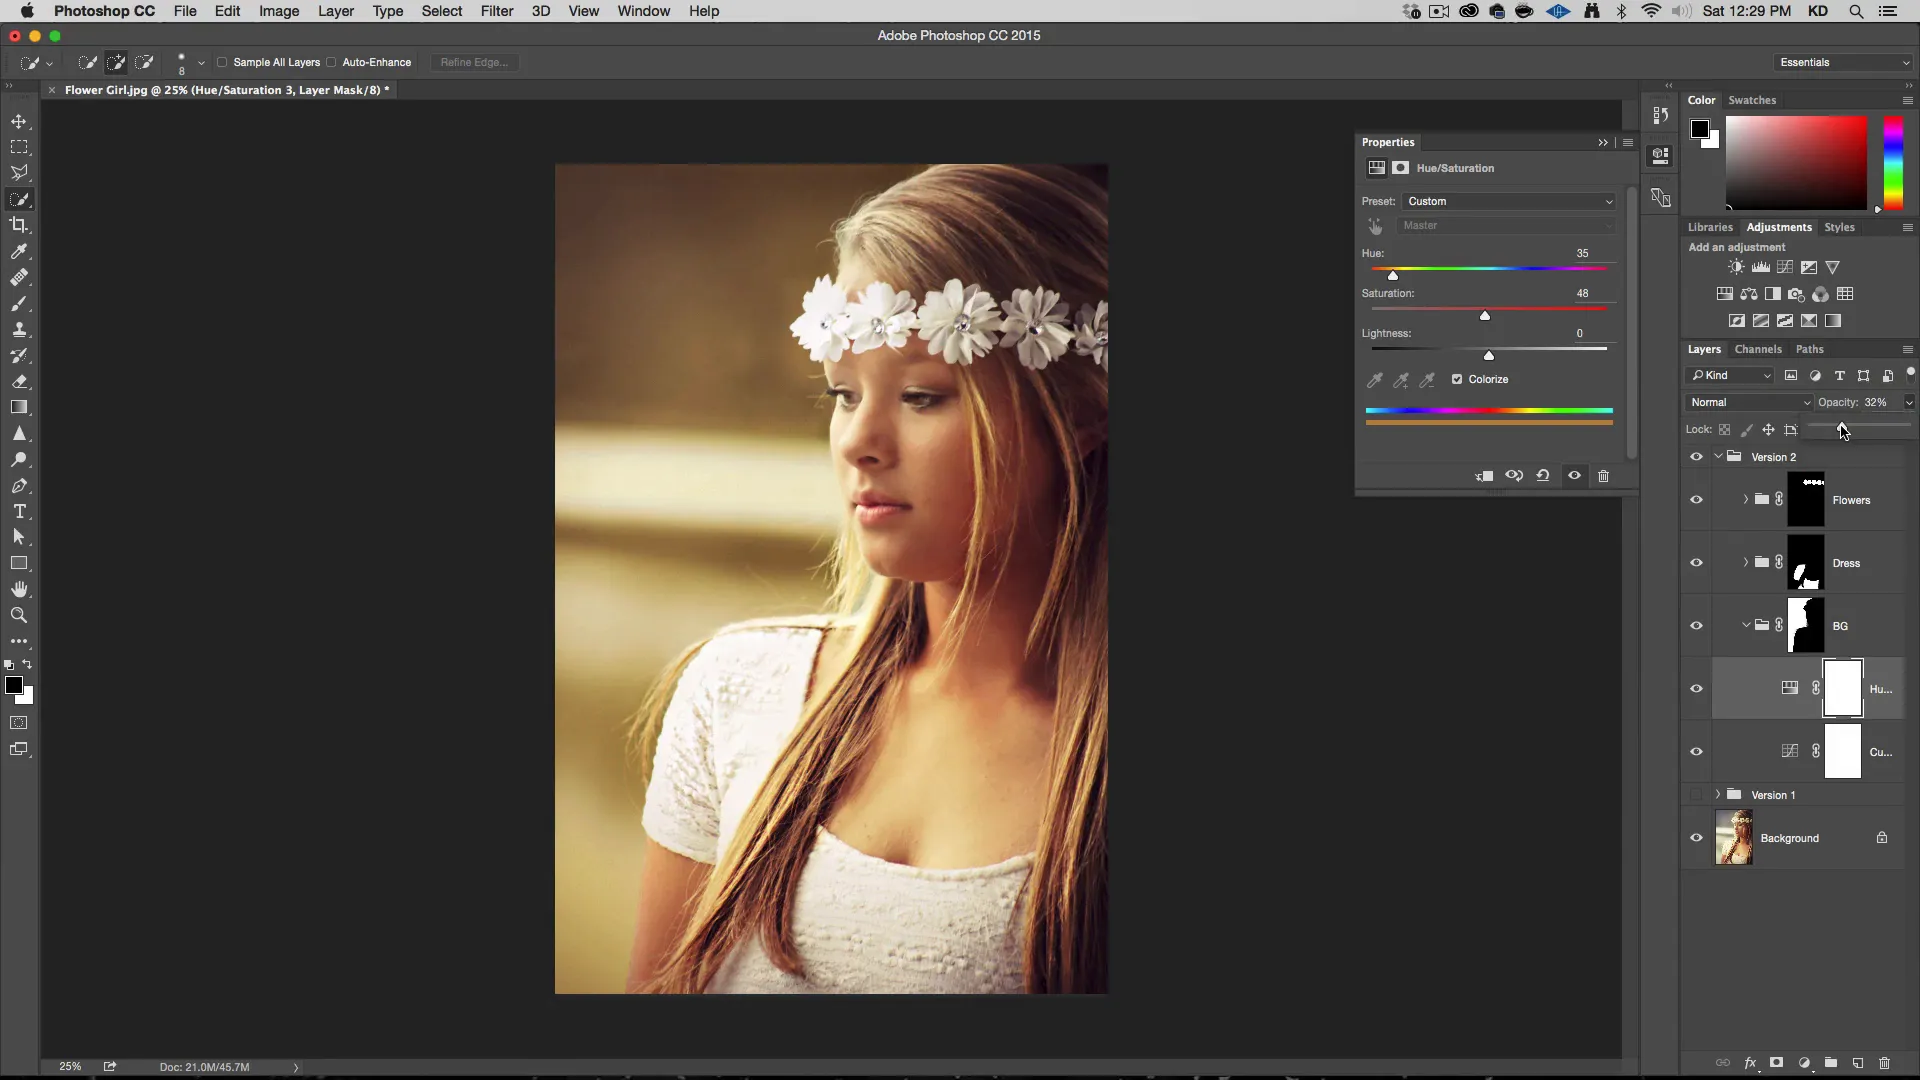
Let’s start by selecting the background using the Quick Selection tool. To clean up the selection, hold down the Alt key and adjust the selection as needed. Then, hit the Refine Edges (PS CS6) button or Select and Mask (PS CC) to let Photoshop refine the selection further.
Repeat the selection process for the dress and the flowers.
Creating Groups and Masks in Photoshop
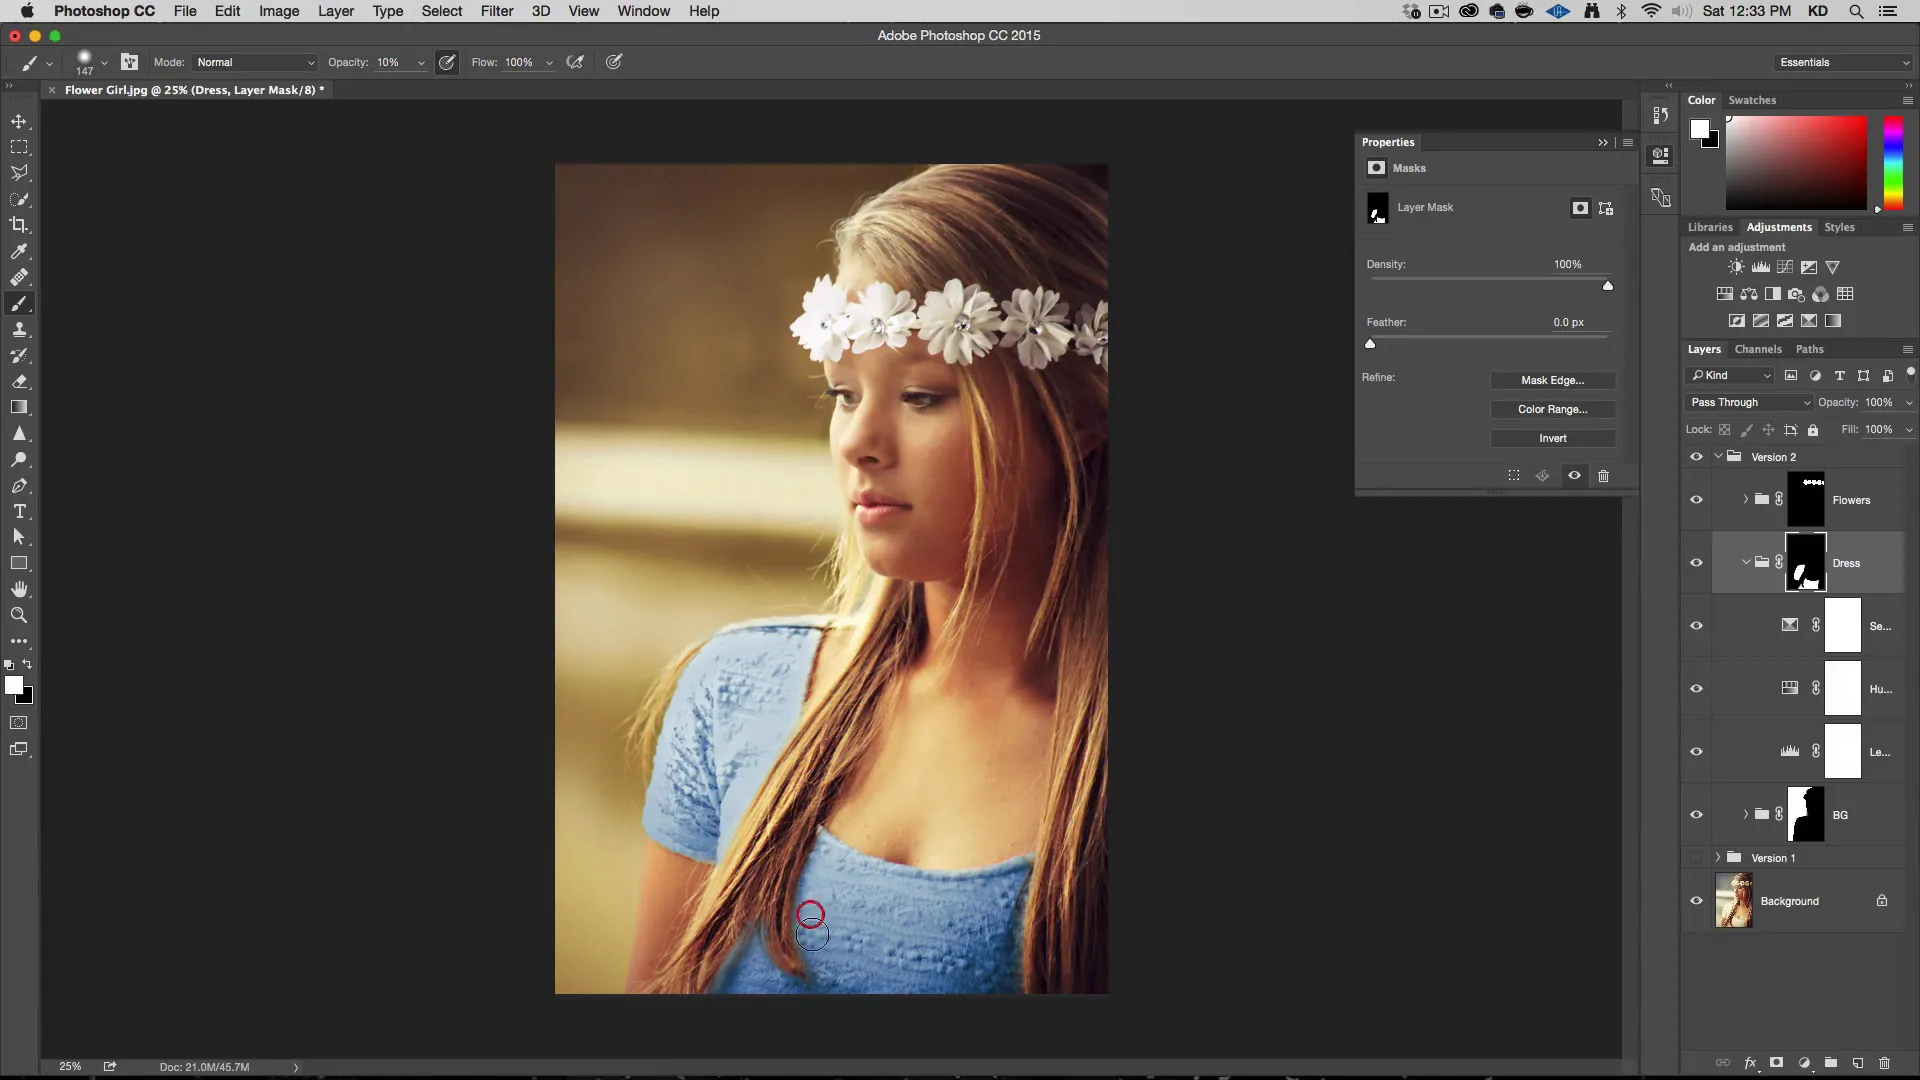
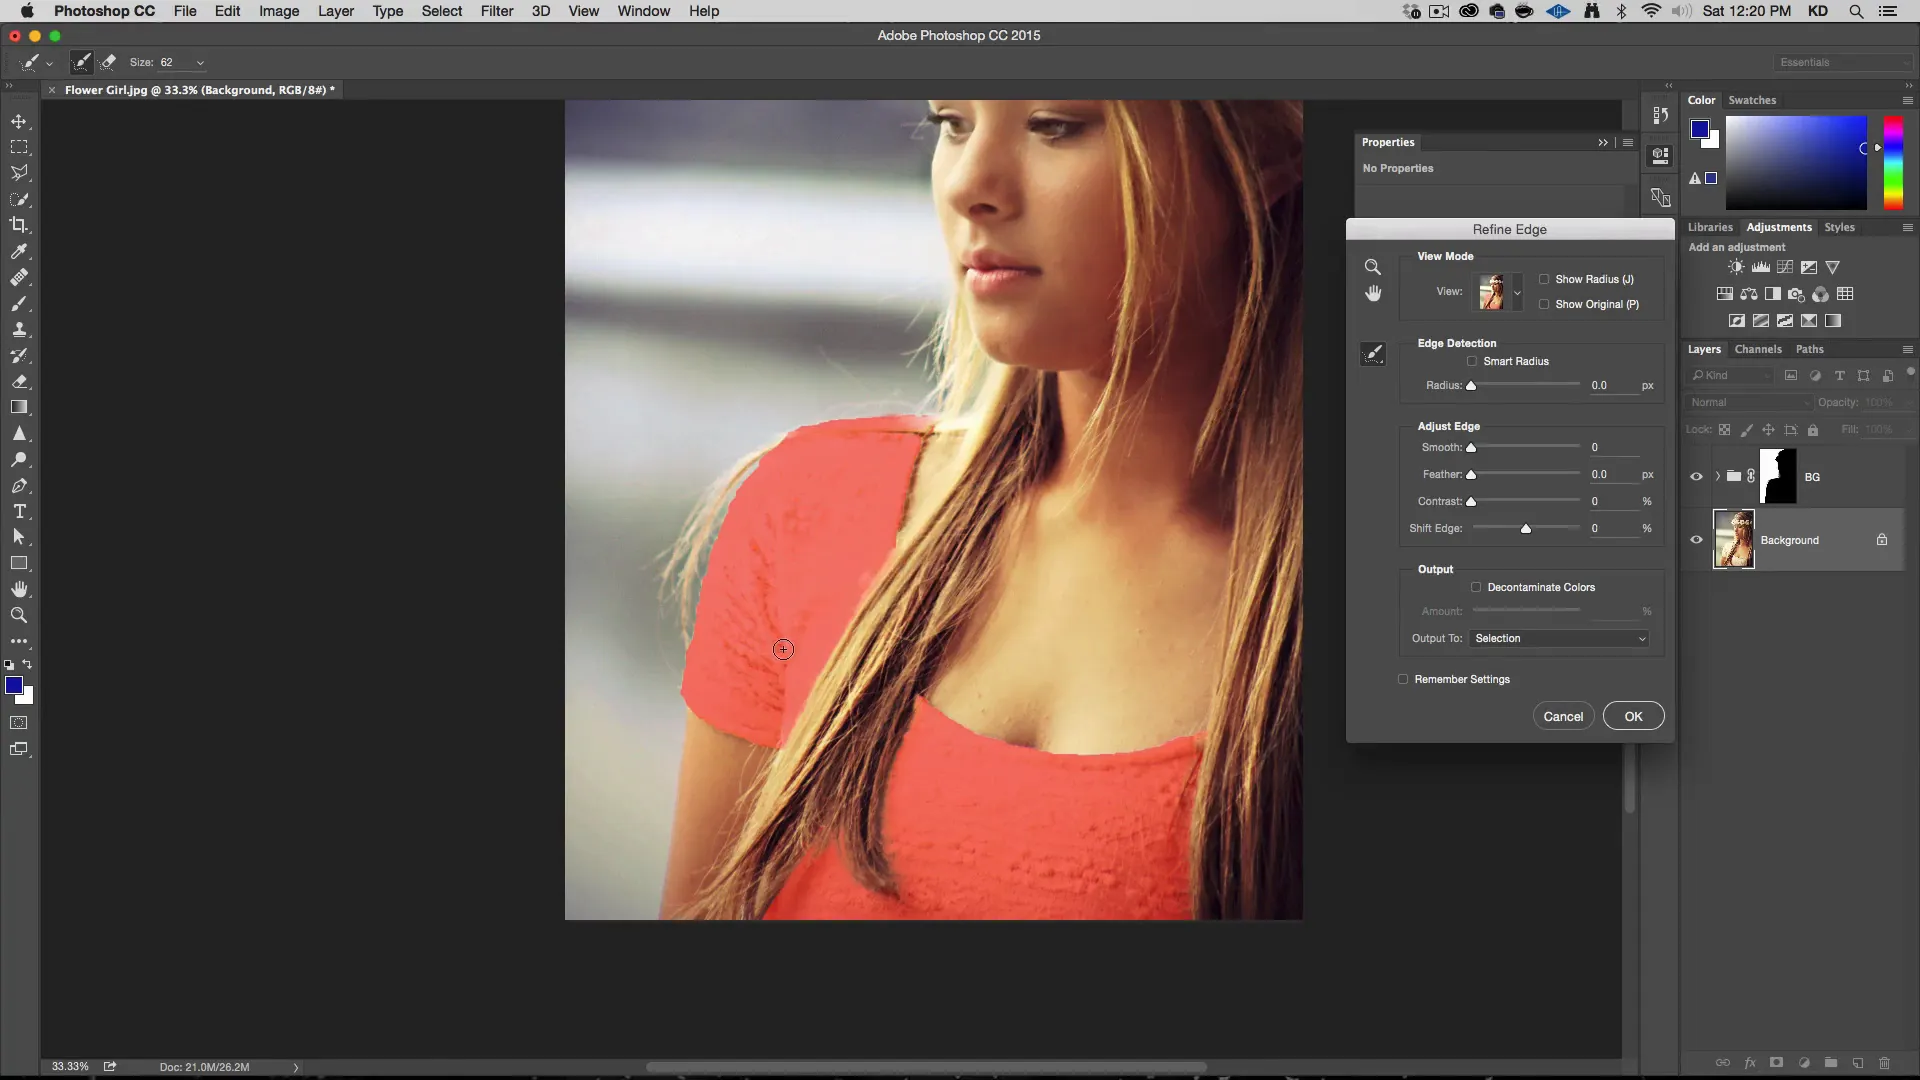
Once you’ve made selections for each part you want to change color (background, dress, flowers), create a group for each and apply a mask to the group.
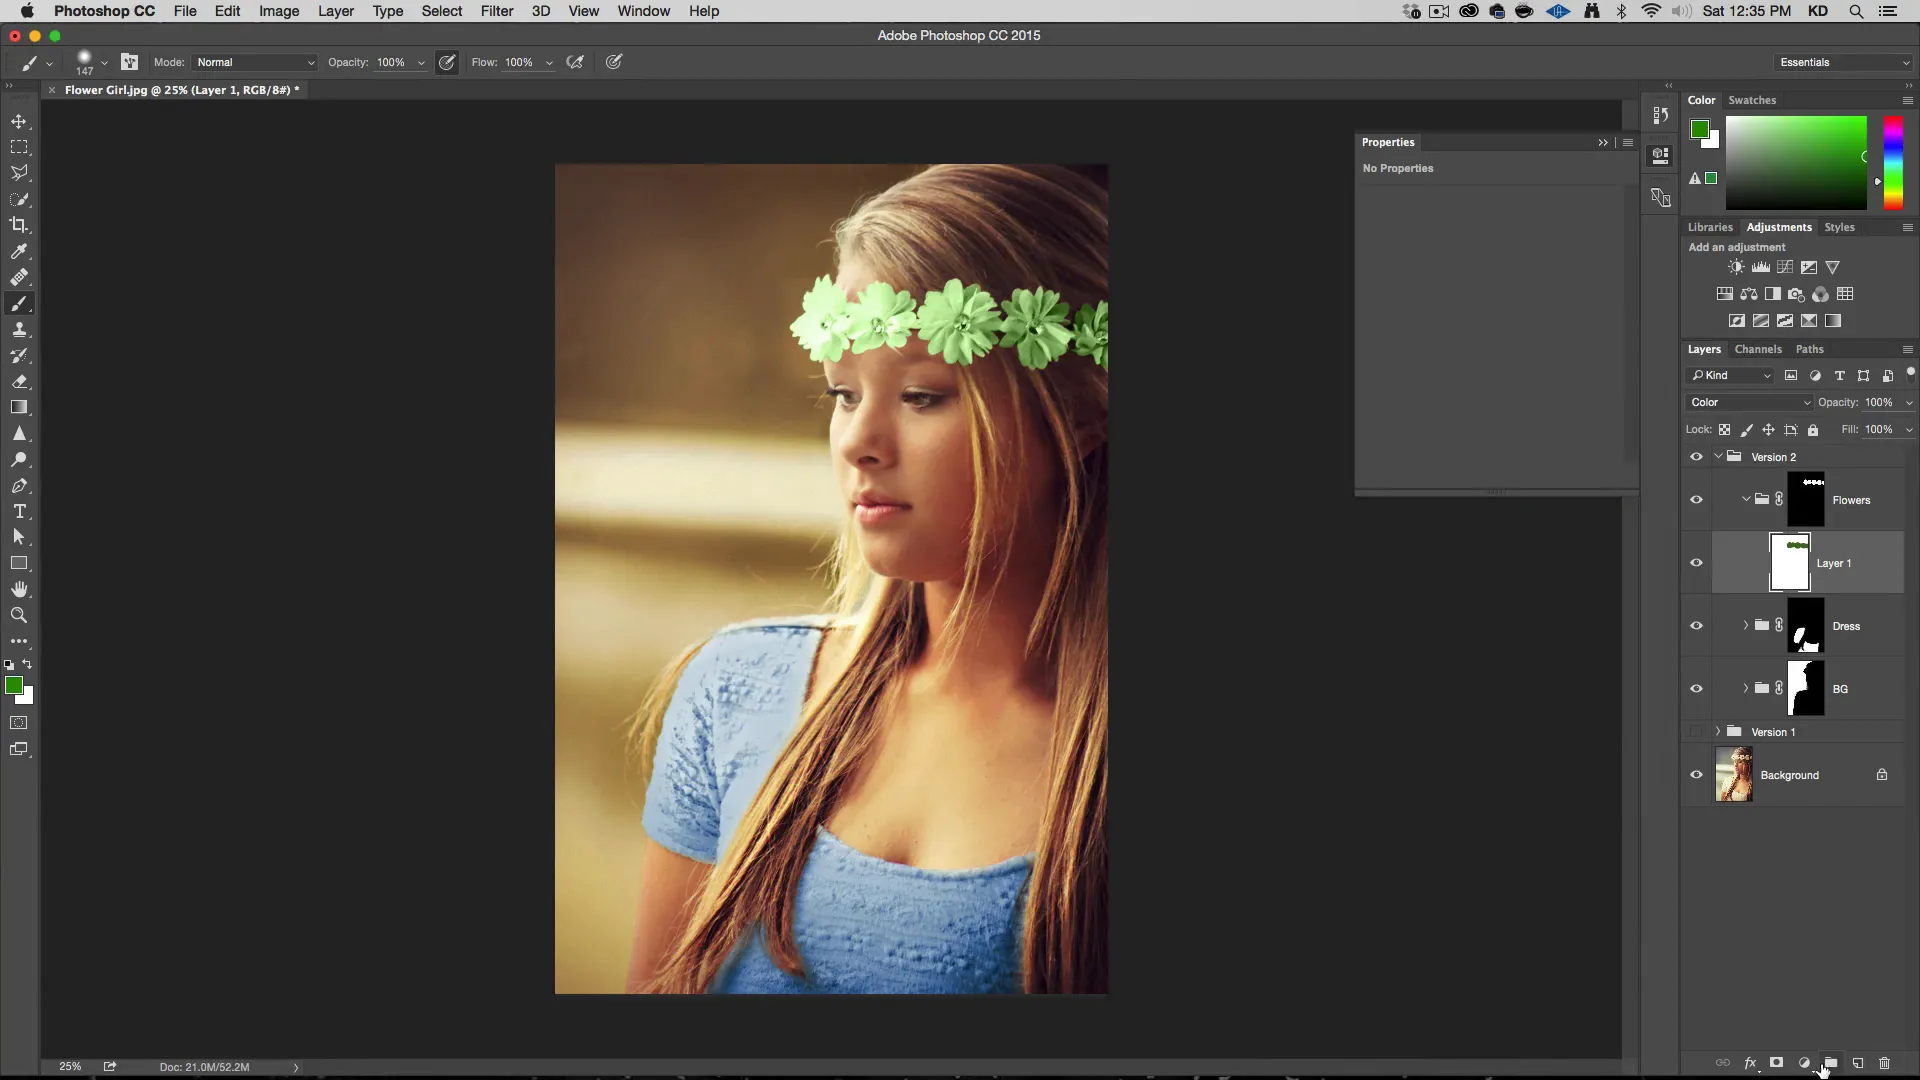
Name each group accordingly (e.g., BG for background, Dress, Flowers).
Add adjustment layers (Curves, Levels, Hue & Saturation) within each group to adjust the colors of each part individually.
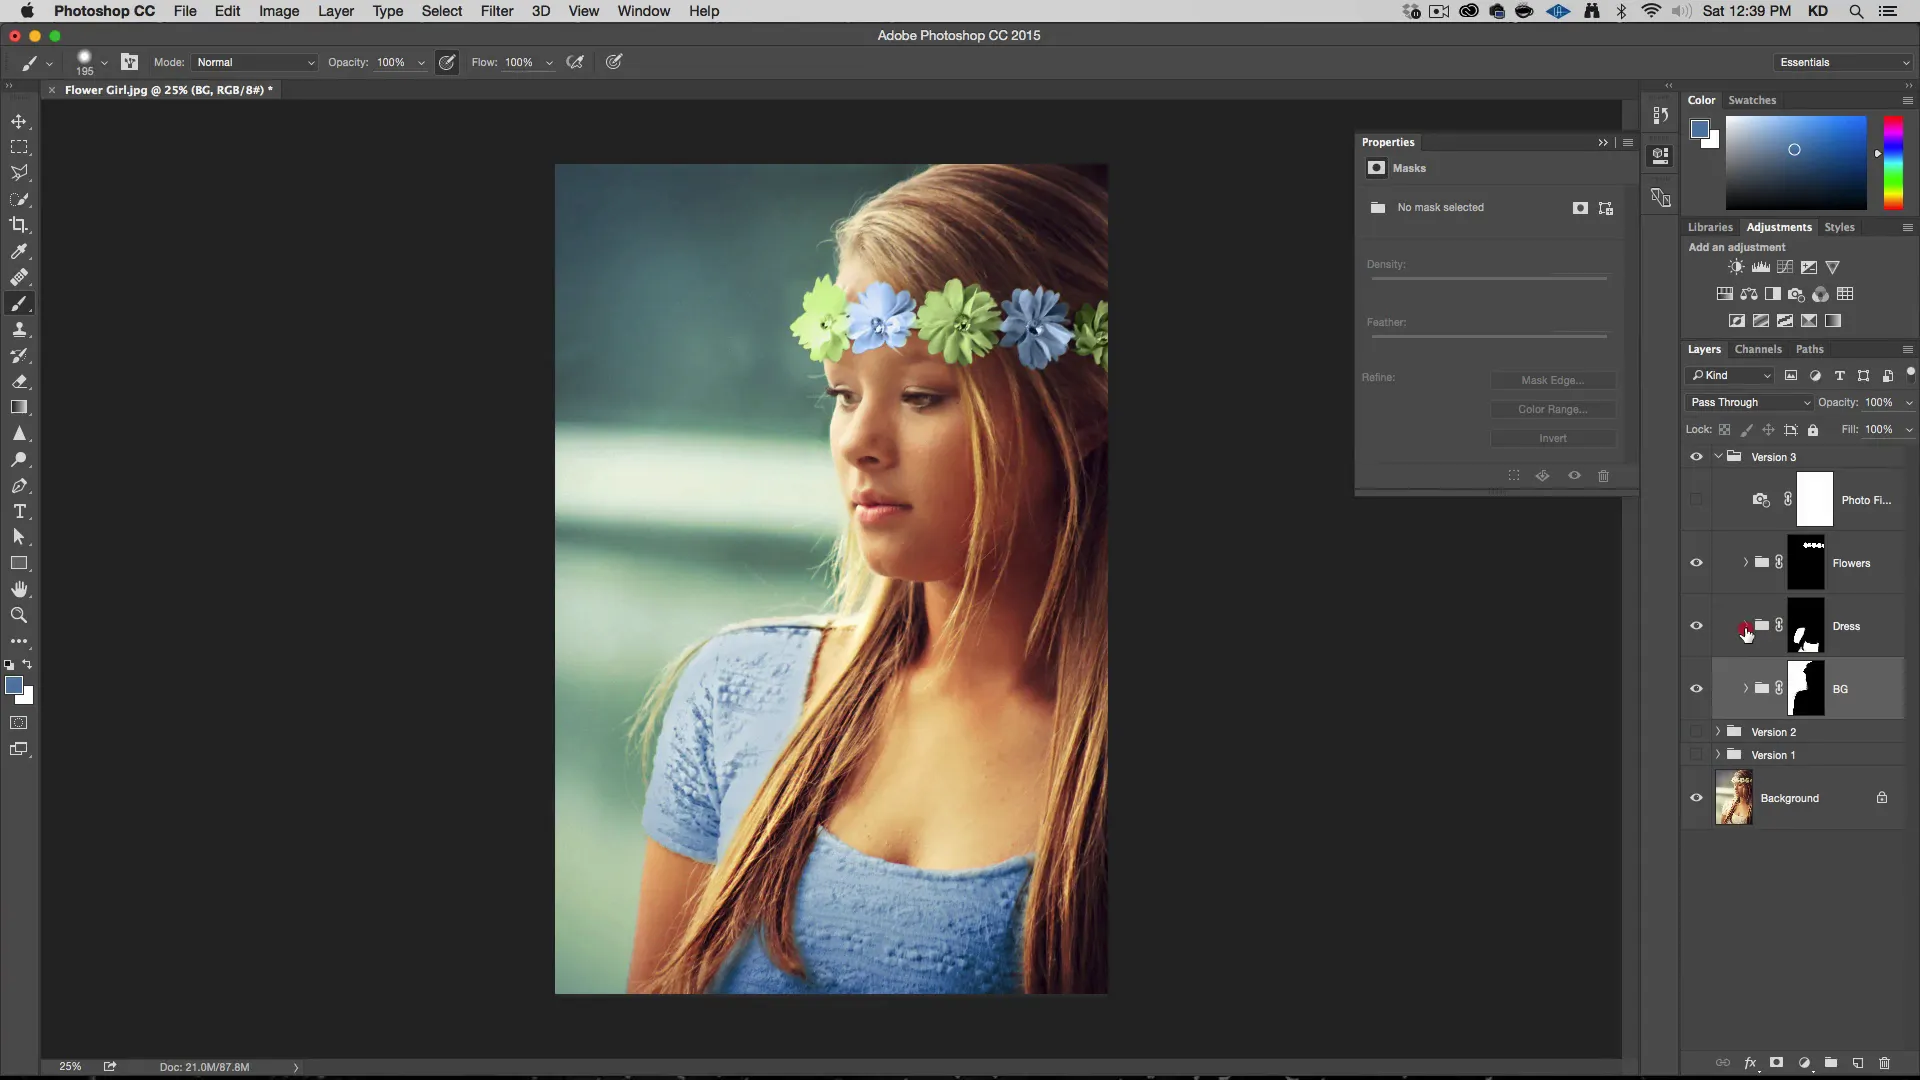
Altering the Colors in Photoshop to Anything
Now that you have your groups set up, you can experiment with the colors:
- Use the Hue & Saturation adjustment layer to shift the color of the dress. Experiment with the sliders to find a new, desired color.
- Try using the Selective Color adjustment layer to further fine-tune your colors. This adjustment allows you to modify specific color channels.
- Similarly, adjust the color of the background and the flowers using Hue & Saturation and Selective Color adjustment layers as needed.
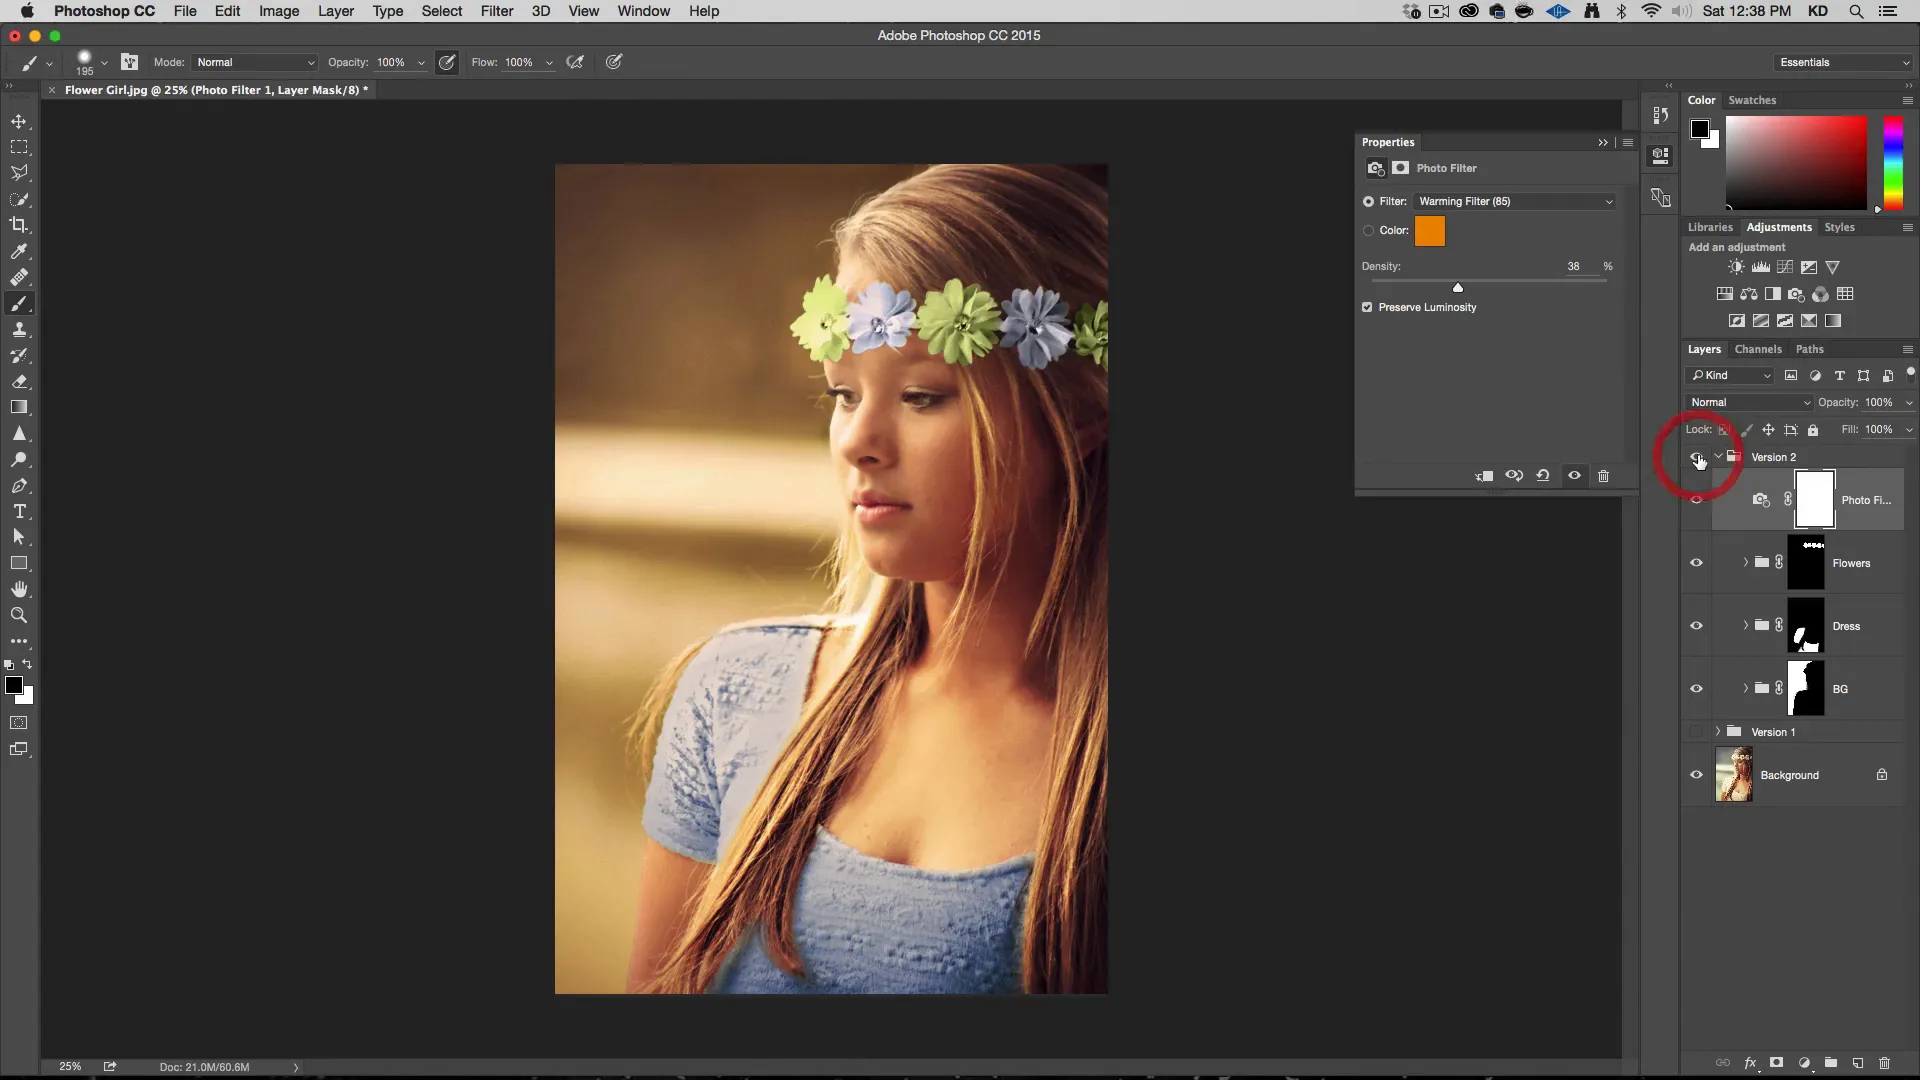
- To make your colors more cohesive, consider adding a Photo Filter adjustment layer on top of all your groups. Experiment with Warming or Cooling filters to find the right balance.
Finishing Touches
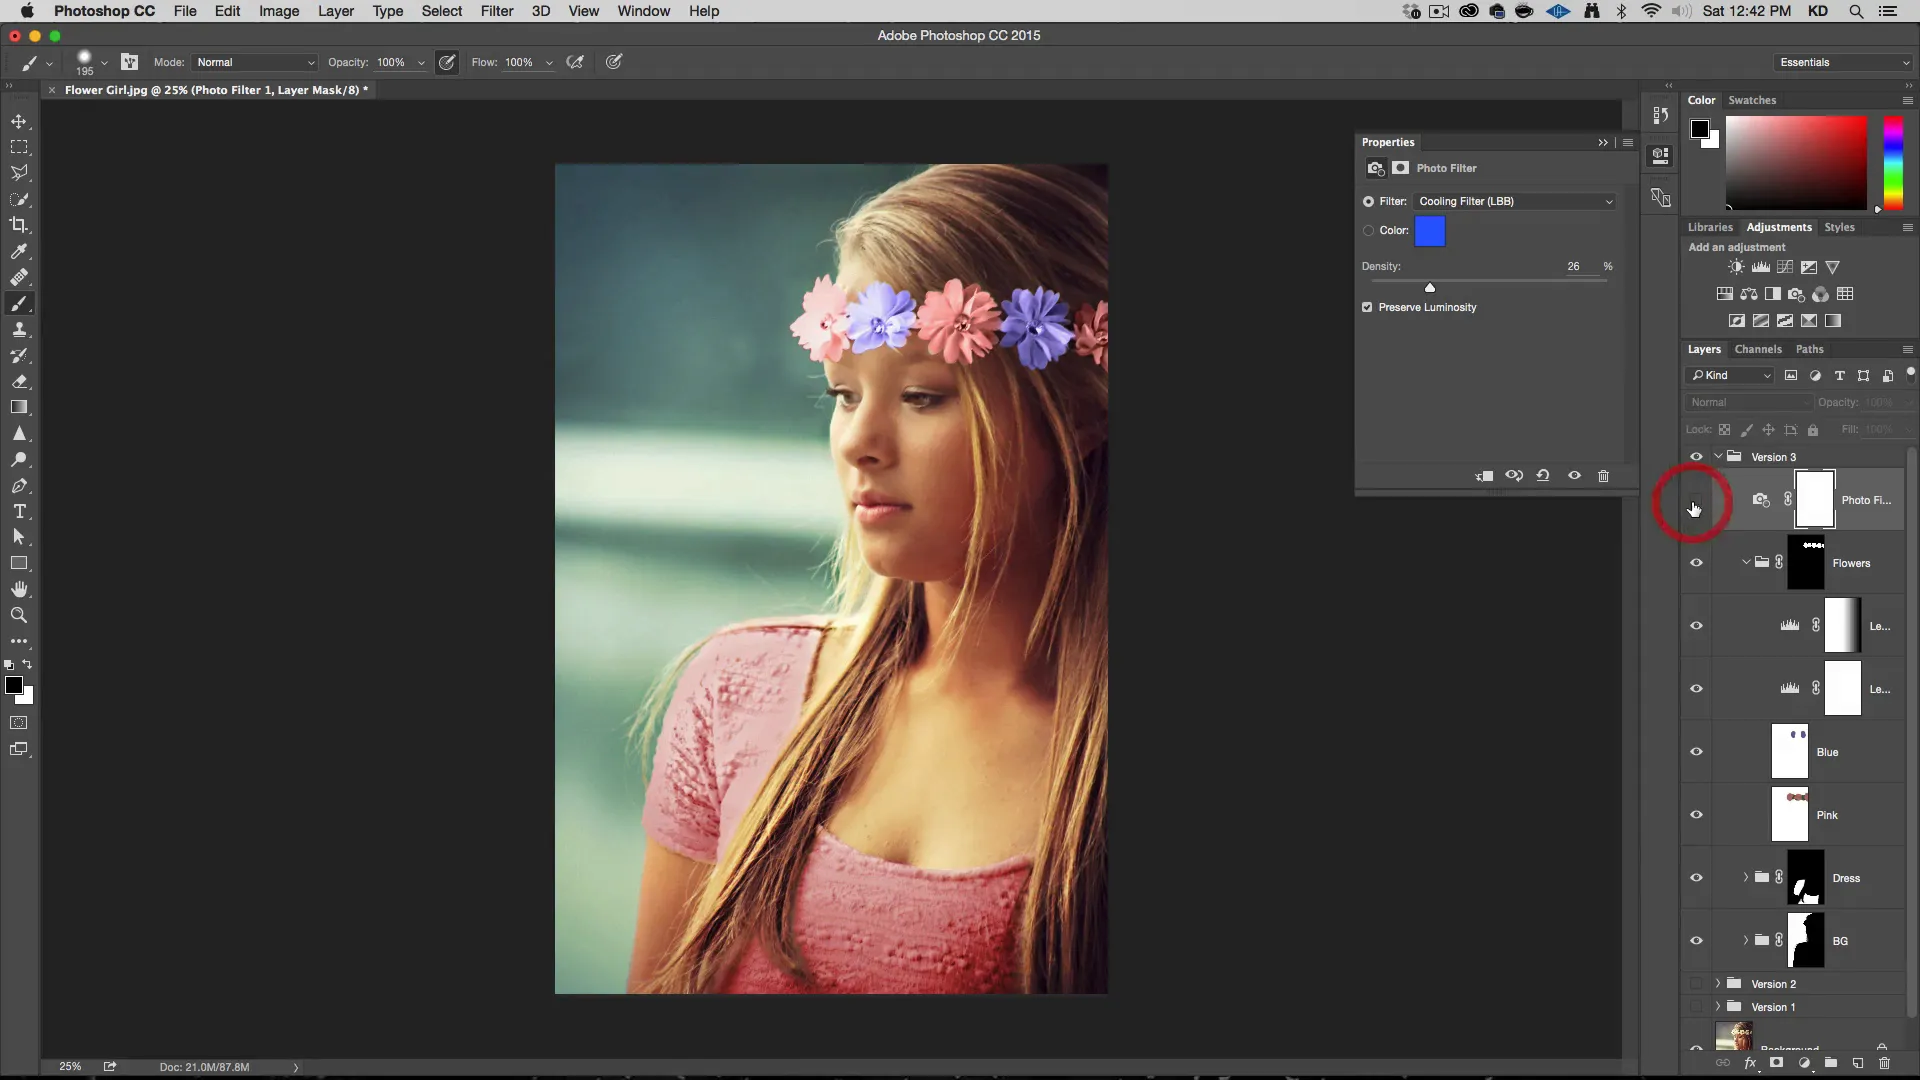
Once you’re satisfied with your color edits, you can go in and clean up any rough edges around your selections using a brush or other selection tools.
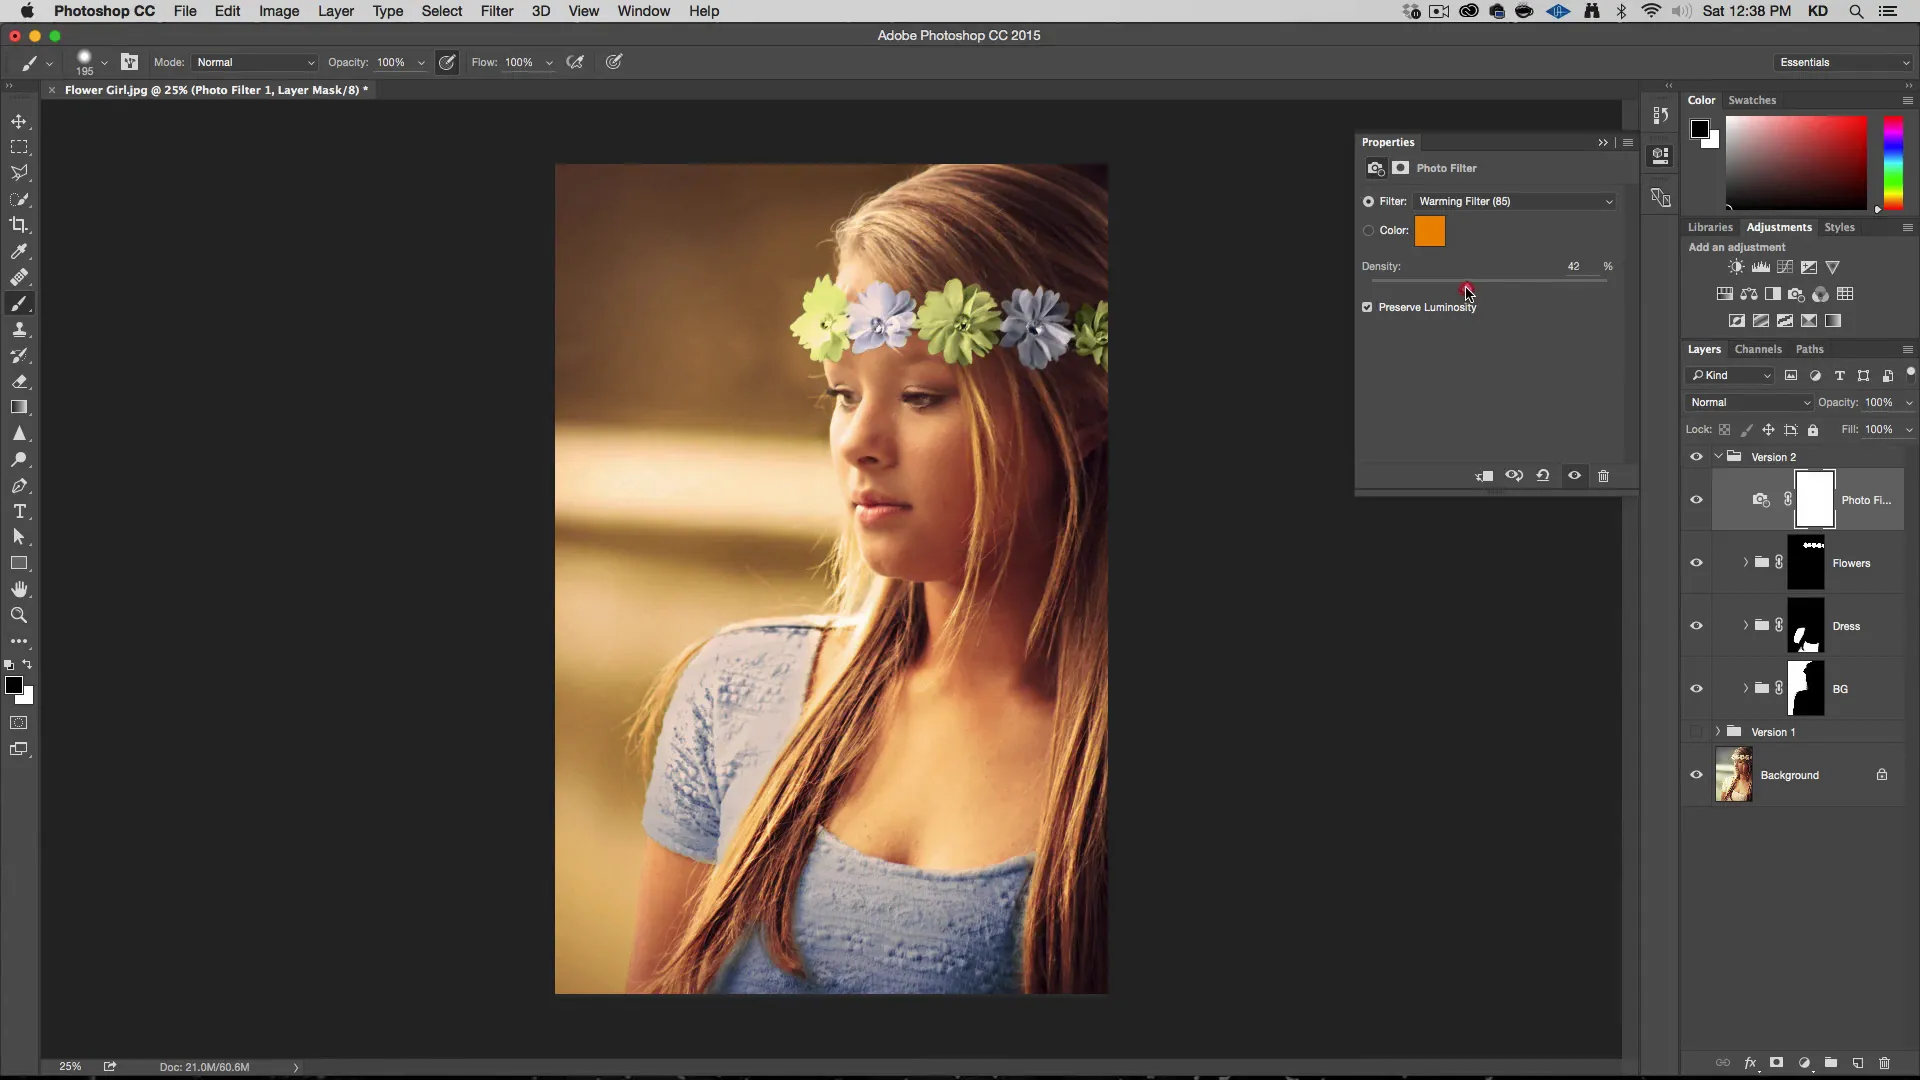
Feel free to create multiple versions of the photograph with different color schemes by duplicating your groups and adjusting the colors accordingly. Try changing the colors in Photoshop to darker or lighter colors and see how easy it is.
Conclusion
In this tutorial, we walked through the process of changing the color of anything in Photoshop. By understanding selections, groups, masks, and adjustment layers, you have the flexibility to change and experiment with colors in all of your photographs. This powerful skill opens up a world of creative opportunities for your designs.
If you liked this post on How to change color of anything in Photoshop make sure to check out my Adding Shadows in Photoshop Tutorial. Happy Photoshopping!

