
In this tutorial, I’m going to show you how to use lens flares in Photoshop to create interesting lighting and drama in your images. We’ve all seen poorly used lens flares, but there is a nice way to use them in subtle and natural-looking ways. We’ll explore how to use these techniques on both a portrait and an urban landscape.
First Download the Free Source Files
You can follow along by downloading the sample files here. You can also watch the video by clicking here.
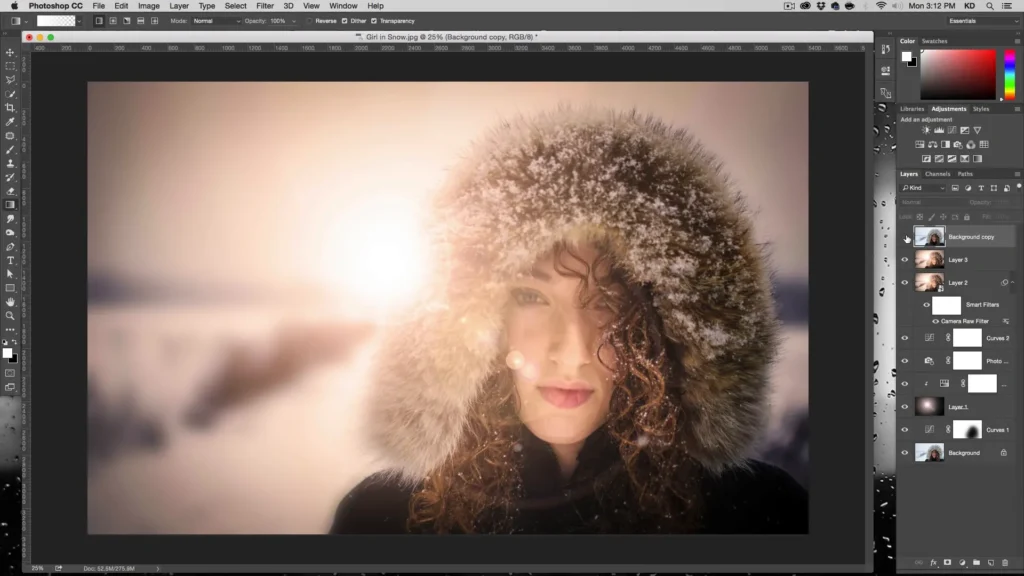
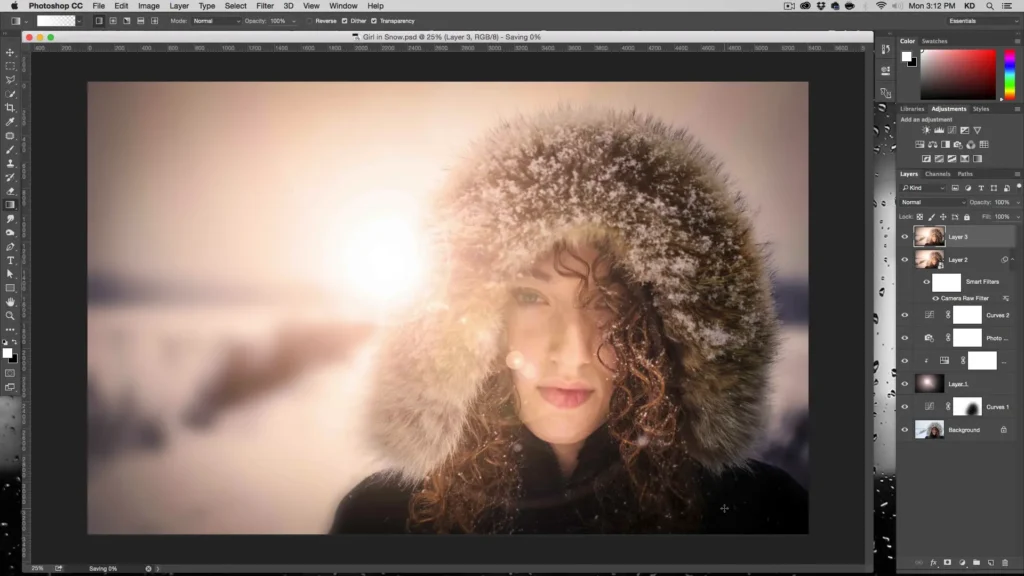
At the end we want to have a Portrait looking like this:
Adding a lens flare to a Portrait
Step 1: Darken the image
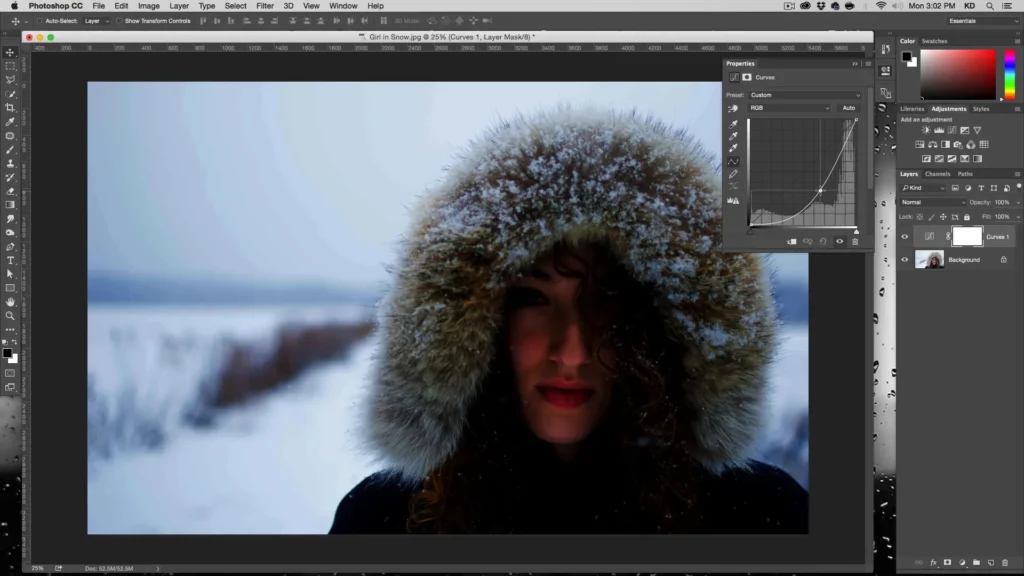
First, we want to darken the image to make it a little more dramatic. To do this, add an adjustment layer and select the Curves option. Adjust the curve to darken the overall image, focusing on everything but the subject’s face.
Step 2: Mask out the subject’s face
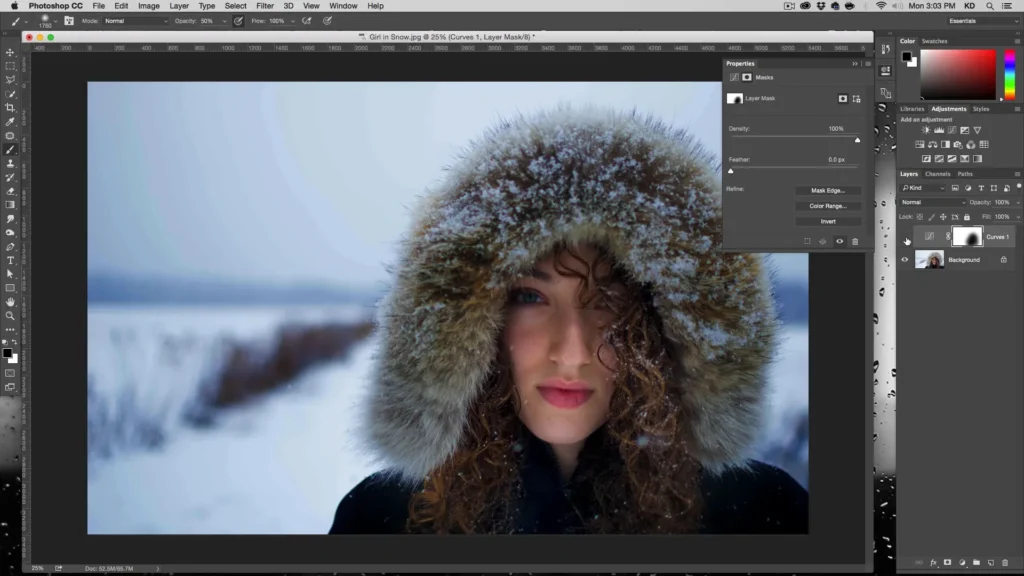
Now we want to mask out the subject’s face so that our darkening effect doesn’t apply to it. Select the mask layer and with a black brush at 50% opacity, paint over the subject’s face to mask out the darkening effect.
Step 3: Add a lens flare on a separate layer
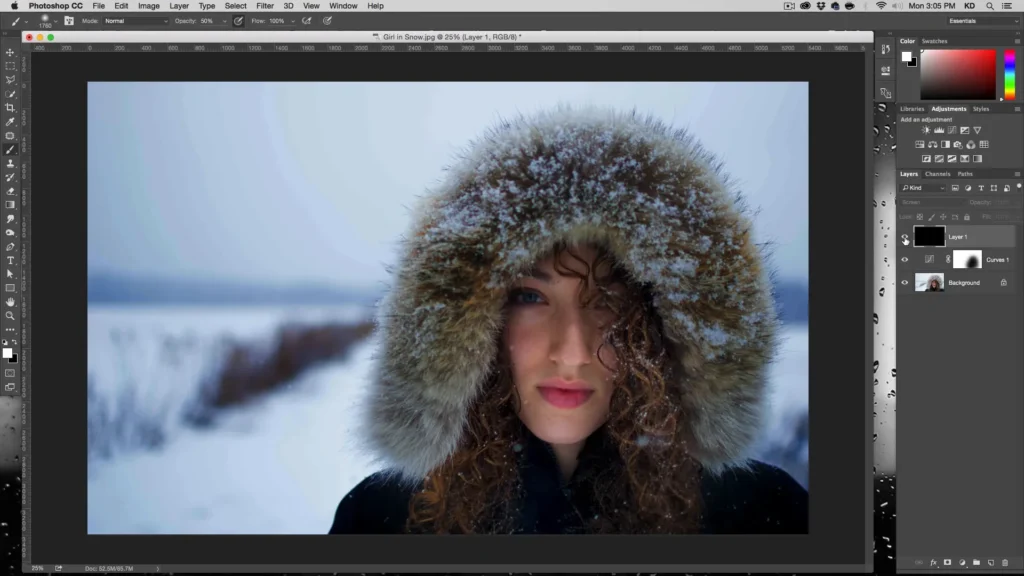
Because lens flares cannot be applied to a transparent layer, we first need to create a new layer filled with black. Change the blending mode of this new layer to Screen. This means anything that is black will become transparent while any light or white elements will remain visible.
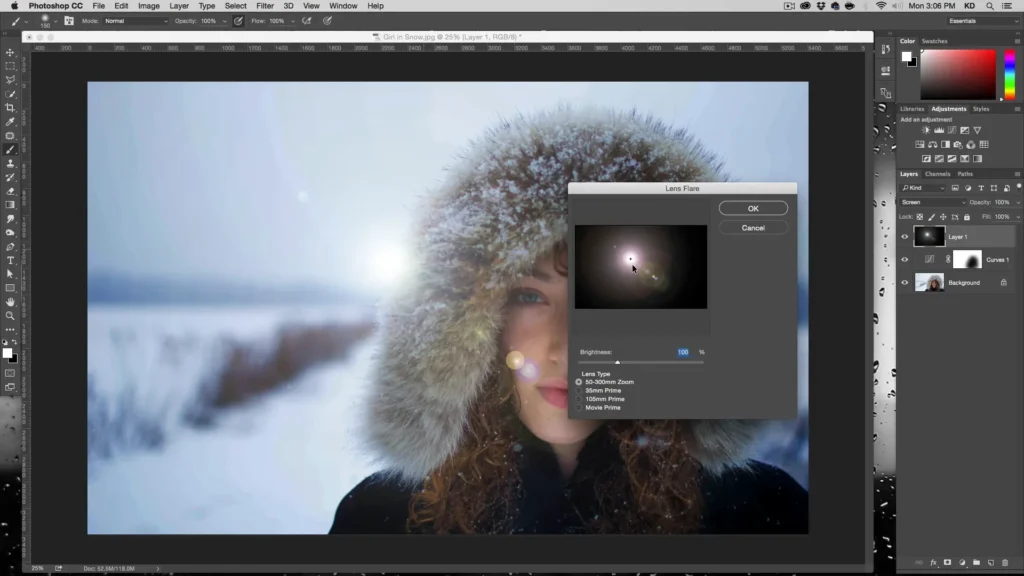
Position where you want your lens flare to be by painting a white dot on the new layer, and then go to Filter > Render > Lens Flare. Customize the lens flare to your liking and select OK. The lens flare will now be on a separate, adjustable layer.
Step 4: Adjust the lens flare
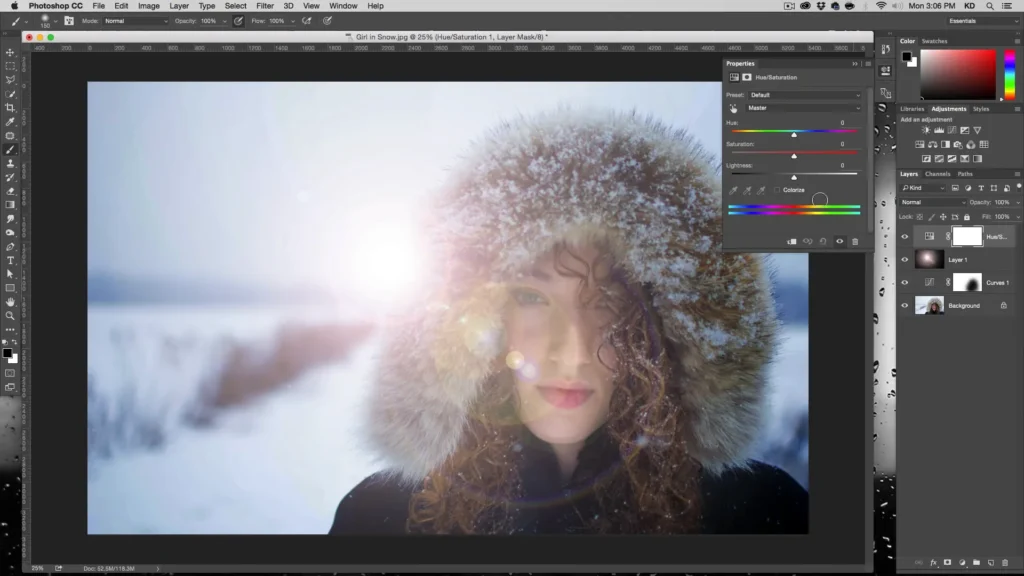
You can further play with the appearance of the lens flare by adding various adjustment layers, such as Hue and Saturation as well as the Photo Filter. This will allow you to customize the color, saturation, and warmth of the lens flare.
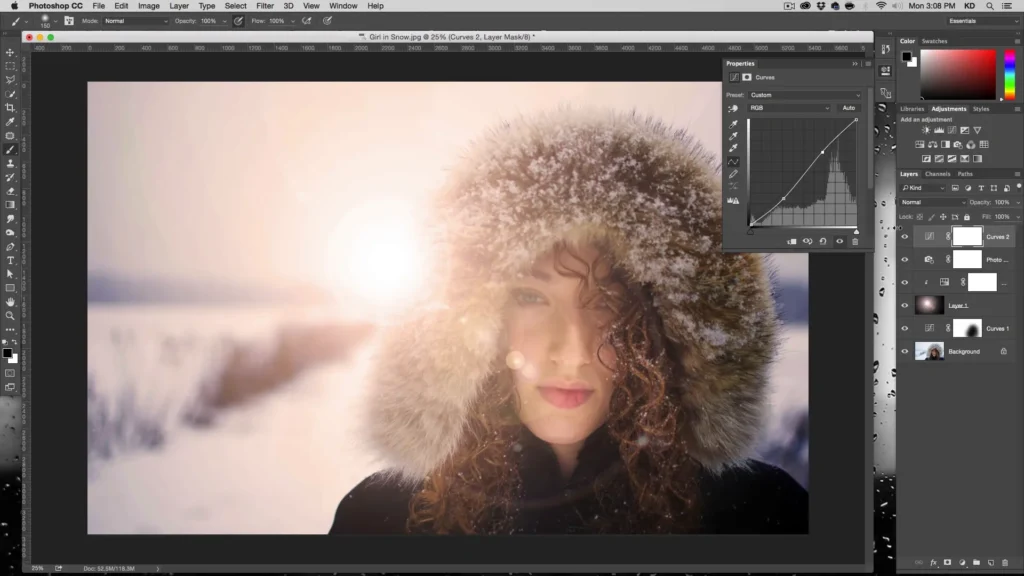
Finally, you can add more dramatic contrast and post-vignetting as needed and flatten the final image.
Adding a lens flare to an Urban Landscape
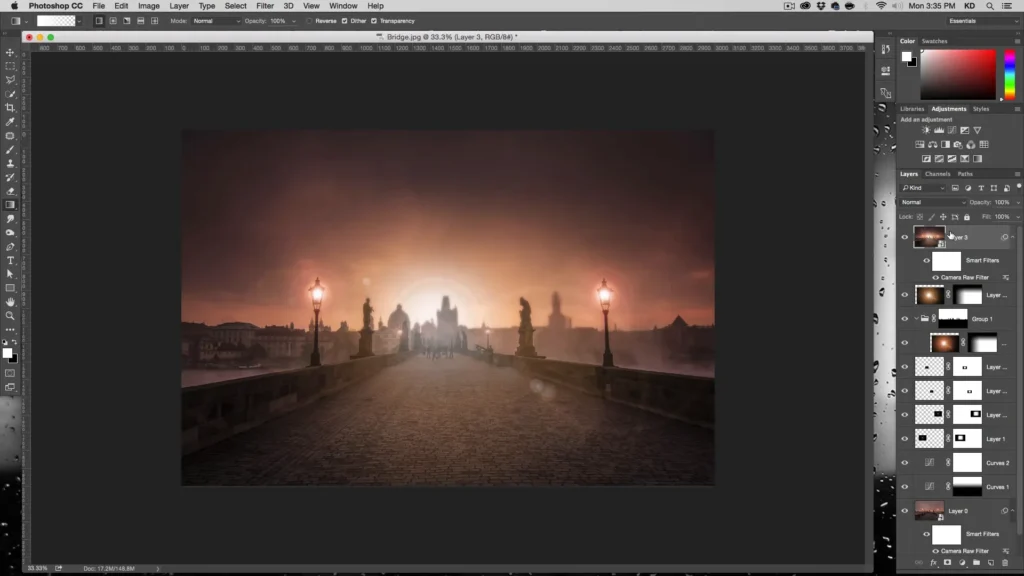
At the end we want to get an image that looks like this:
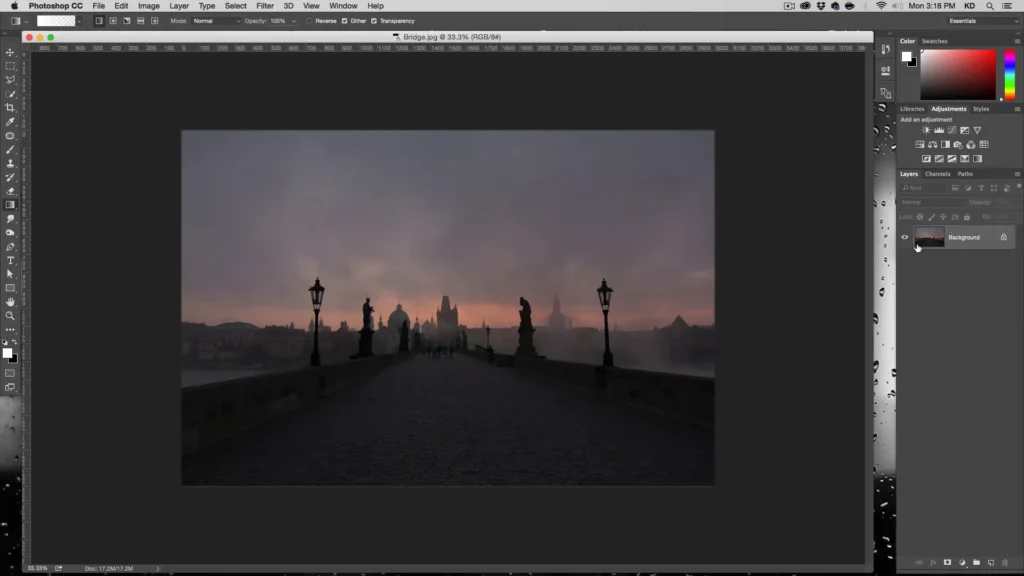
First we start wih the original image:
The process for adding lens flares to an urban landscape is very similar to the one described for the portrait. The main difference is that in this case, we will be using two different lens flares on the same layer.
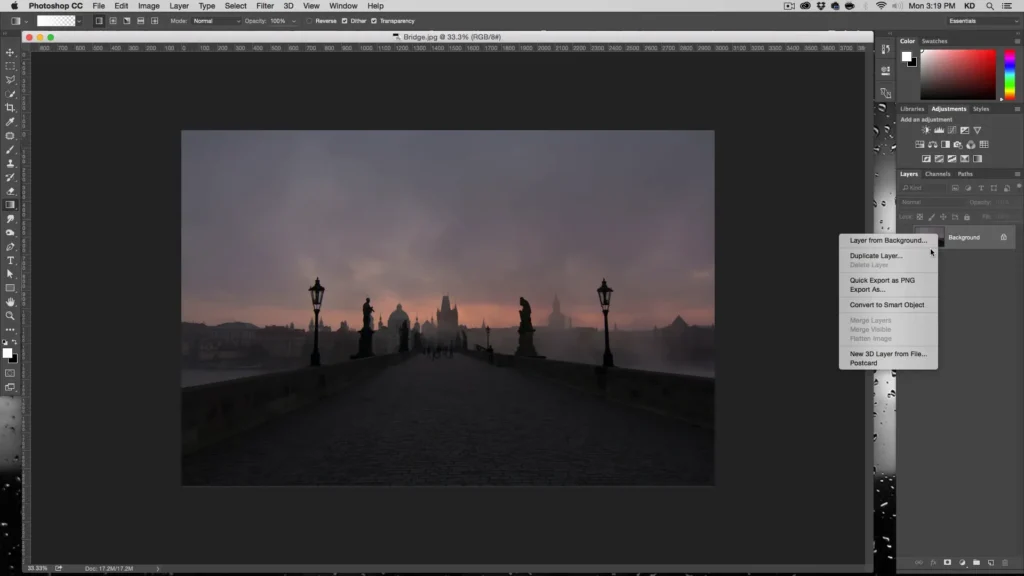
First, convert the background layer to a smart object. This allows us to apply the lens flares in editable filters as opposed to directly on the layer.
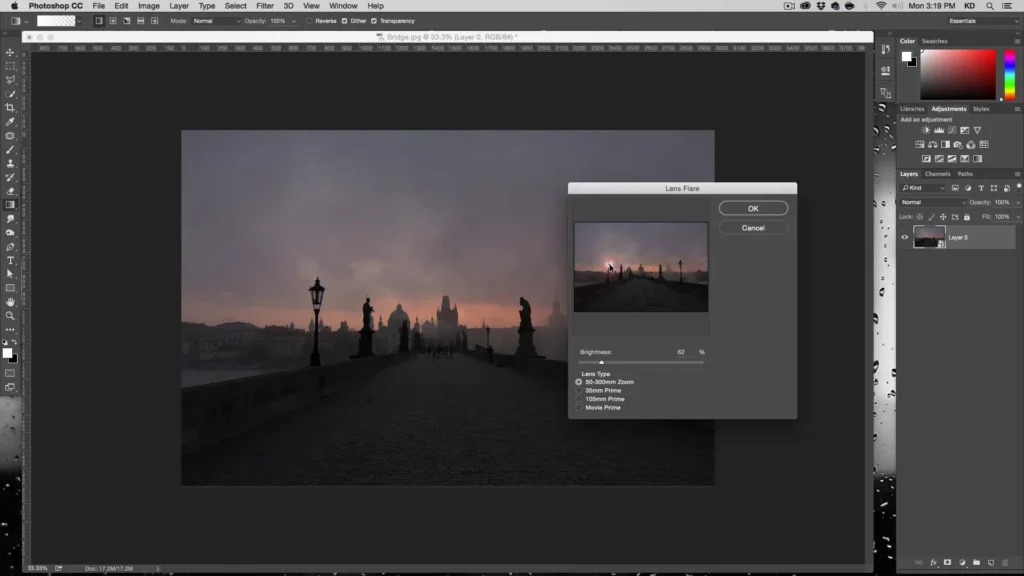
Next, apply lens flares by going to Filter > Render > Lens Flare. Since we’re working with a smart object, the lens flares are added in editable smart filters. Now add and adjust multiple lens flares for a dramatic effect.
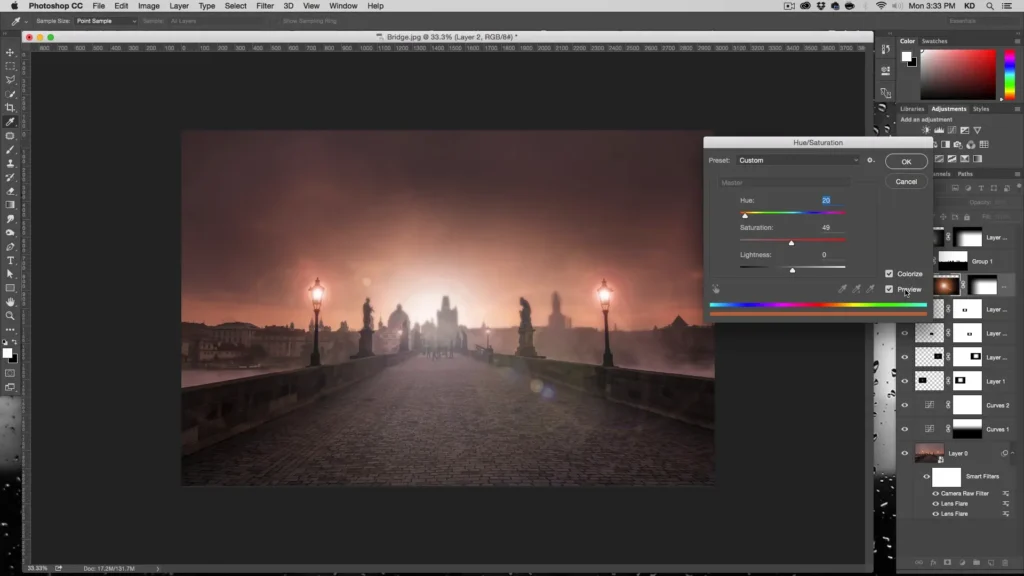
Once you have added the lens flares, you can follow the same steps as in the portrait example to darken the sky, adjust the overall color and warmth, and add any additional contrast, using various adjustment layers and masks.
Conclusion

Lens flares can be a powerful addition to your photos, adding extra drama and interesting lighting effects. By using the lens flare Photoshop techniques described in this tutorial, you can create more dynamic and engaging images. Just remember to use them subtly and consider the overall composition and balance of your photo.
Congratulations – you’ve successfully added realistic lens flares to a Portrait and Landscape in Photoshop following the tips I have given you. Don’t forget to like and share this tutorial, and subscribe to my YouTube channel for more Photoshop tips and tricks.
If you liked this post on How to use Lens Flares in Photoshop make sure to check out my Adding Shadows in Photoshop Tutorial. Happy Photoshopping!