
Portrait Retouching in Seconds! Full Photoshop Workflow – what if I told you there is a way to retouch a portrait in photoshop with one click? Would you be interested? Would it save you time? Yes, of course, it would.
I am Christina Sherk. I’m a professional retoucher based out of Washington, DC. My business is shark pixel, and I will help you learn photoshop and lightroom. In this tutorial, I’m going to tell you about one specific action I think every portrait photographer should have in Photoshop. It’s an action that I’ve created. It has over 250 commands in one single action, and on top of that, it does all of your skin smoothing for you because I have activated the neural filters in photoshop and their new AI technology to smooth skin properly.
Now, it’s not a hundred percent of the way there but what I have done is I have fixed that using specific techniques, and I’m going to show you exactly how it all works right now.
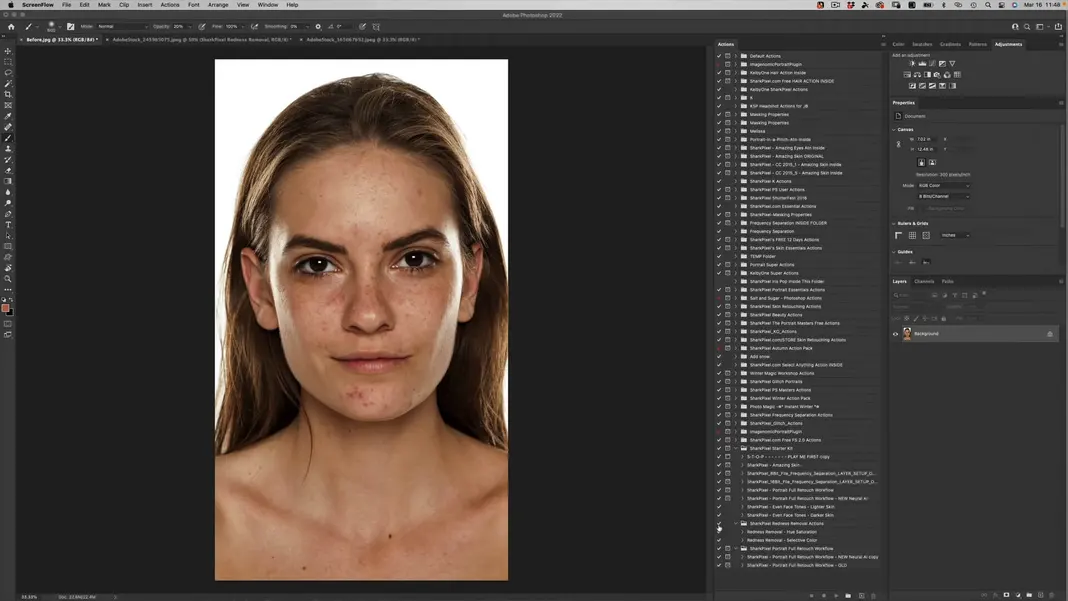
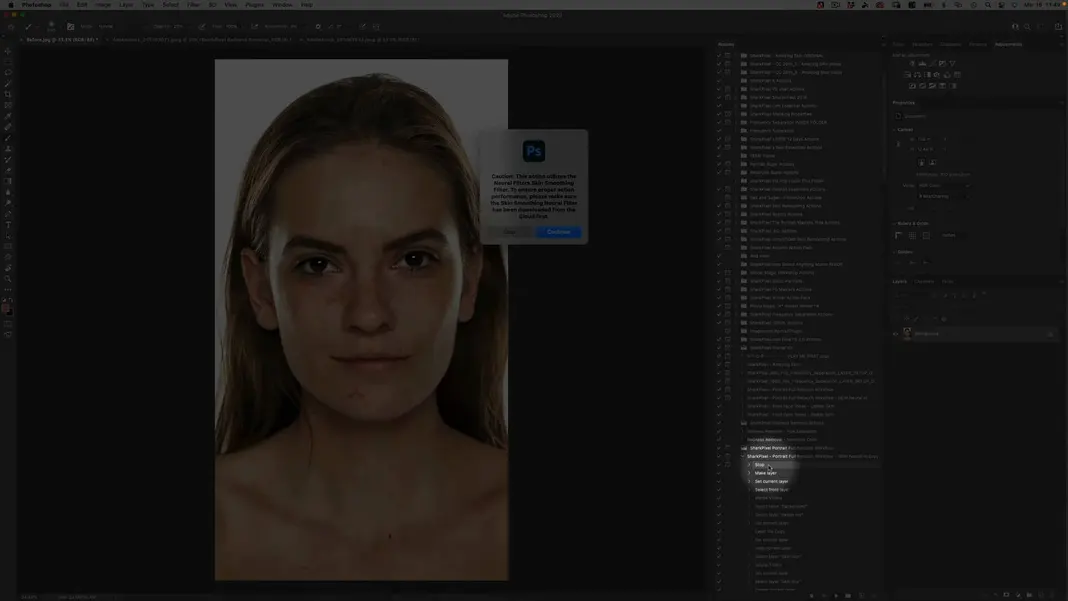
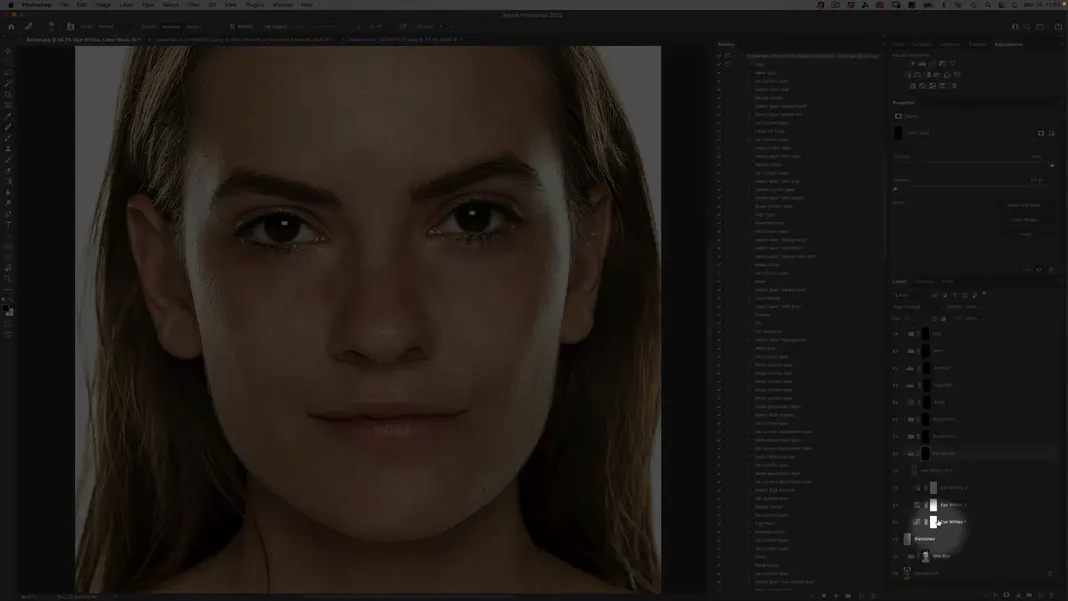
I’ve got a portrait here, which you can see is just straight out of the camera. It’s a beautiful girl. What I did want to show you is right down here, I have some actions that I want to point out, and it is the SharkPixel Portrait Full Retouch Workflow – New Neural AI.
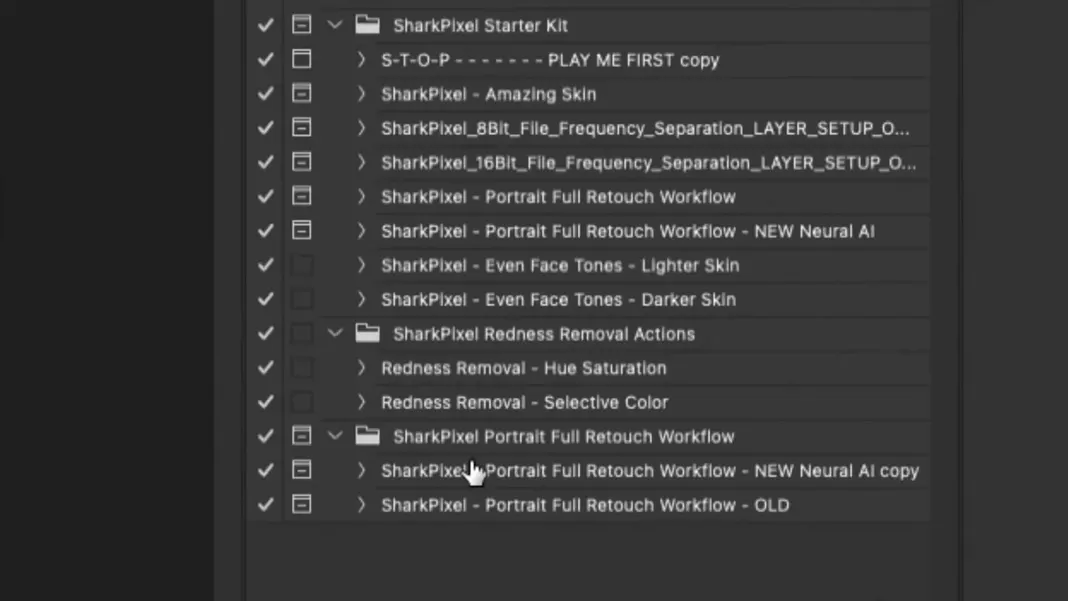
It is the action that I’m going to be delivering to you today. So, if we go ahead and open it up, you can see here that there are a ton of steps within this action over 250 commands that I have told photoshop to do for you. What is this going to do when we run? It will do 90 percent of your portraits retouching right off the bat. All you have to do is click one button.
So, let’s go ahead. We’ll select this action right here, and then we’ll come down to the bottom of our actions palette and press the play button.
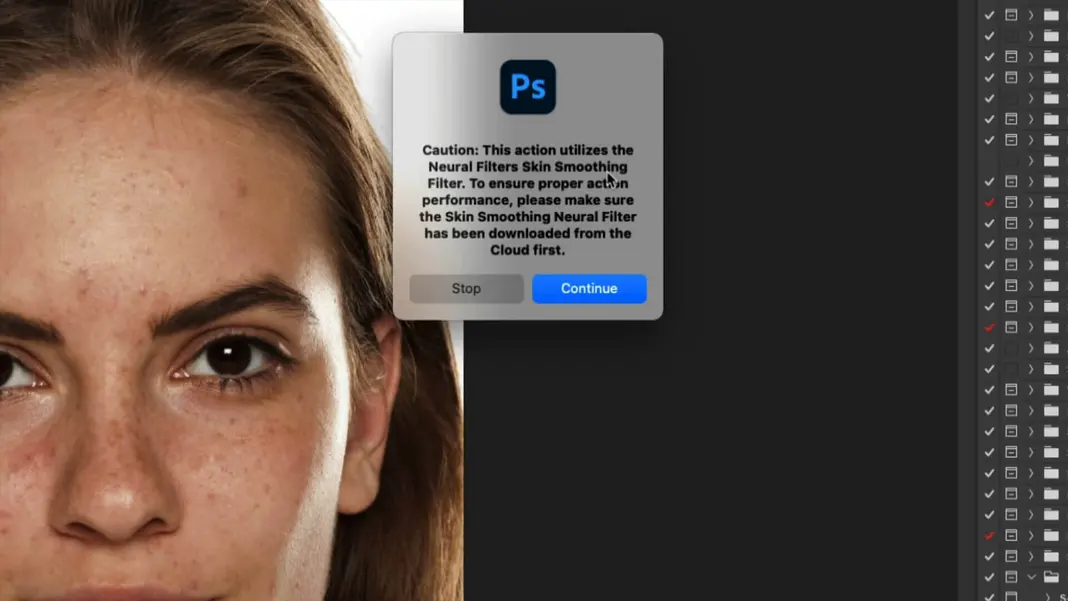
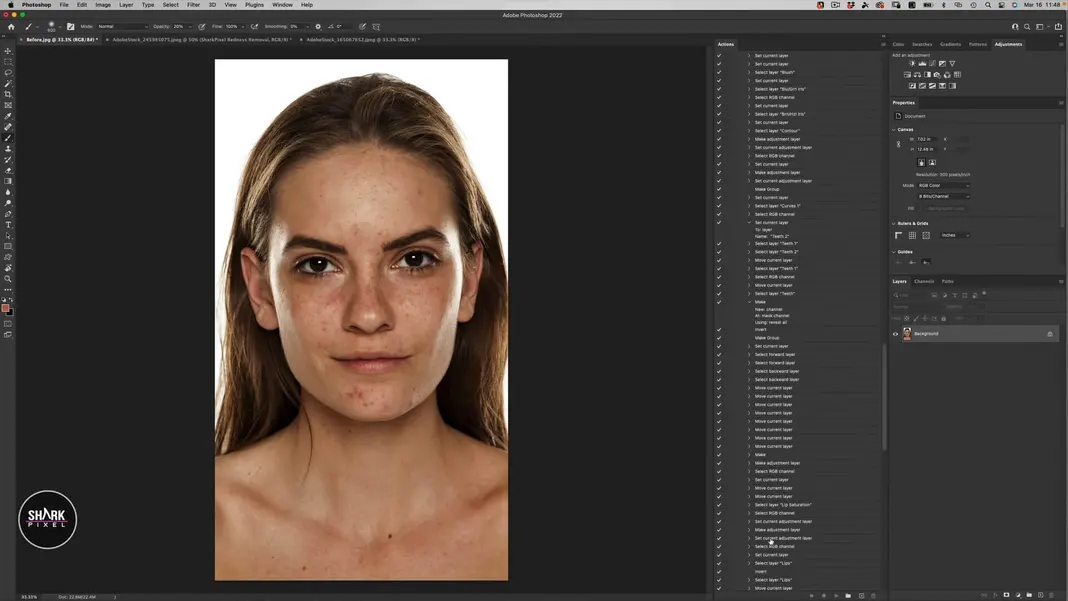
You’ve got a little handy dandy note in case you have not yet downloaded the neural filters from the cloud. You’ll have to do that in advance of using this action because it does use AI technology, as I said. Now, if you would like to remove this note, you can just select this line item within the action and drag and drop that line item into the trash can.
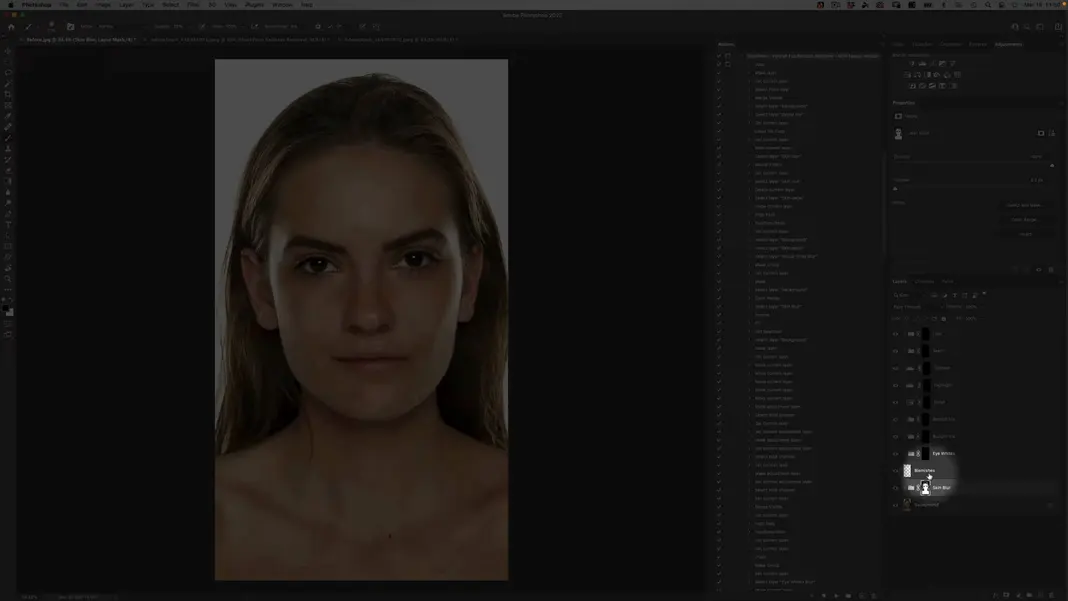
We’re going to go ahead, and then press continue so that this action will run and what it’s going to do is it’s going to give you an outline of everything that you need to do for portrait retouching as well as use that AI technology to smooth the skin and create a unique mask for the face that you’re working on.
So, here is another note from me telling you how to move forward. What you’re going to do is hit command and option, and we’ll close the disclosure arrows here in our layers palette.
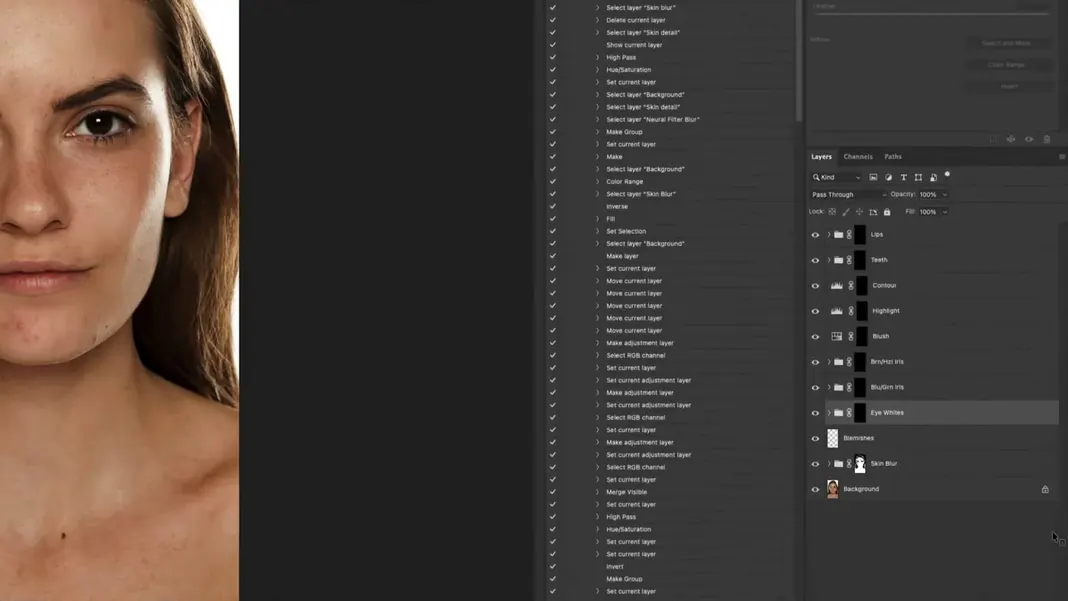
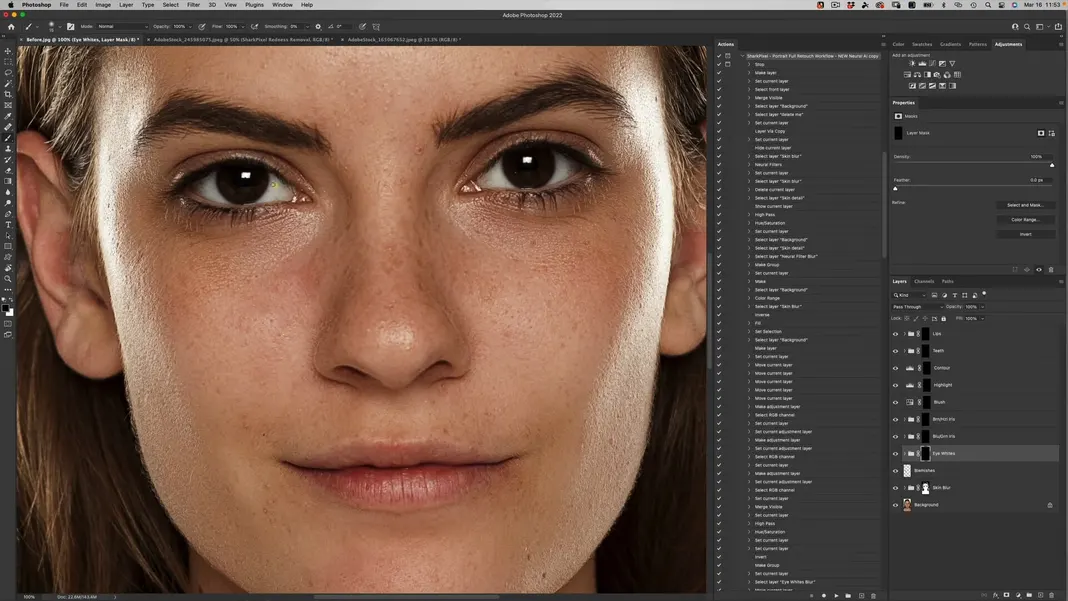
So, I’ll hold down command and option, and for our pc users, that’s control and alt and now what we have over here in our layers palette are a few different things. We have a folder of skin blurring and skin detail back on top, and then we have a unique custom mask that has been created for you thanks to our select skin tones action.
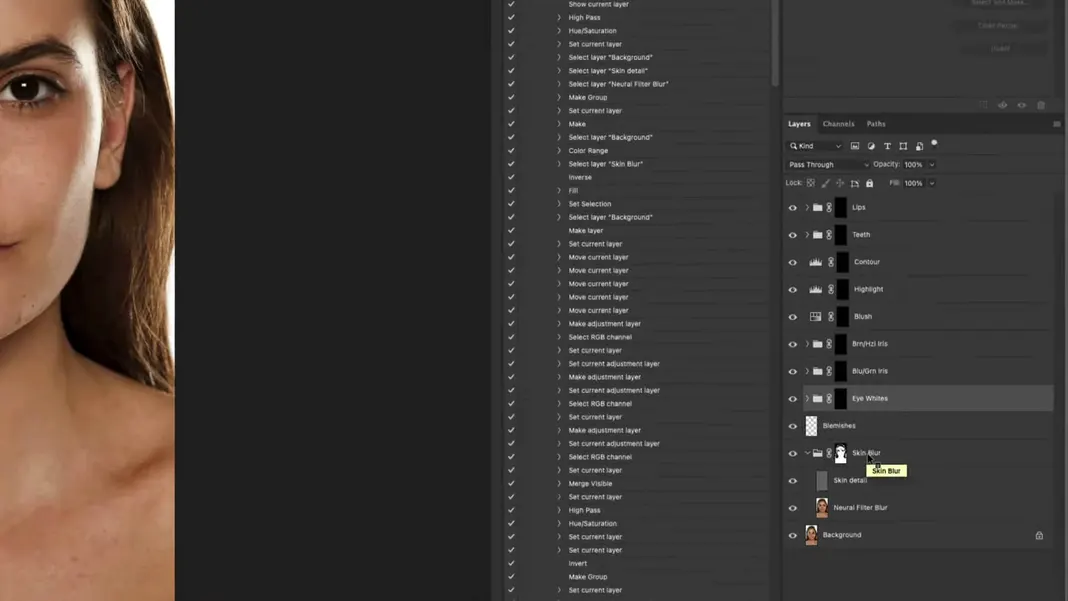
In photoshop, so, basically, right off the bat, you have some significant improvements in that skin texture and skin quality. By running this action, we next have a layer for our blemish removal. Why would we do our blemish removal first if we have the neural technology, the neural filters, and that AI technology doing our skin smoothing for us in one way? If 50 of those blemishes are immediately removed because of the AI skin smoothing filter, why would we manually remove those right?
So, I run that AI skin smoothing filter first. So, you’re left with basically whatever is left to remove in terms of blemishes. We have another folder for eye whites. We have a folder for accentuating blue and green irises and brown hazel irises.
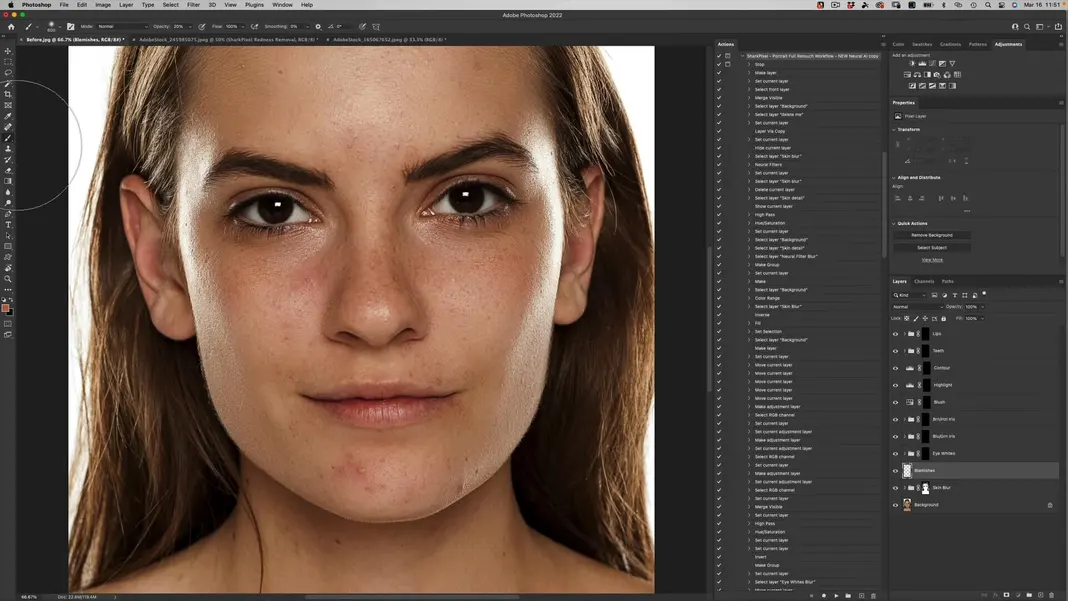
We’ve got a blush folder, a highlights folder, a contour folder, and teeth and lips. So, let’s start retouching. I will first activate my blemish layer and do some general cleanup on some of the blemishes. I am going to use my normal healing brush tool.

I’ll come in and remove just a few of the blemishes because we have activated photoshop and allowed photoshop to do all of the grunt work for us. All we have to do as retouchers and photographers is to do the unique quantitative work you need the human eye for. As you can see, we are just doing a few of those blemish-removal items.
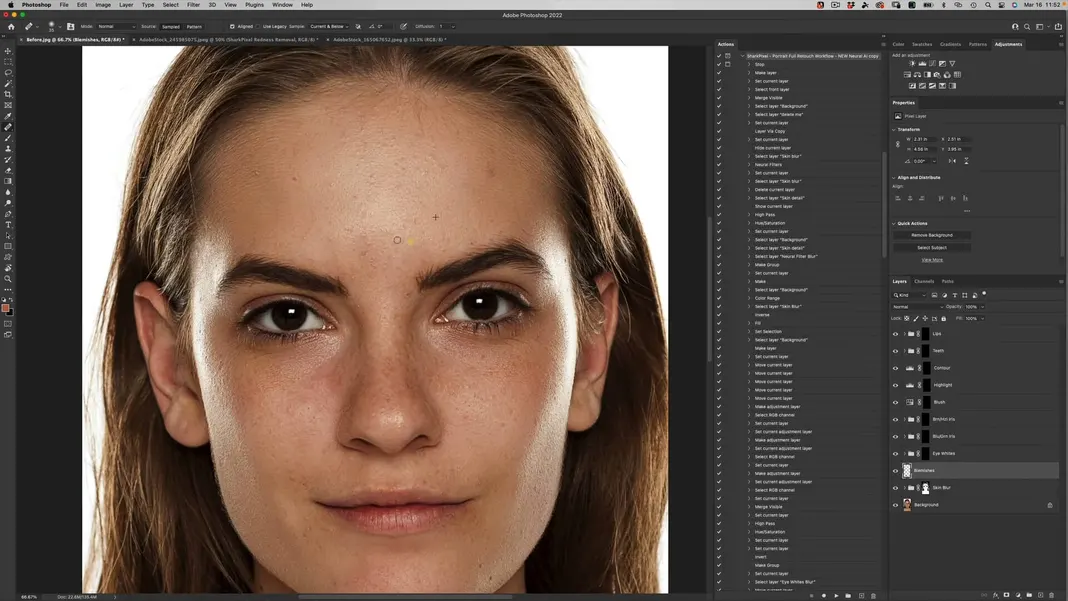
For the most part, for this demonstration, that looks pretty good. We’ll move on to eye whites and what I’ve done and organized everything within folders over here. So, everything is inside this folder that has to do with your eye whites, so all you have to do as the user is activate your brush tool.
Make sure you’re painting with 100 opacity and 100 flow. Let’s make our brush a little bit smaller using the bracket keys. We’ll make sure we’re painting with white. I’ll go over the eye whites. So, what this is doing right now is it’s slightly brightening the eye whites. It’s also making them a little bluer, a little less yellow, and softening those lines underneath.
Next, I want to go to my brown hazel iris folder. I am also going to decrease the opacity of my brush too, let’s say, 20, and I’m going to paint in a little bit of that effect on the bottom areas of the eye, of course, if this is too high or the effect is too extreme, it’s very easy to come over to your opacity slider in your layers palette and decrease that effect overall.
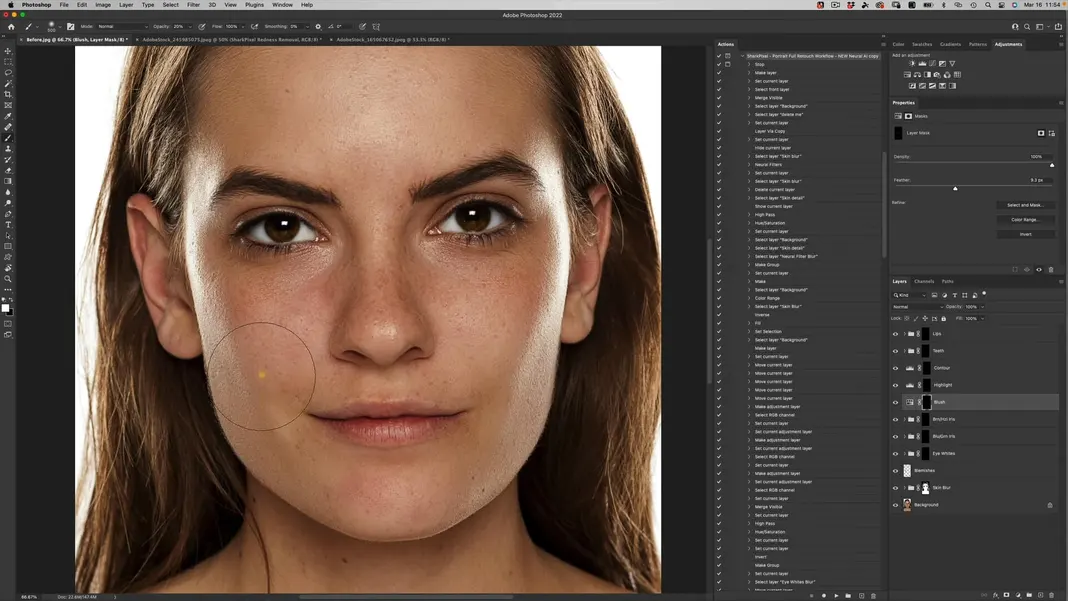
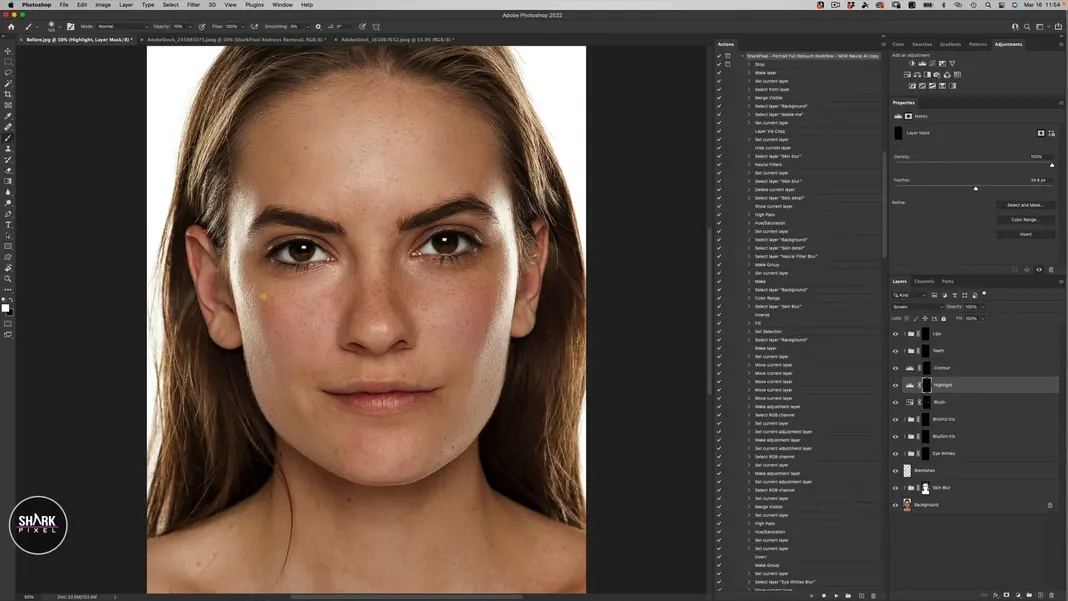
Let’s come to our blush folder activate that we have a slight little opacity 20 percent opacity which is nice. Now, let’s go to our highlights. Let’s decrease our opacity even more. Let’s use an opacity of 10.
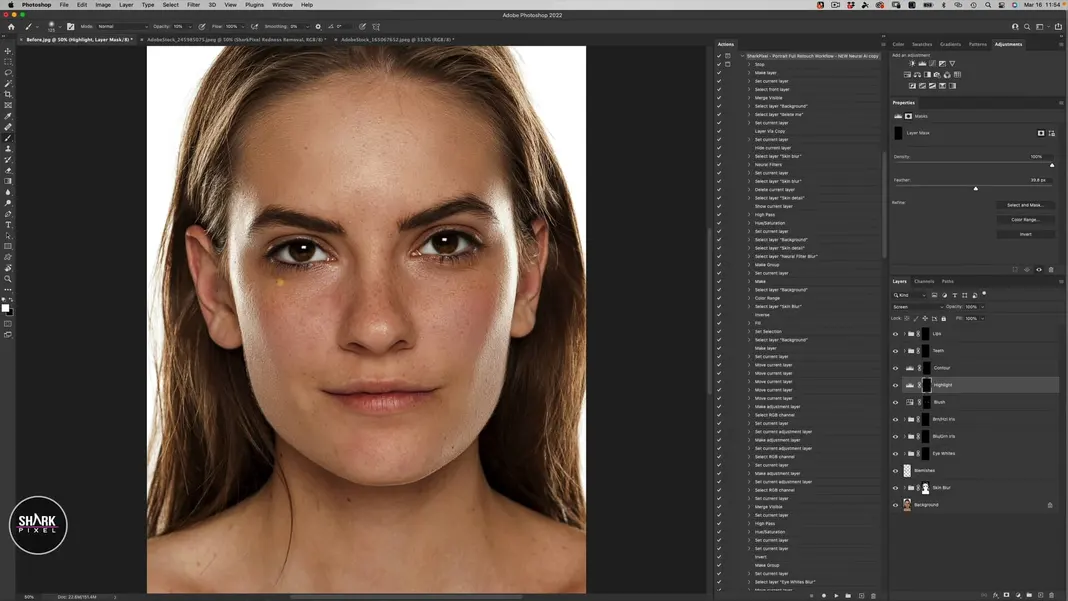
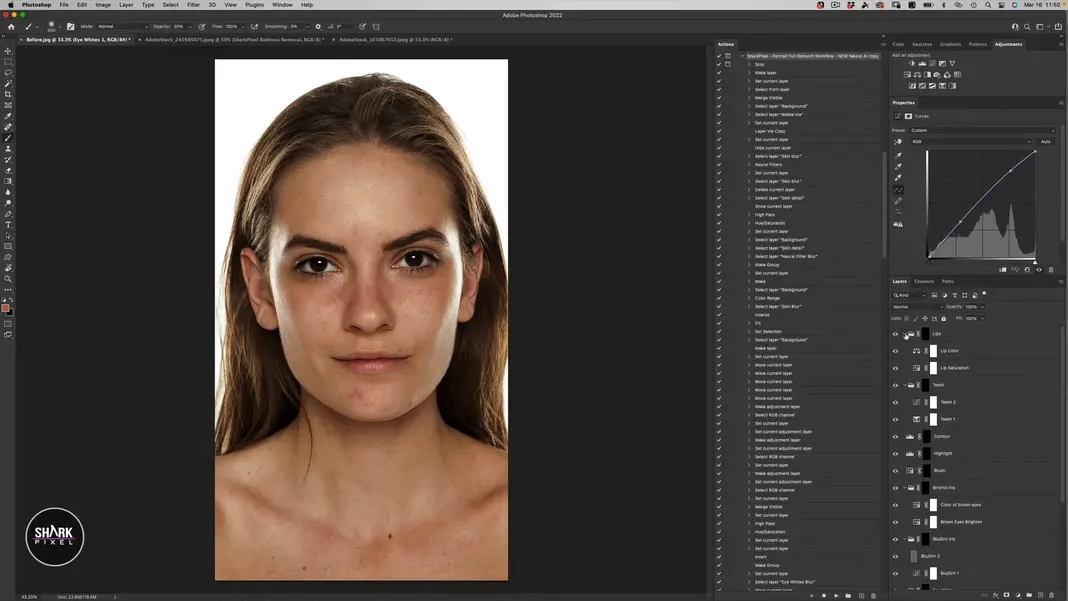
Now, I’m going to brighten up the image. This is my miniature dodge and burn technique in photoshop, which is used to lighten or darken areas of a photo. I’m just brightening up the under-eye areas and maybe a little bit of the bridge of the nose, brightening up that area, the center of the forehead, and maybe a little bit on the chin.
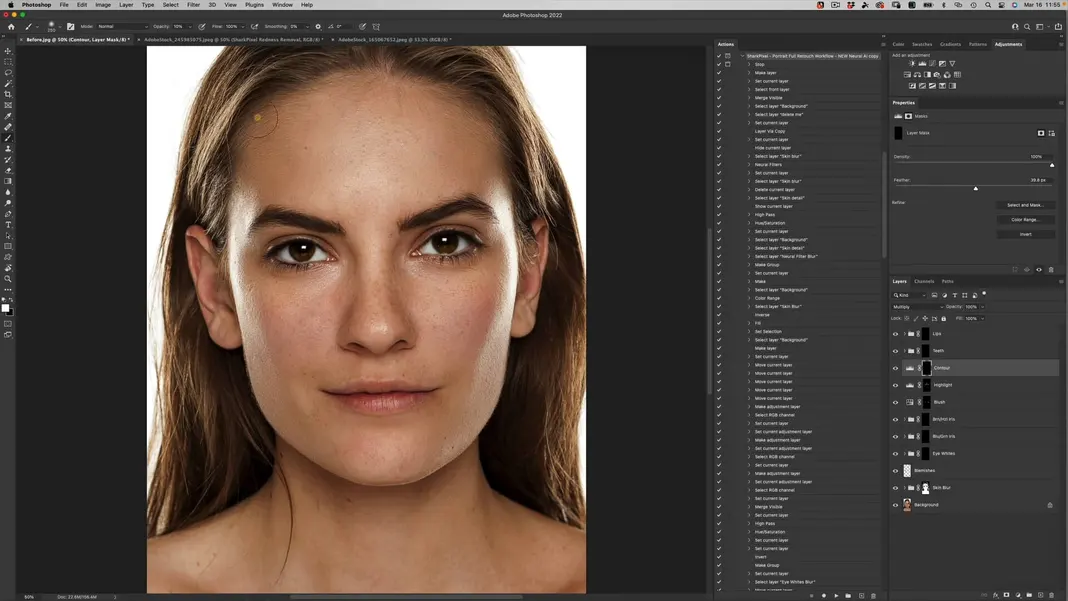
Now I can come over to our contour layer, and we’ll start to contour this face slightly. So, darkening the edges around the face and maybe darkening the nose’s sides, coming in, darkening the jawline gradually to brighten it up a little more.
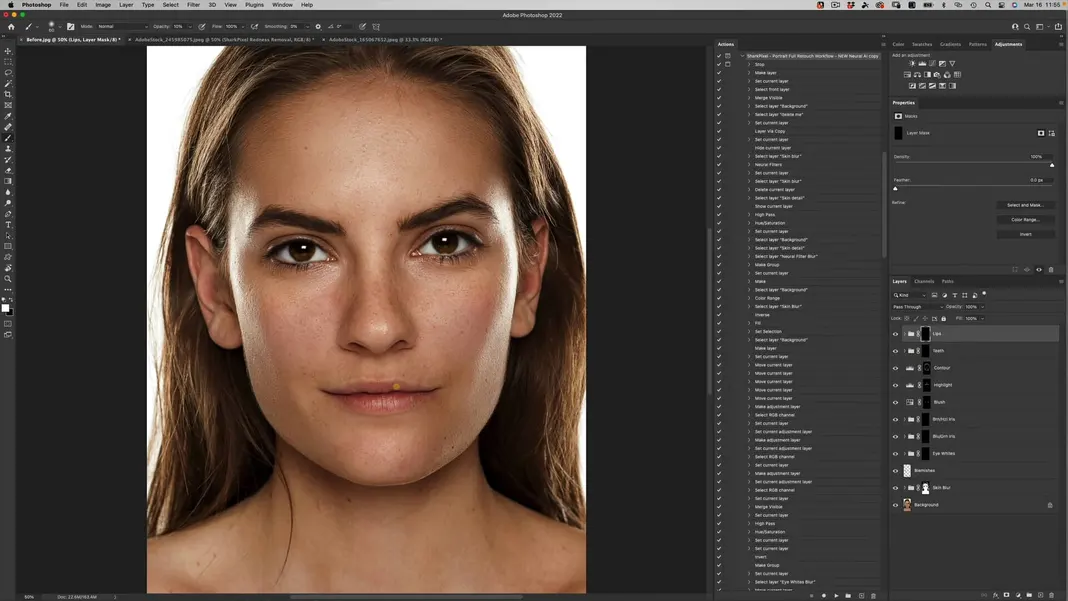
We don’t see teeth in this image, but if we did we would whiten the teeth in the teeth layer. Then lips are the last thing that we’re going to paint today, just painting in a little bit of increased saturation, a little bit of a more pinkish color on the lips, and if I hold down the option or alt and click on our background, you can see what we’ve been able to do in quite a short period.
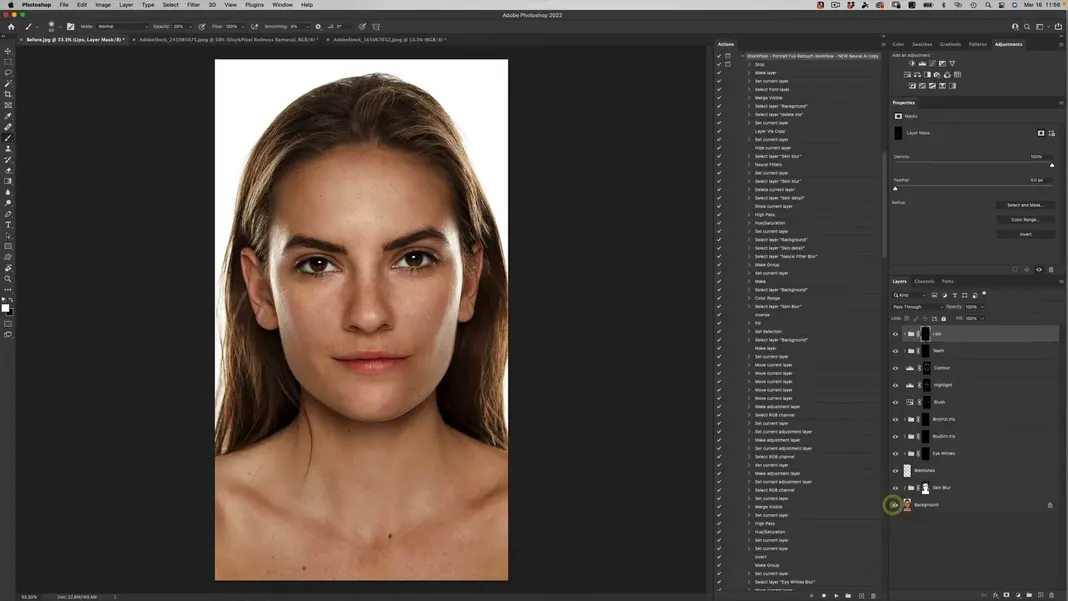
Because we put not just Photoshop to good use but also those AI filters, we were able to make some really significant changes. We significantly reduced the time it takes to retouch a portrait because all the grunt work was done for you using this action. This step reduces 250 manual tasks to one click.
So, that’s why I truly believe that this specific action should be in every portrait photographer’s photoshop, whether you photograph babies, high school seniors, models, or corporate portraits.

This Photoshop action can greatly help you, download it from here. In order to keep you updated also subscribe to my youtube channel and click the bell icon in order to get notified when I come out with another video covering something new and exciting to teach you.
See you in the next video.