
Overview
In this tutorial, you’ll learn how to create a double exposure effect in Photoshop using two images – a portrait and a nature scene. After following these steps, you’ll get a great final result that looks like this:
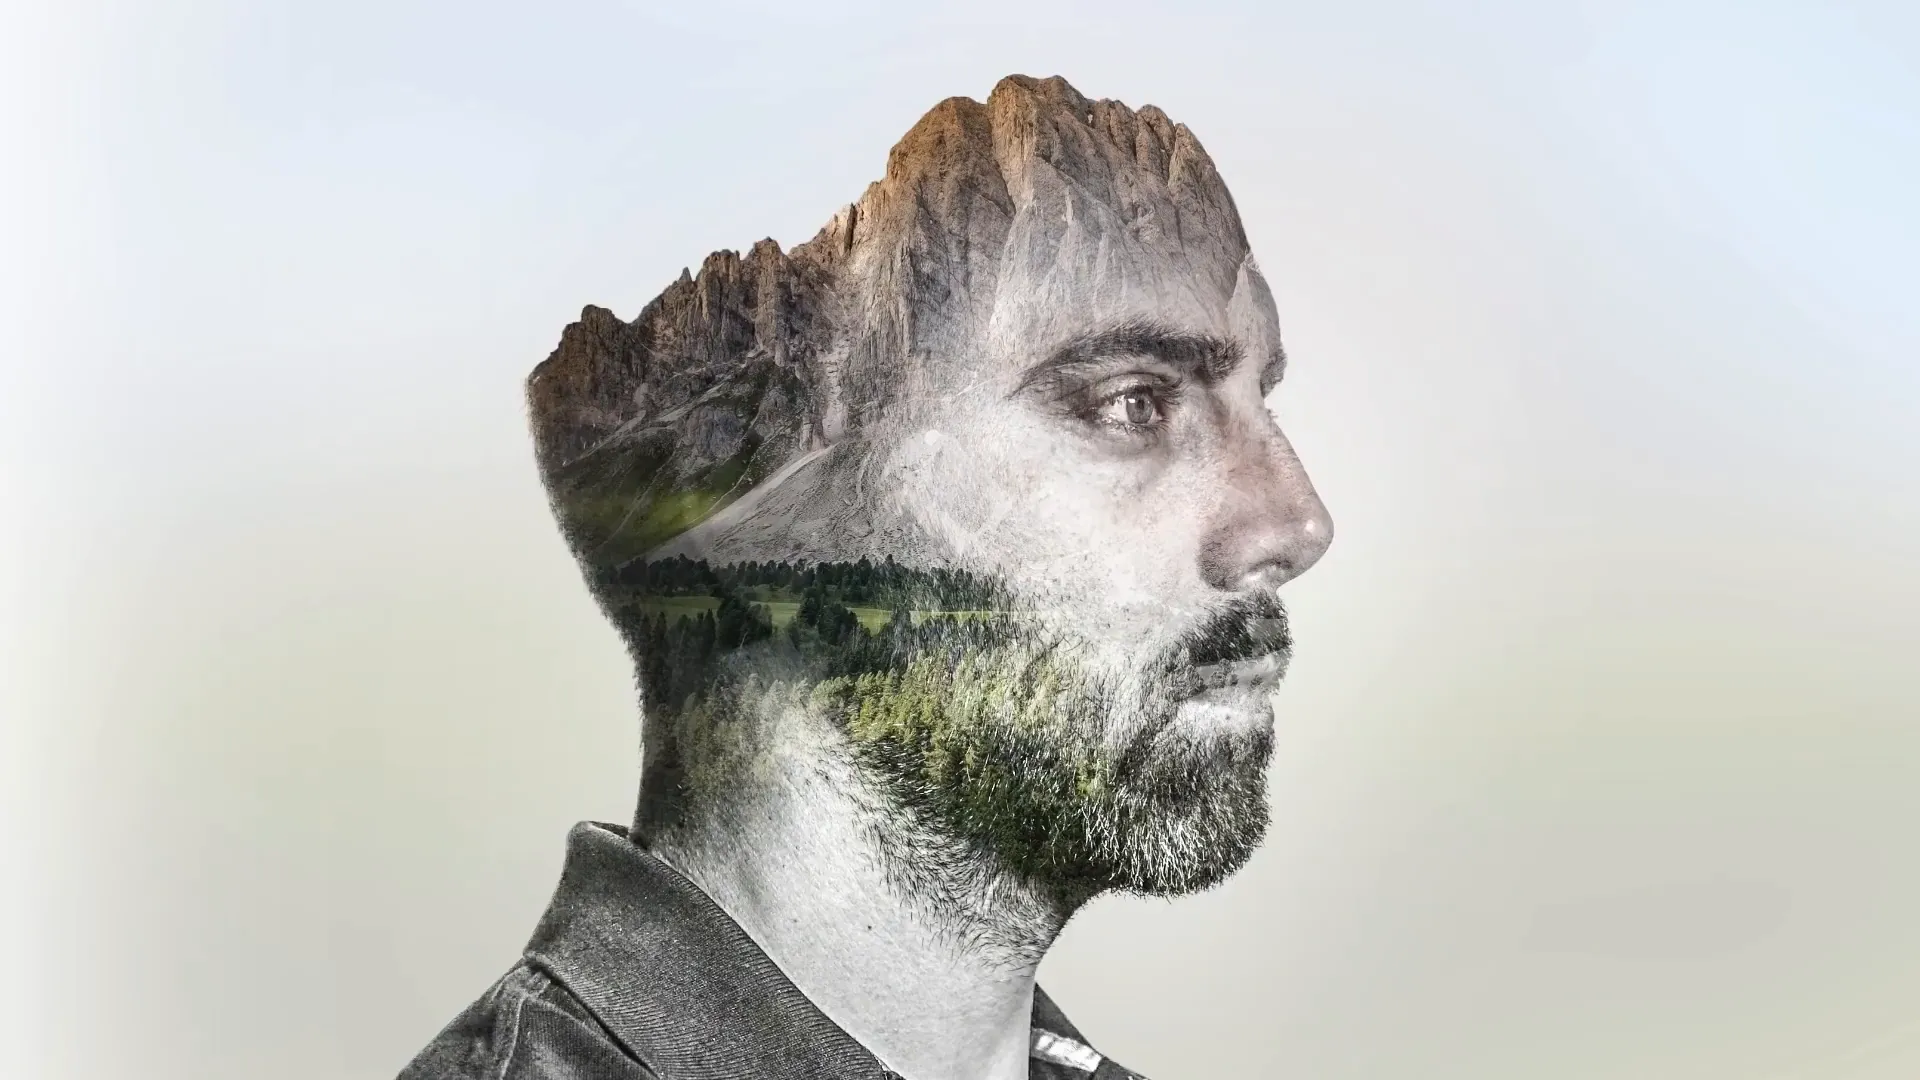
By combining the below Portrait image with a Landscape image into a double exposure.
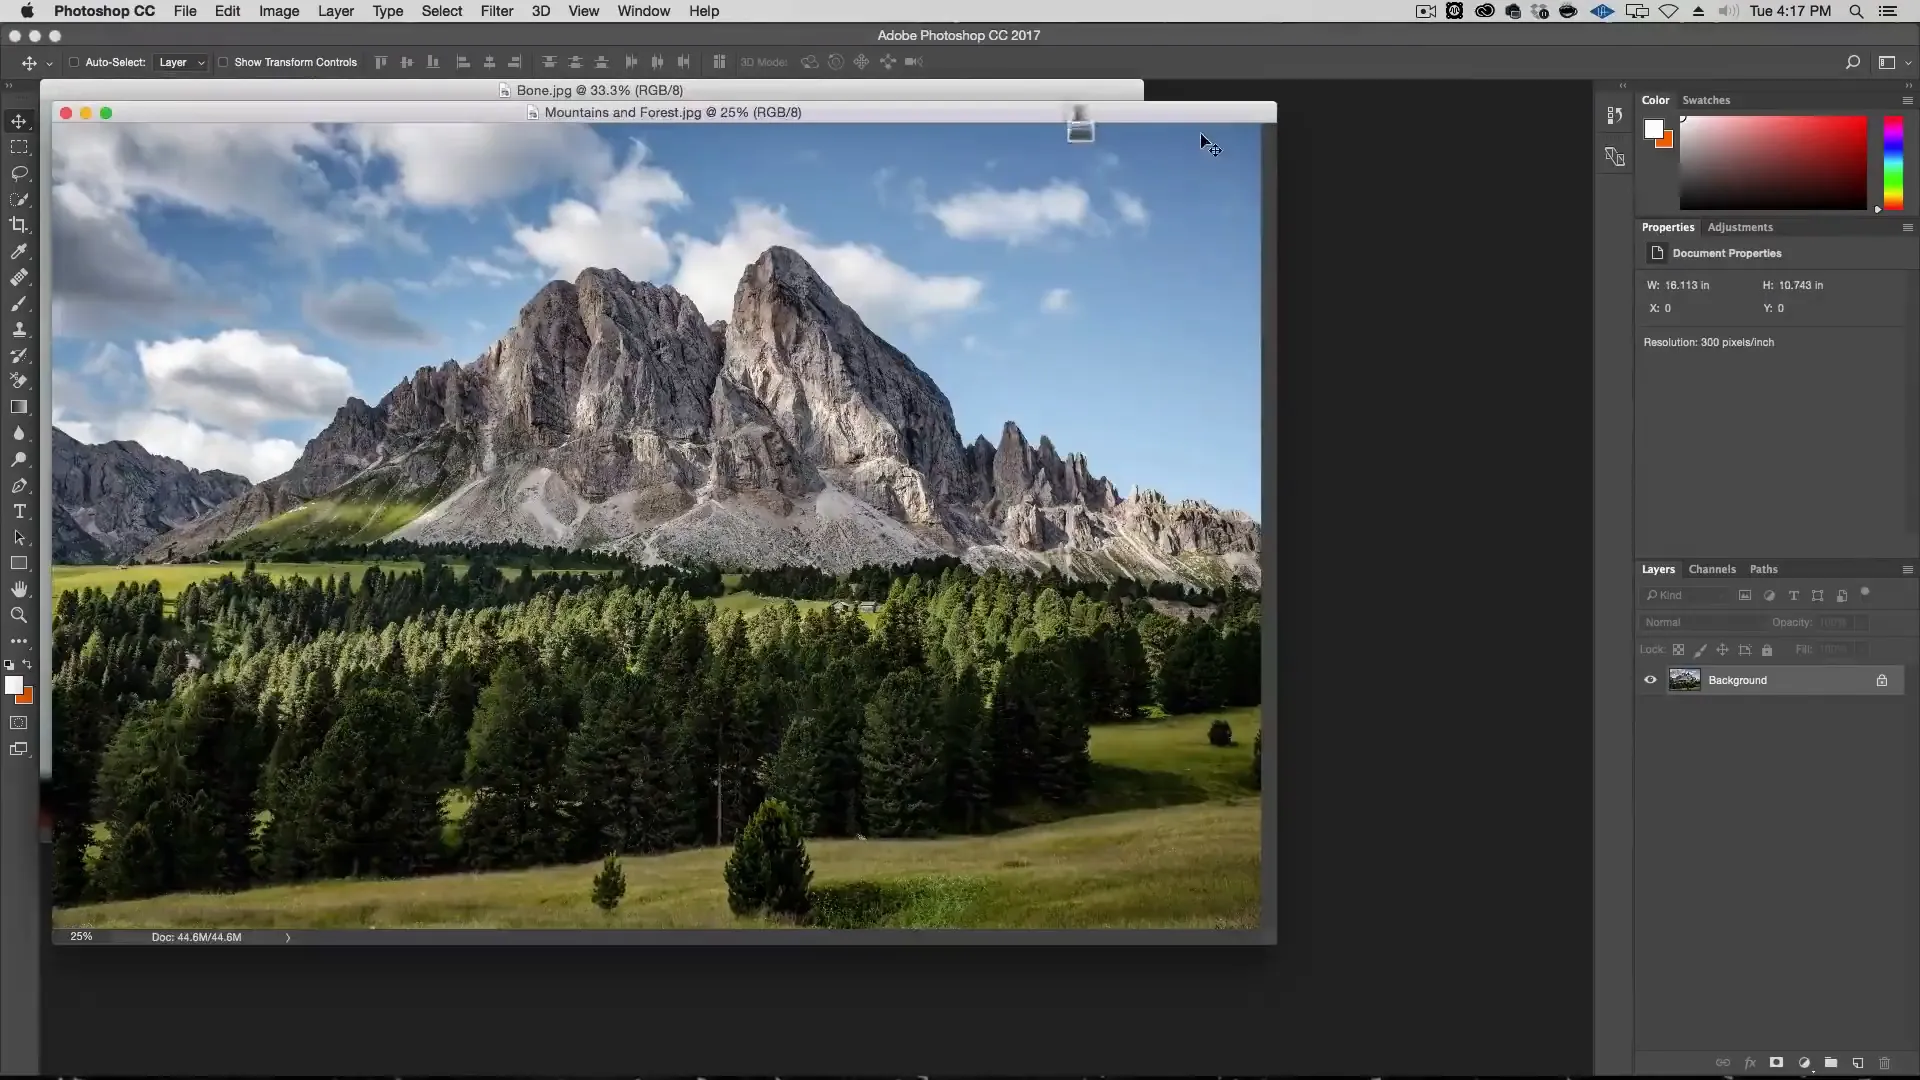
This is the Landscape image we are going to use.
To get started download the image files below so you can follow along.
Step 1: Prepare the images
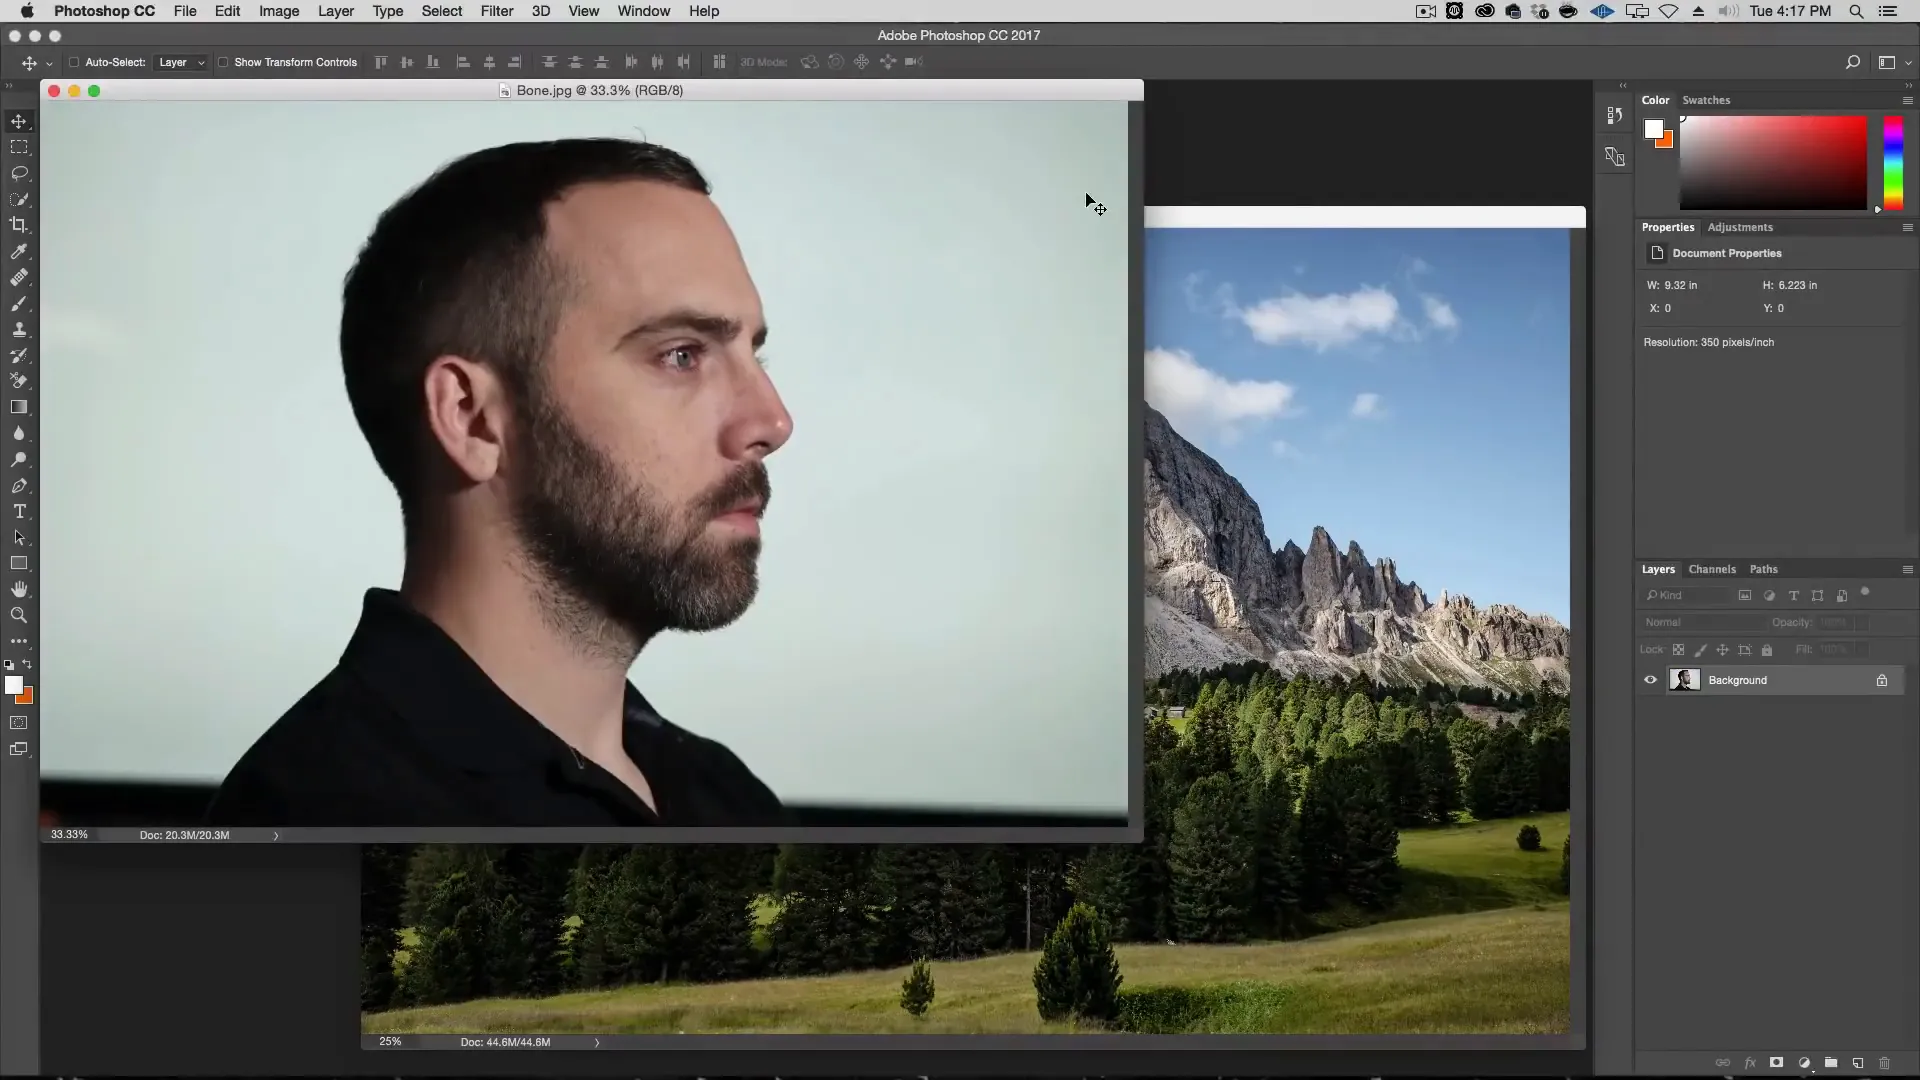
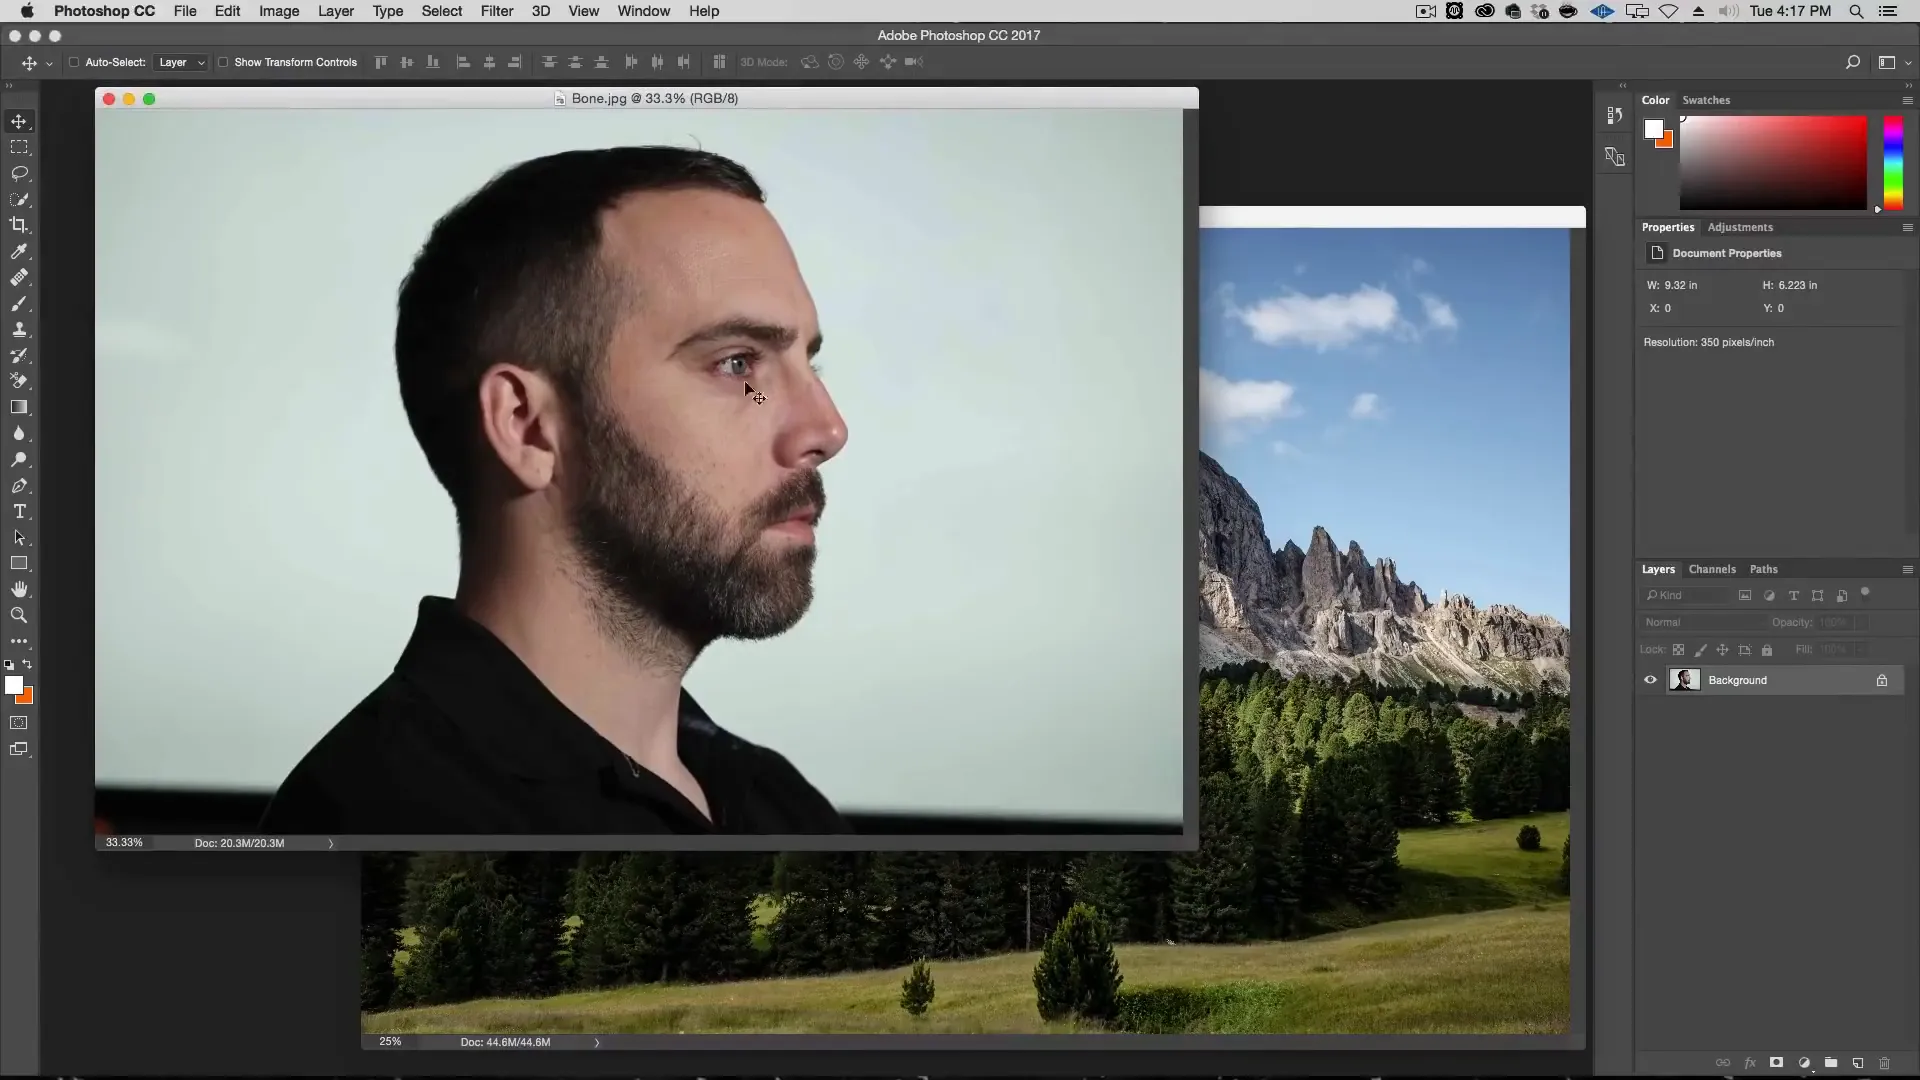
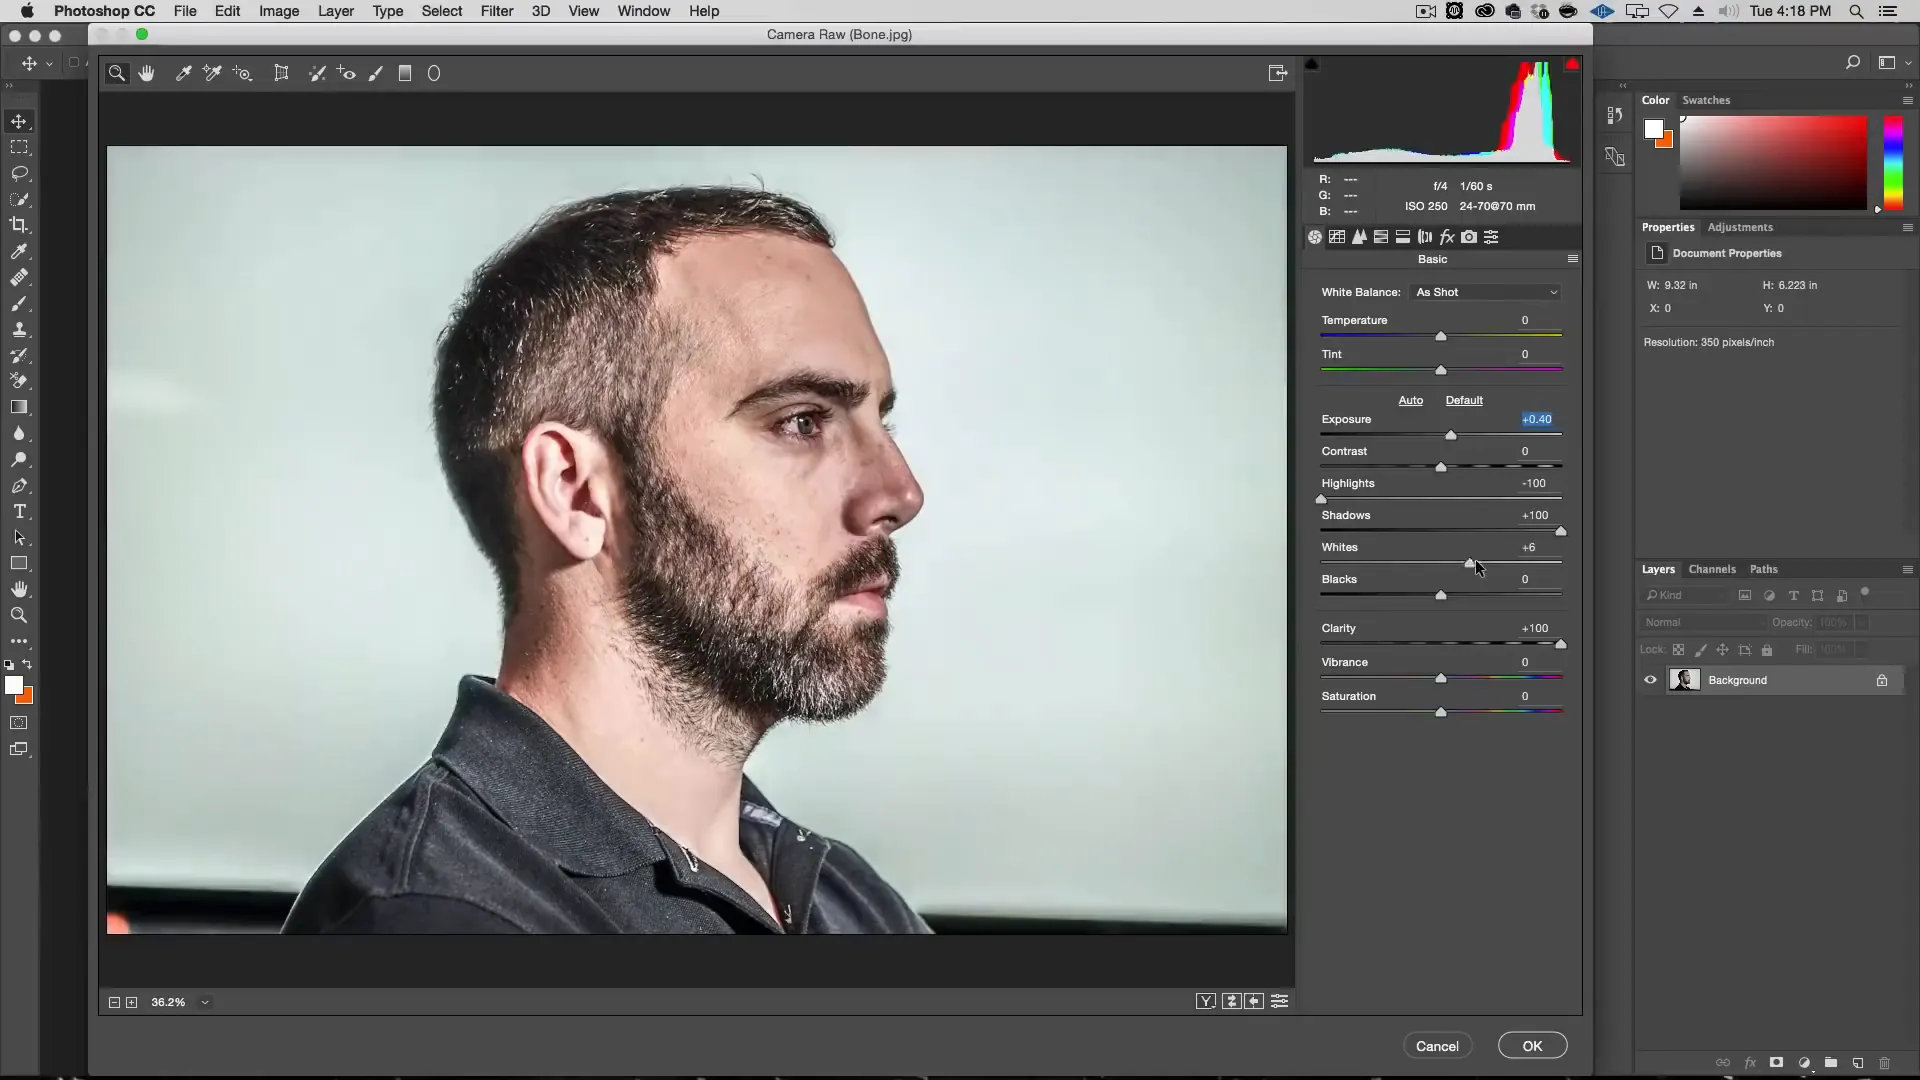
First, open the portrait and nature images in Photoshop. For this tutorial, we’re using a profile portrait, as it works much better for this effect due to the details in the outline.
Next, we’ll add a bit more detail to the portrait image by using Camera Raw Filter. Open the filter and increase the clarity, open up the shadows, bring down the highlights, and slightly overexpose the image. This will give it an HDR-like appearance. Rename the layer to “Subject”.
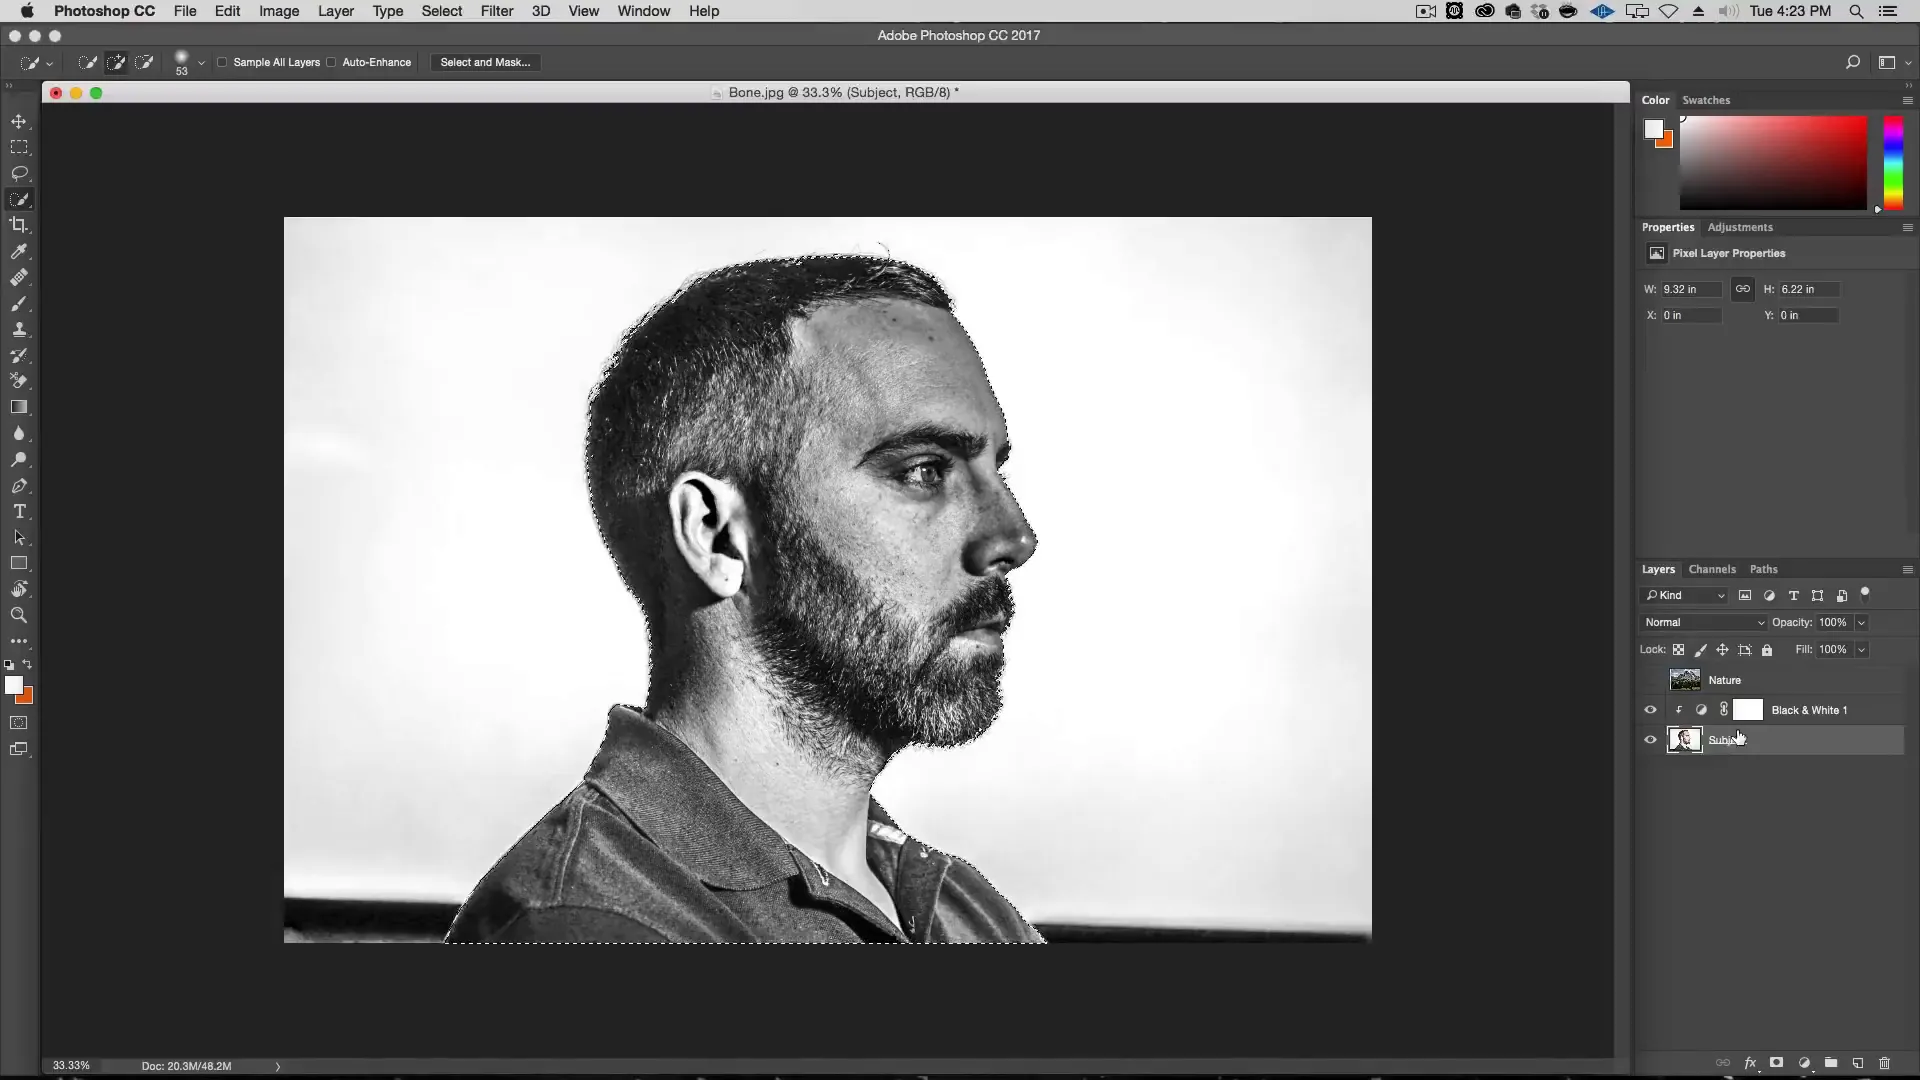
Now, convert the portrait image to black and white by adding a Black & White adjustment layer.
Use the “High Contrast Blue Filter” preset, and create a Clipping Mask so that the black and white effect only applies to the “Subject” layer.
Step 2: Import the nature image and create a screen overlay
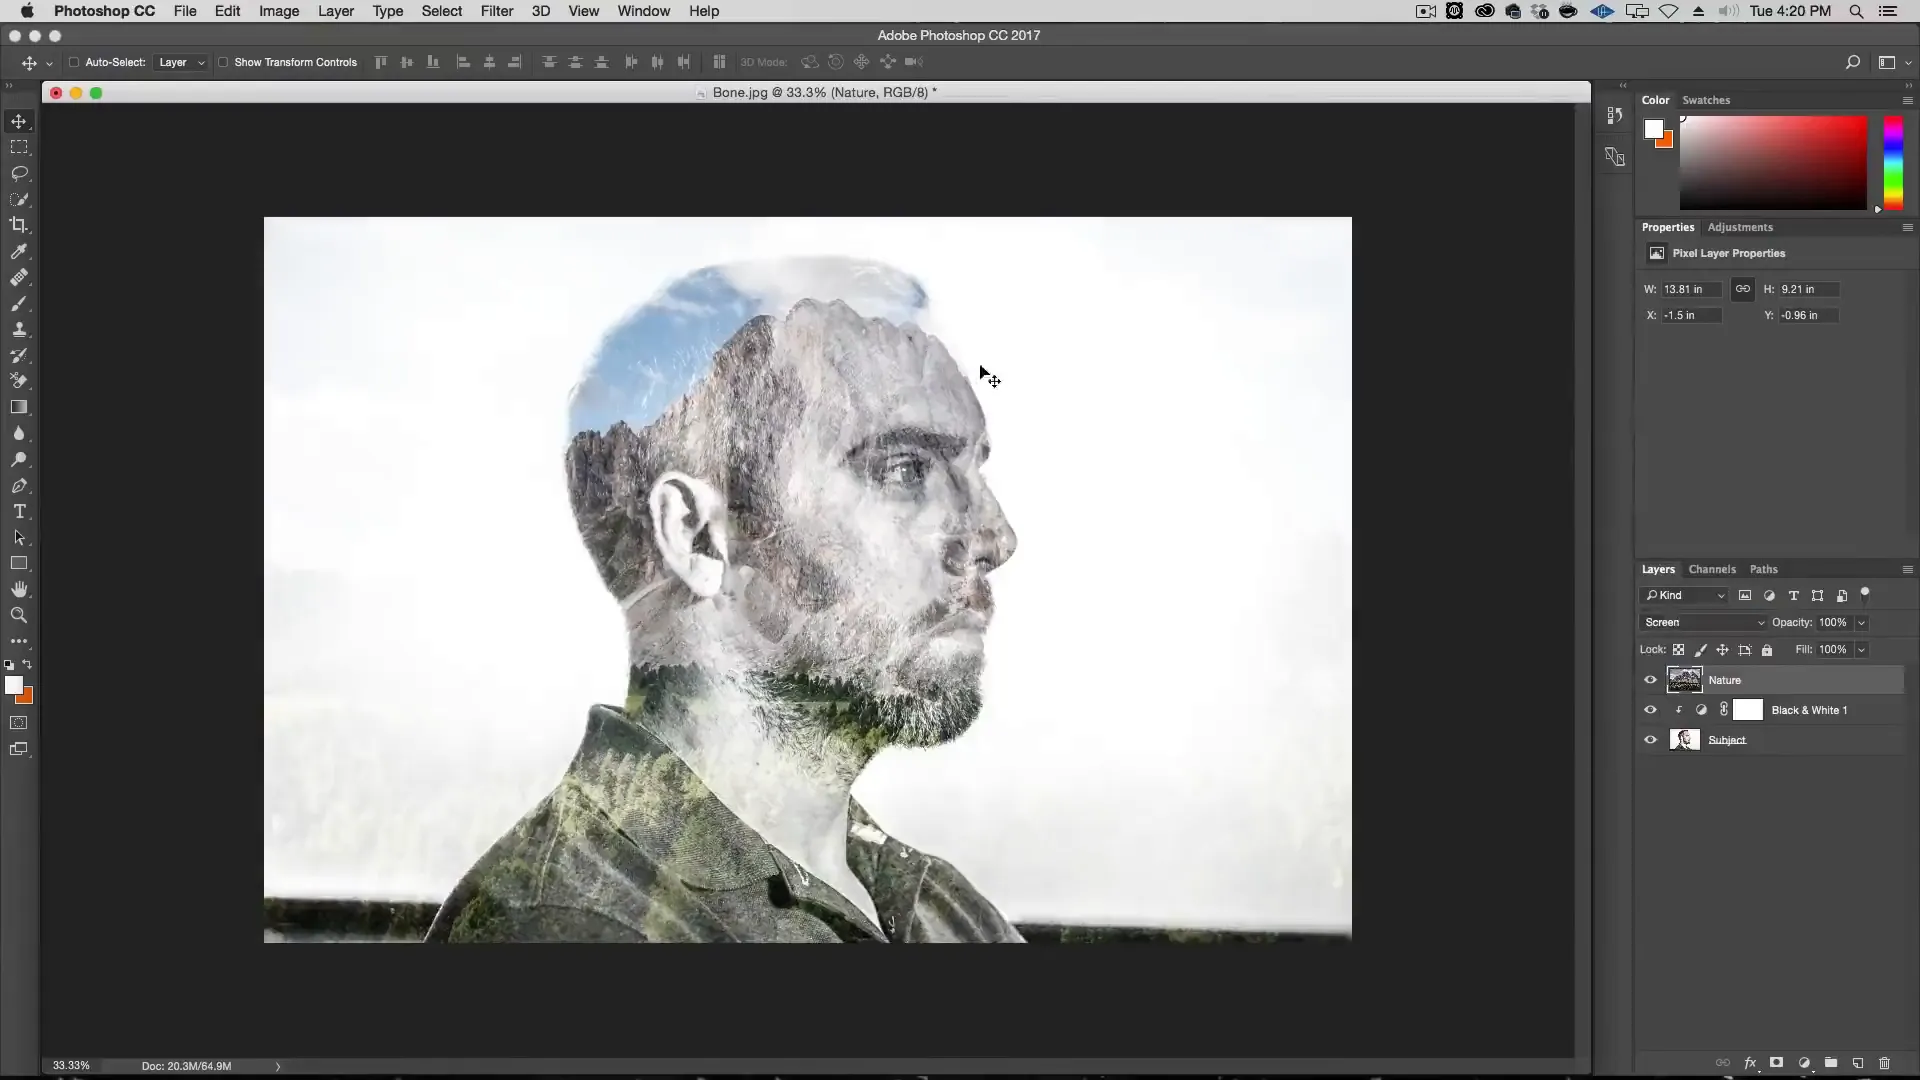
Drag the nature image into your Photoshop project above the black and white adjustment layer. Rename the layer to “Nature” and set its blending mode to “Screen”. Now, you can position it over your portrait to create the double exposure effect.
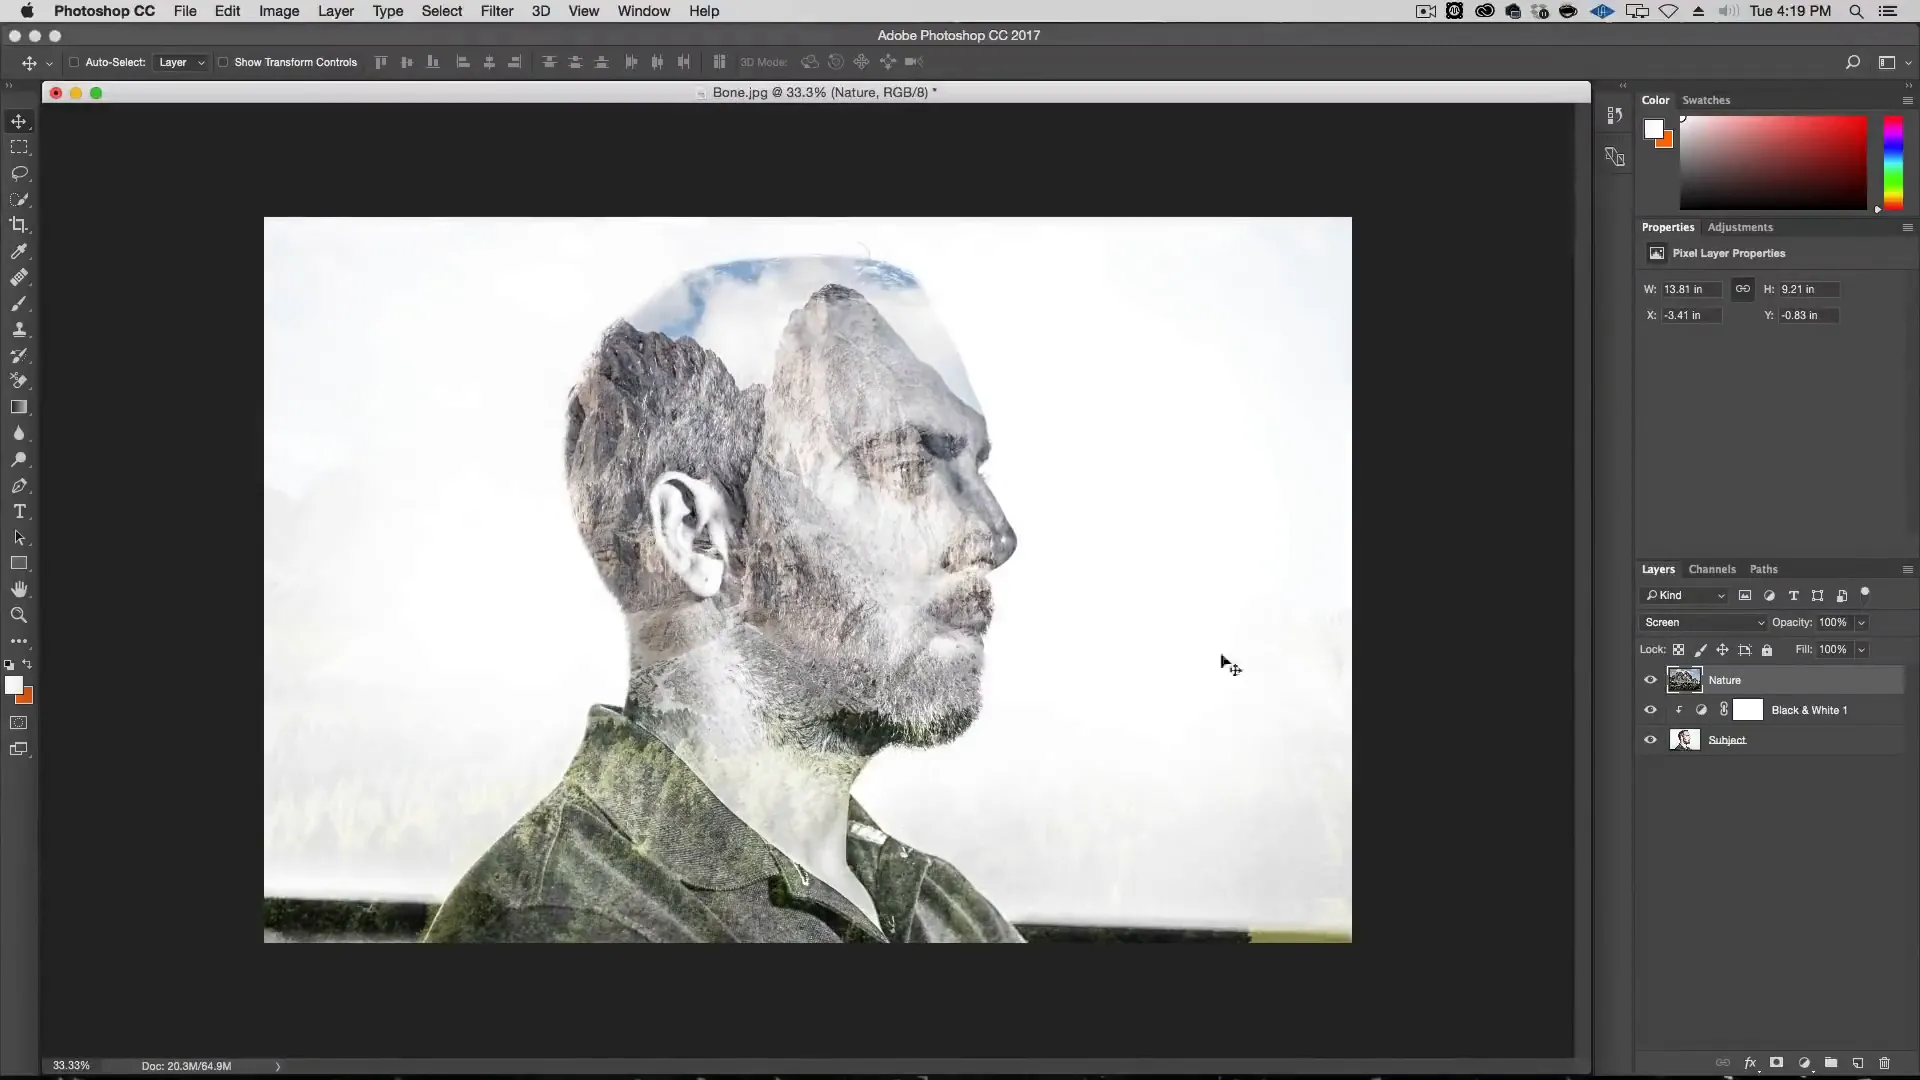
To align the images, temporarily set the Nature layer’s blending mode to “Multiply” and lower its opacity. This will allow you to see both images as you move and resize the nature image to fit the portrait.
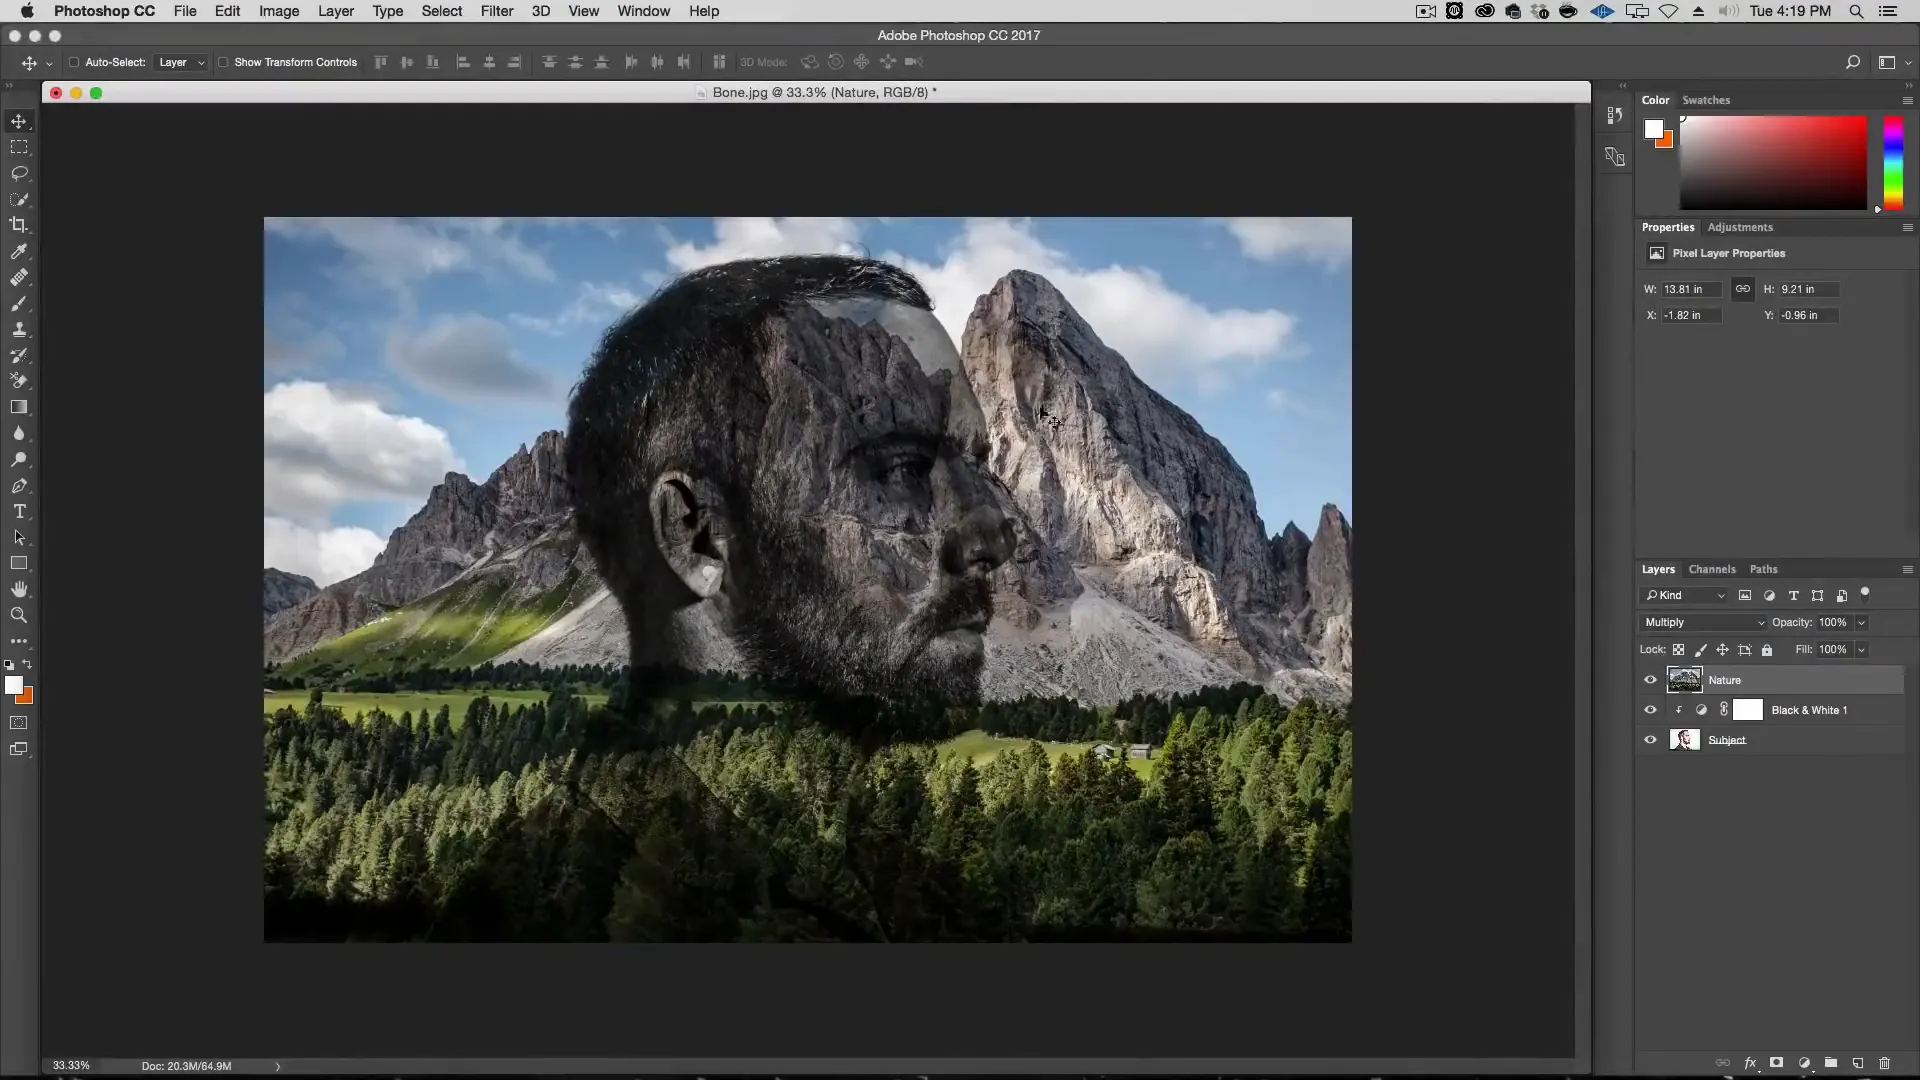
Once you’ve positioned the nature image, return its blending mode to “Screen” and set its opacity back to 100%.
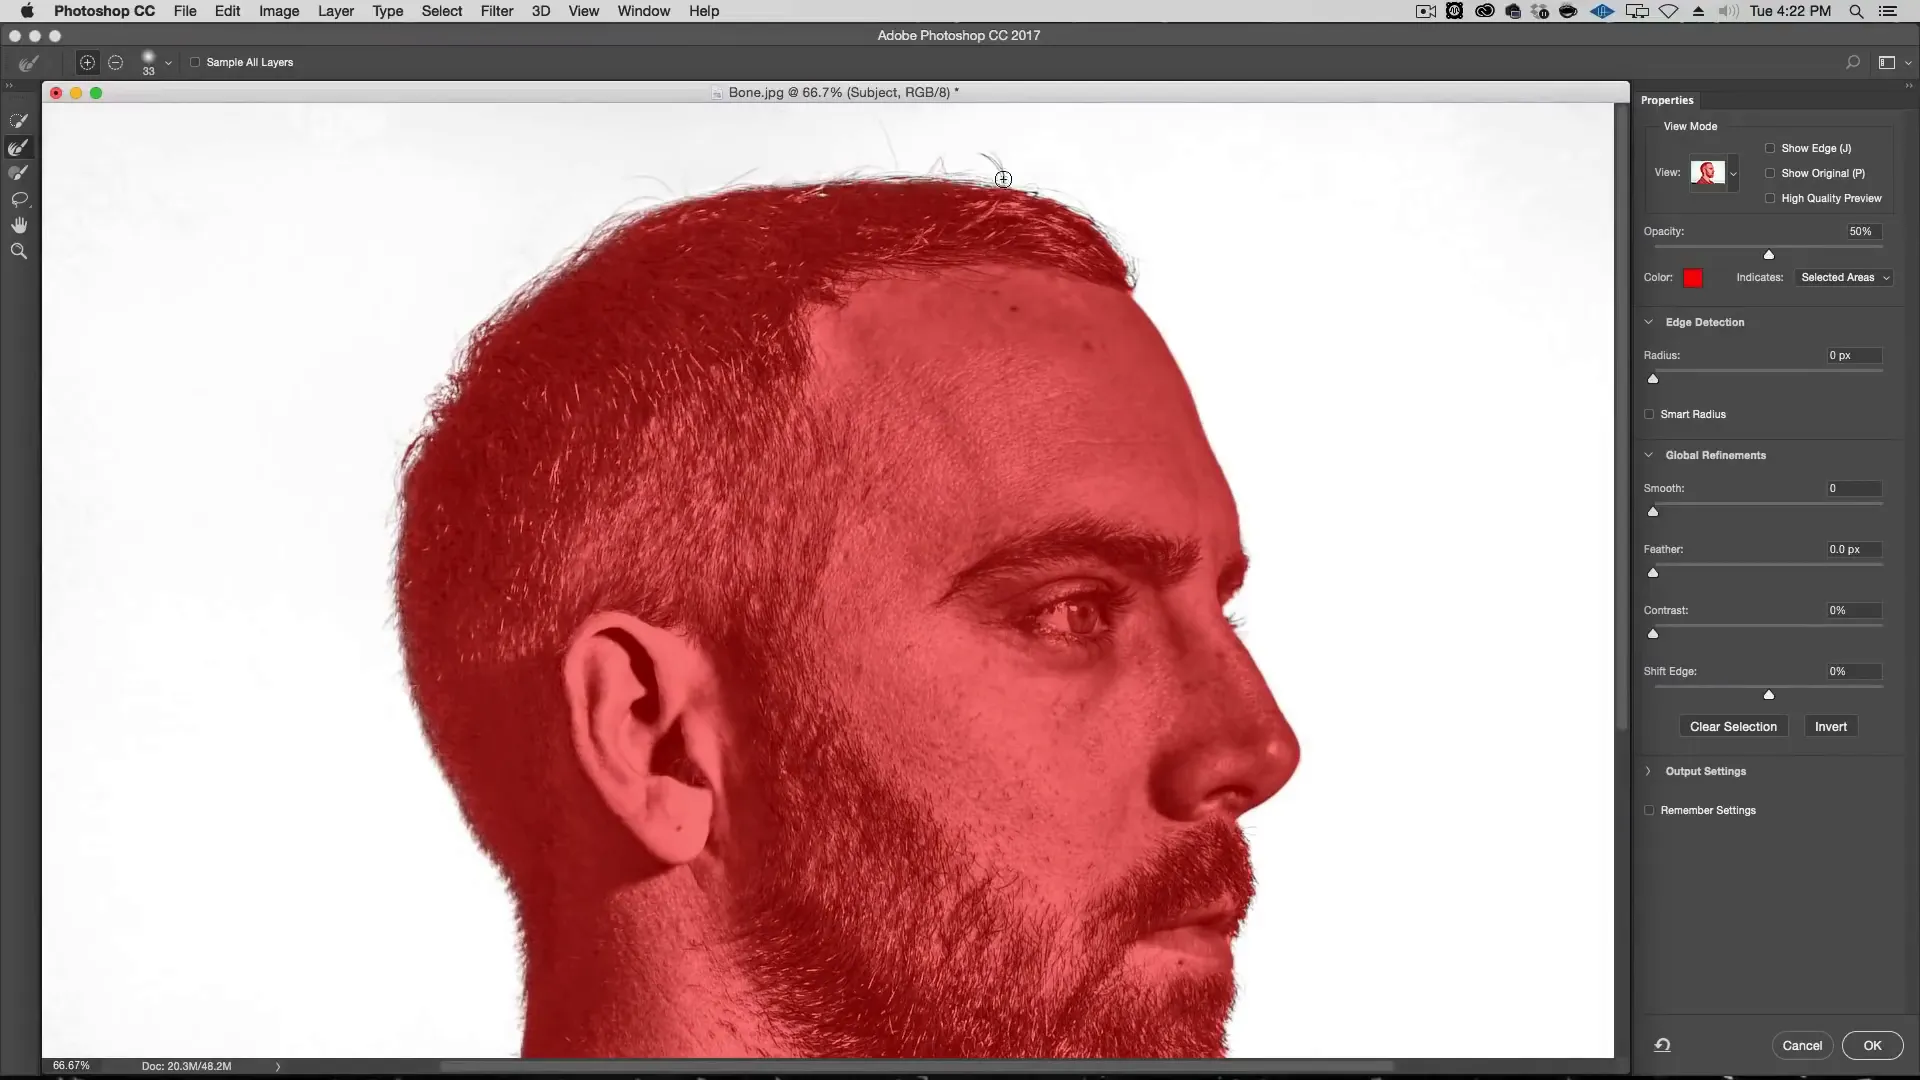
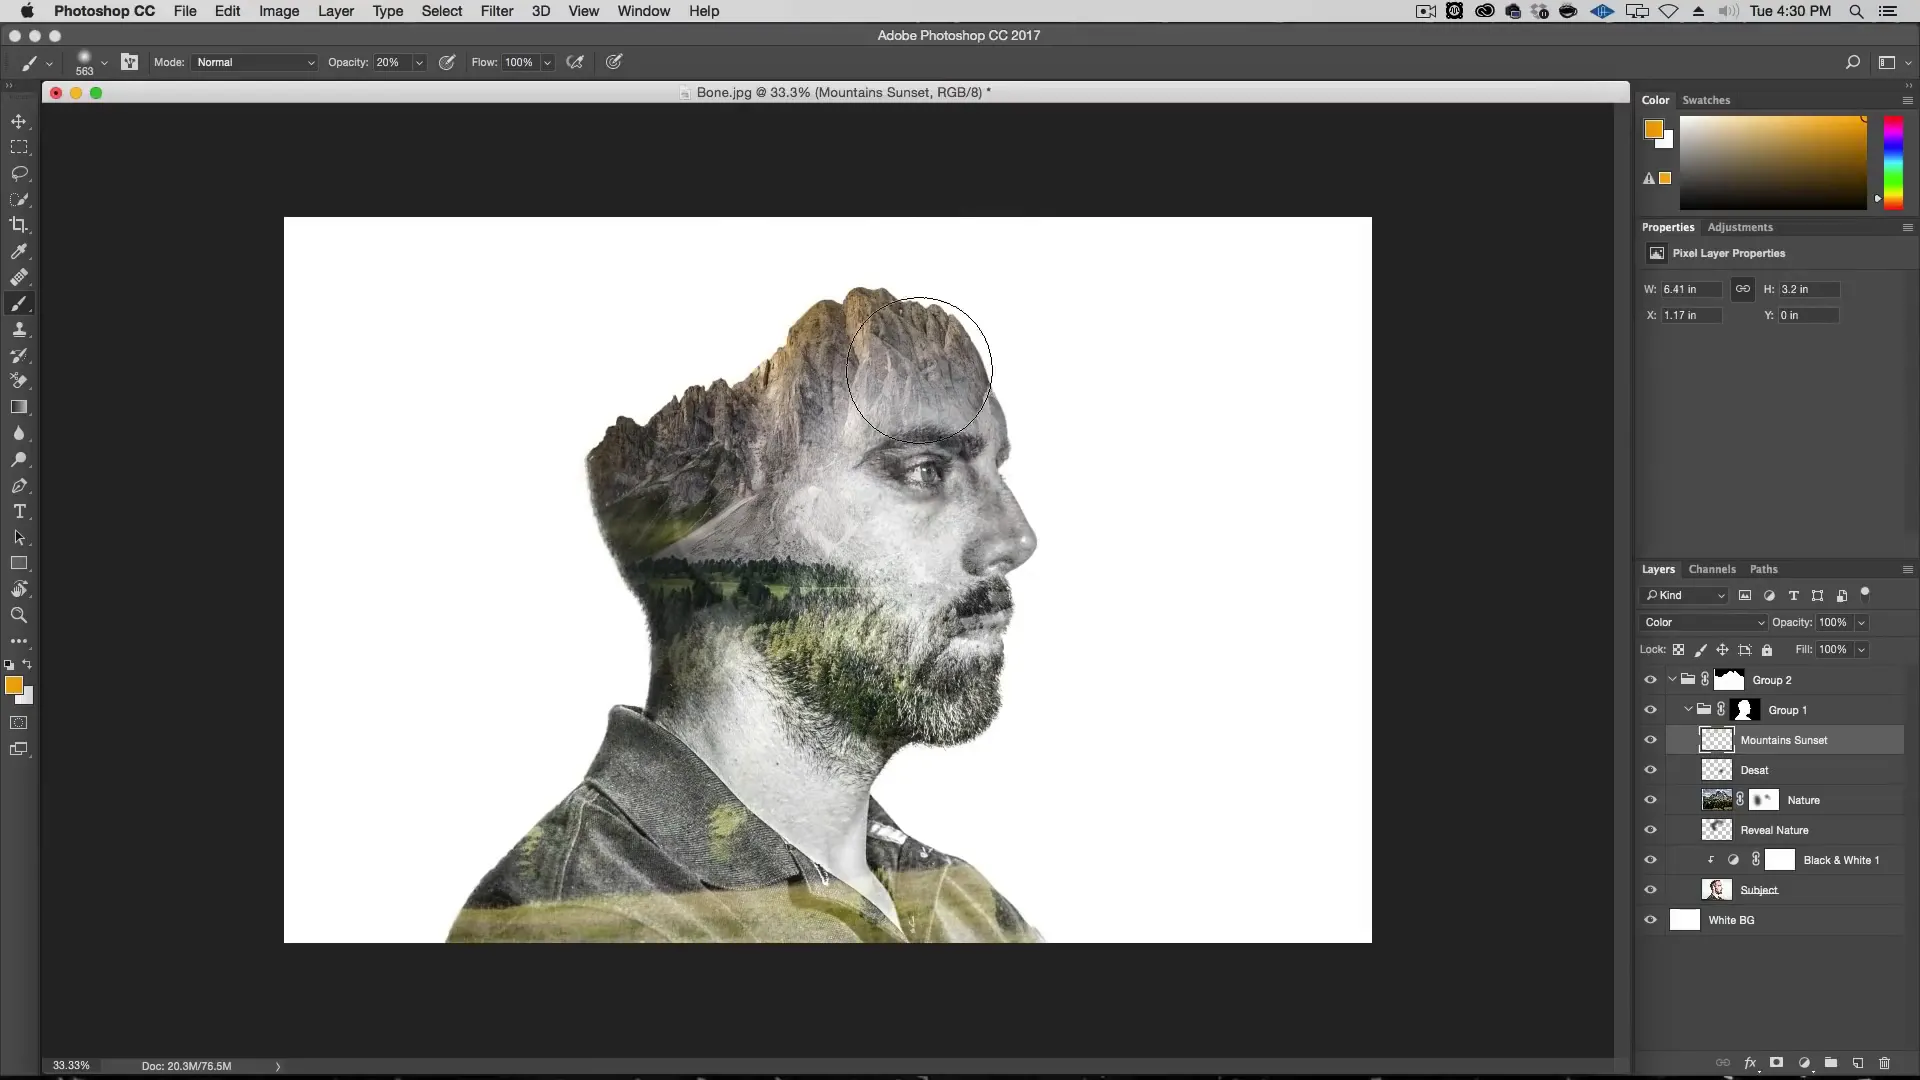
Step 3: Create masks for the subject and nature images
To create masks for both images, we’ll use the Quick Selection Tool. Begin by selecting the subject image, create the mask, and refine the selection using the “Select and Mask” feature. Next, create a group, add the mask to the group, and place both subject and black & white adjustment layers inside it.
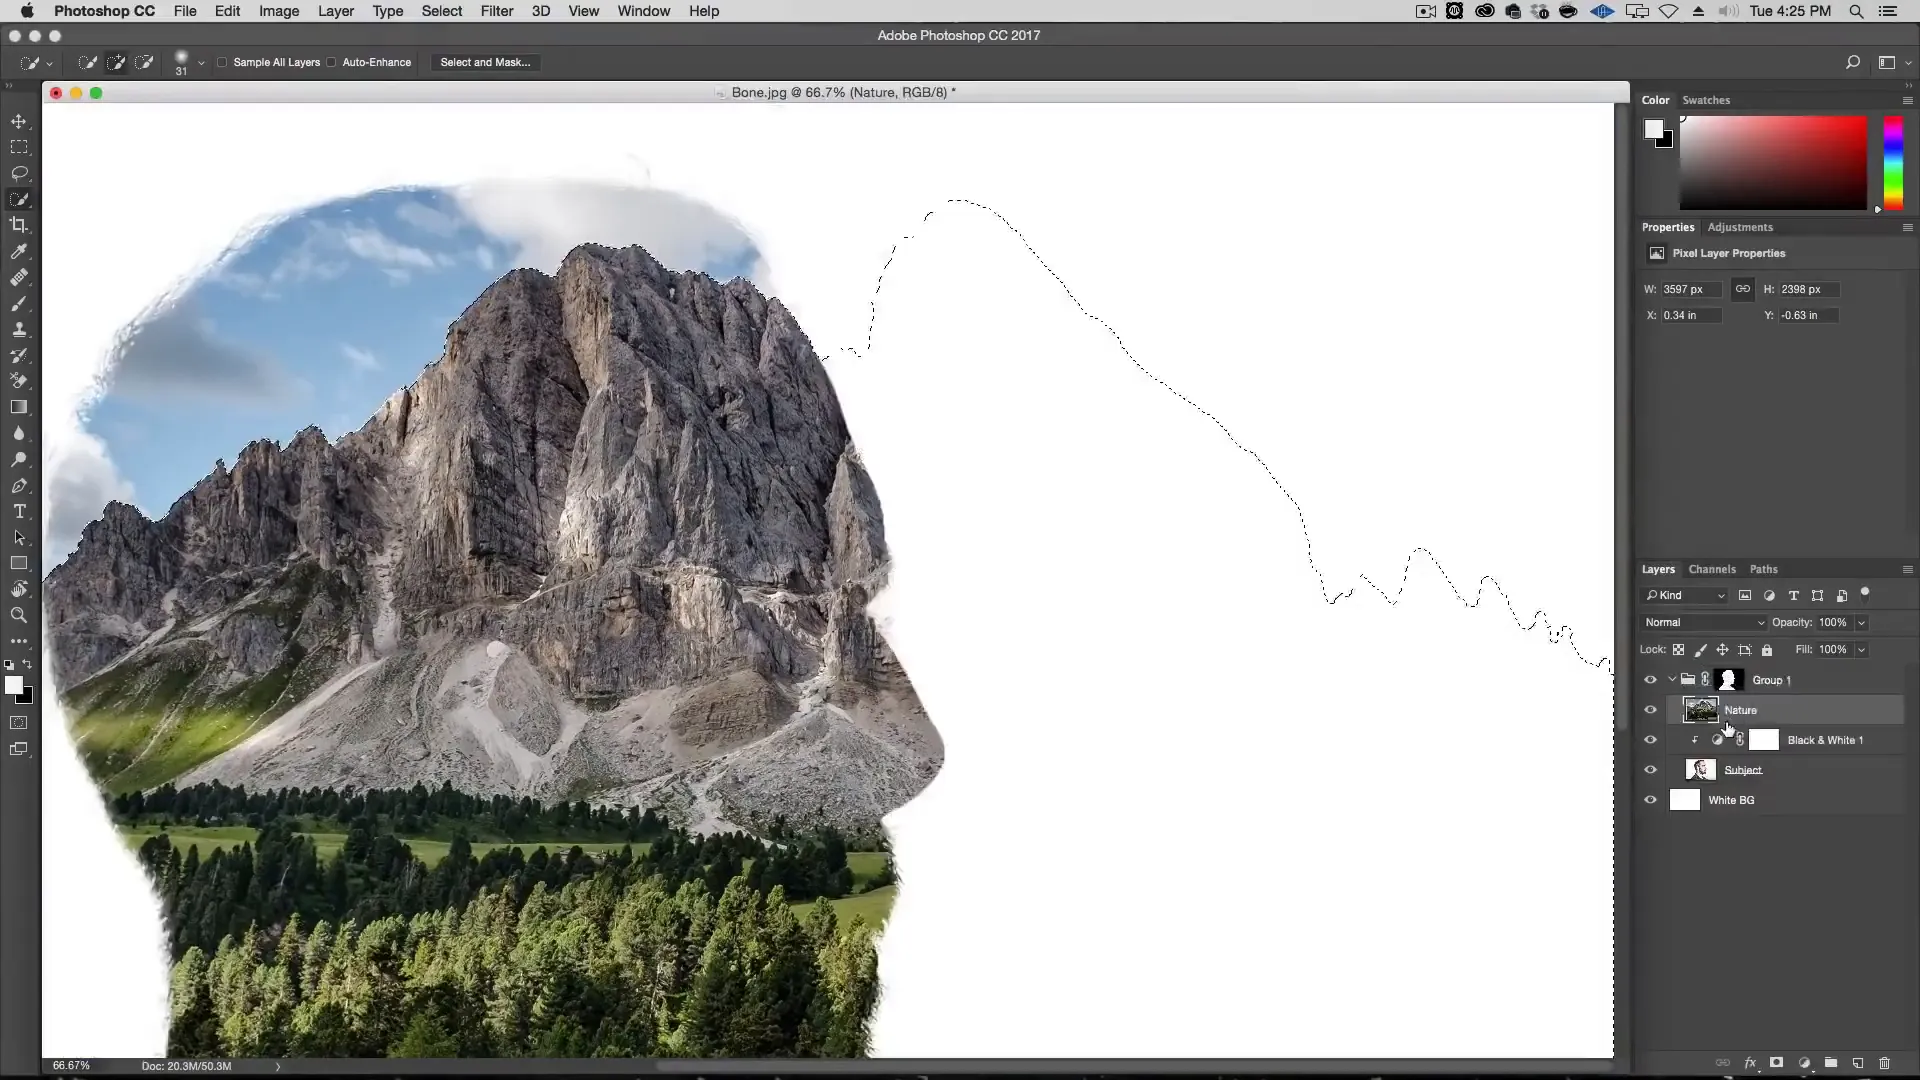
Repeat the process for the nature image. To avoid affecting the subject’s mask, create another group with the nature image and add a new layer mask.
Step 4: Reveal and hide parts of the images
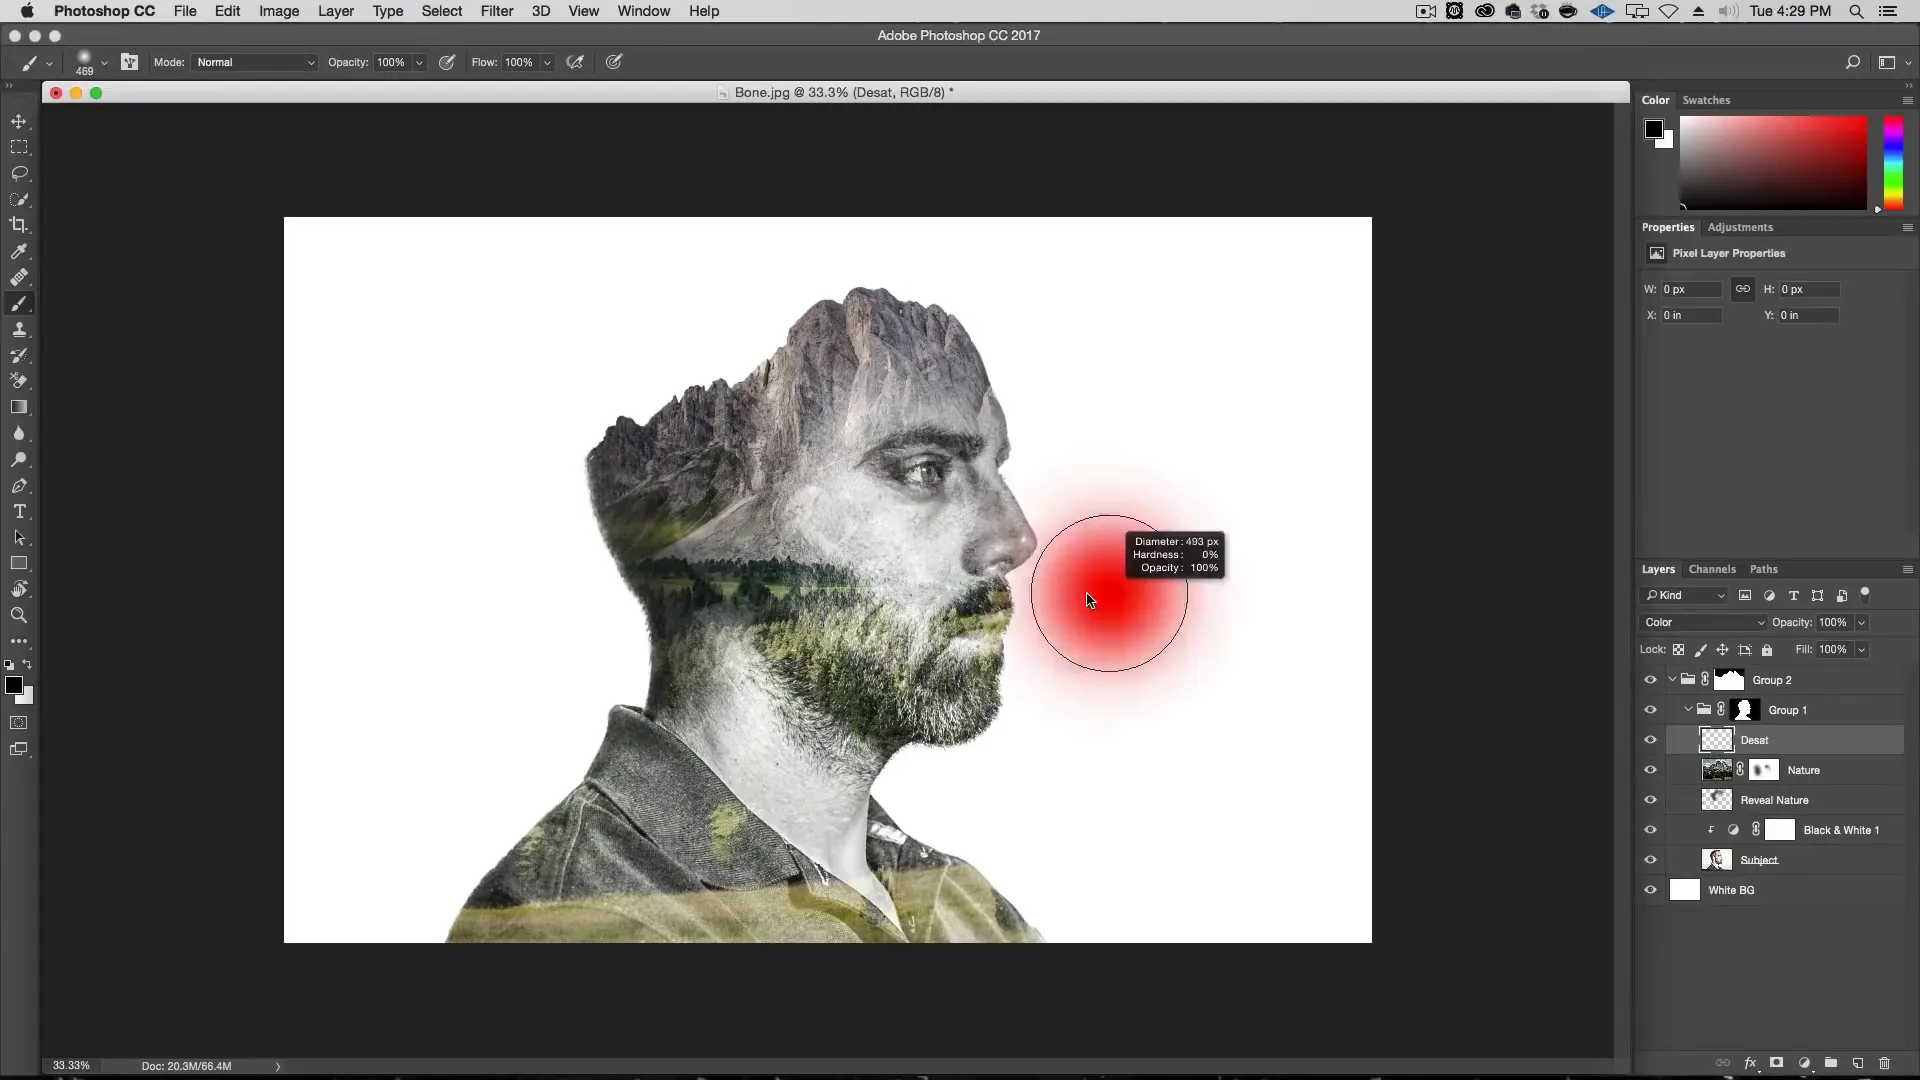
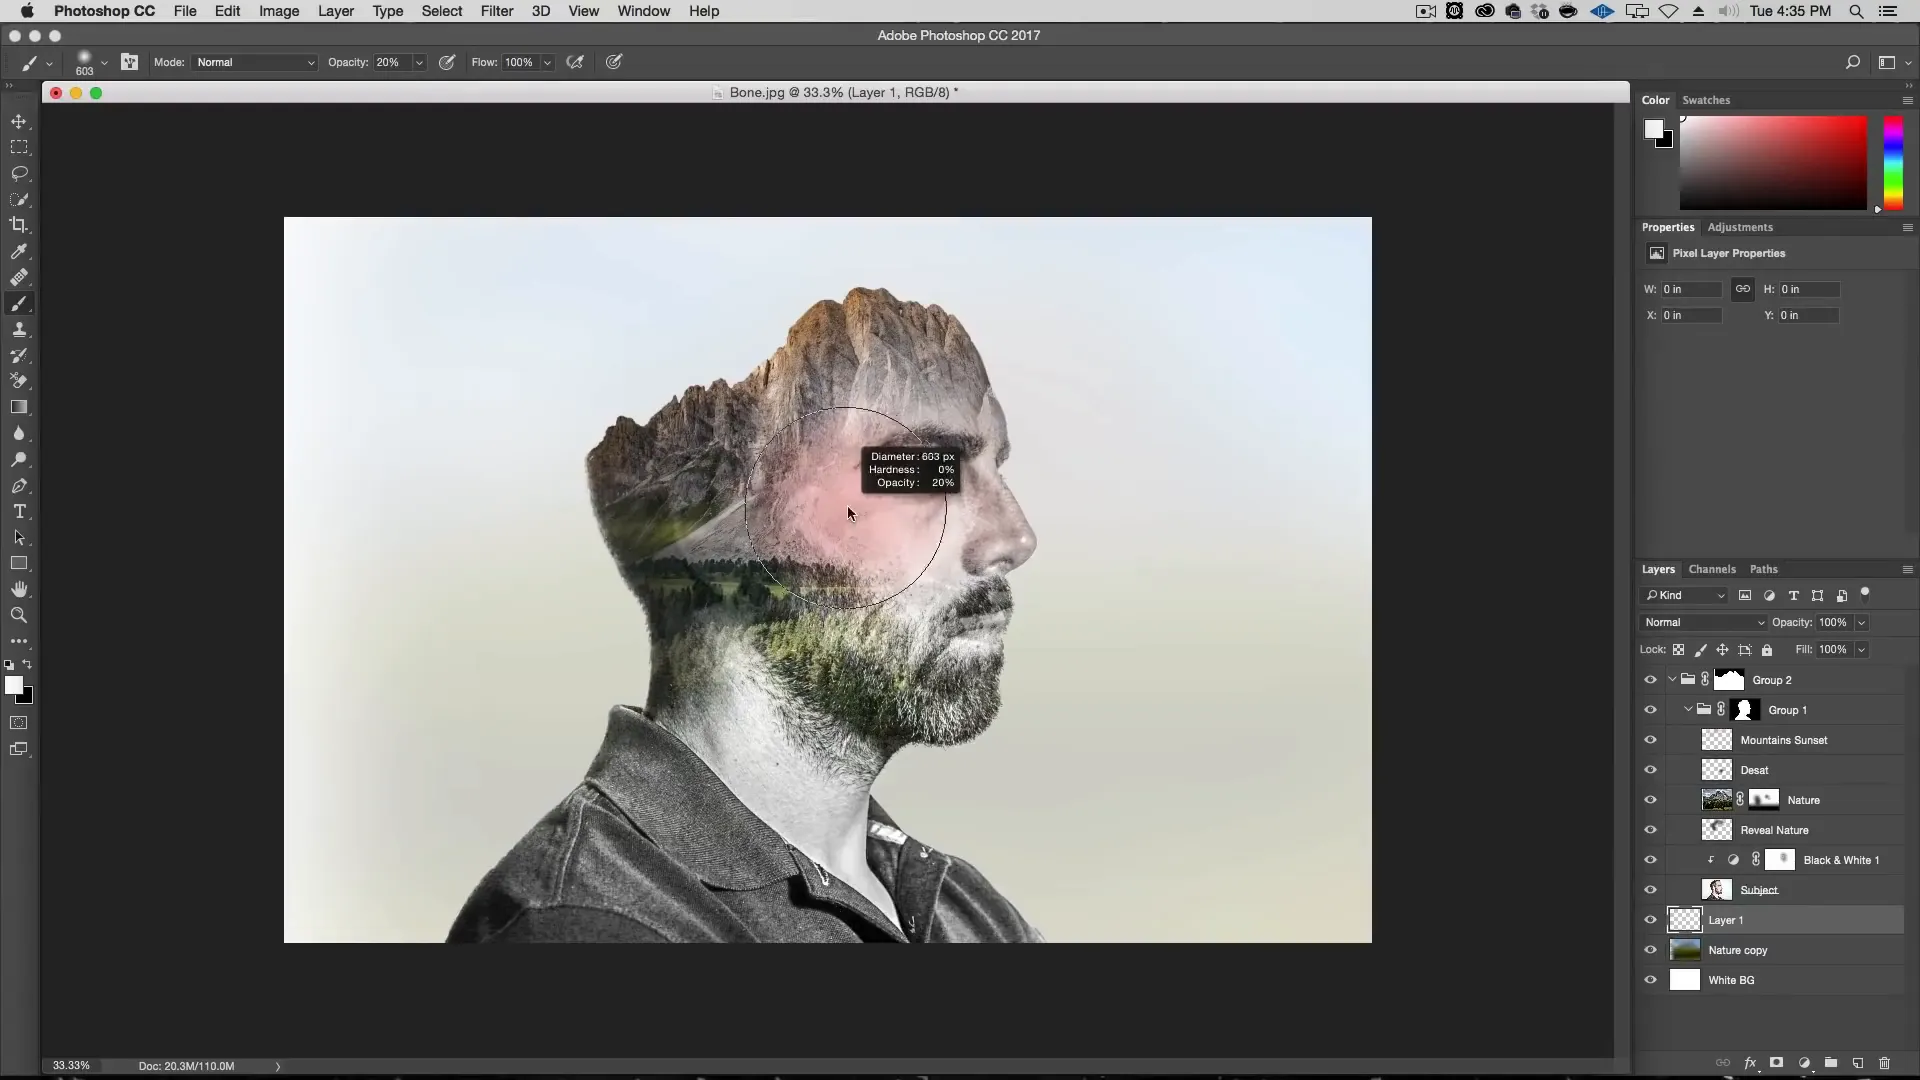
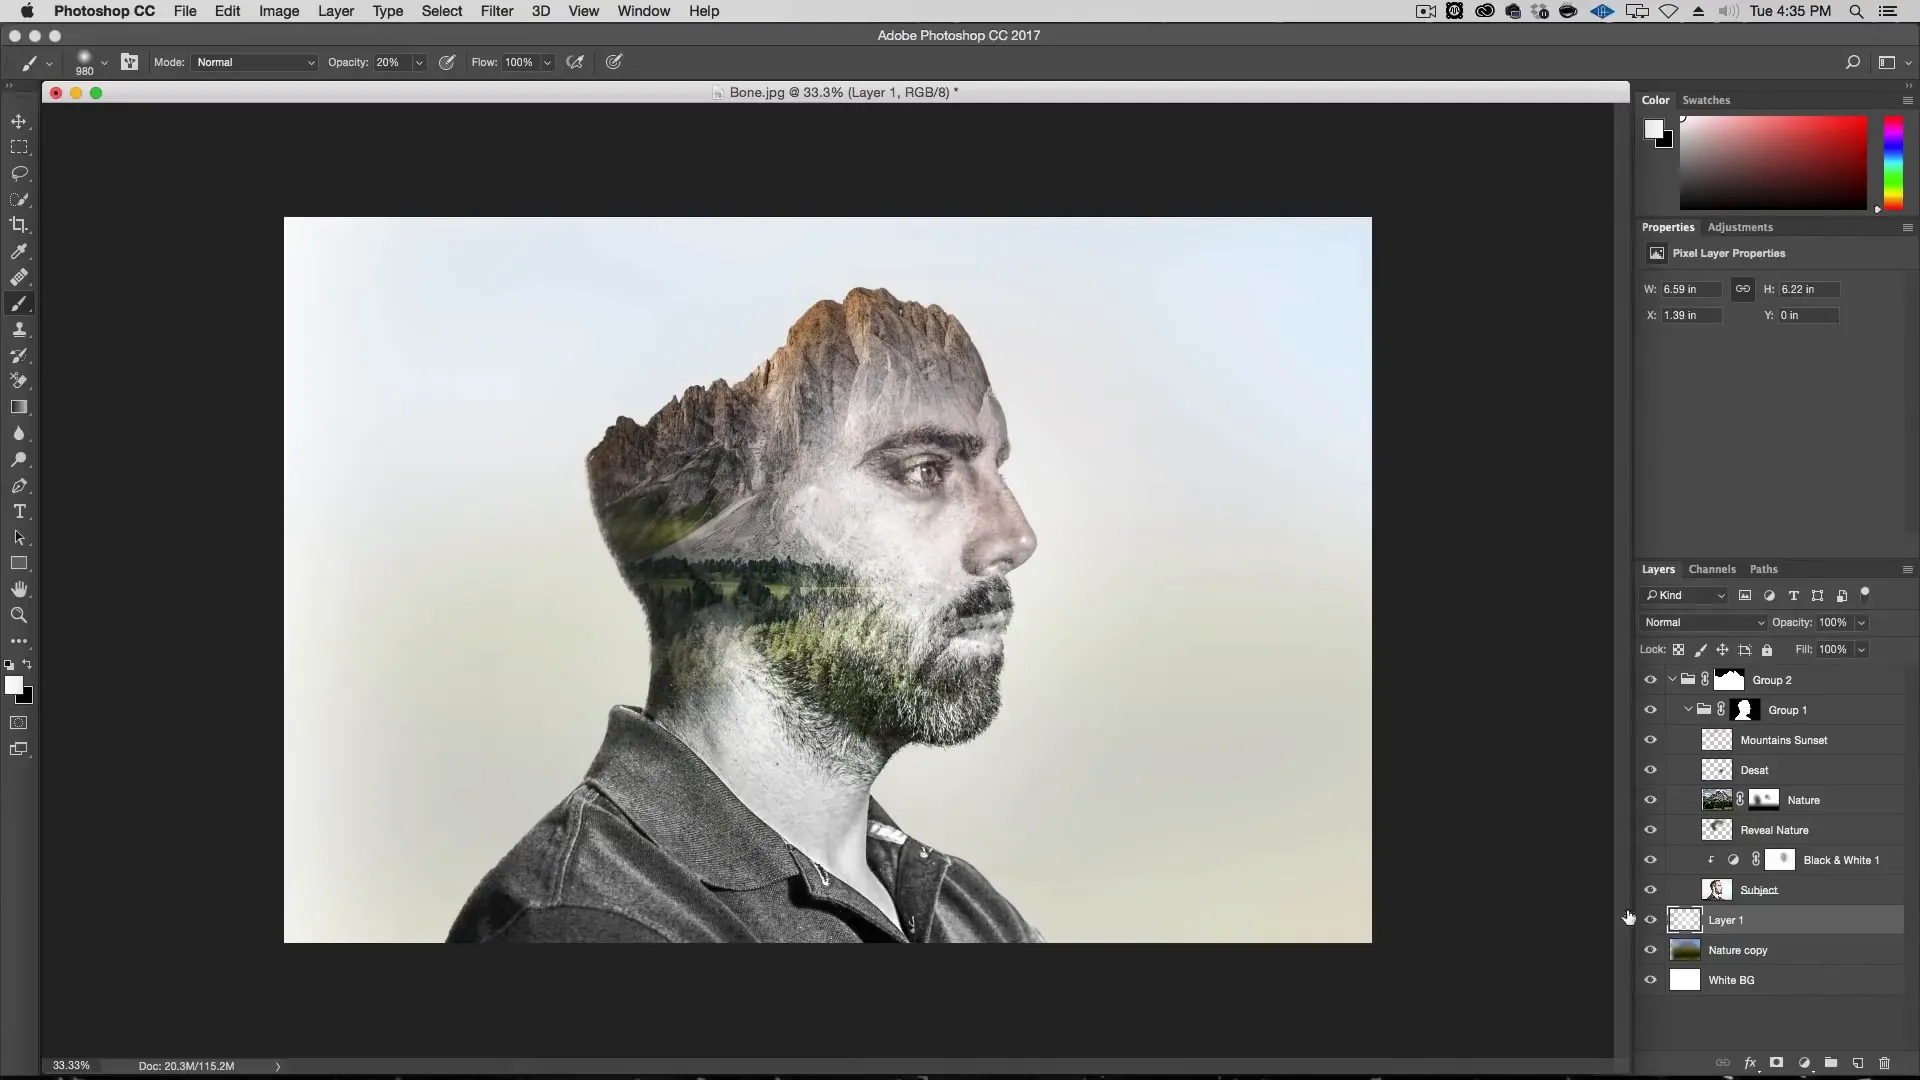
Create a new layer under the Nature layer and name it “Reveal Nature”. Set its blending mode to “Screen” and use a soft black brush with low opacity to reveal parts of the nature image over the portrait. Make sure to mask out any unwanted areas.

Create another layer above the Nature layer named “Desaturate” in “Color” blending mode. With a black brush, desaturate any areas of the image where you want to remove color. This is useful for controlling the double exposure effect in specific areas of the image.
Step 5: Enhance colors and make final adjustments
Create a new layer called “Mountains Sunset” and set its blending mode to “Color”. Choose a warm, orange color and softly brush over the top of the mountains in the nature image to add depth and warmth.
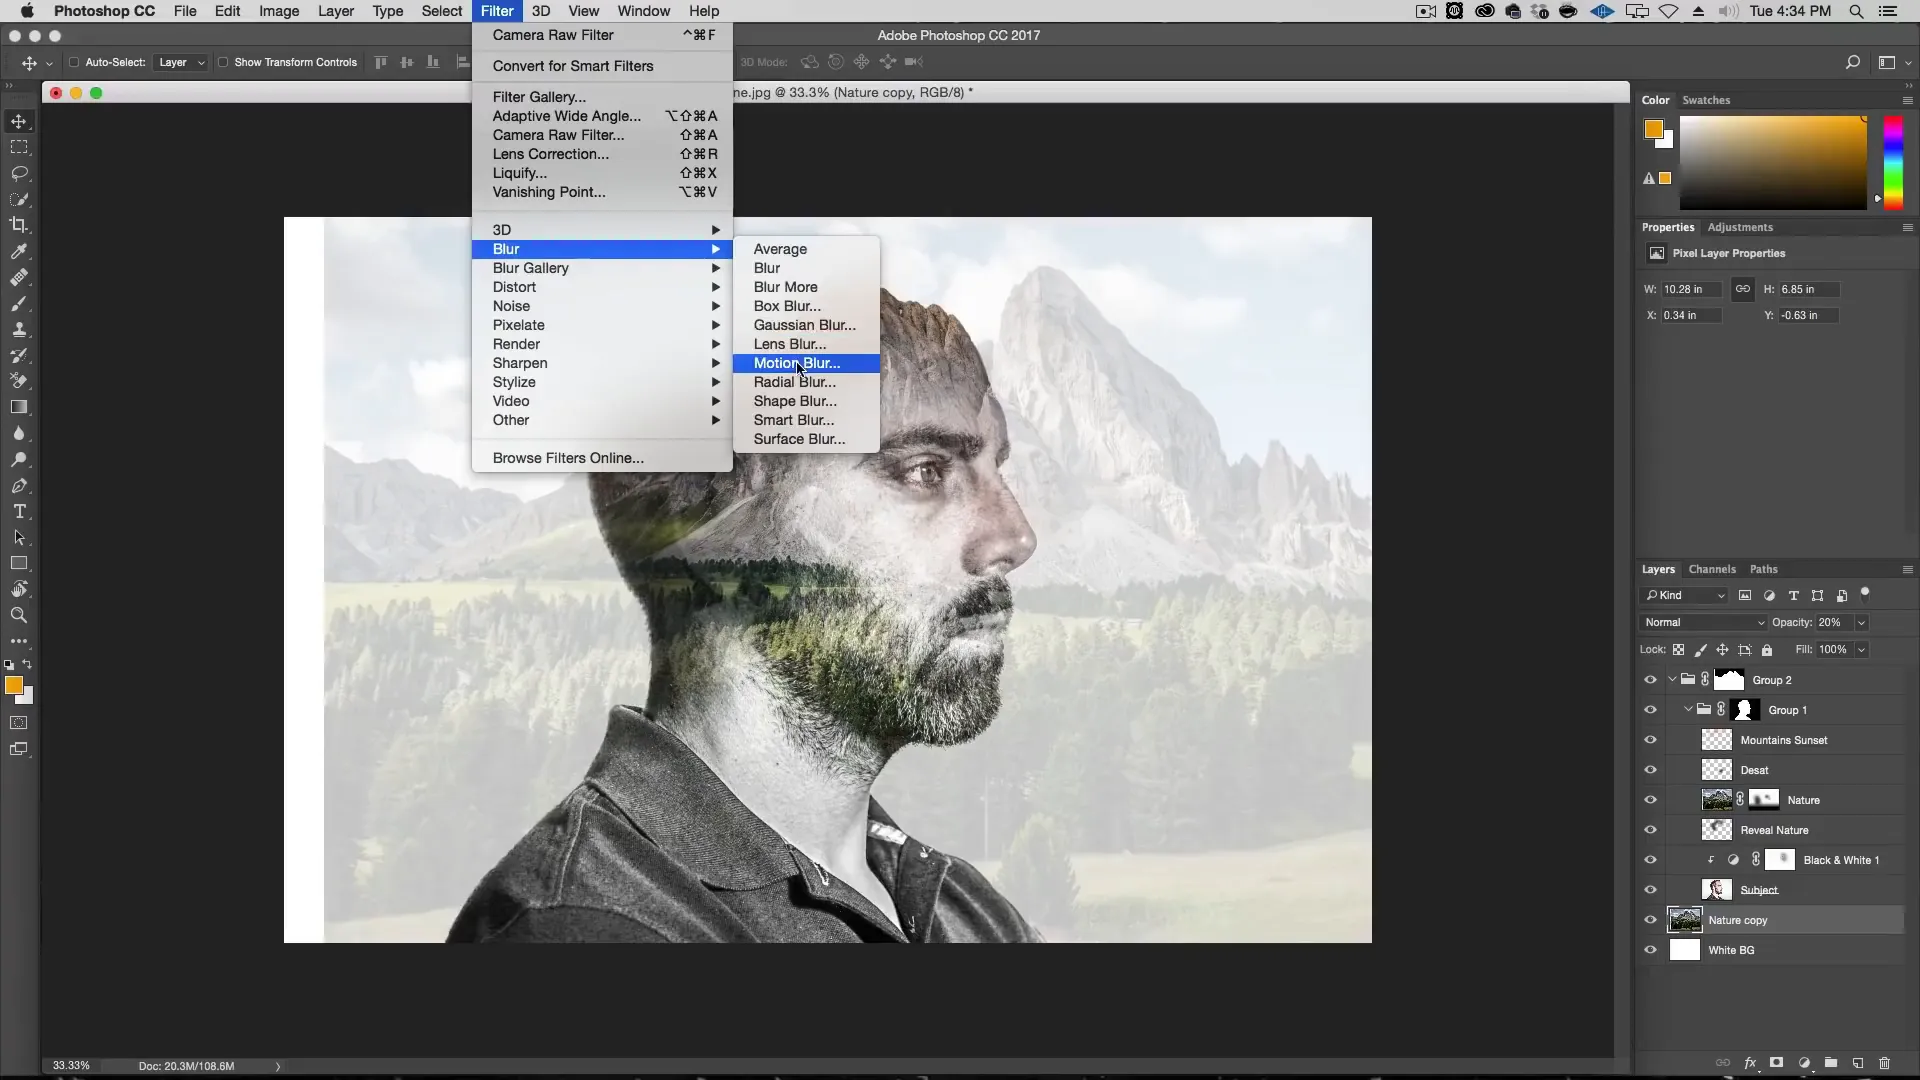
Create a background layer with the nature image, set its opacity to 20% and apply a Gaussian blur. This adds a subtle color background that complements the double exposure effect.
Finally, adjust the black and white adjustment layer’s mask to bring back some skin tones in the portrait.
And there you have it, a beautiful double exposure effect in Photoshop!
I hope you enjoyed this tutorial and learned some valuable techniques for creating double exposures in Photoshop, you can find a video of this and more on my YouTube channel, so please subscribe and share with your friends.
Or if you prefer reading check out this other article on How to use overlays in Photoshop.
Thanks for reading!