
In this tutorial, I’m going to show you how to add shadows in Photoshop and how to manipulate shadows to match the light source, angle, perspective, blur, and opacity. It’s pretty simple, but it looks pretty cool.
To get started, Download the source files to follow along with this tutorial.
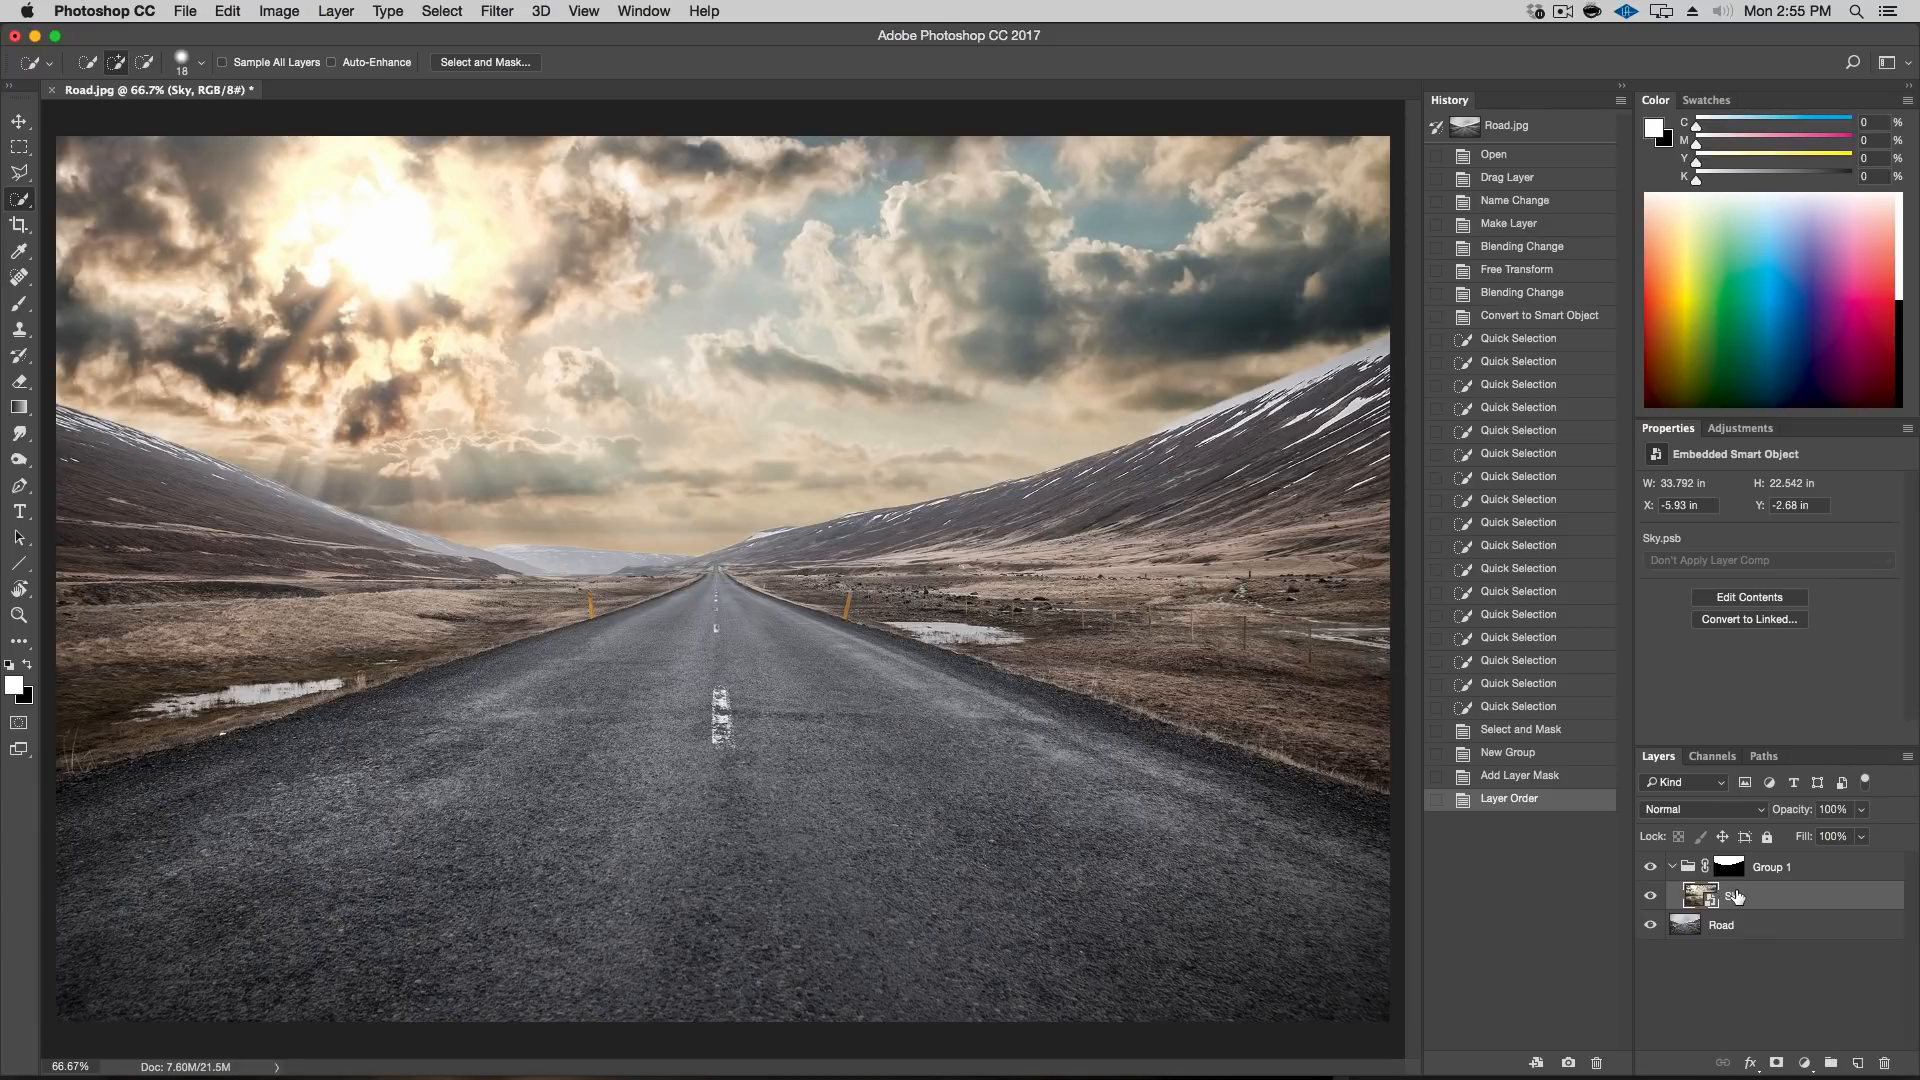
Overlaying the Sky in Photoshop
- Open the
road.jpegandsky.jpegfiles in Photoshop.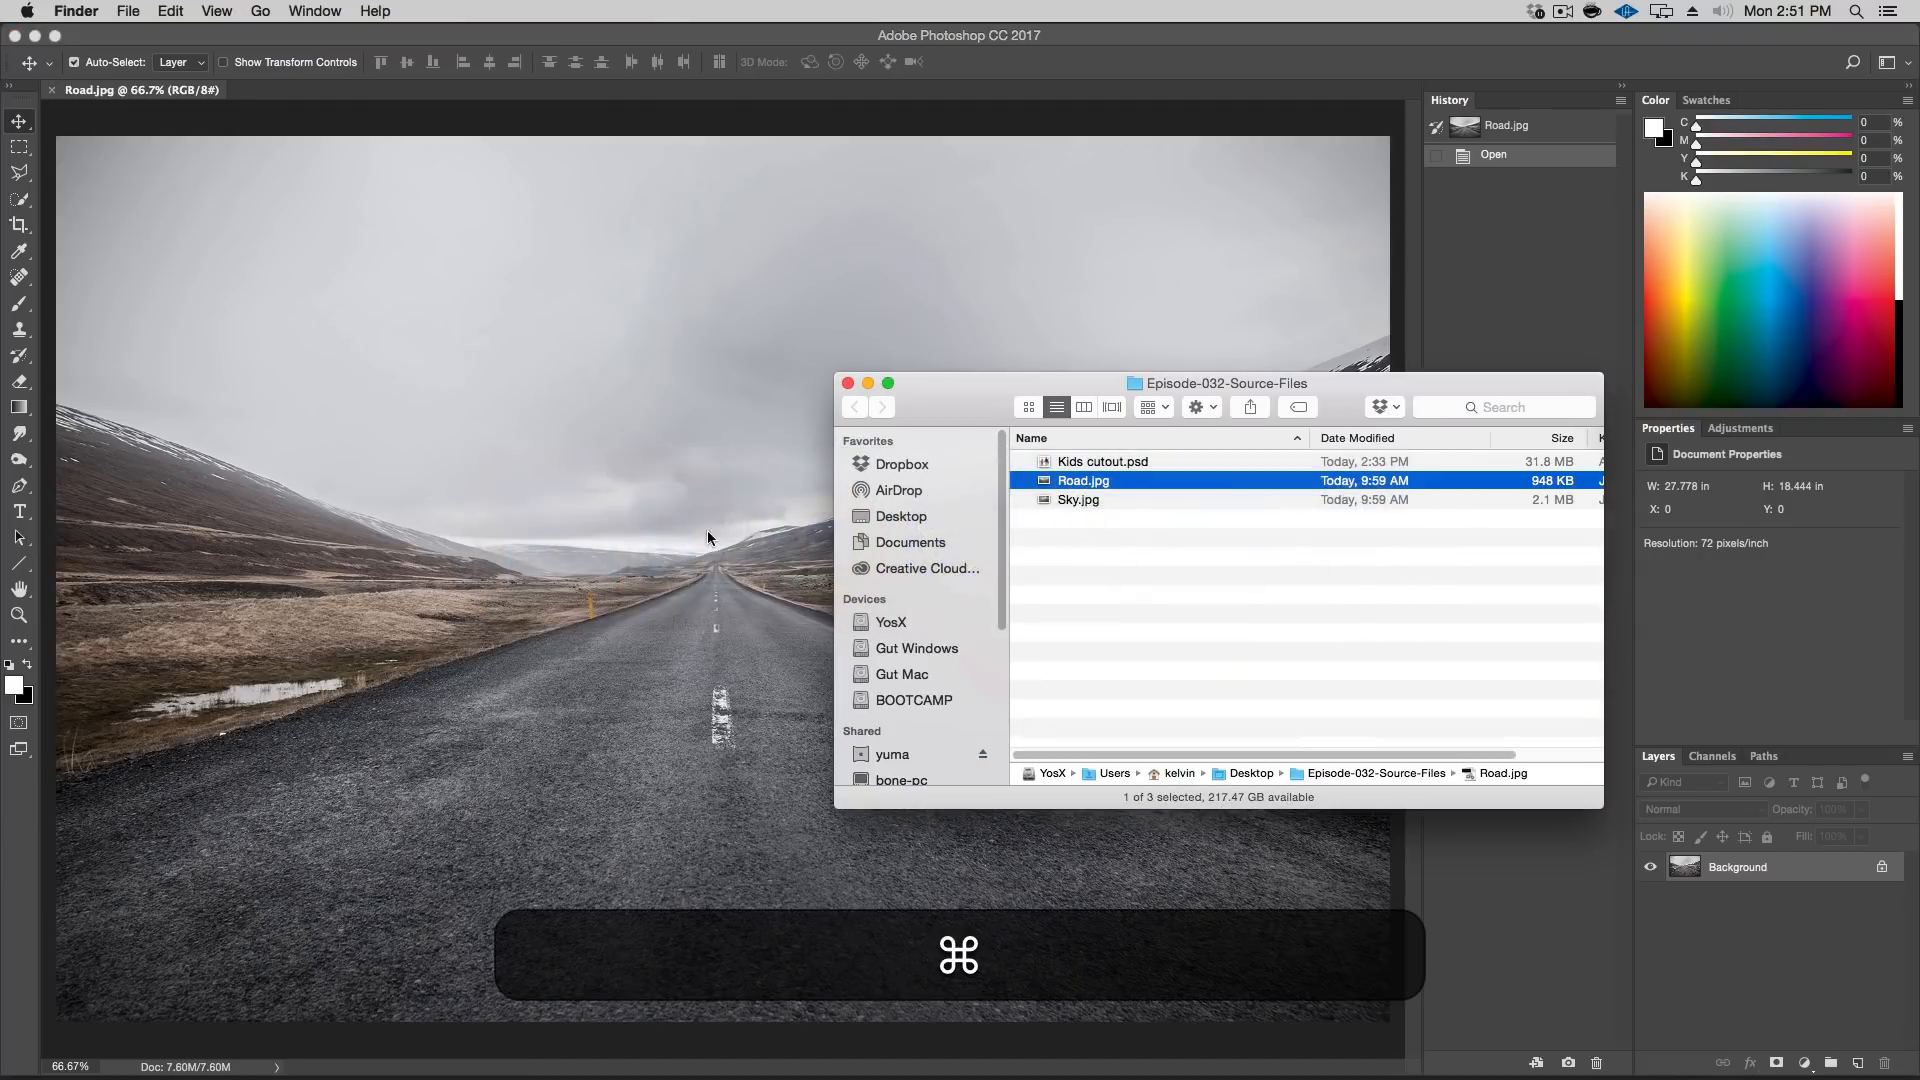
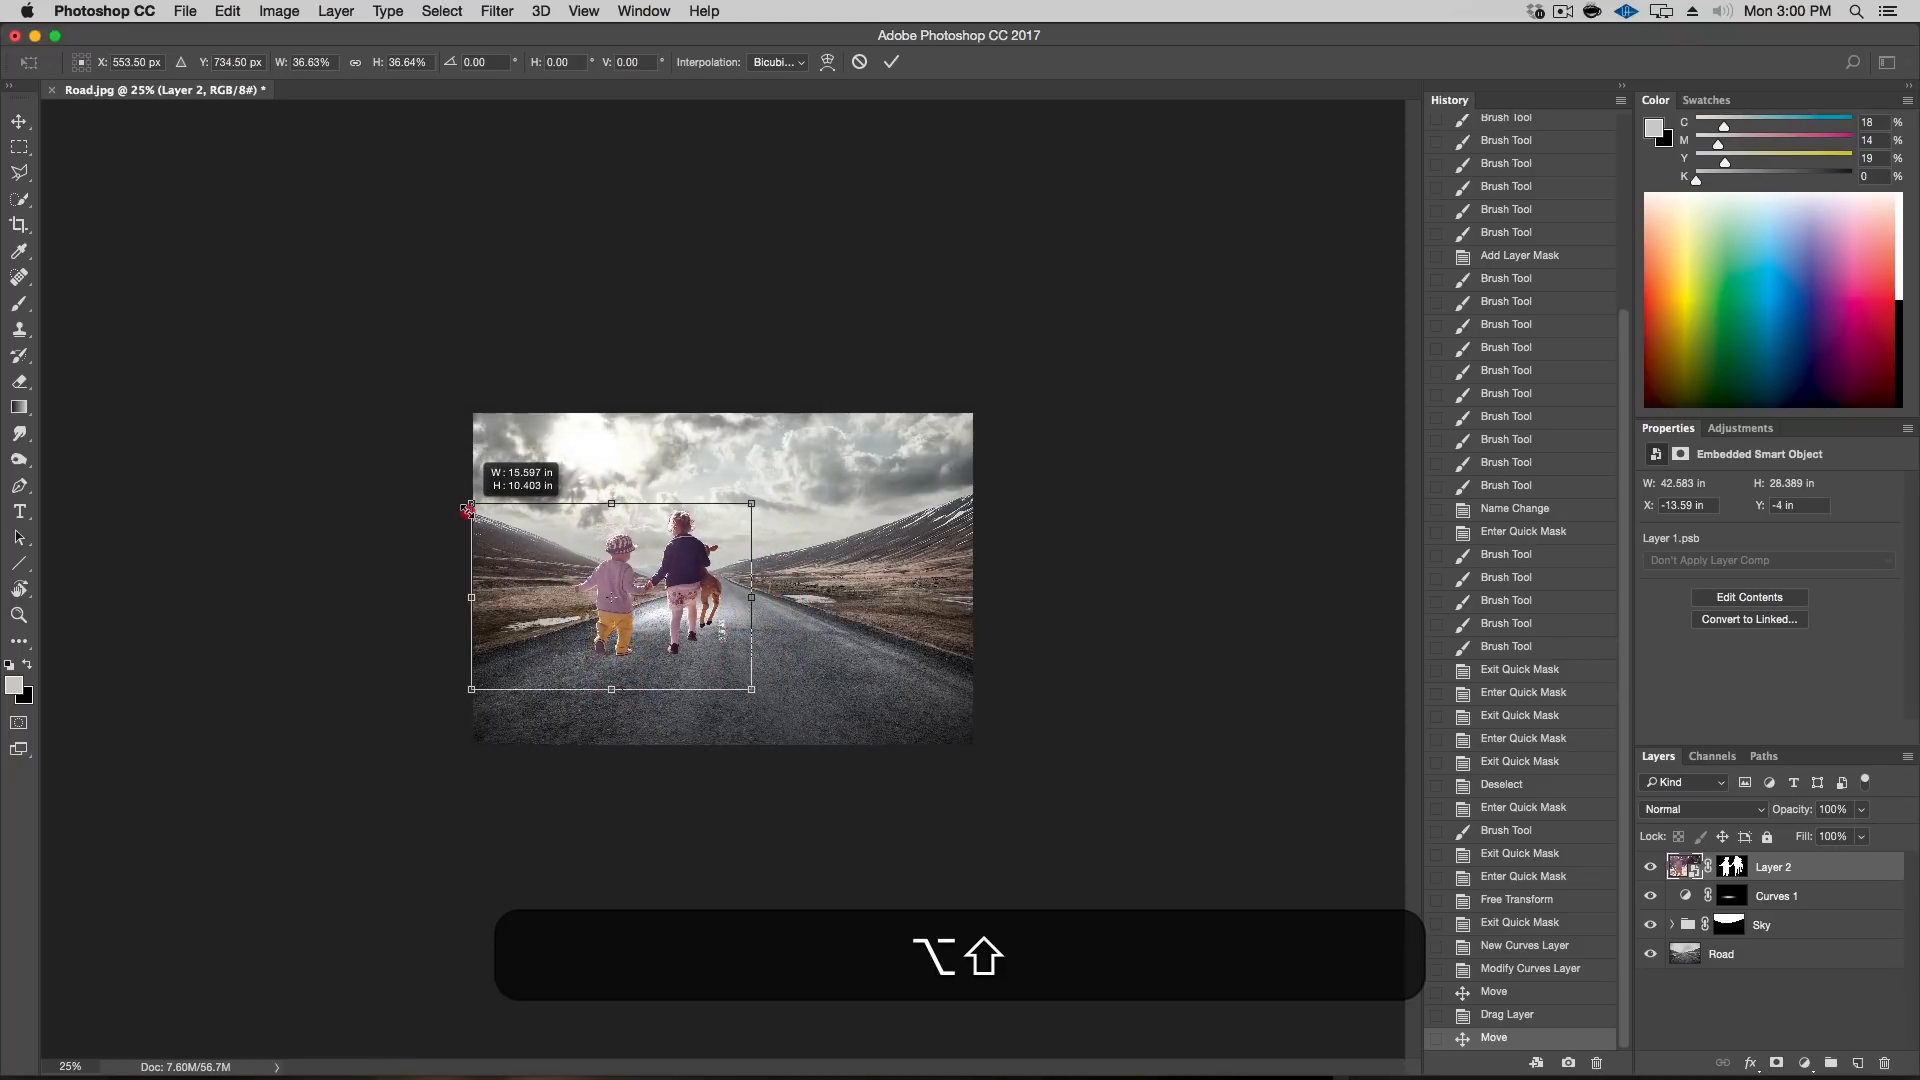
- With the Move tool, drag the sky image over to the road image file.
- Rename the layers to “Road” and “Sky”.
- Set the blending mode of the Sky layer to Multiply for now to see through while positioning.
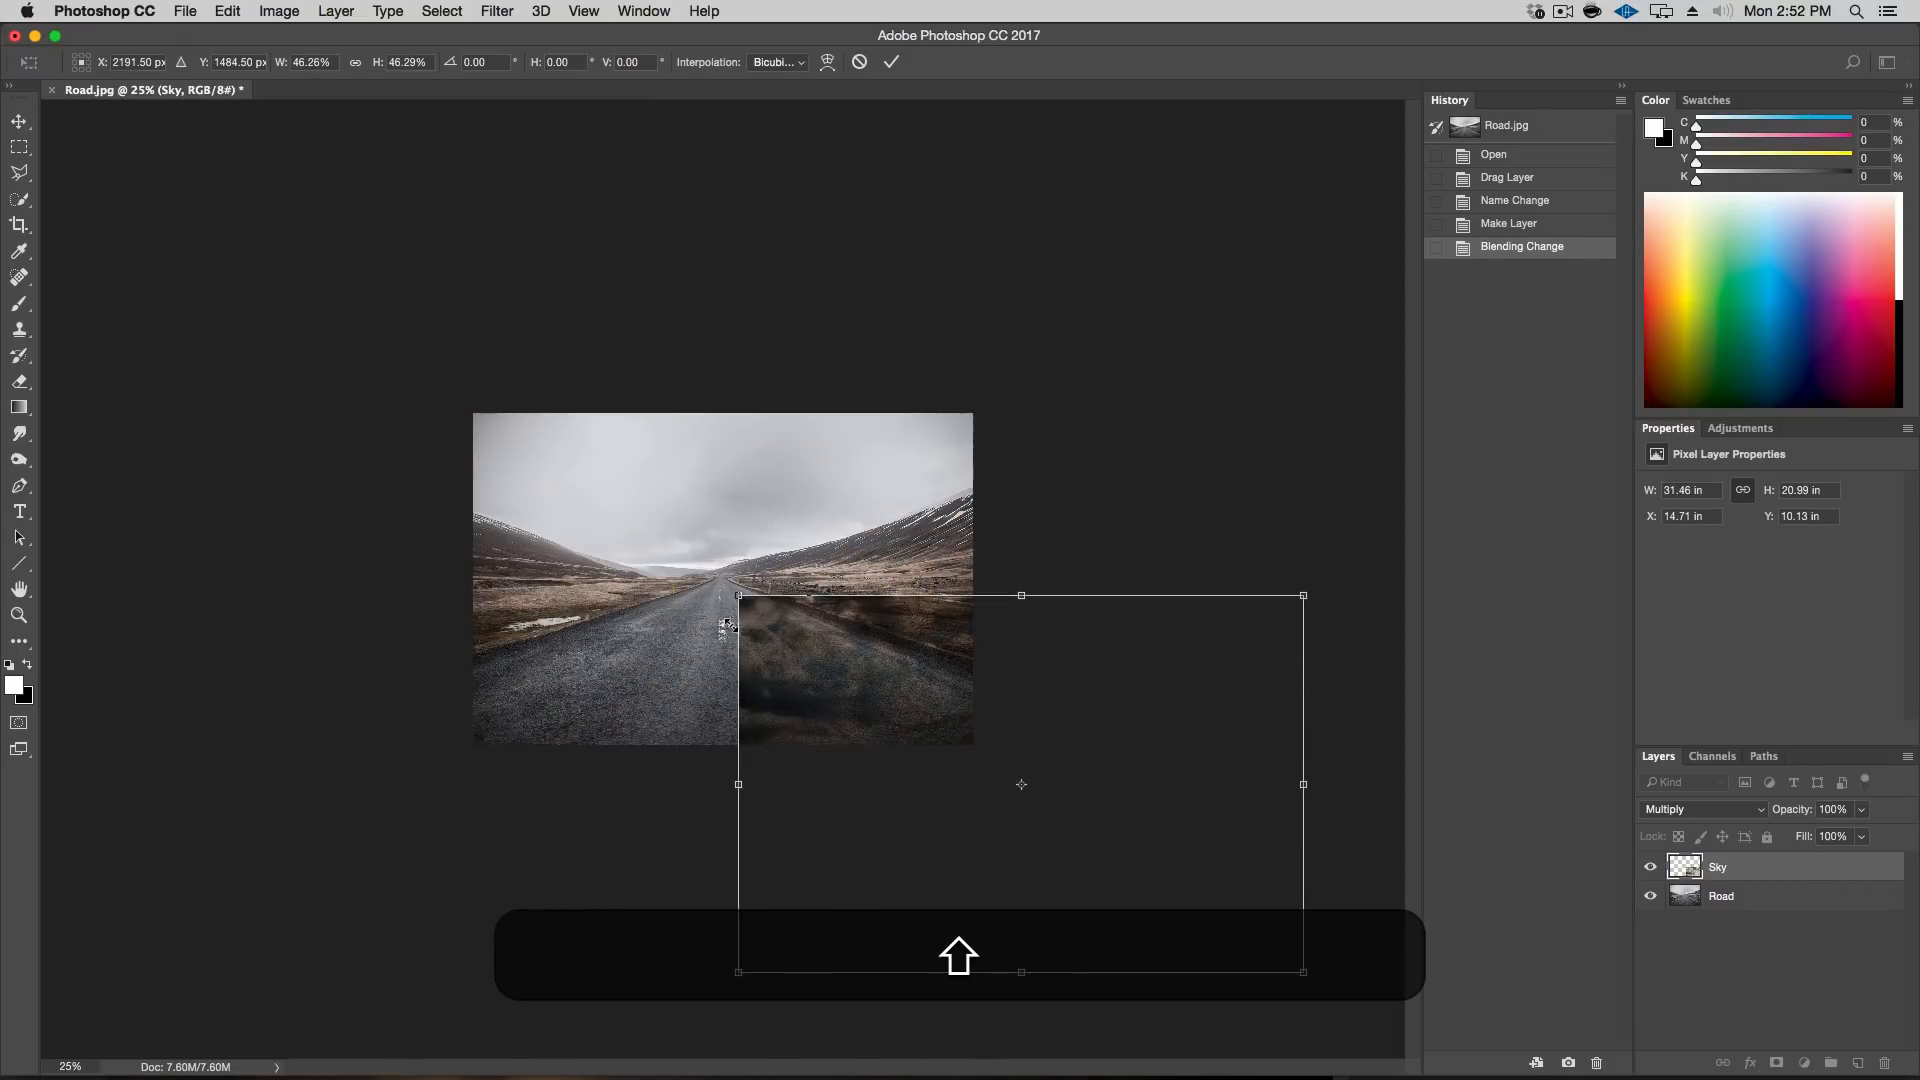
- Use Free Transform (Cmd/Ctrl + T) to resize and position the sky, flipping it horizontally if necessary.
- Convert the Sky layer to a smart object.
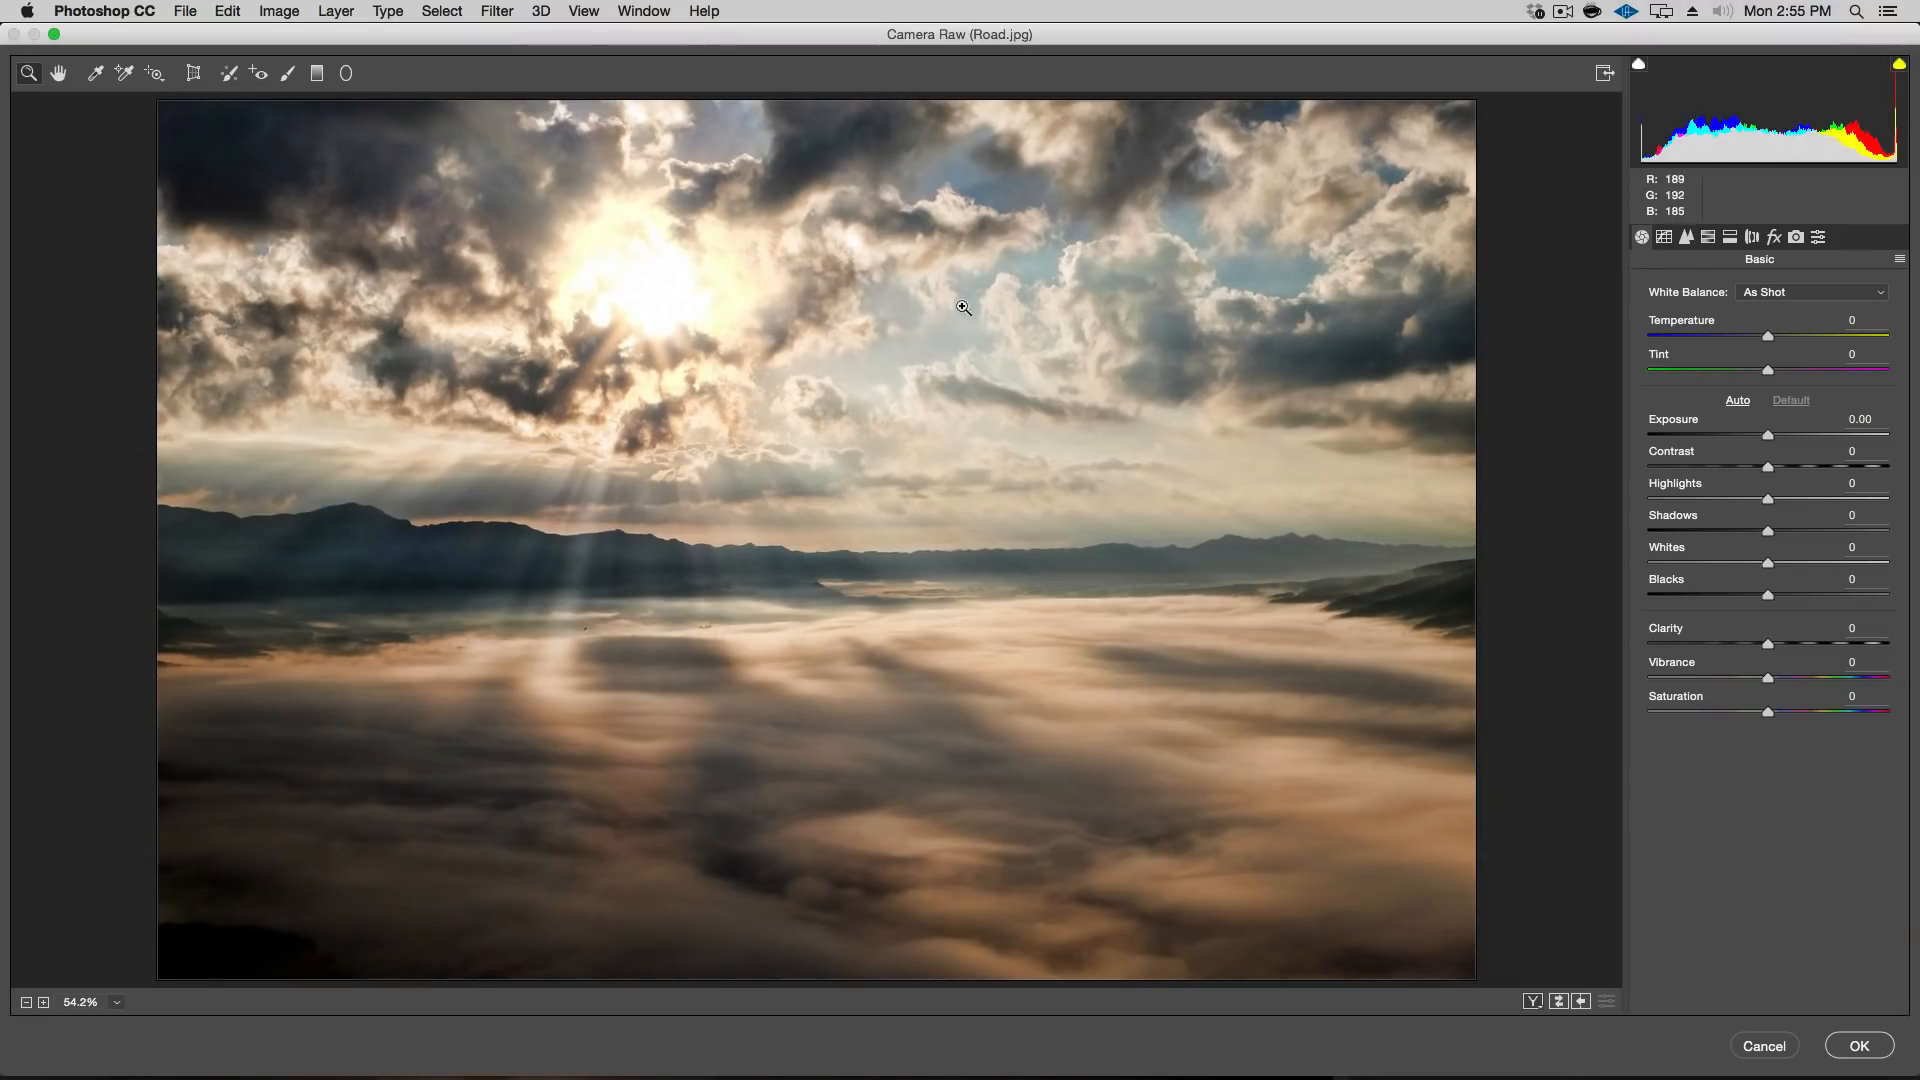
Creating the Outline in Photoshop
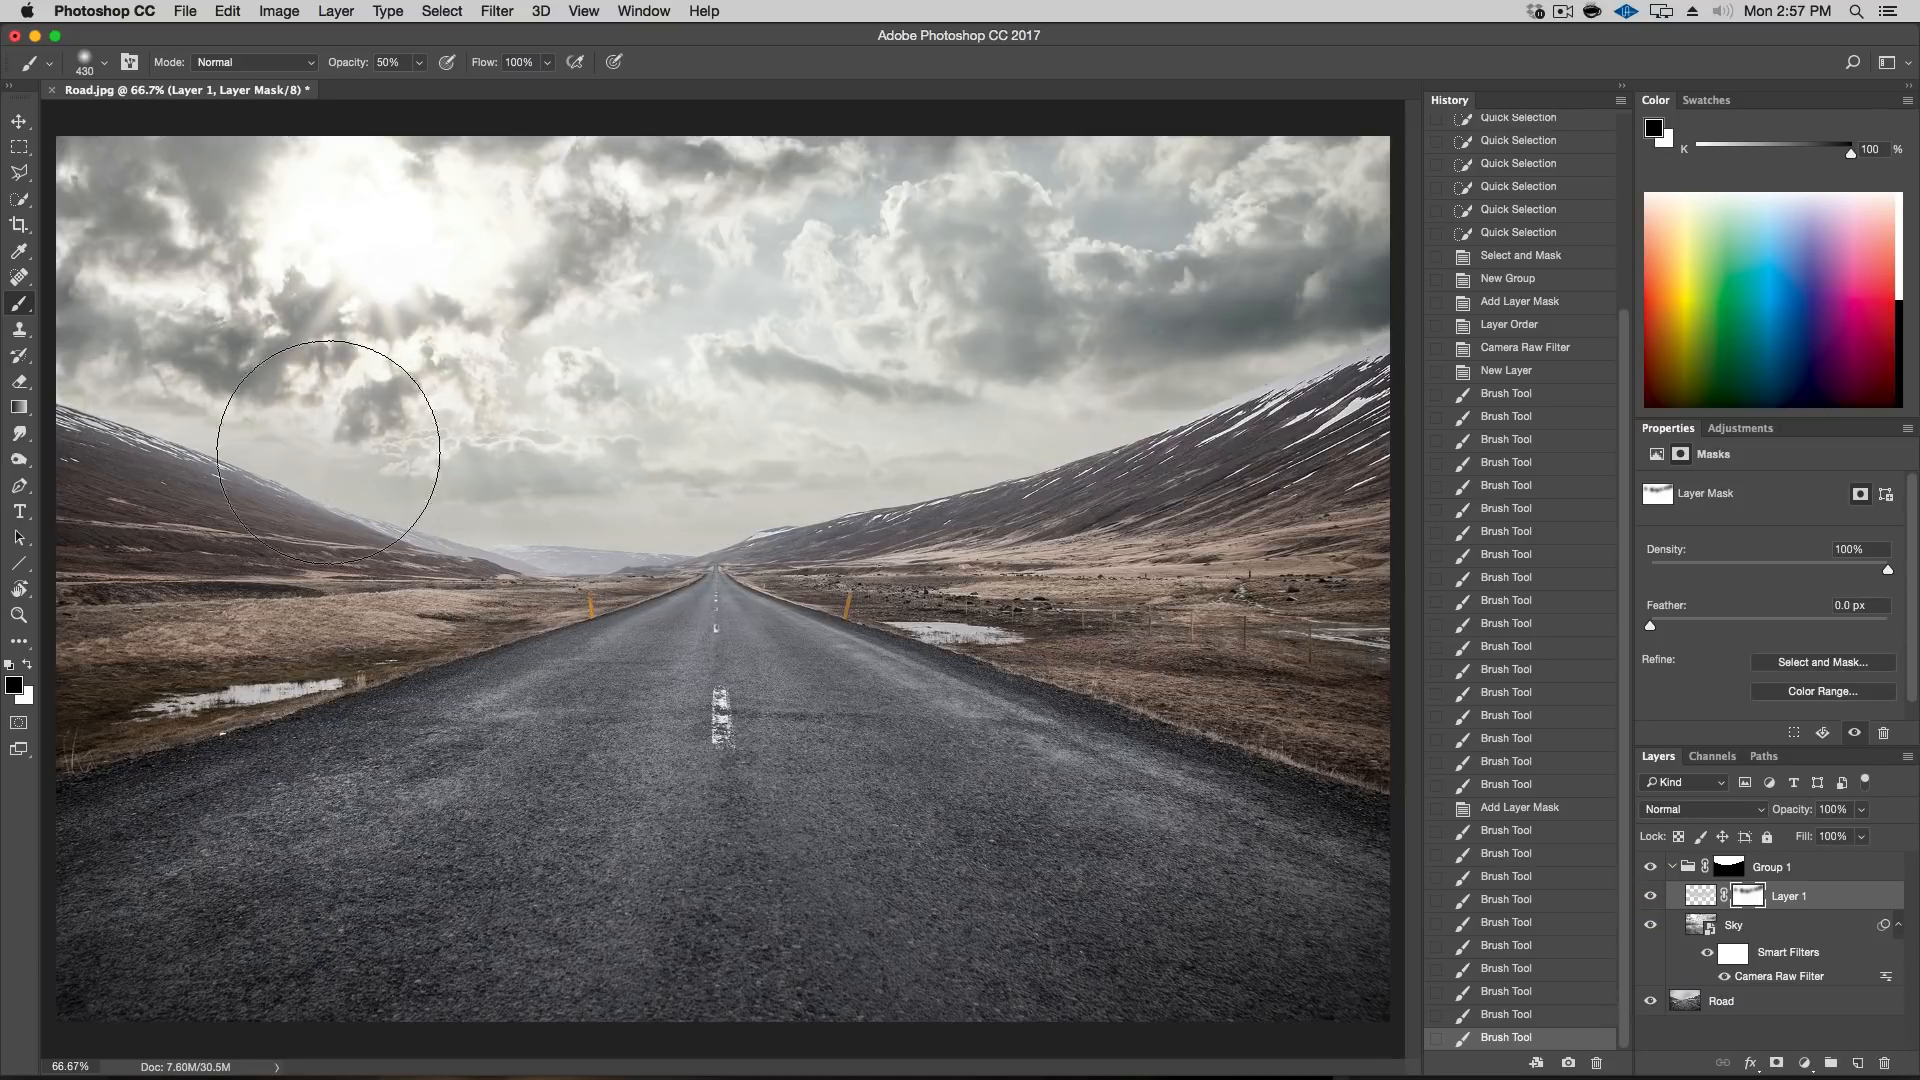
- Use the Quick Selection Tool to select the area of the road layer where the sky should show through.
- Improve the selection using Select and Mask, adjusting the Edge Detection and smoothing the selection.
- Create a group and apply a mask using the selection.
- Move the Sky layer into the group, so the mask applies to it.

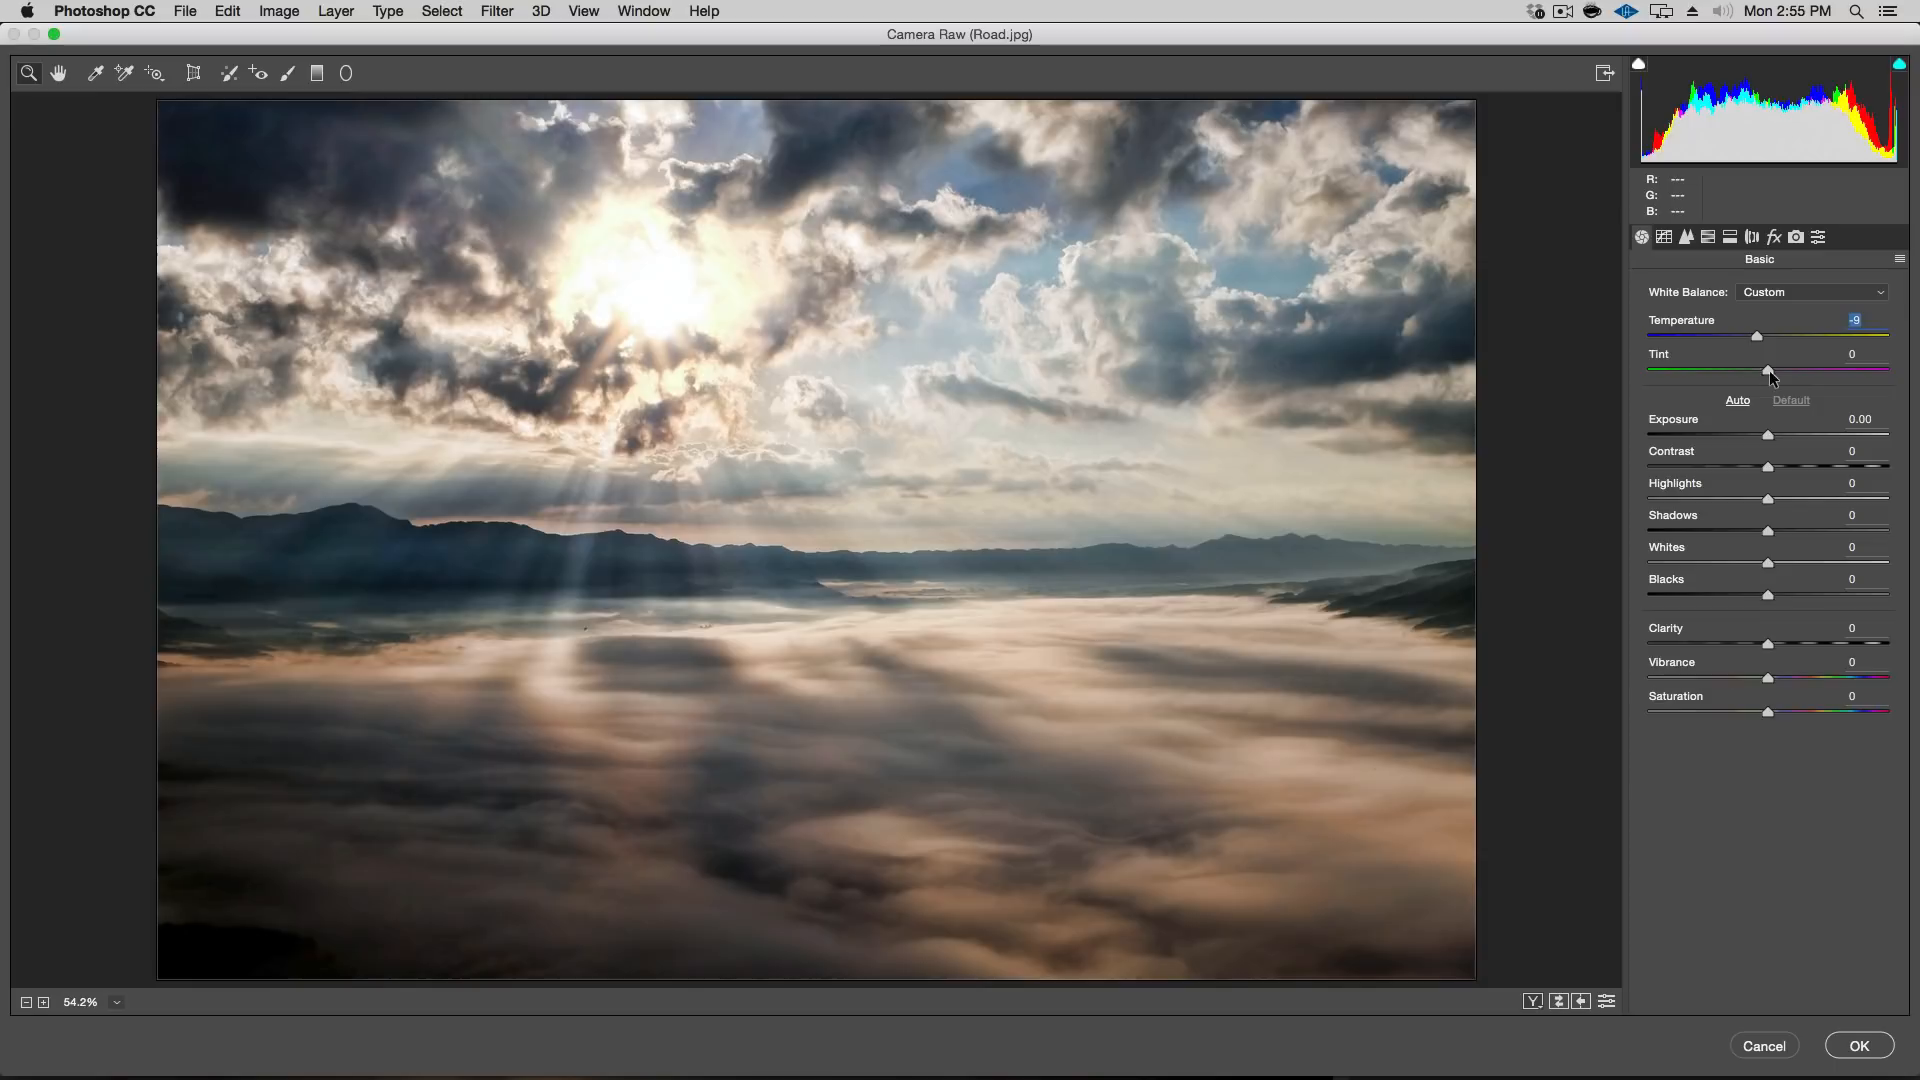
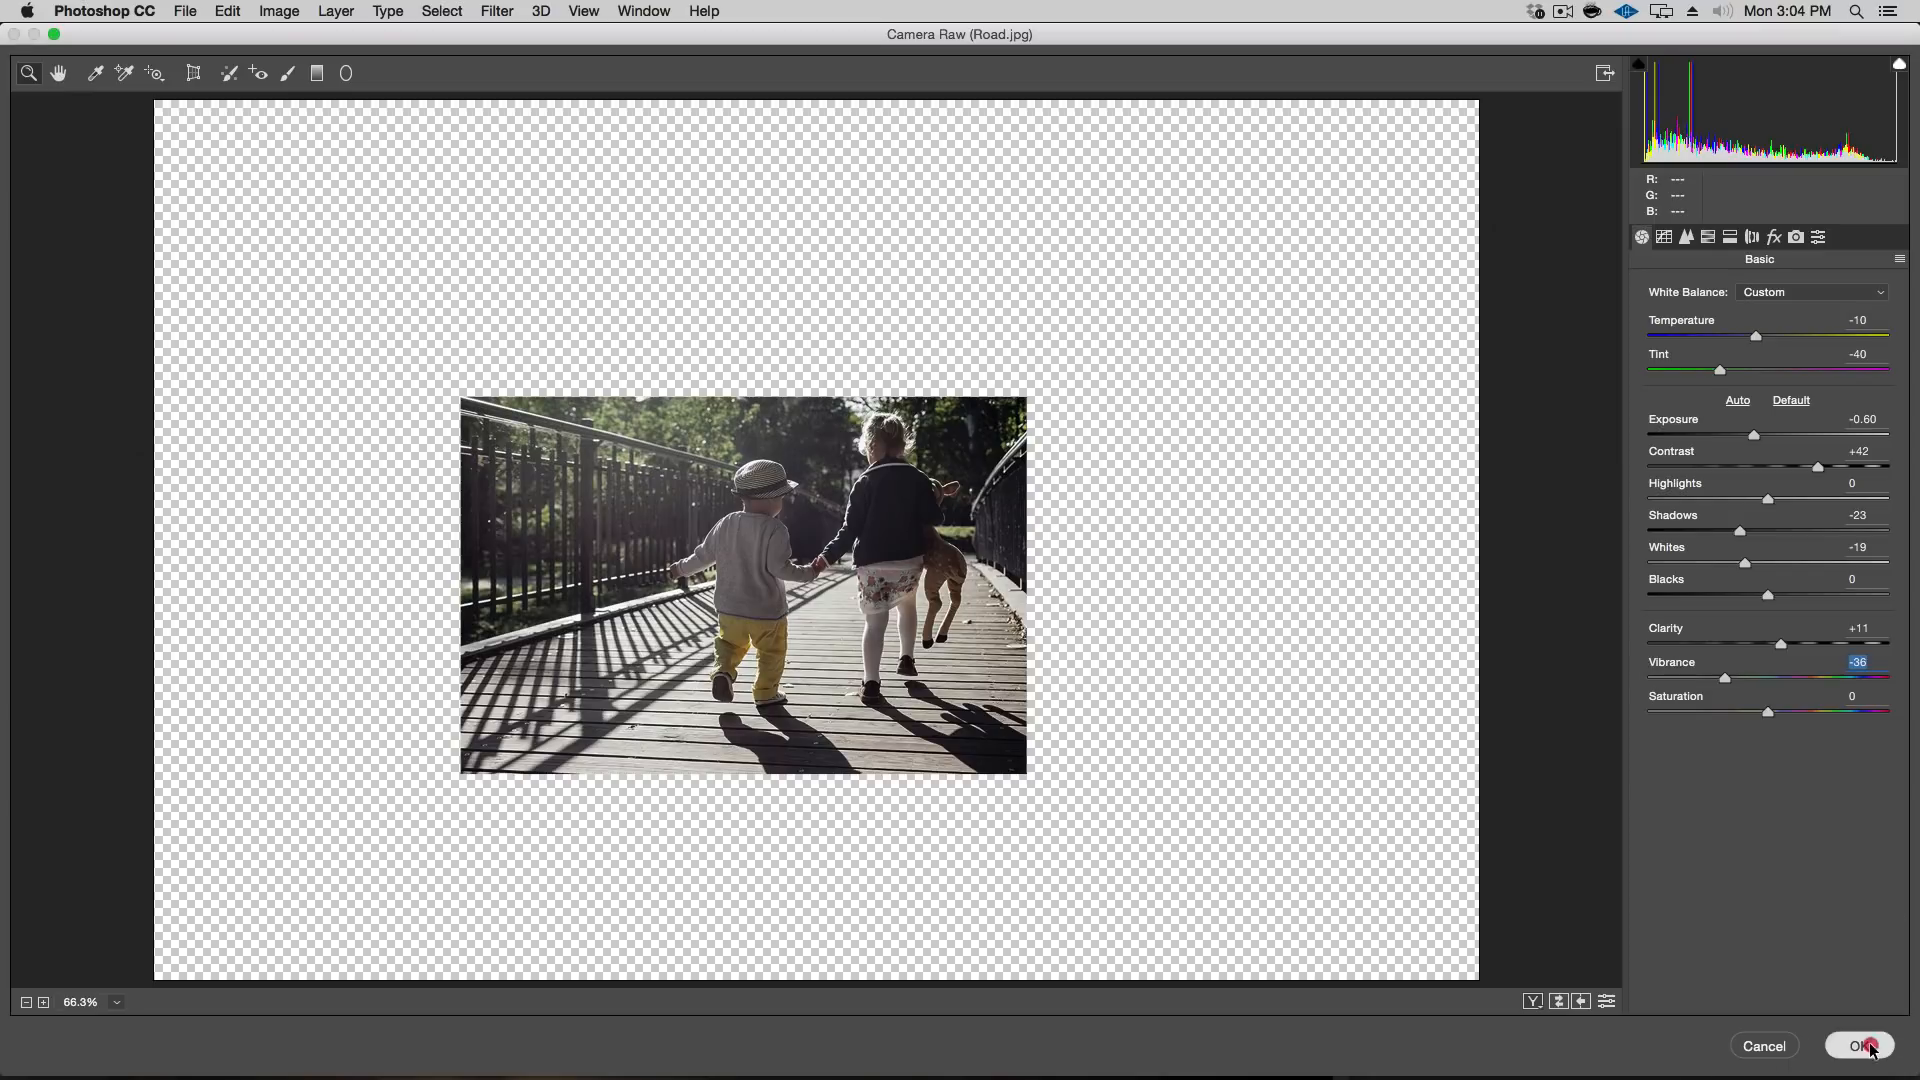
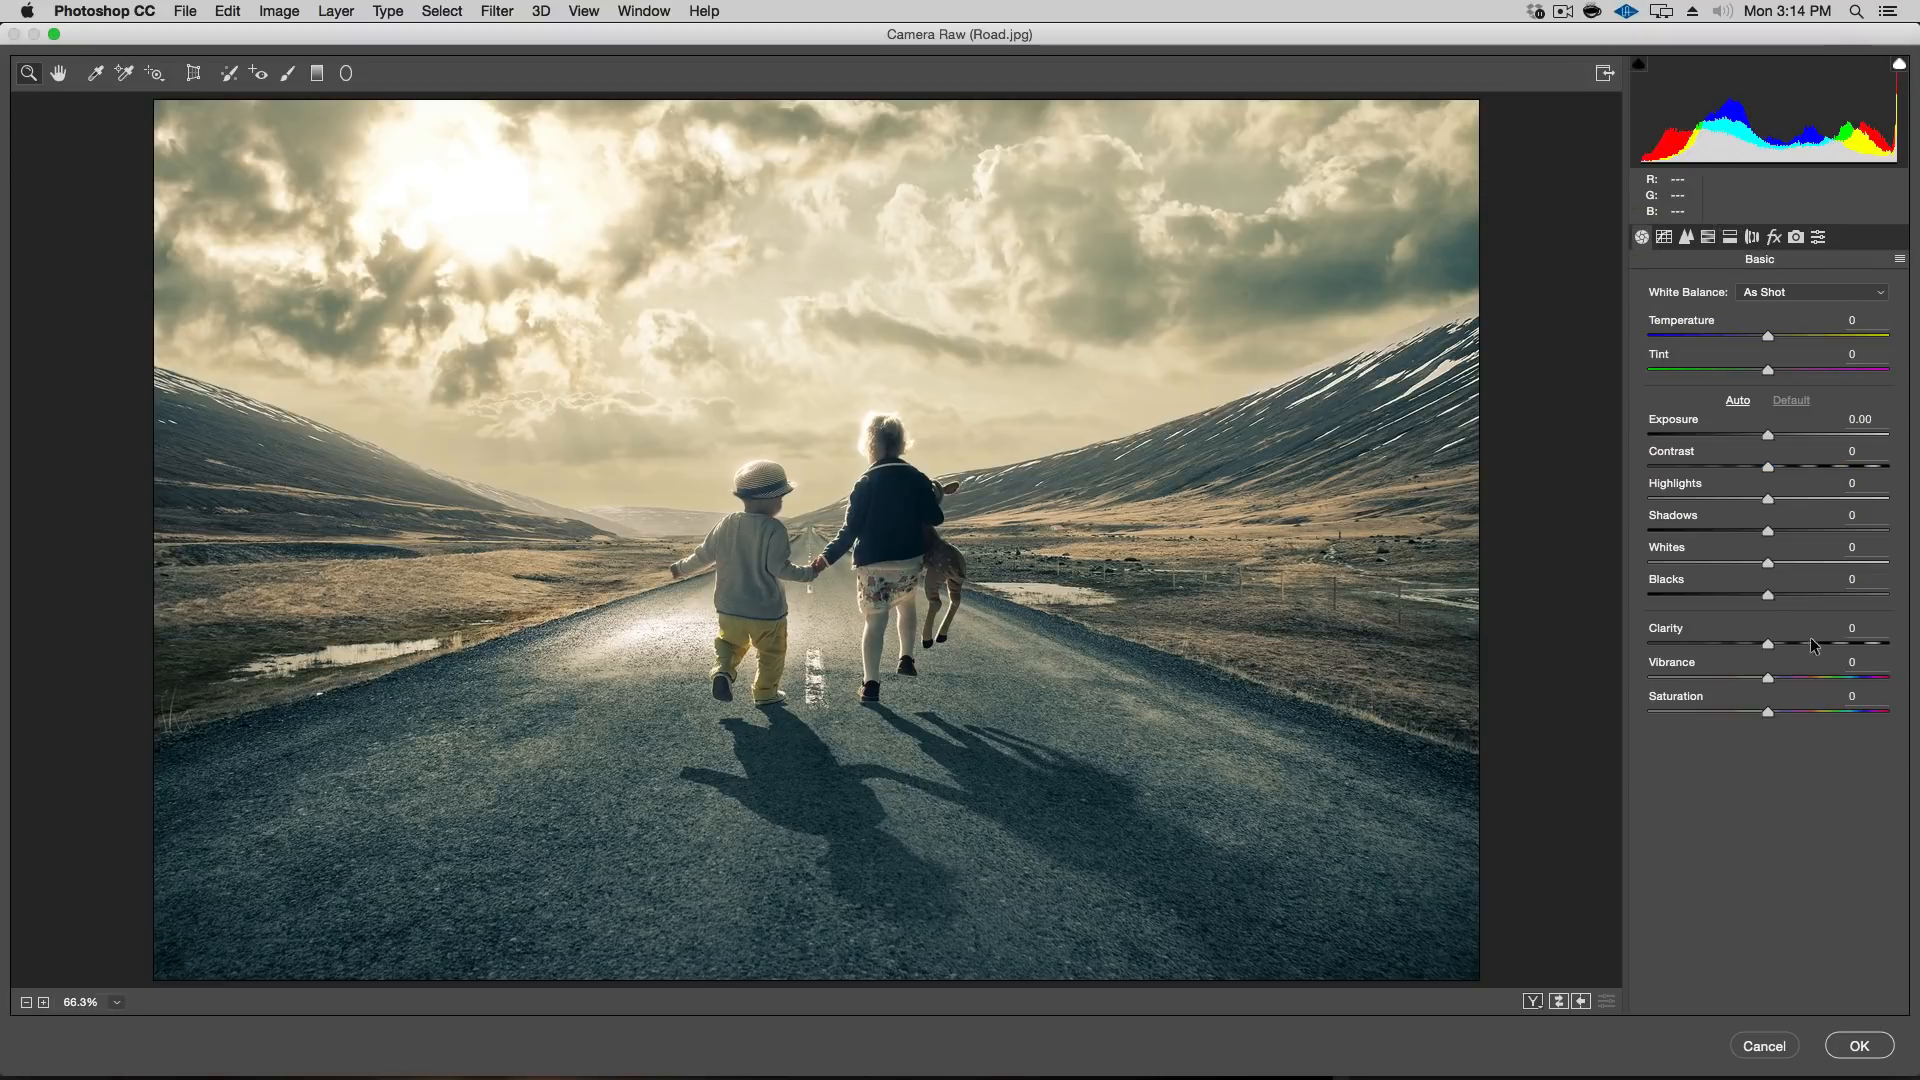
- Apply the Camera Raw Filter to the smart object Sky layer.
- Make the following adjustments:
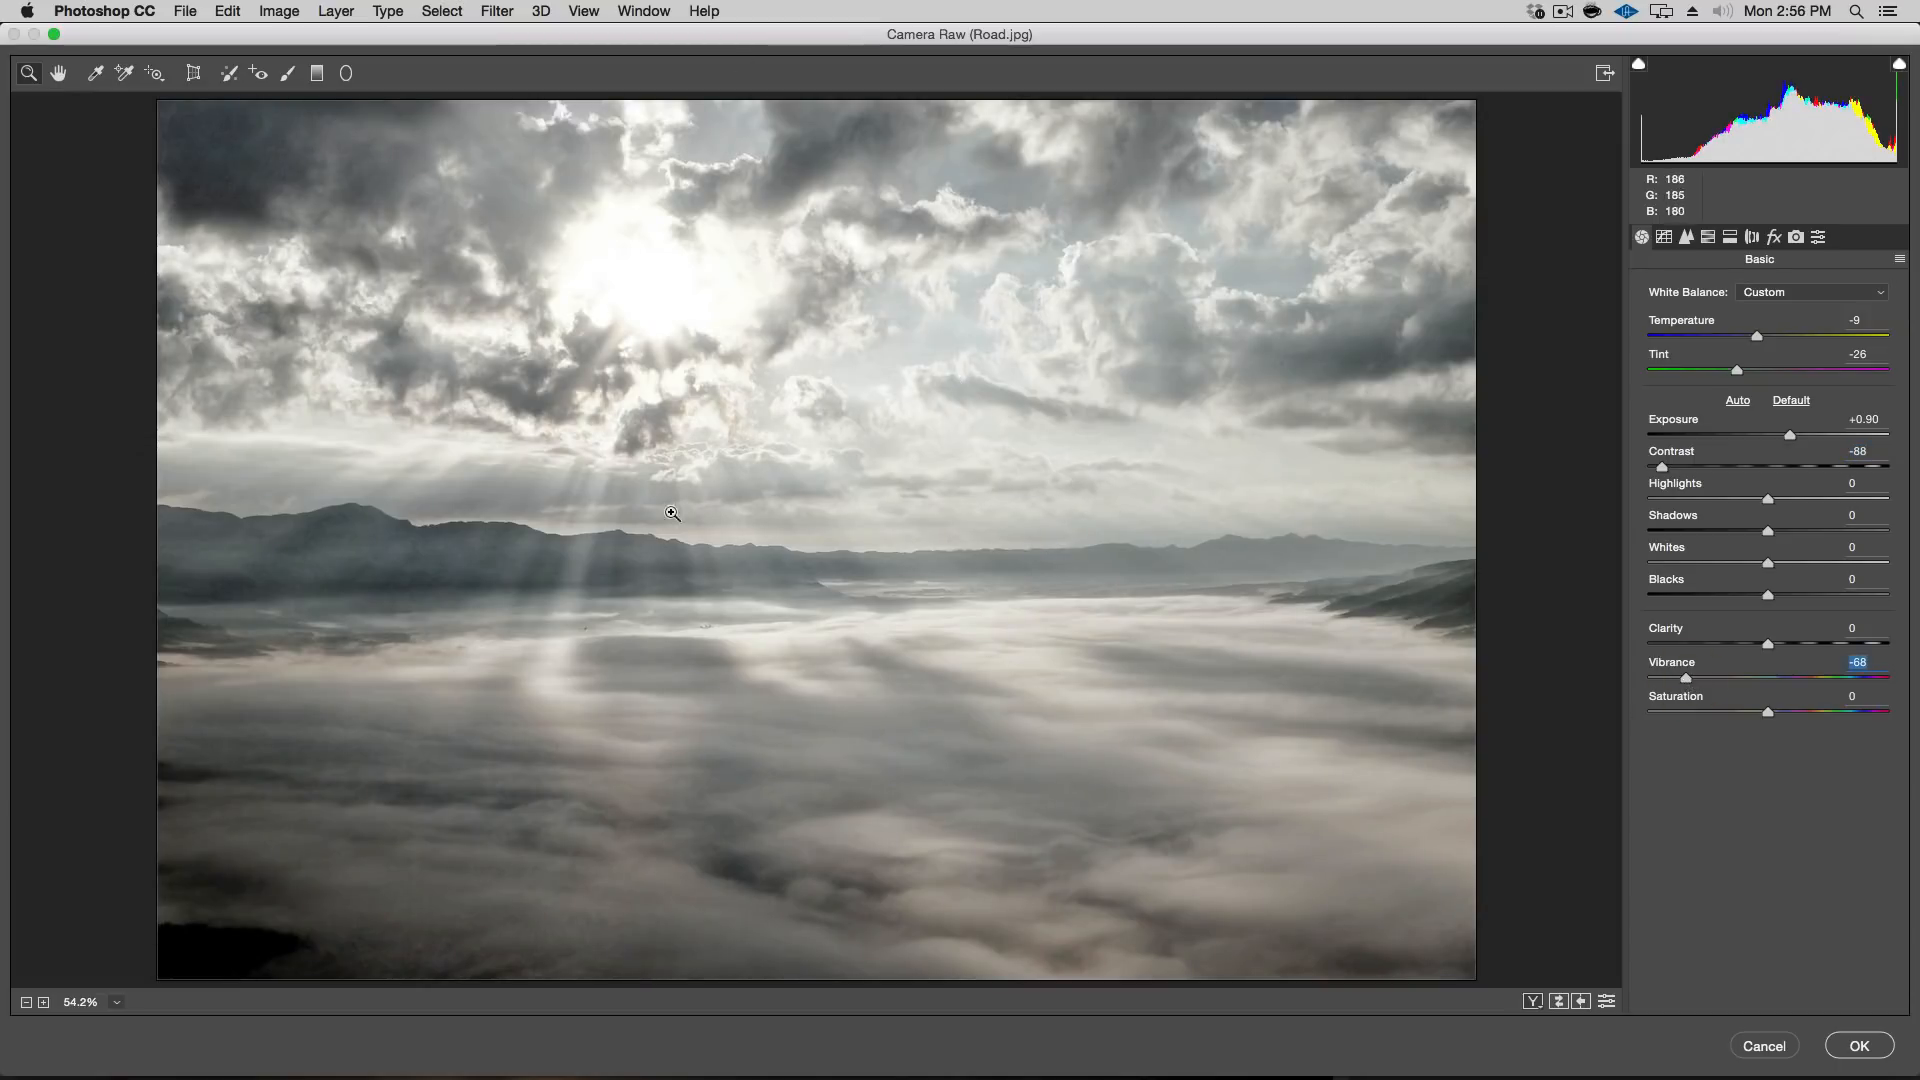
- Lower the temperature for a cooler tone
- Increase the brightness slightly
- Lower the contrast
- Reduce the vibrance to lower the color intensity
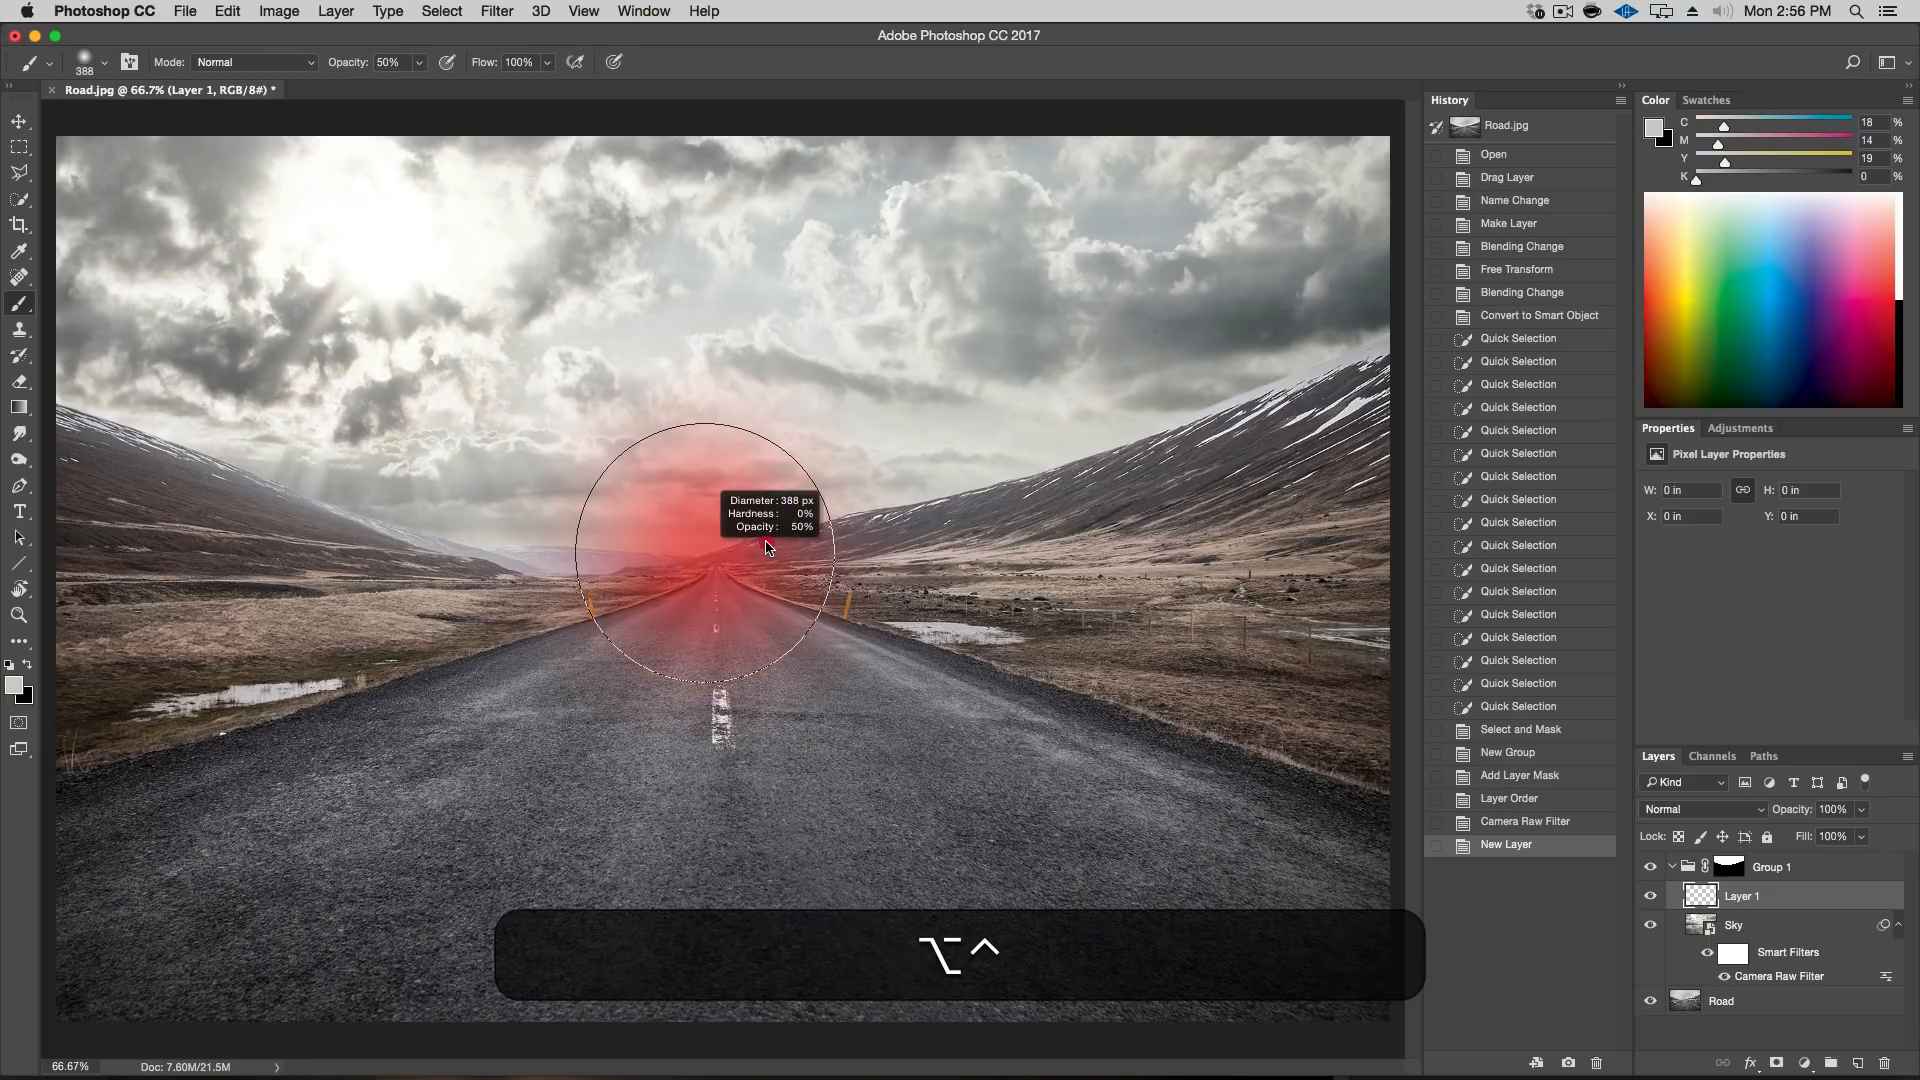
Adding Haze in Photoshop
- Create a new layer and use the Brush tool with a large, soft brush to paint haze on the horizon using a color sampled from the sky background.
- Lower the opacity of the haze layer if needed or use a layer mask to remove it from some areas.
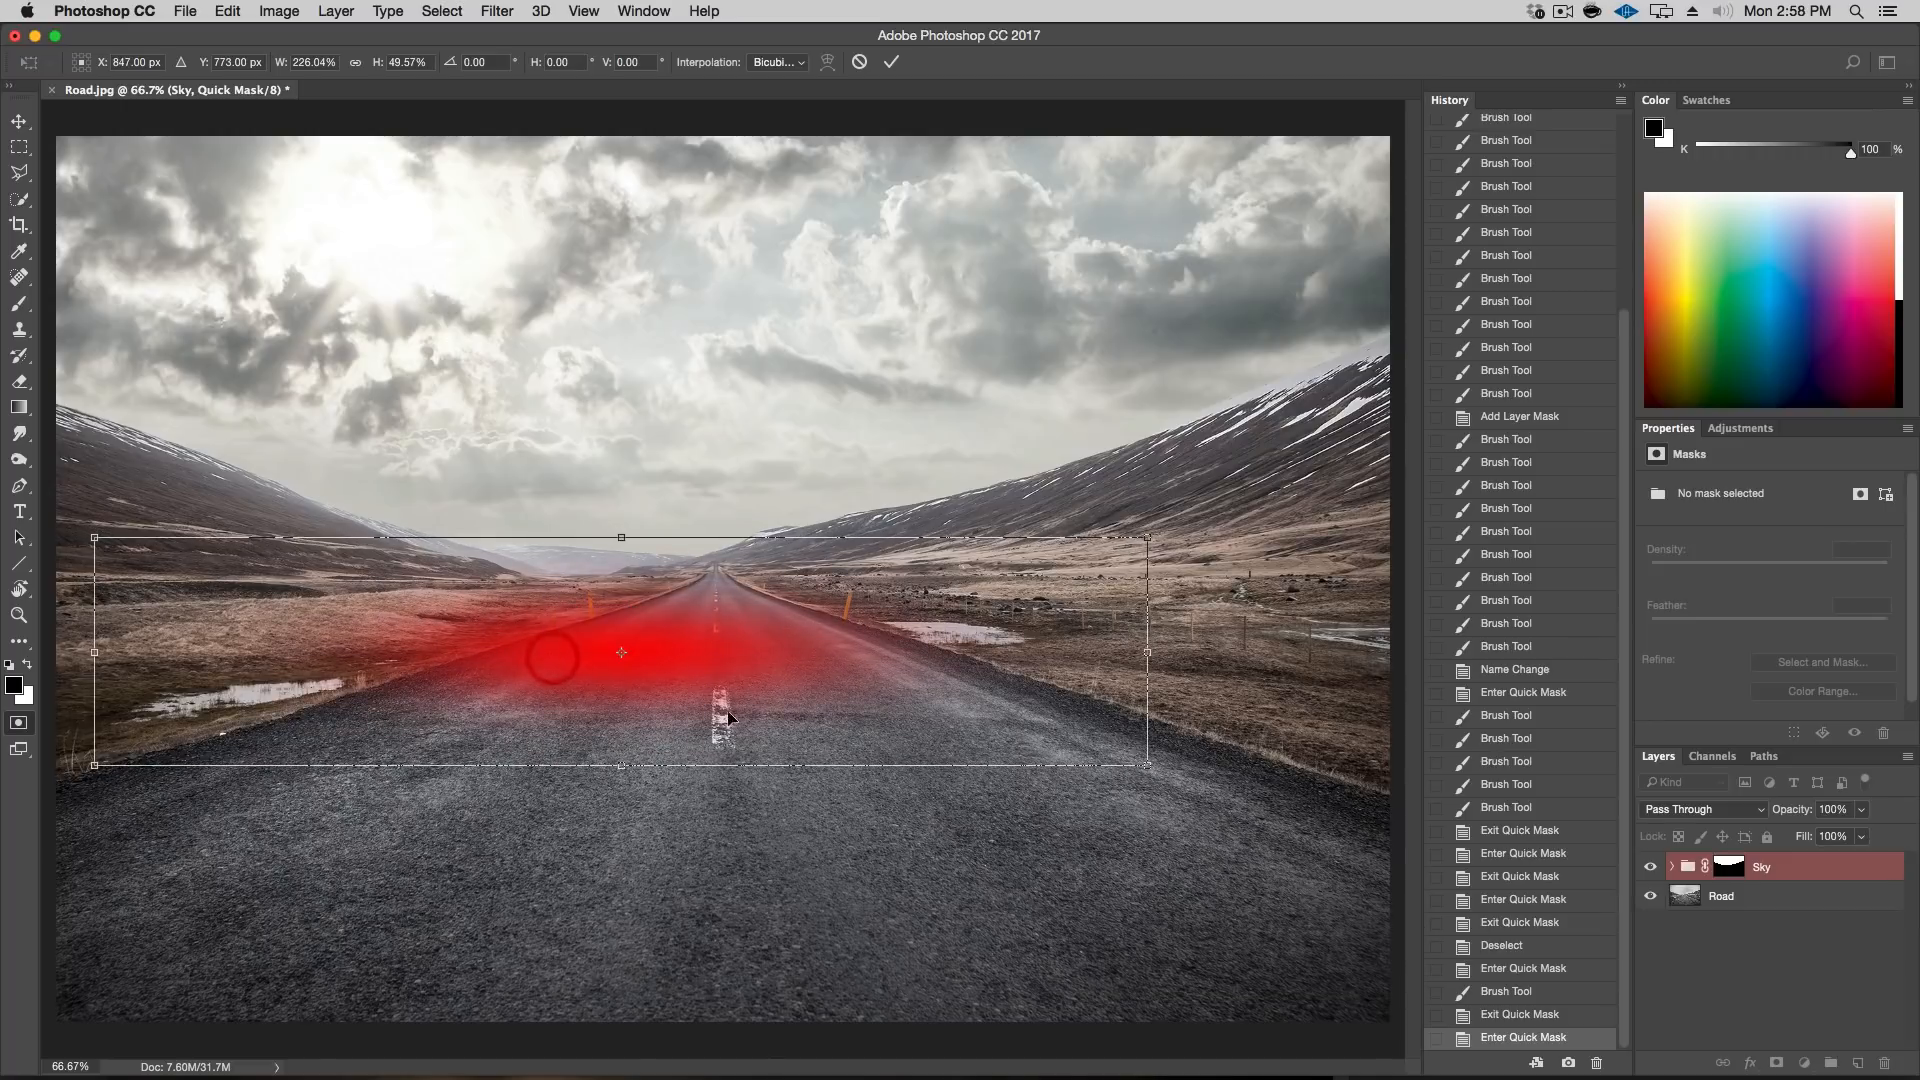
- As the sun is shining through we will add a highlight on the road using Quick Mask. Brush with a 100% pass a few times over the road. (Press q for Quick Mask).
Adding the Shadow in Photoshop
- Bring in the cutout of the kids (check out this tutorial for instructions on outlining and cutting out images).
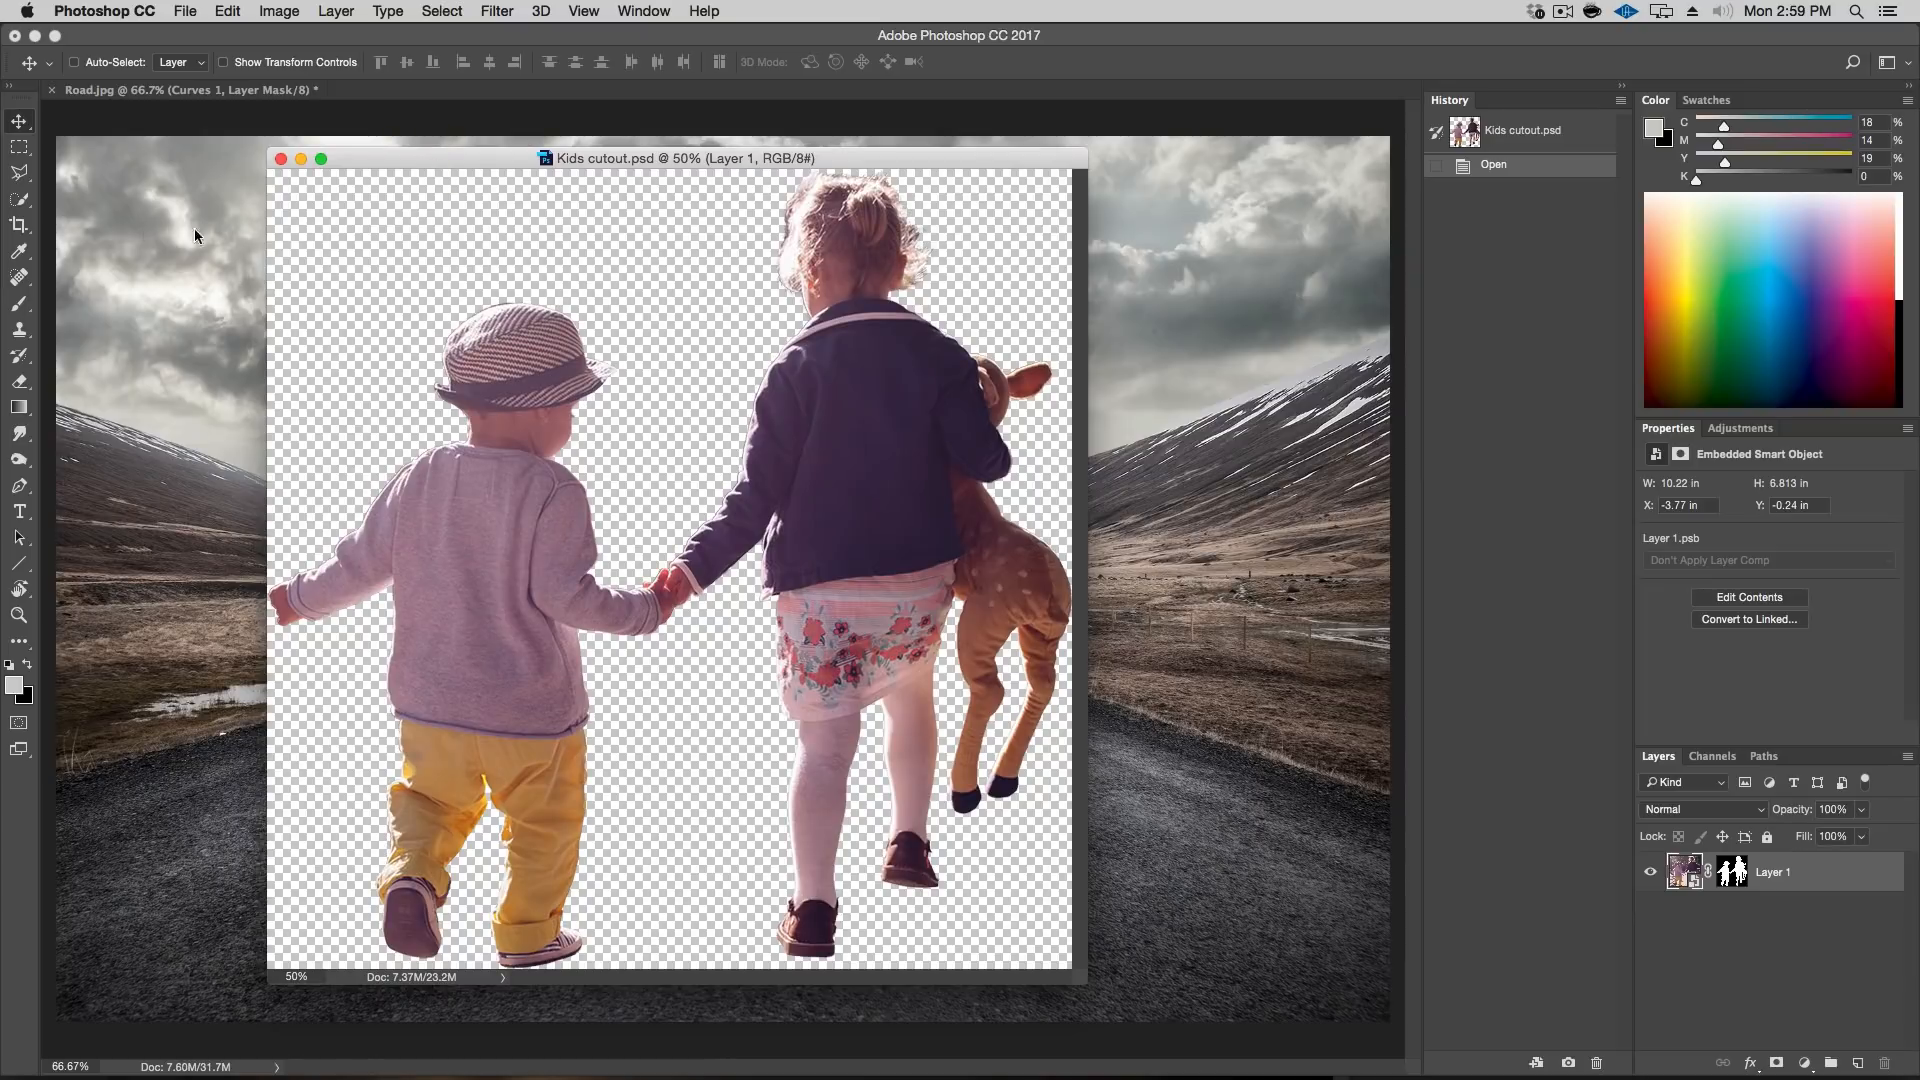
- Resize and position the kids layer as necessary.
- Color correct the kids layer using the Camera Raw Filter, cooling the temperature, darkening exposure, increasing contrast and clarity, and reducing vibrance.
- Create a duplicate of the kids layer and set its blending mode to Screen. This will serve as the basis for the highlights.
- Apply glow effects to the kids layer to have a realistic light effect on their edges.
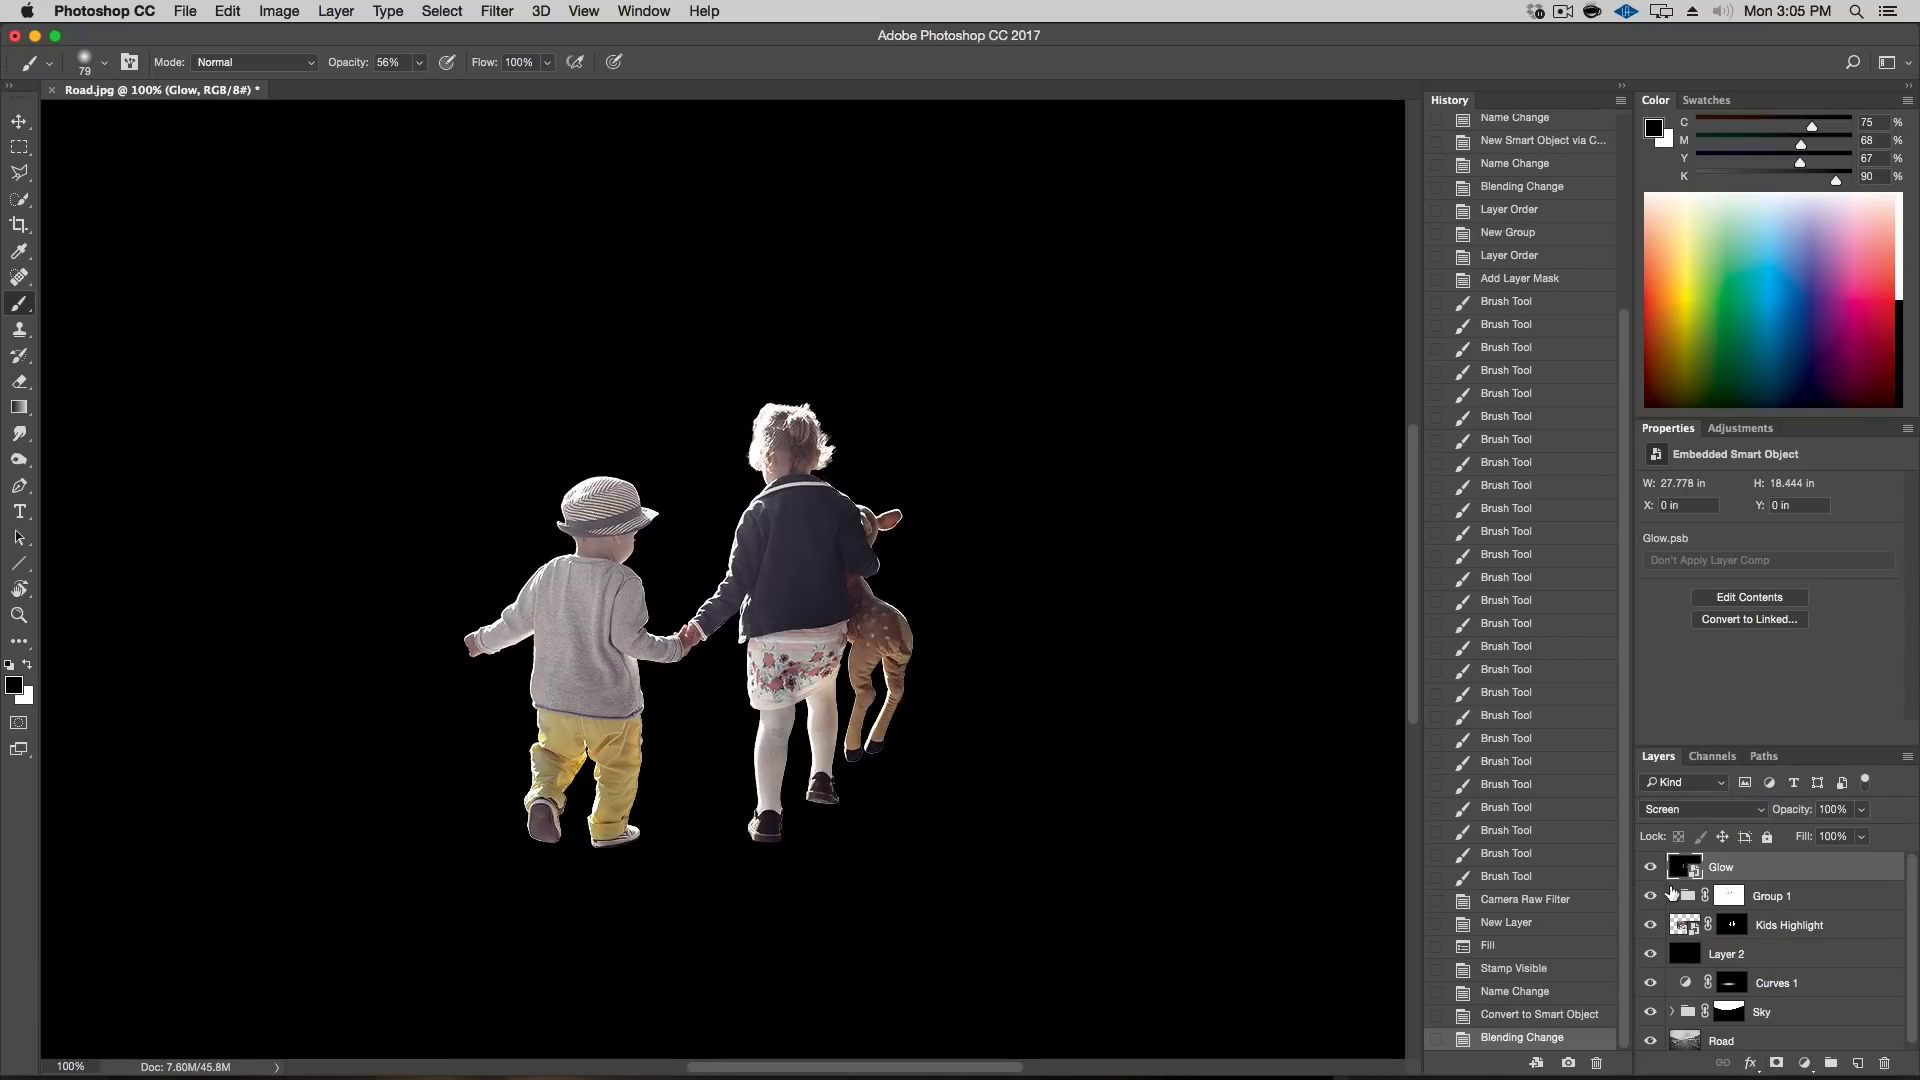
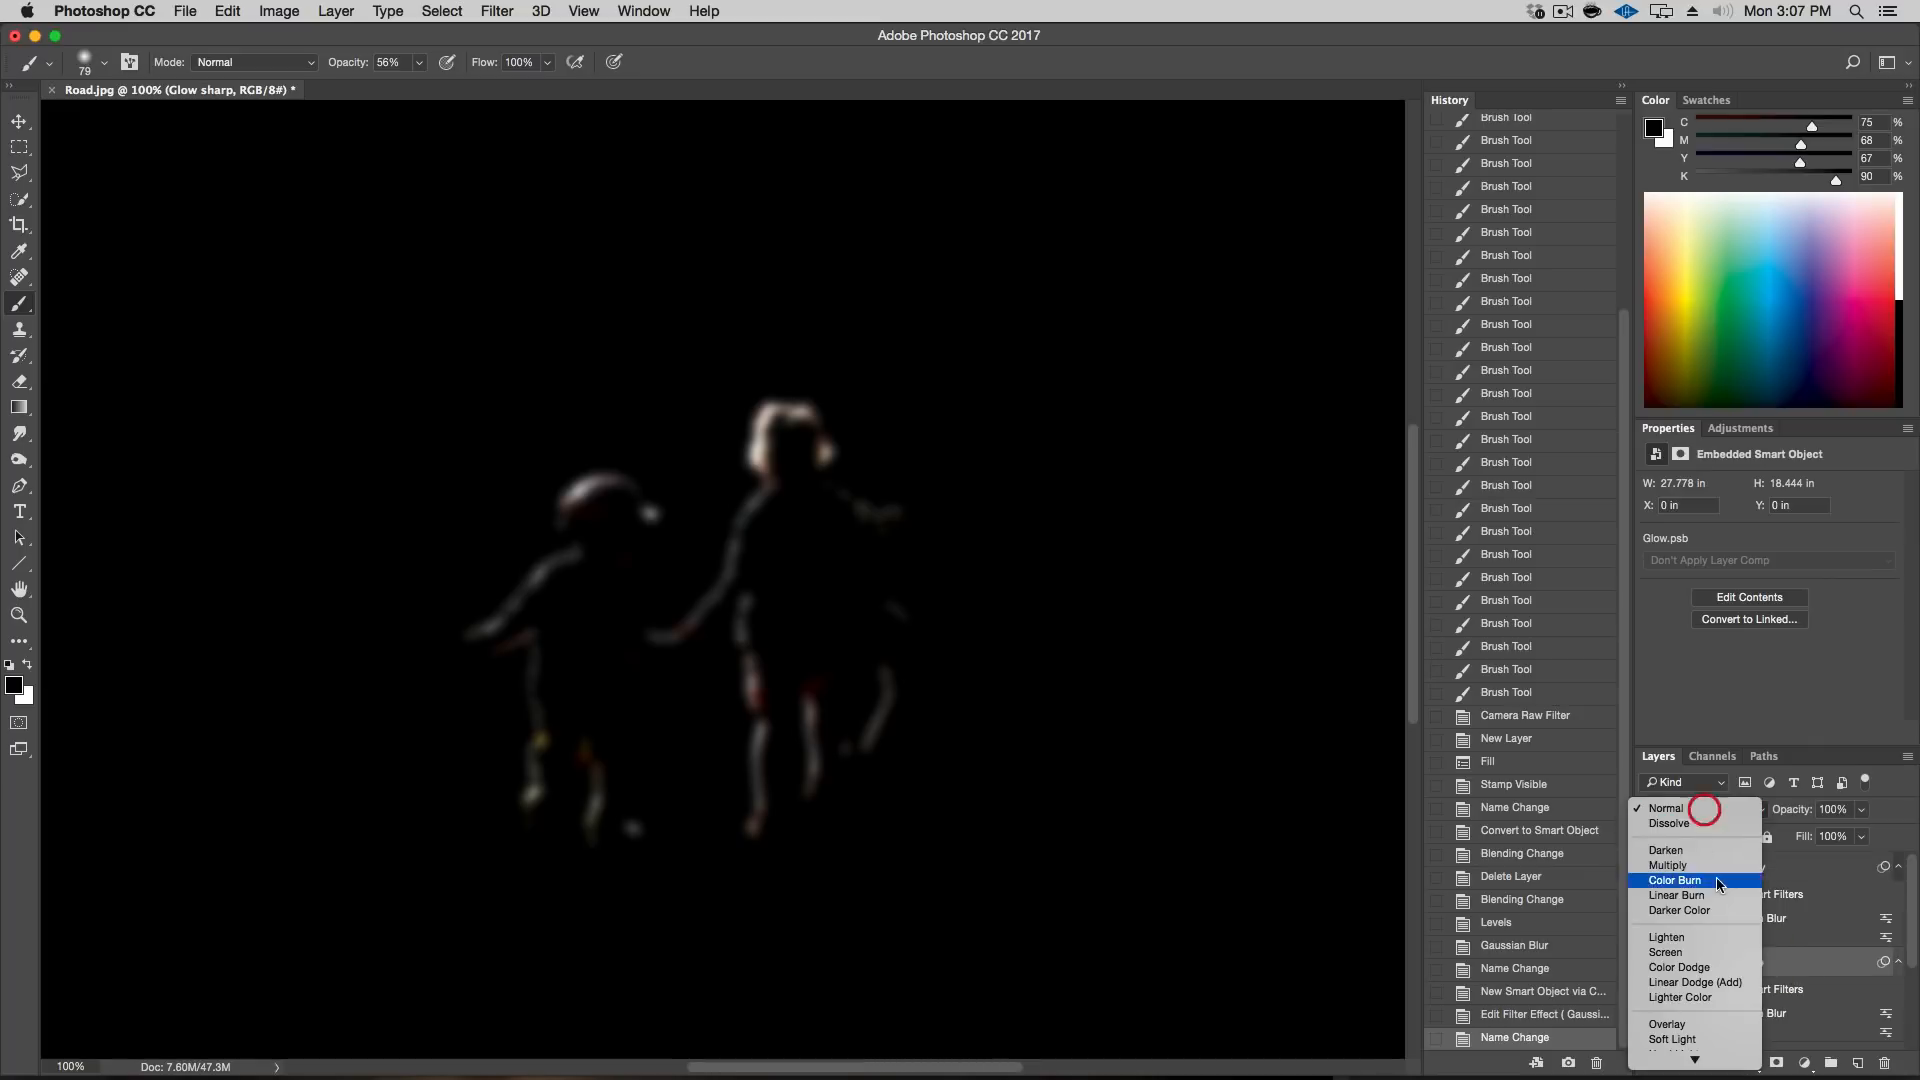
- Mask out the edges of the kids layer to blend better with the background, revealing the screen-mode highlights behind it.
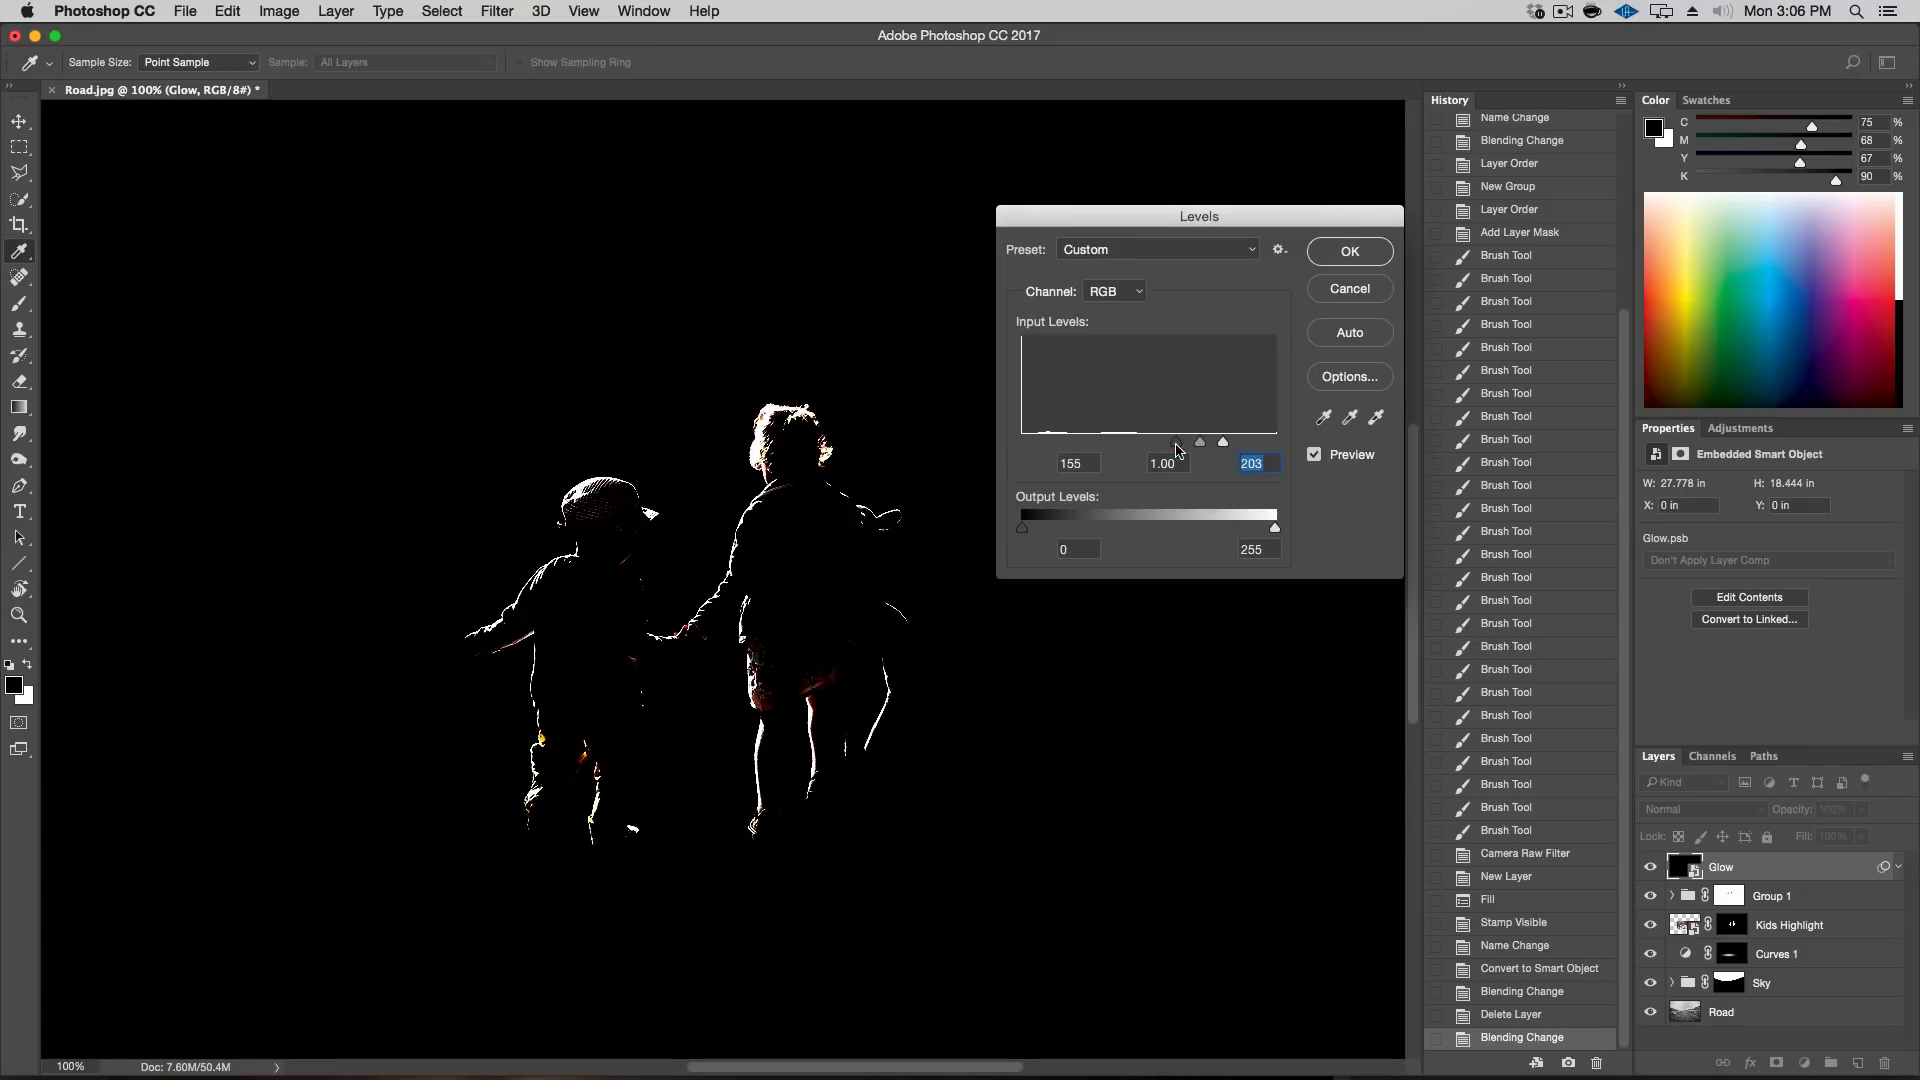
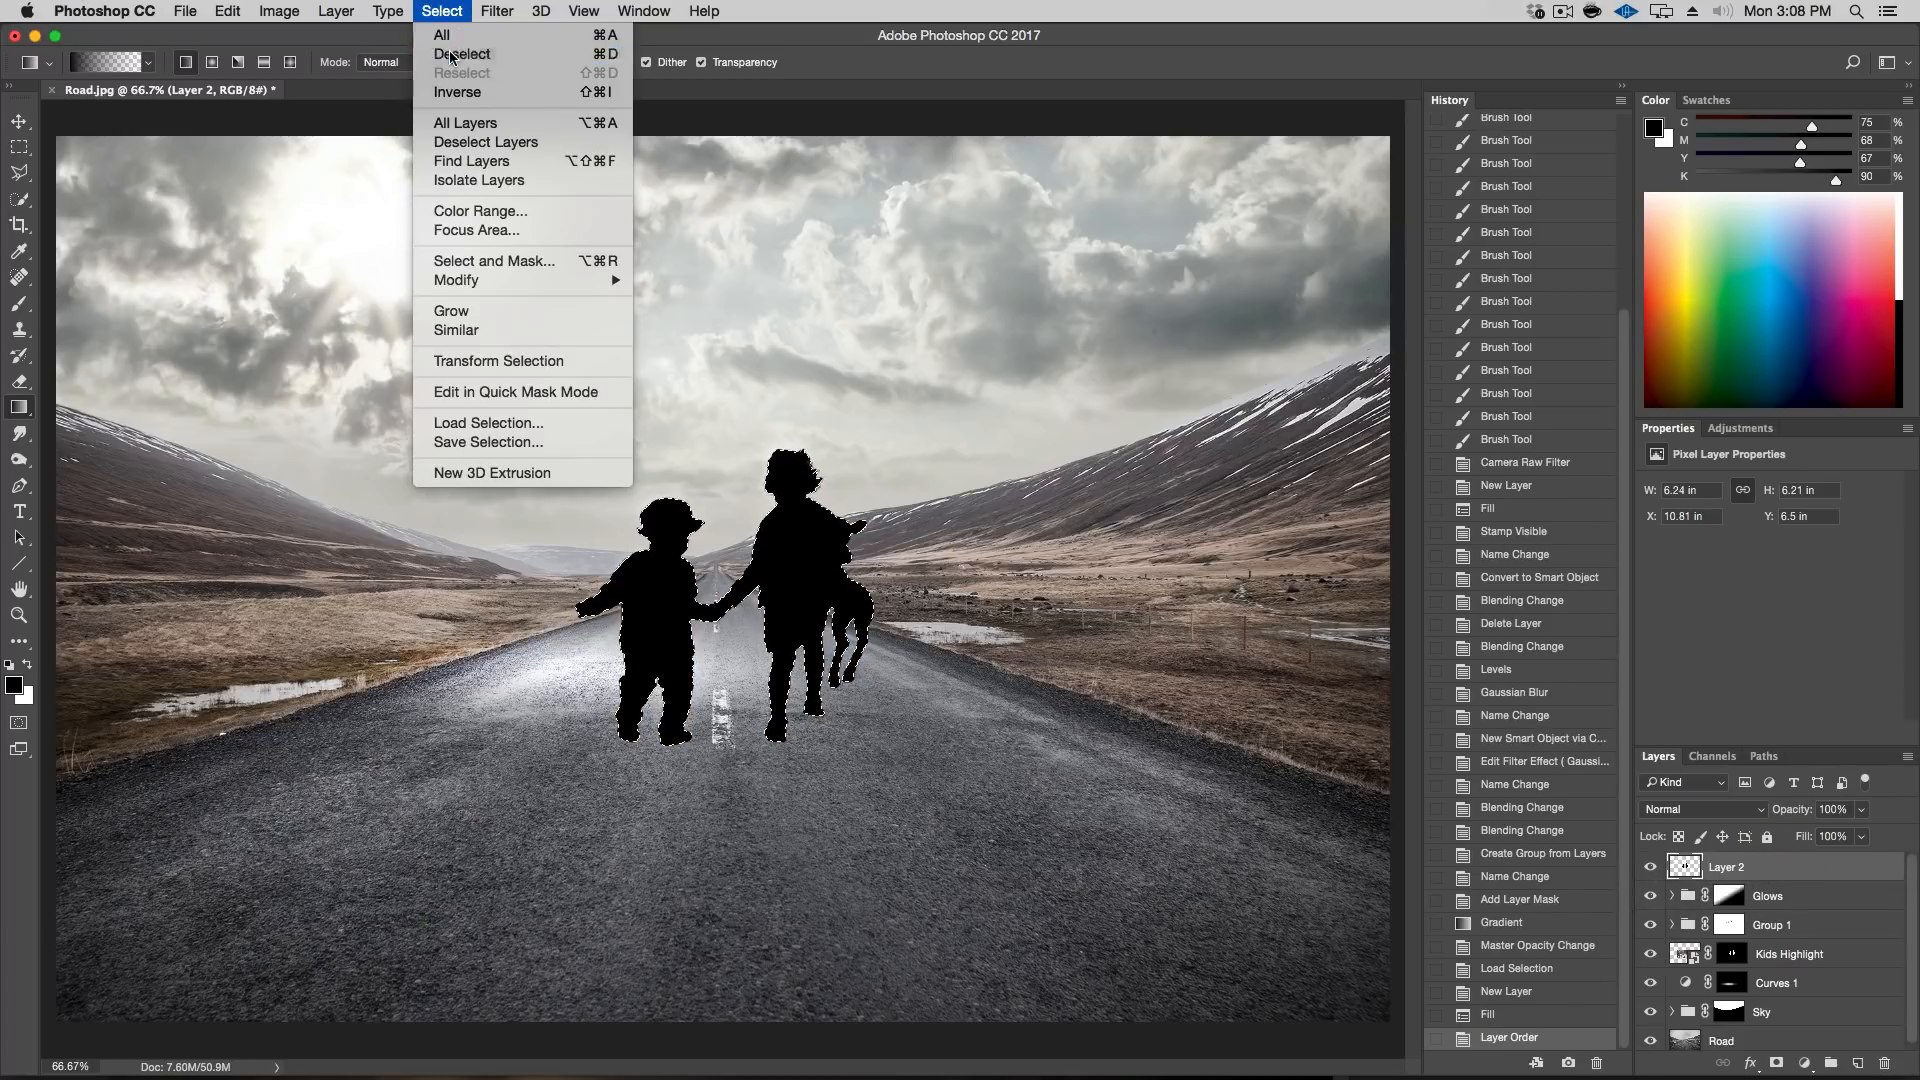
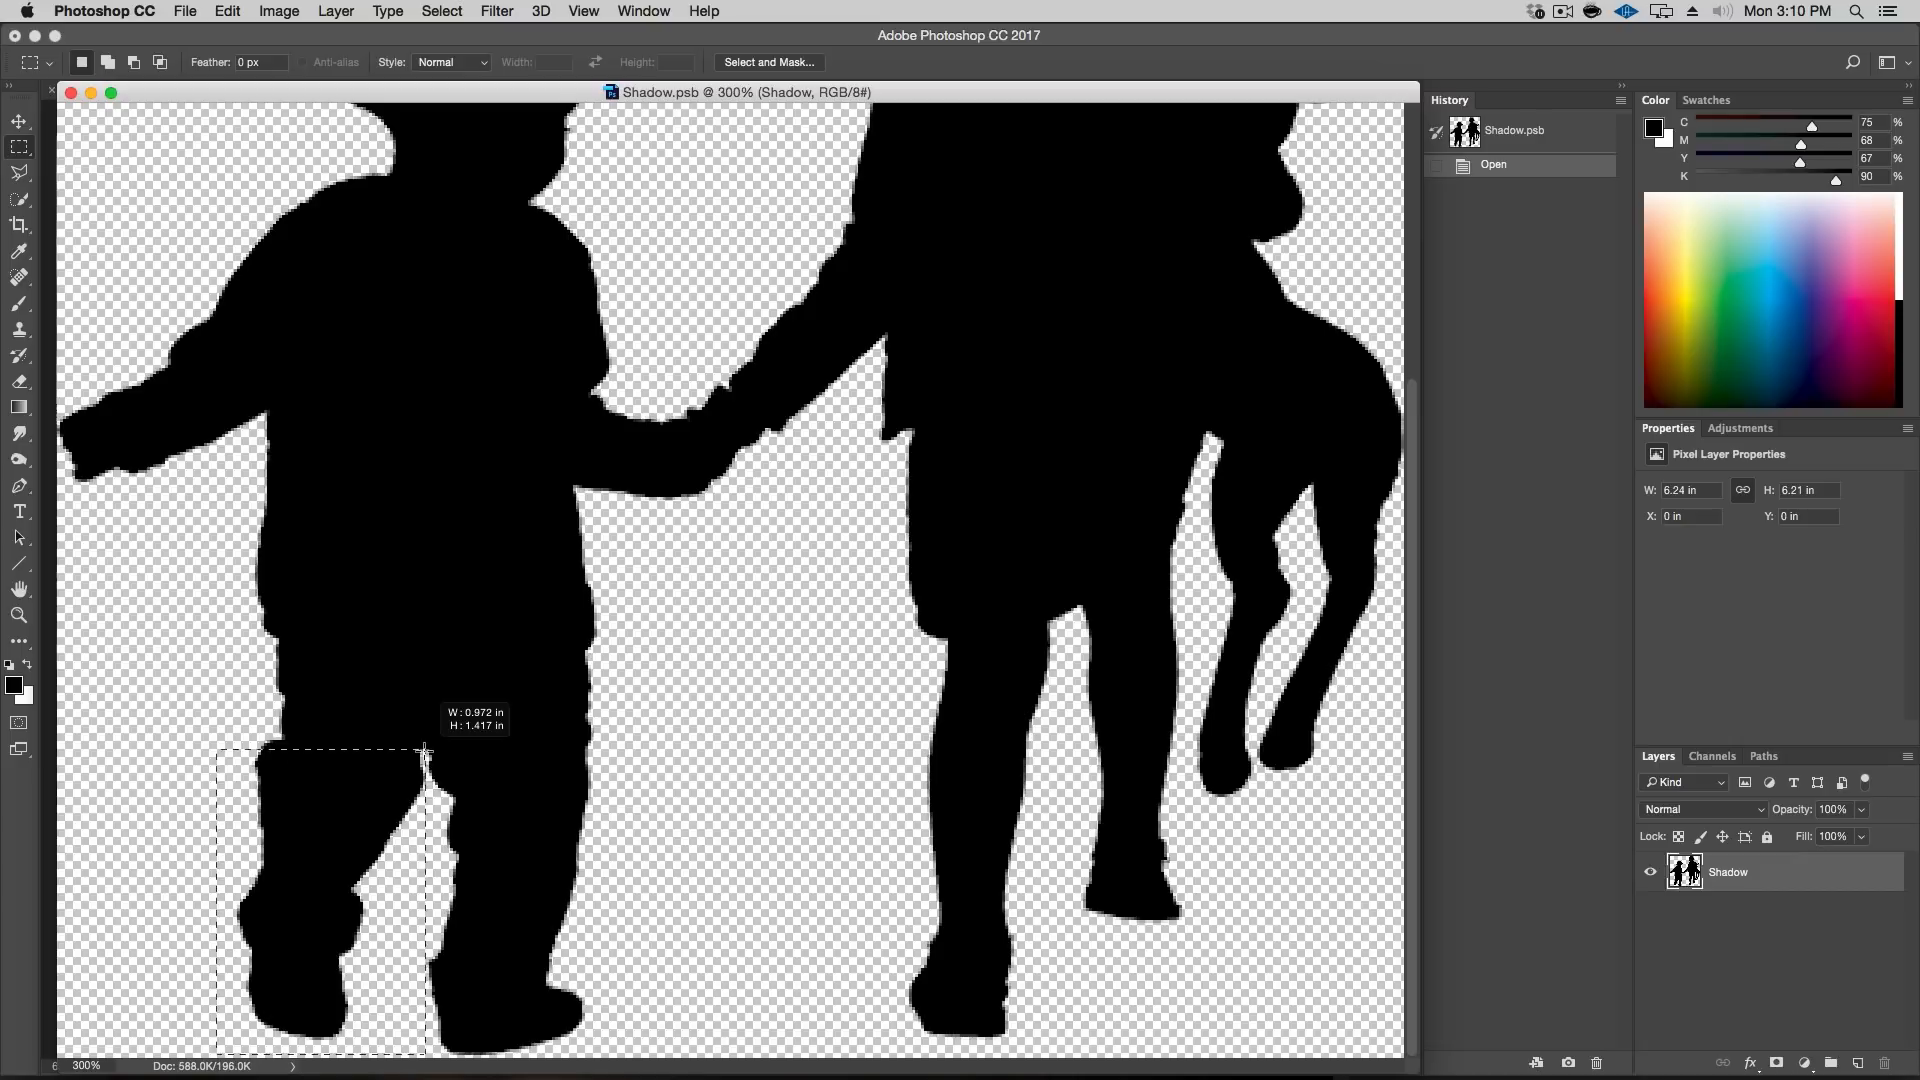
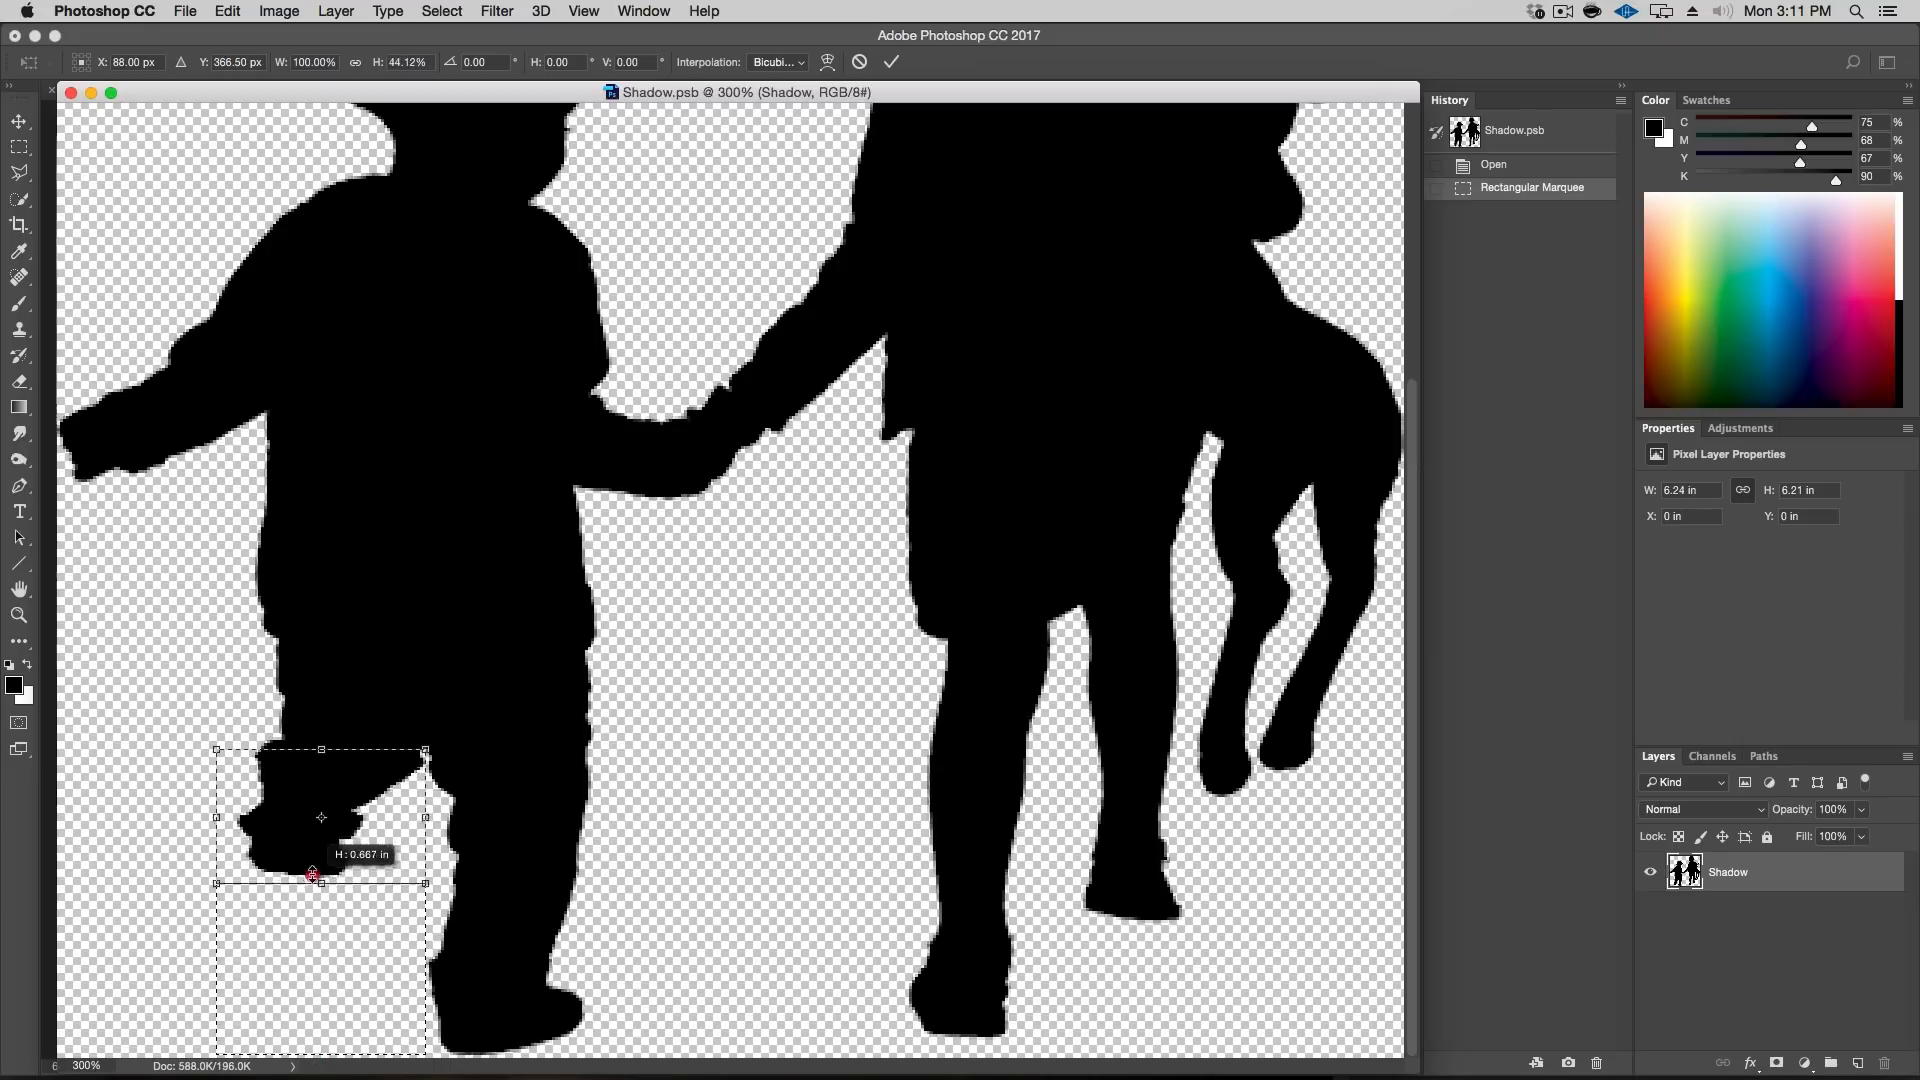
- Create a new layer, load the selection of the kids, and fill it with black to create the shadow layer.
- Convert the shadow layer into a smart object and position it beneath the kids layer.
- Transform and distort the shadow layer to match the angle and direction of the light source in the scene.
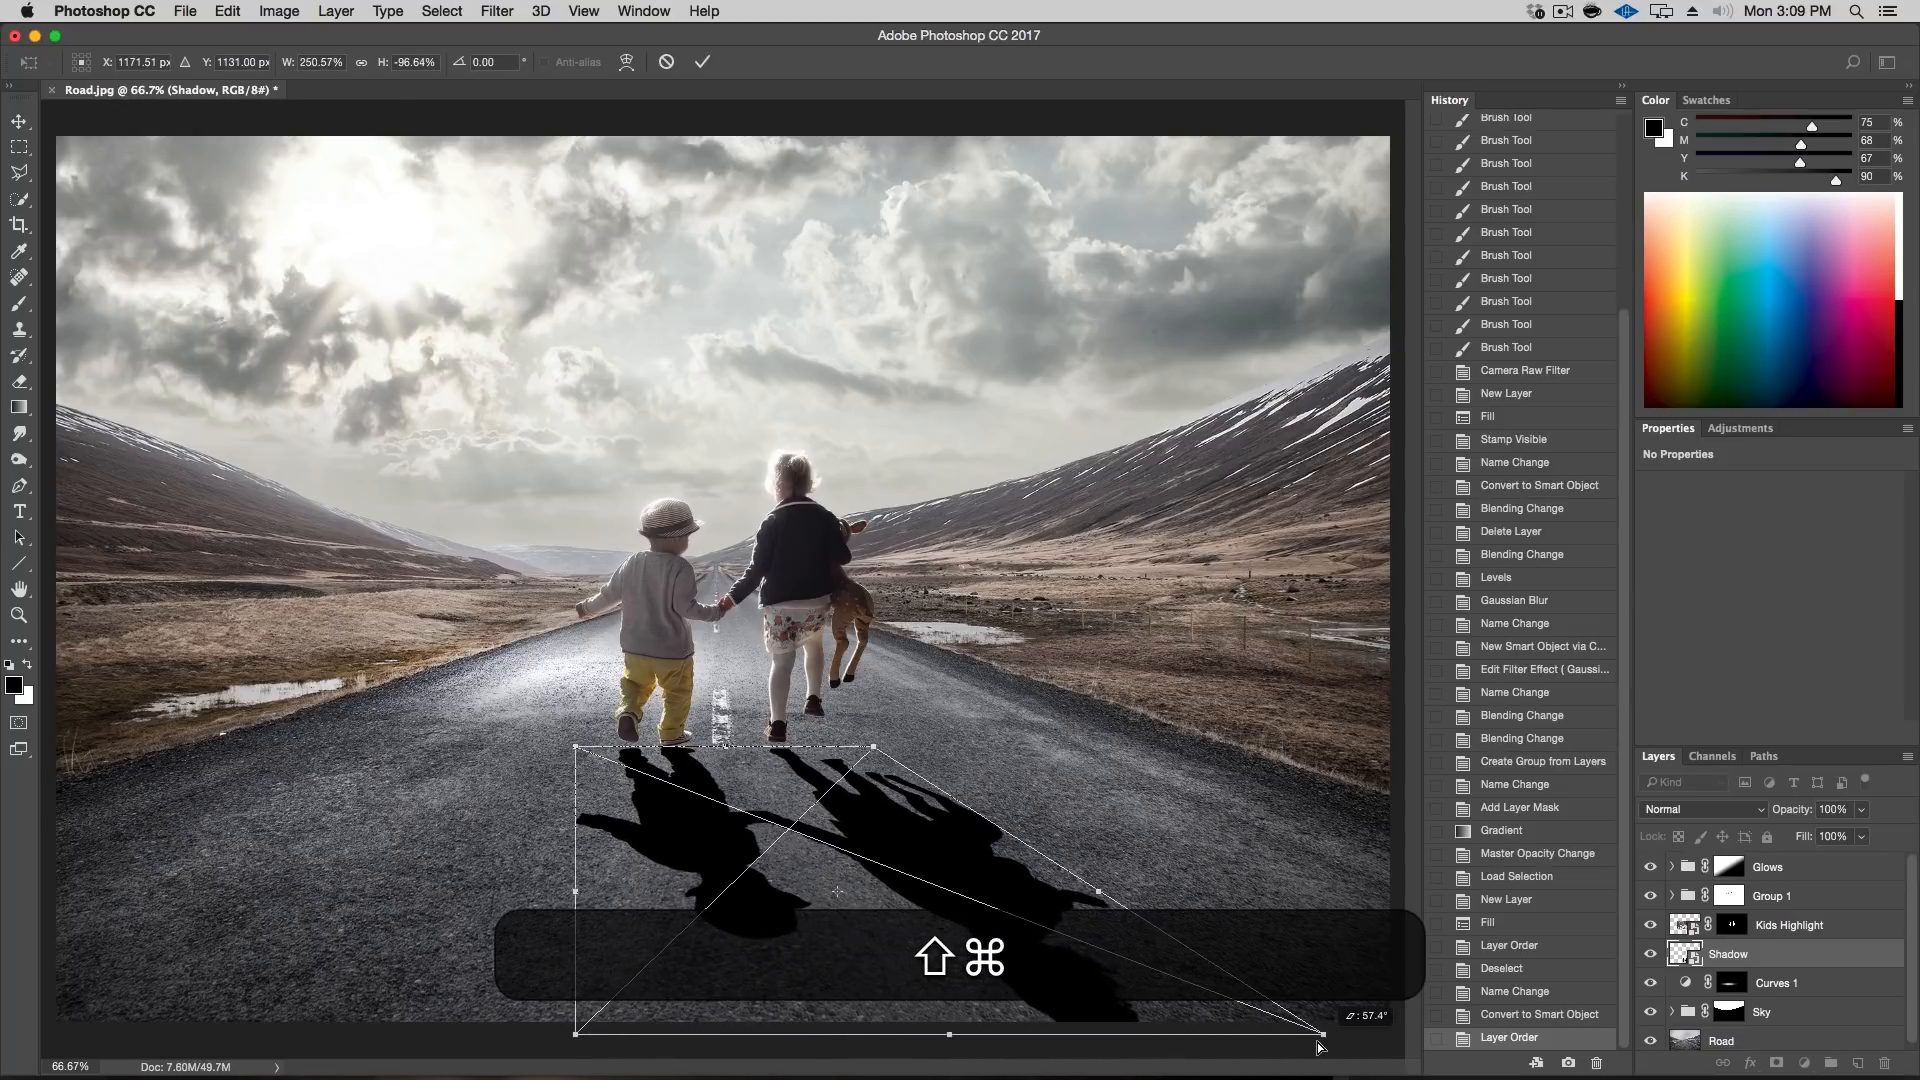
- Click into the smart object and transform the kid’s left foot that is in the air up. So it does not touch the ground.
- Adjust the opacity of the shadow layer and add a layer mask with a gradient to make the shadow fade out over distance.
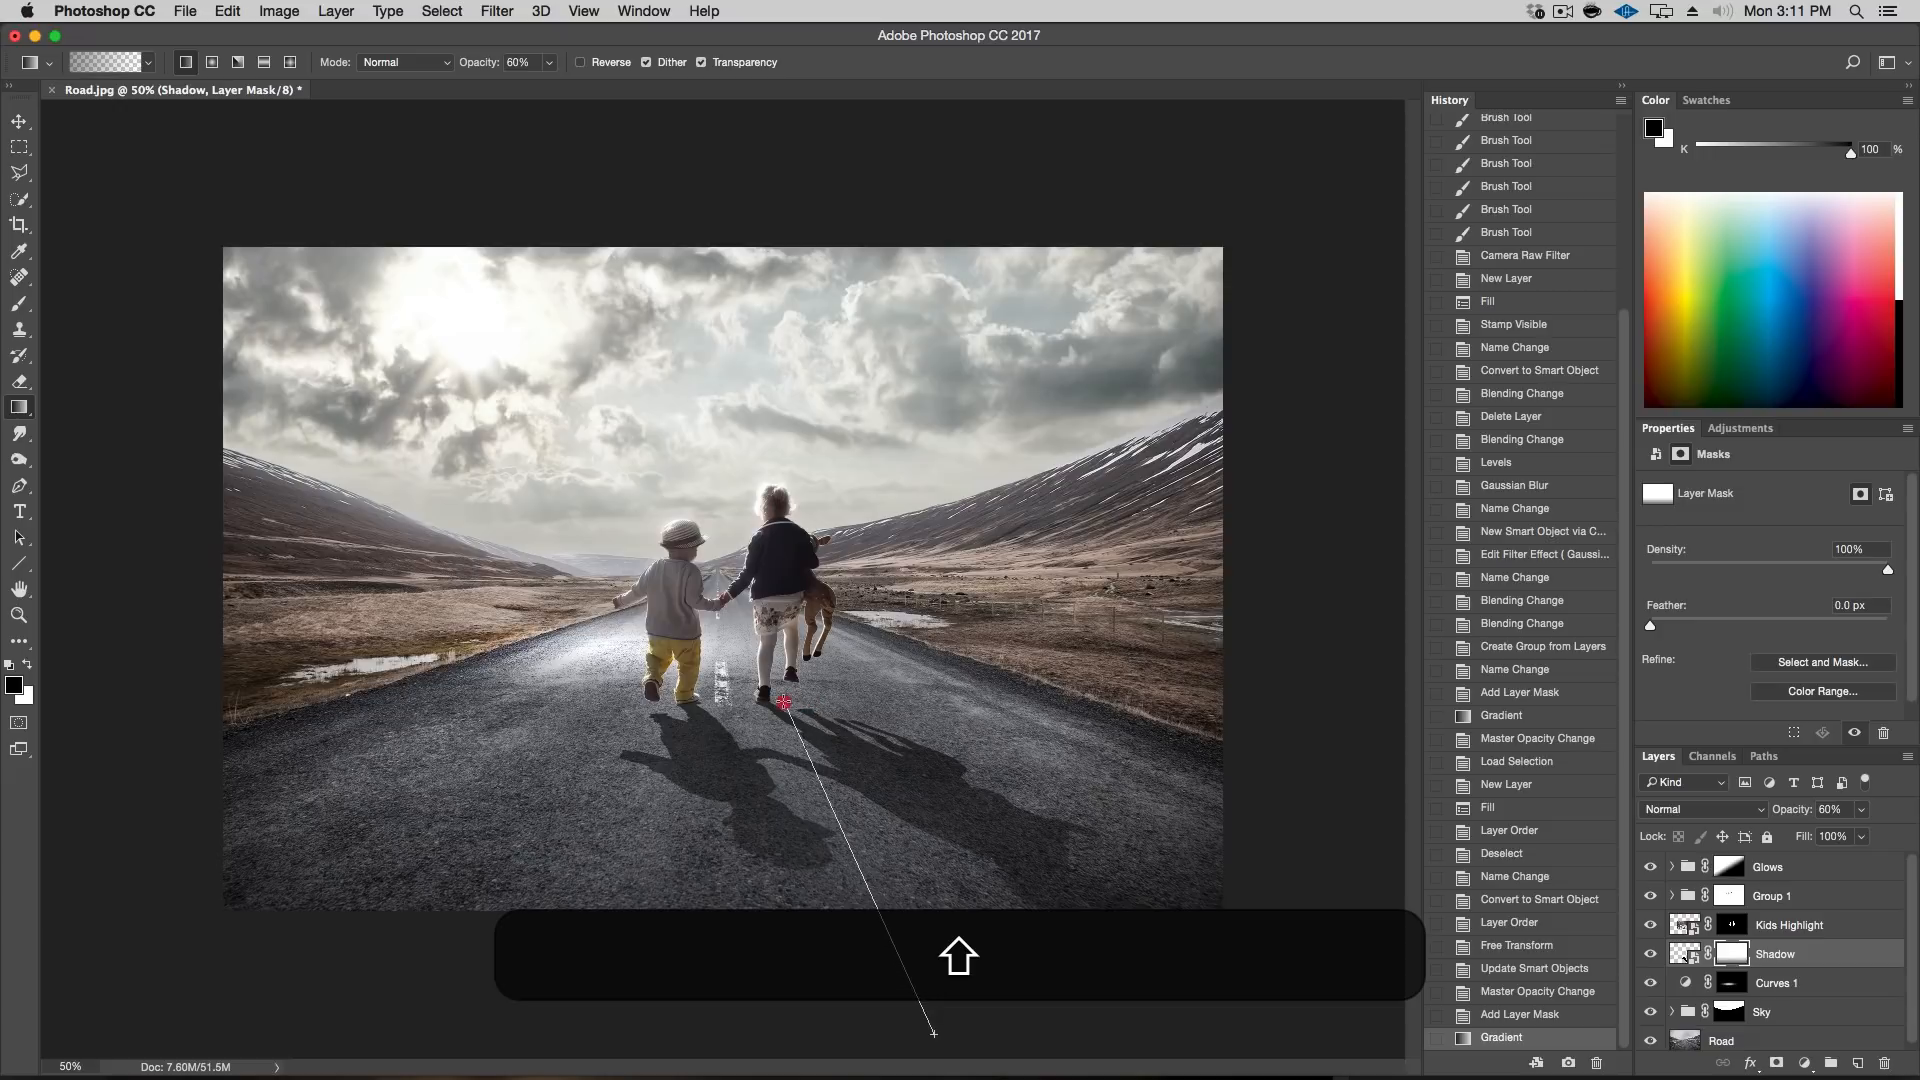
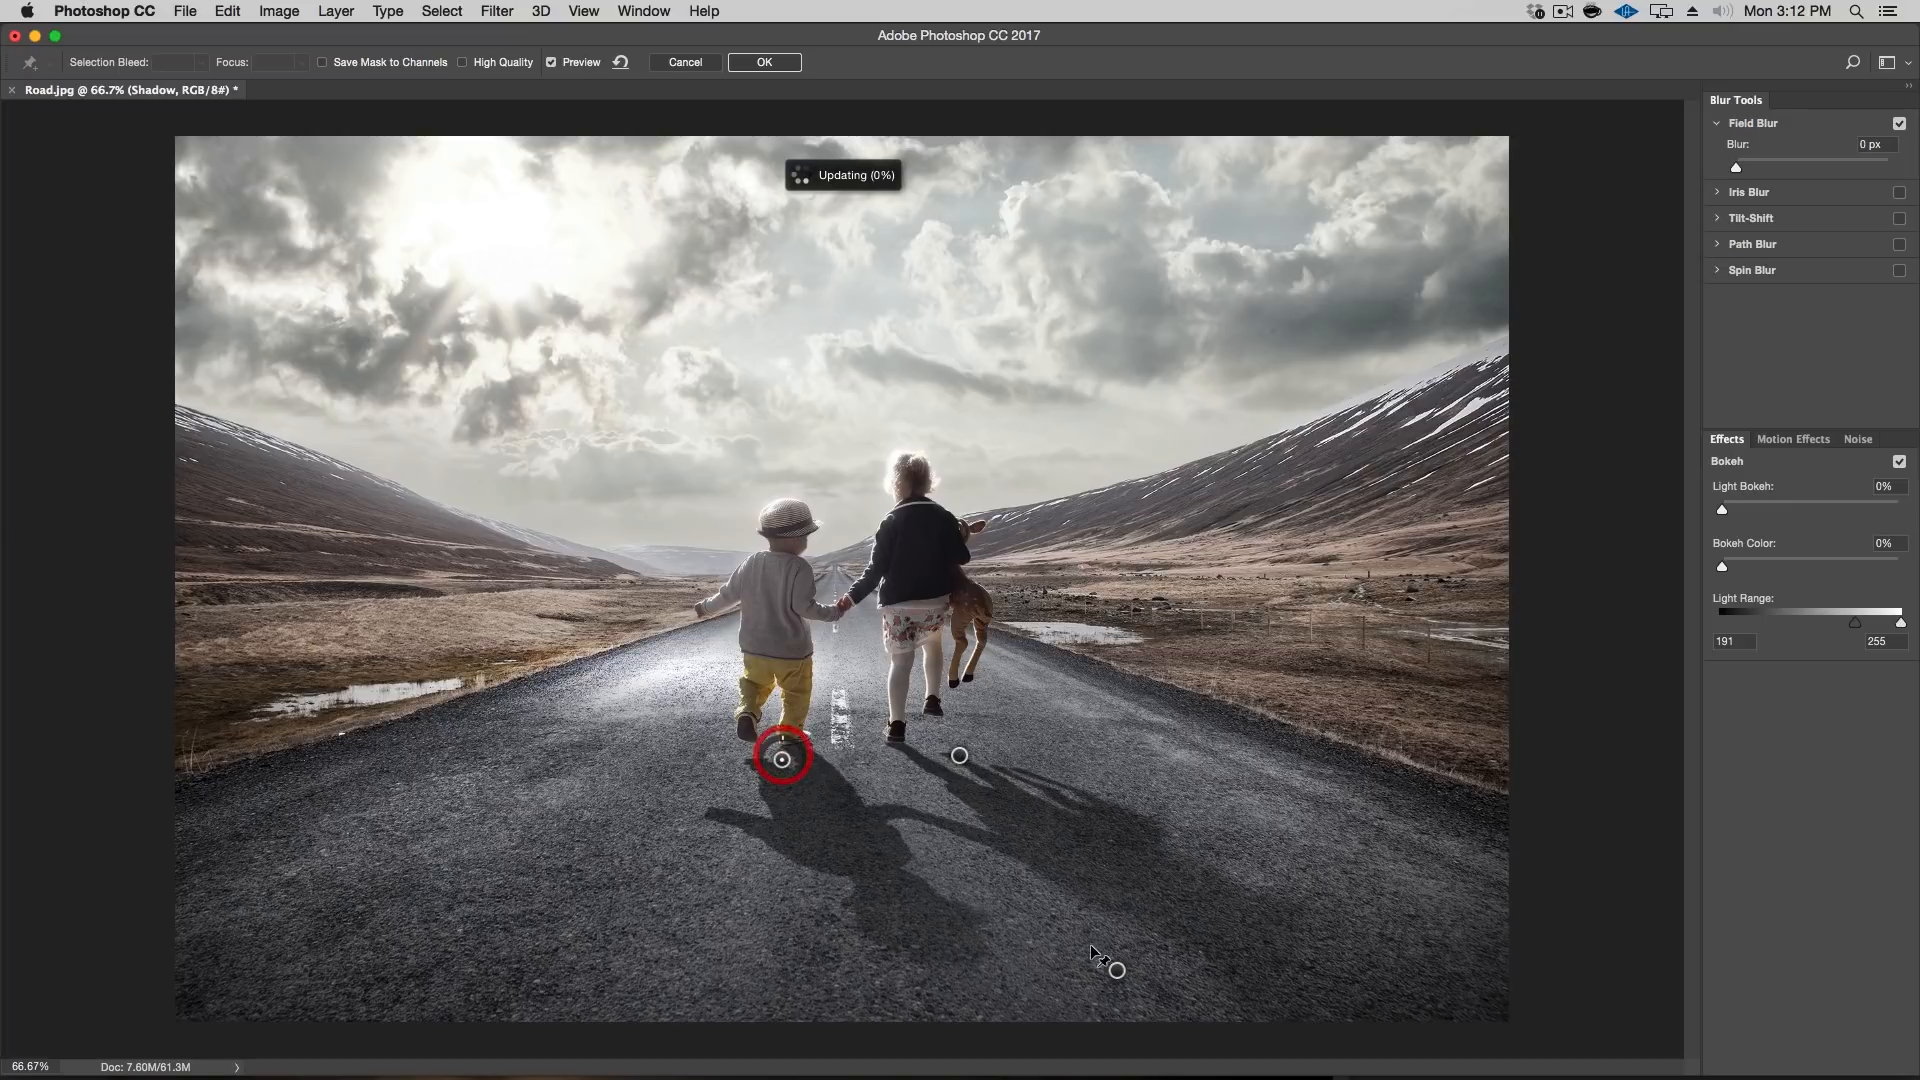
- Apply field blur to the shadow layer to make it blurrier as it gets farther from the kids.
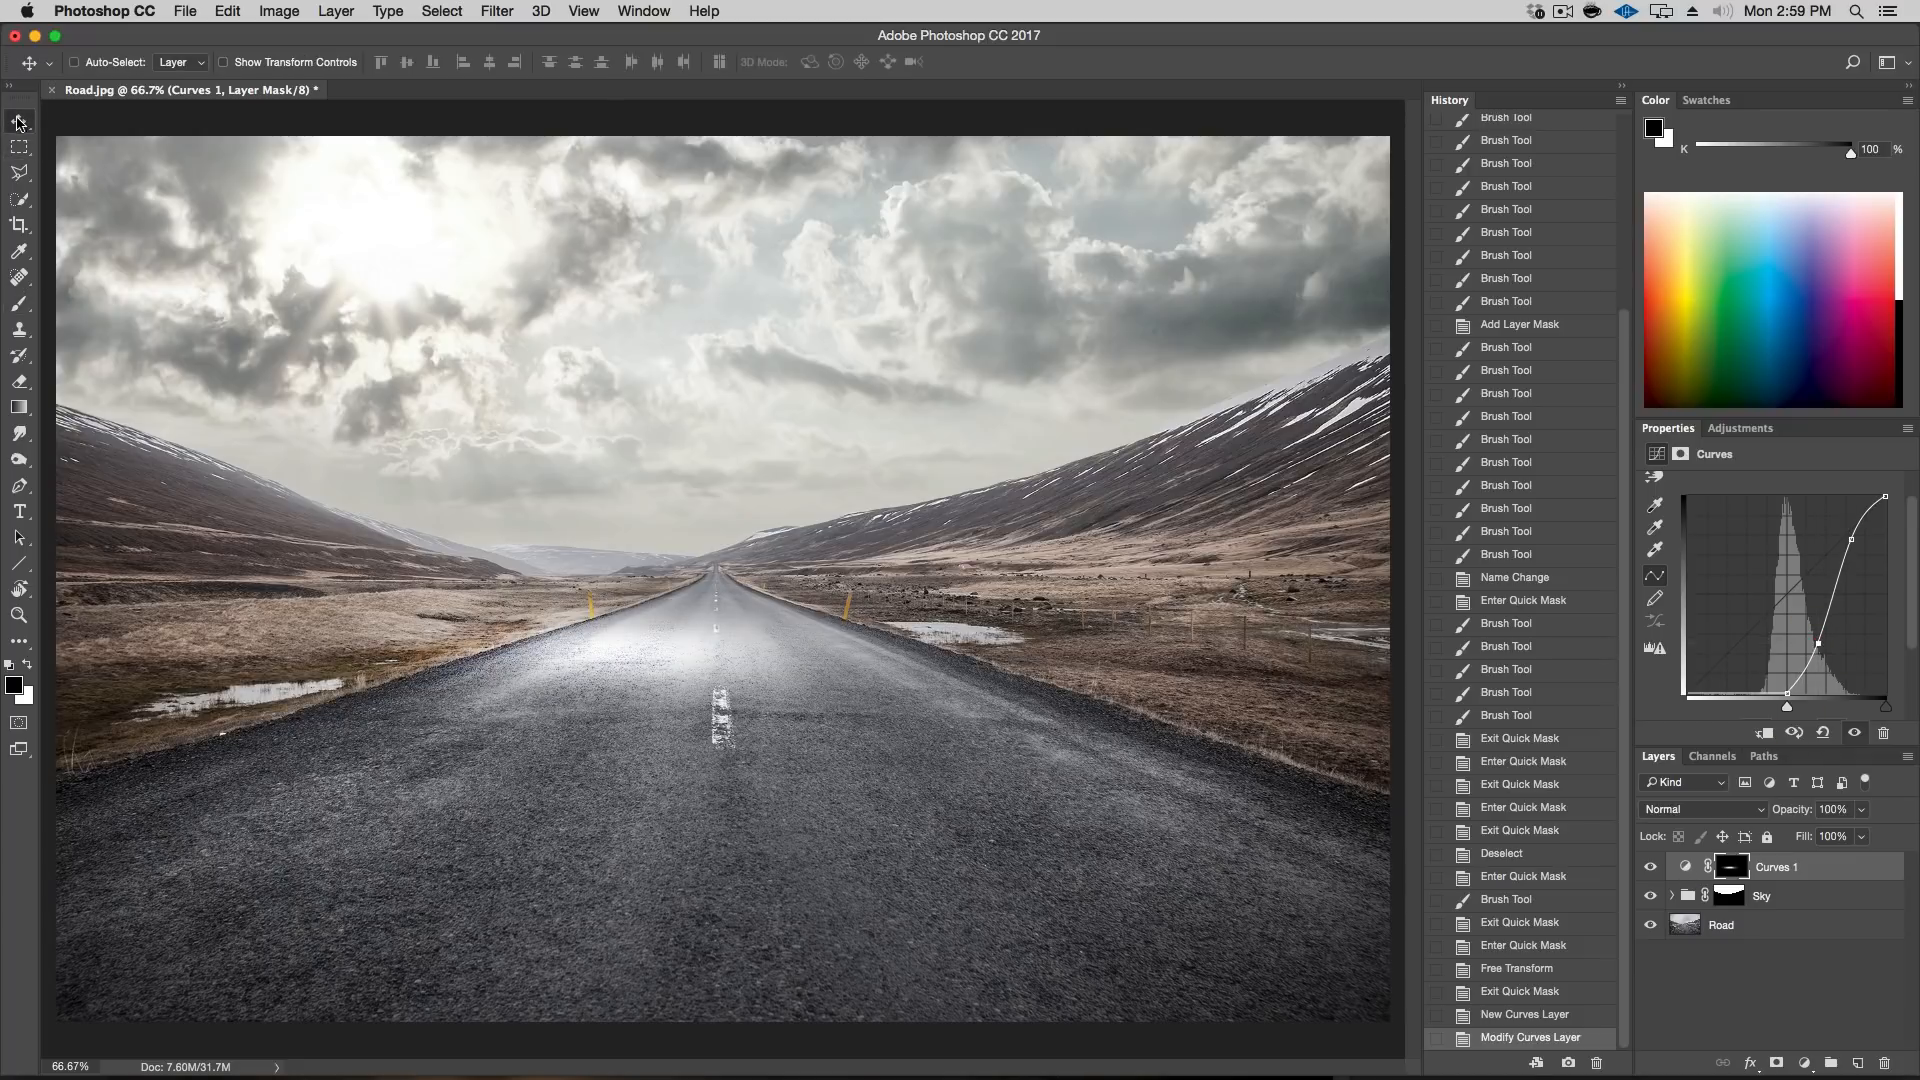
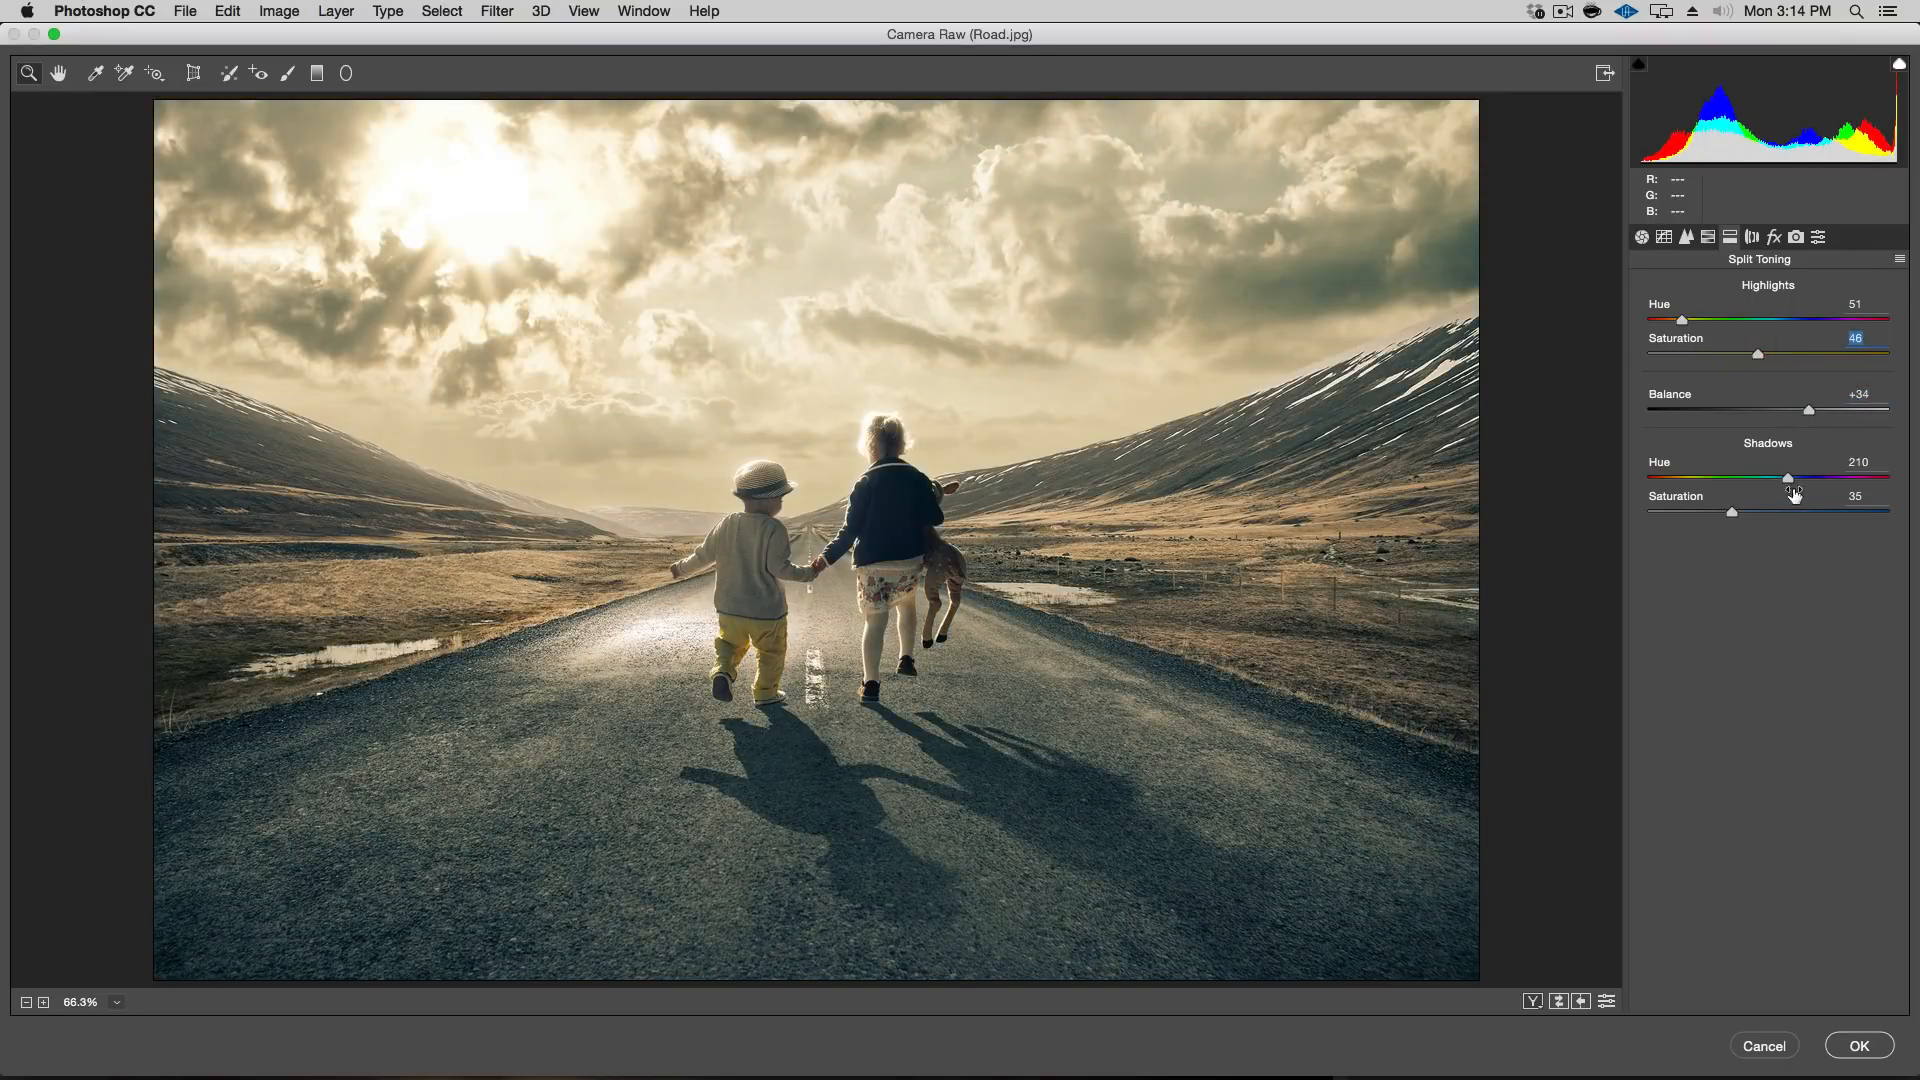
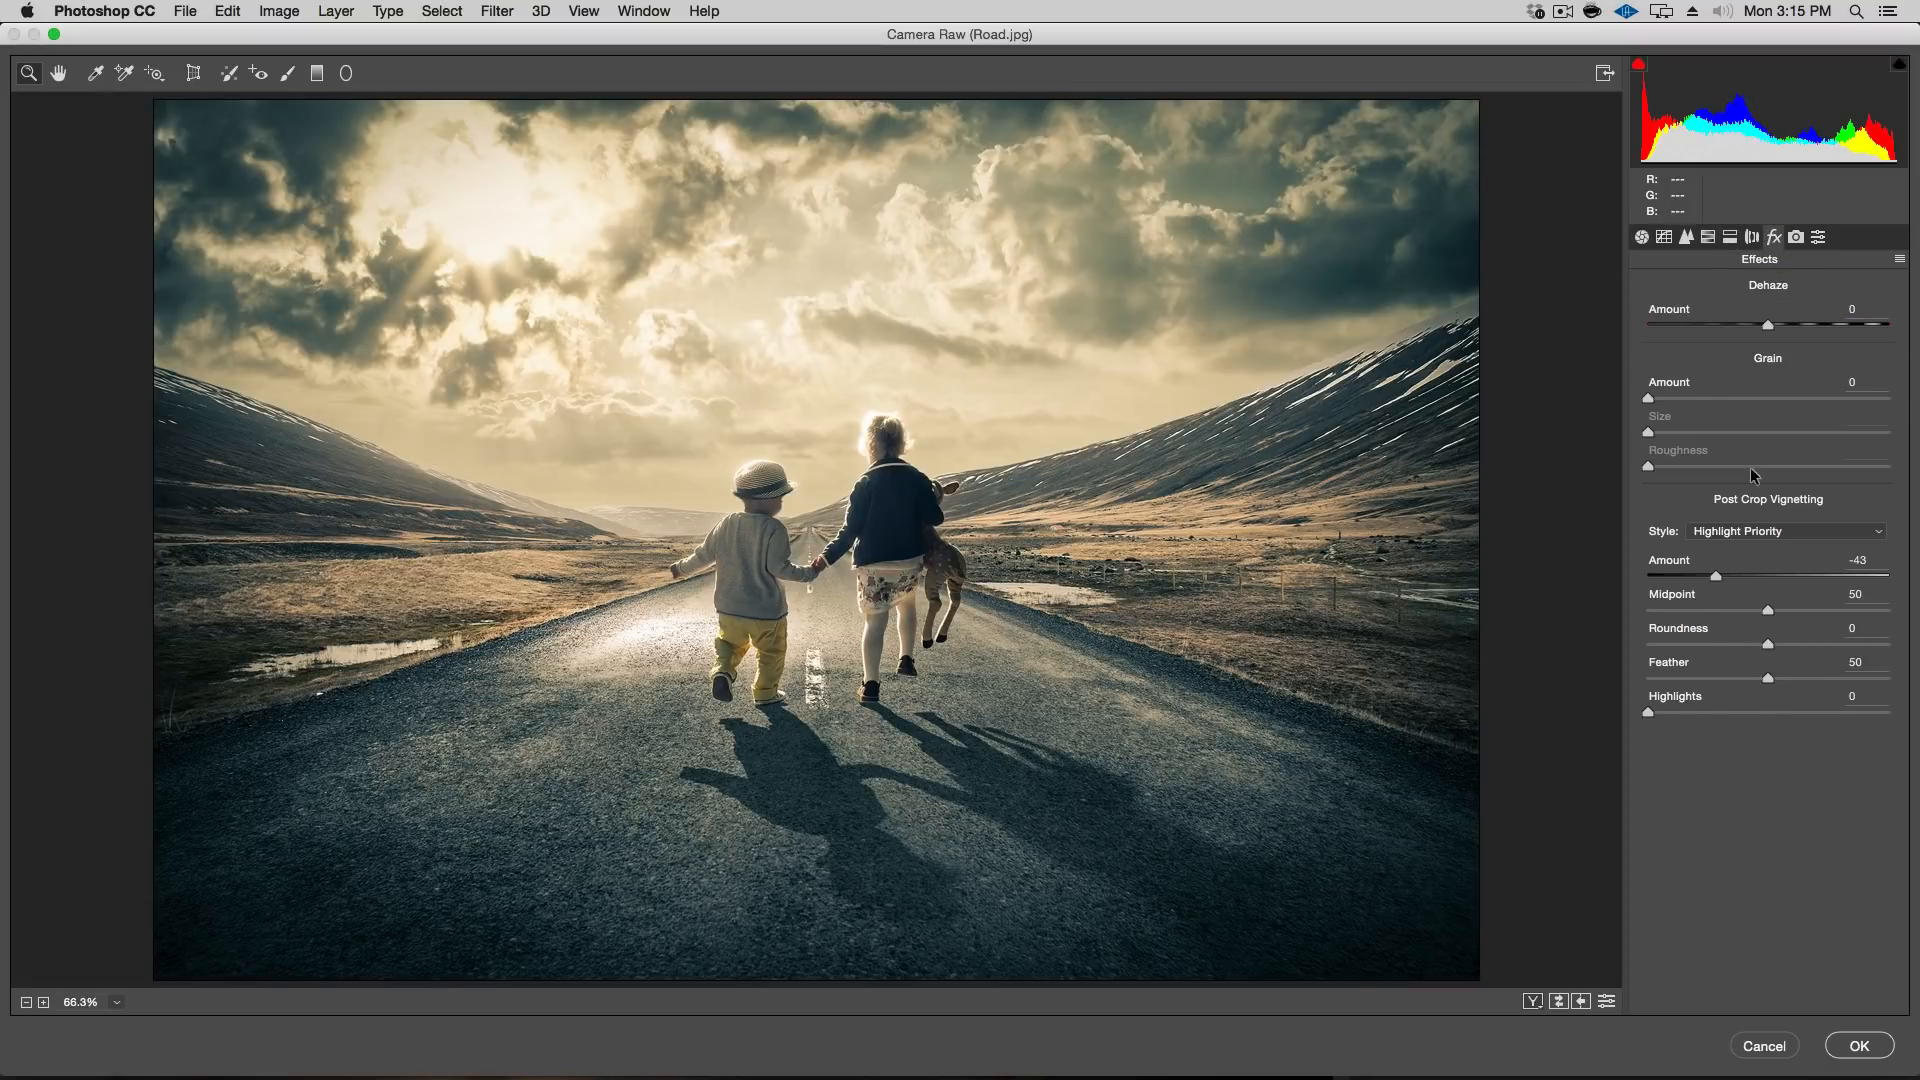
- Now let’s do an overall color correction. Press command + alt + shift + e to create a new image. We’ll call this overall correction. Then turn this into a smart object and apply a camera raw edit to it. First let’s do split toning.
- Now add clarity to the image.
- Add postcrop vignetting to bring it all together and give the image a subtle “frame”.
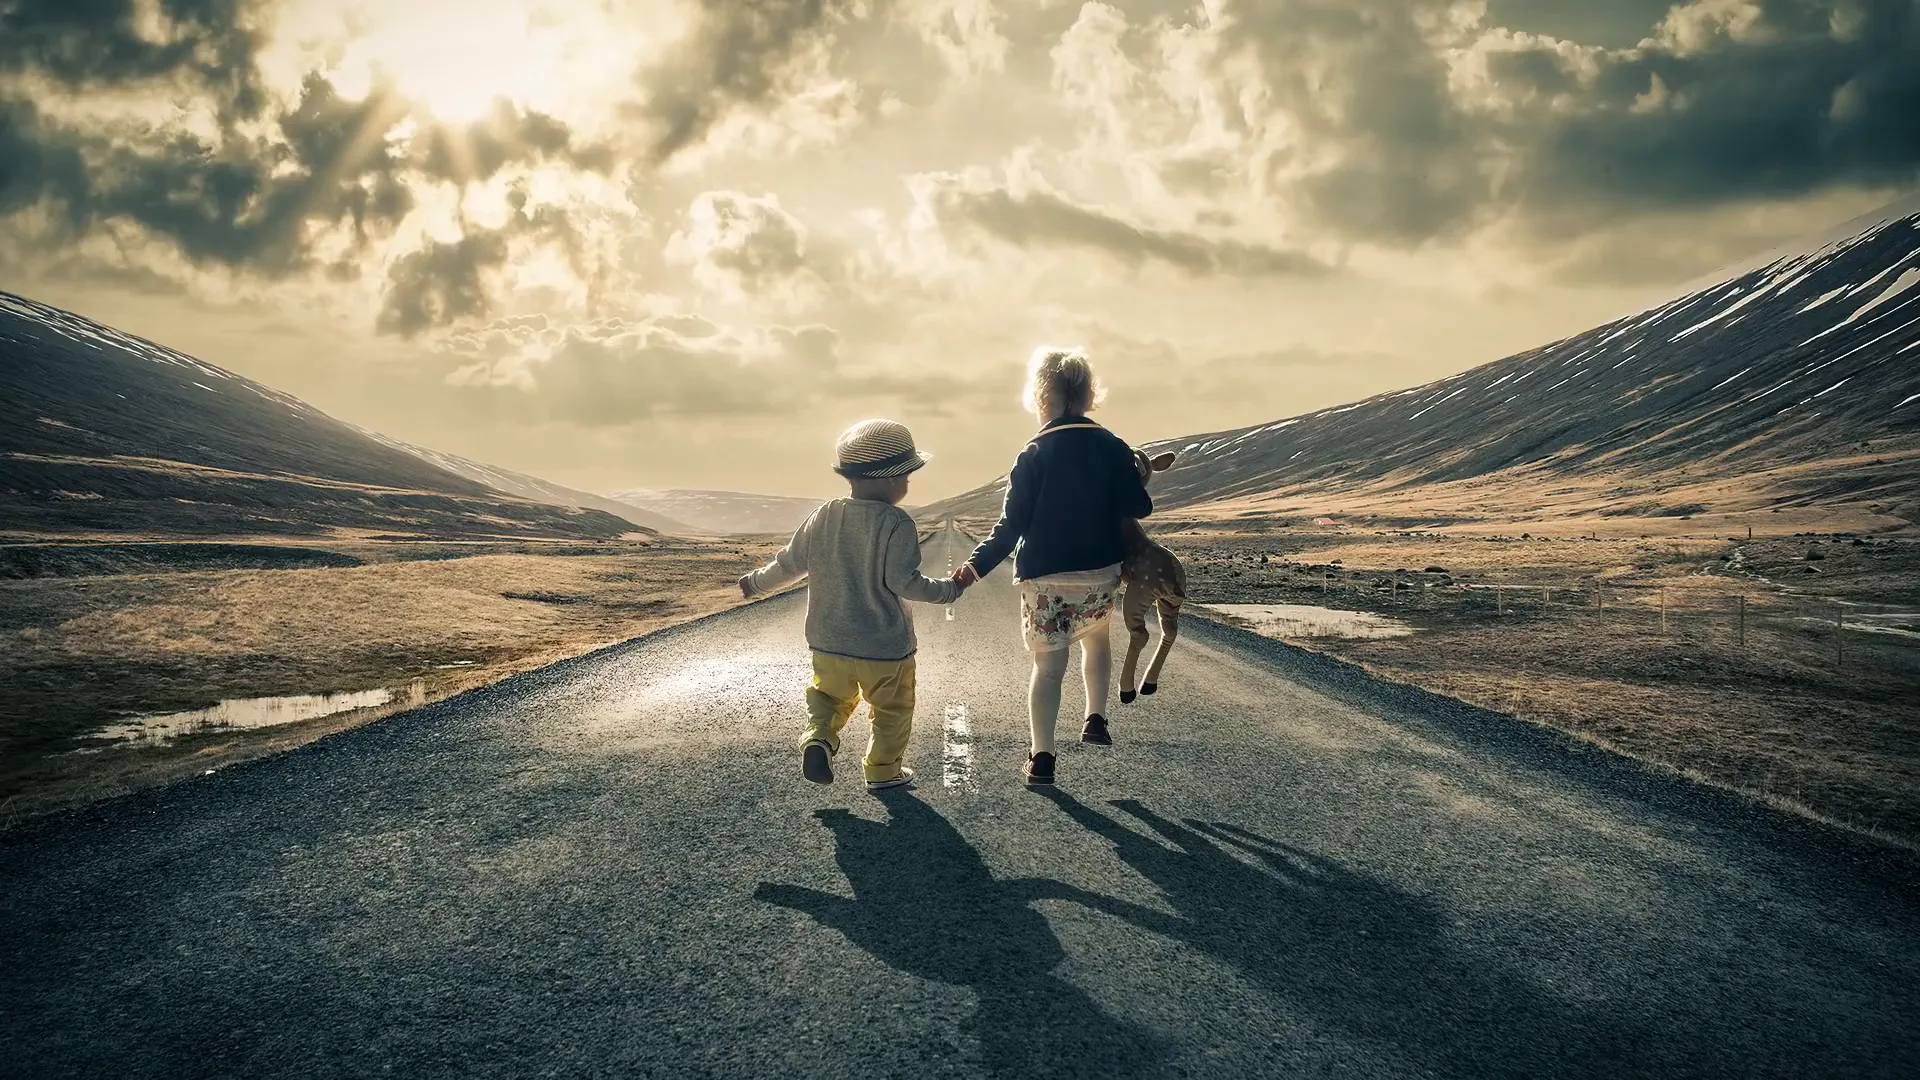
Final result with added shadows in Photoshop
That’s it! You’ve successfully added a realistic shadow to the scene in Photoshop following the light source, angle, perspective, blur, and opacity. Don’t forget to like and share this tutorial, and subscribe to my YouTube channel for more Photoshop tips and tricks. Happy Photoshopping!
If you liked this tutorial on How to add Shadows in Photoshop make sure to check out Dramatic Lighting in Photoshop: A Step-by-Step Guide.