Color Correction
Why Your Colors Look Wrong After Editing (And How to Fix Them with Curves)
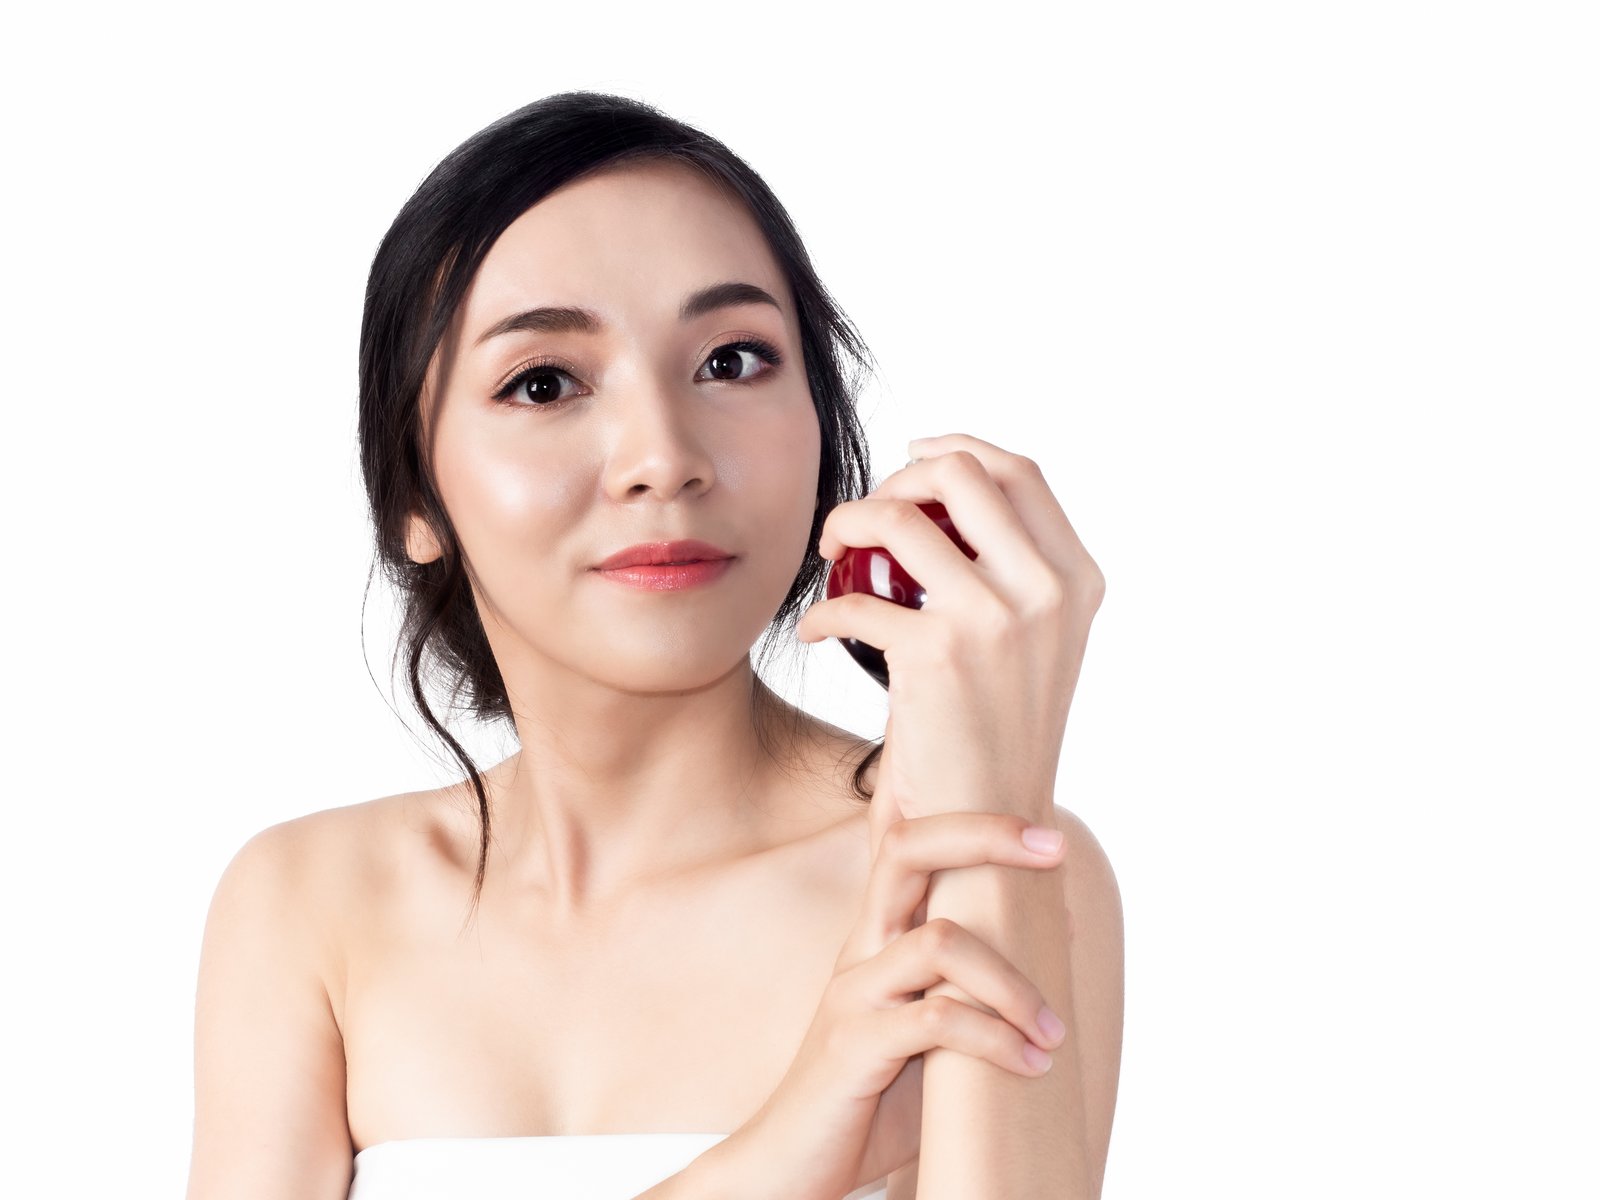
The Photo That Looked Perfect Until It Didn’t A few years ago I was finishing up a product shoot retouch for a skincare client. The image looked great on my center monitor, the one I use for active editing. I hit export, sent it over, and got a reply within ten minutes: “The skin looks green.” I looked at the file again. Sure enough, when I pulled it up on my right monitor, the model’s skin had a subtle but obvious green-green cast.