Photo Editing
Why Your Photos Look Worse After Editing (And How Raw Files Fix That)
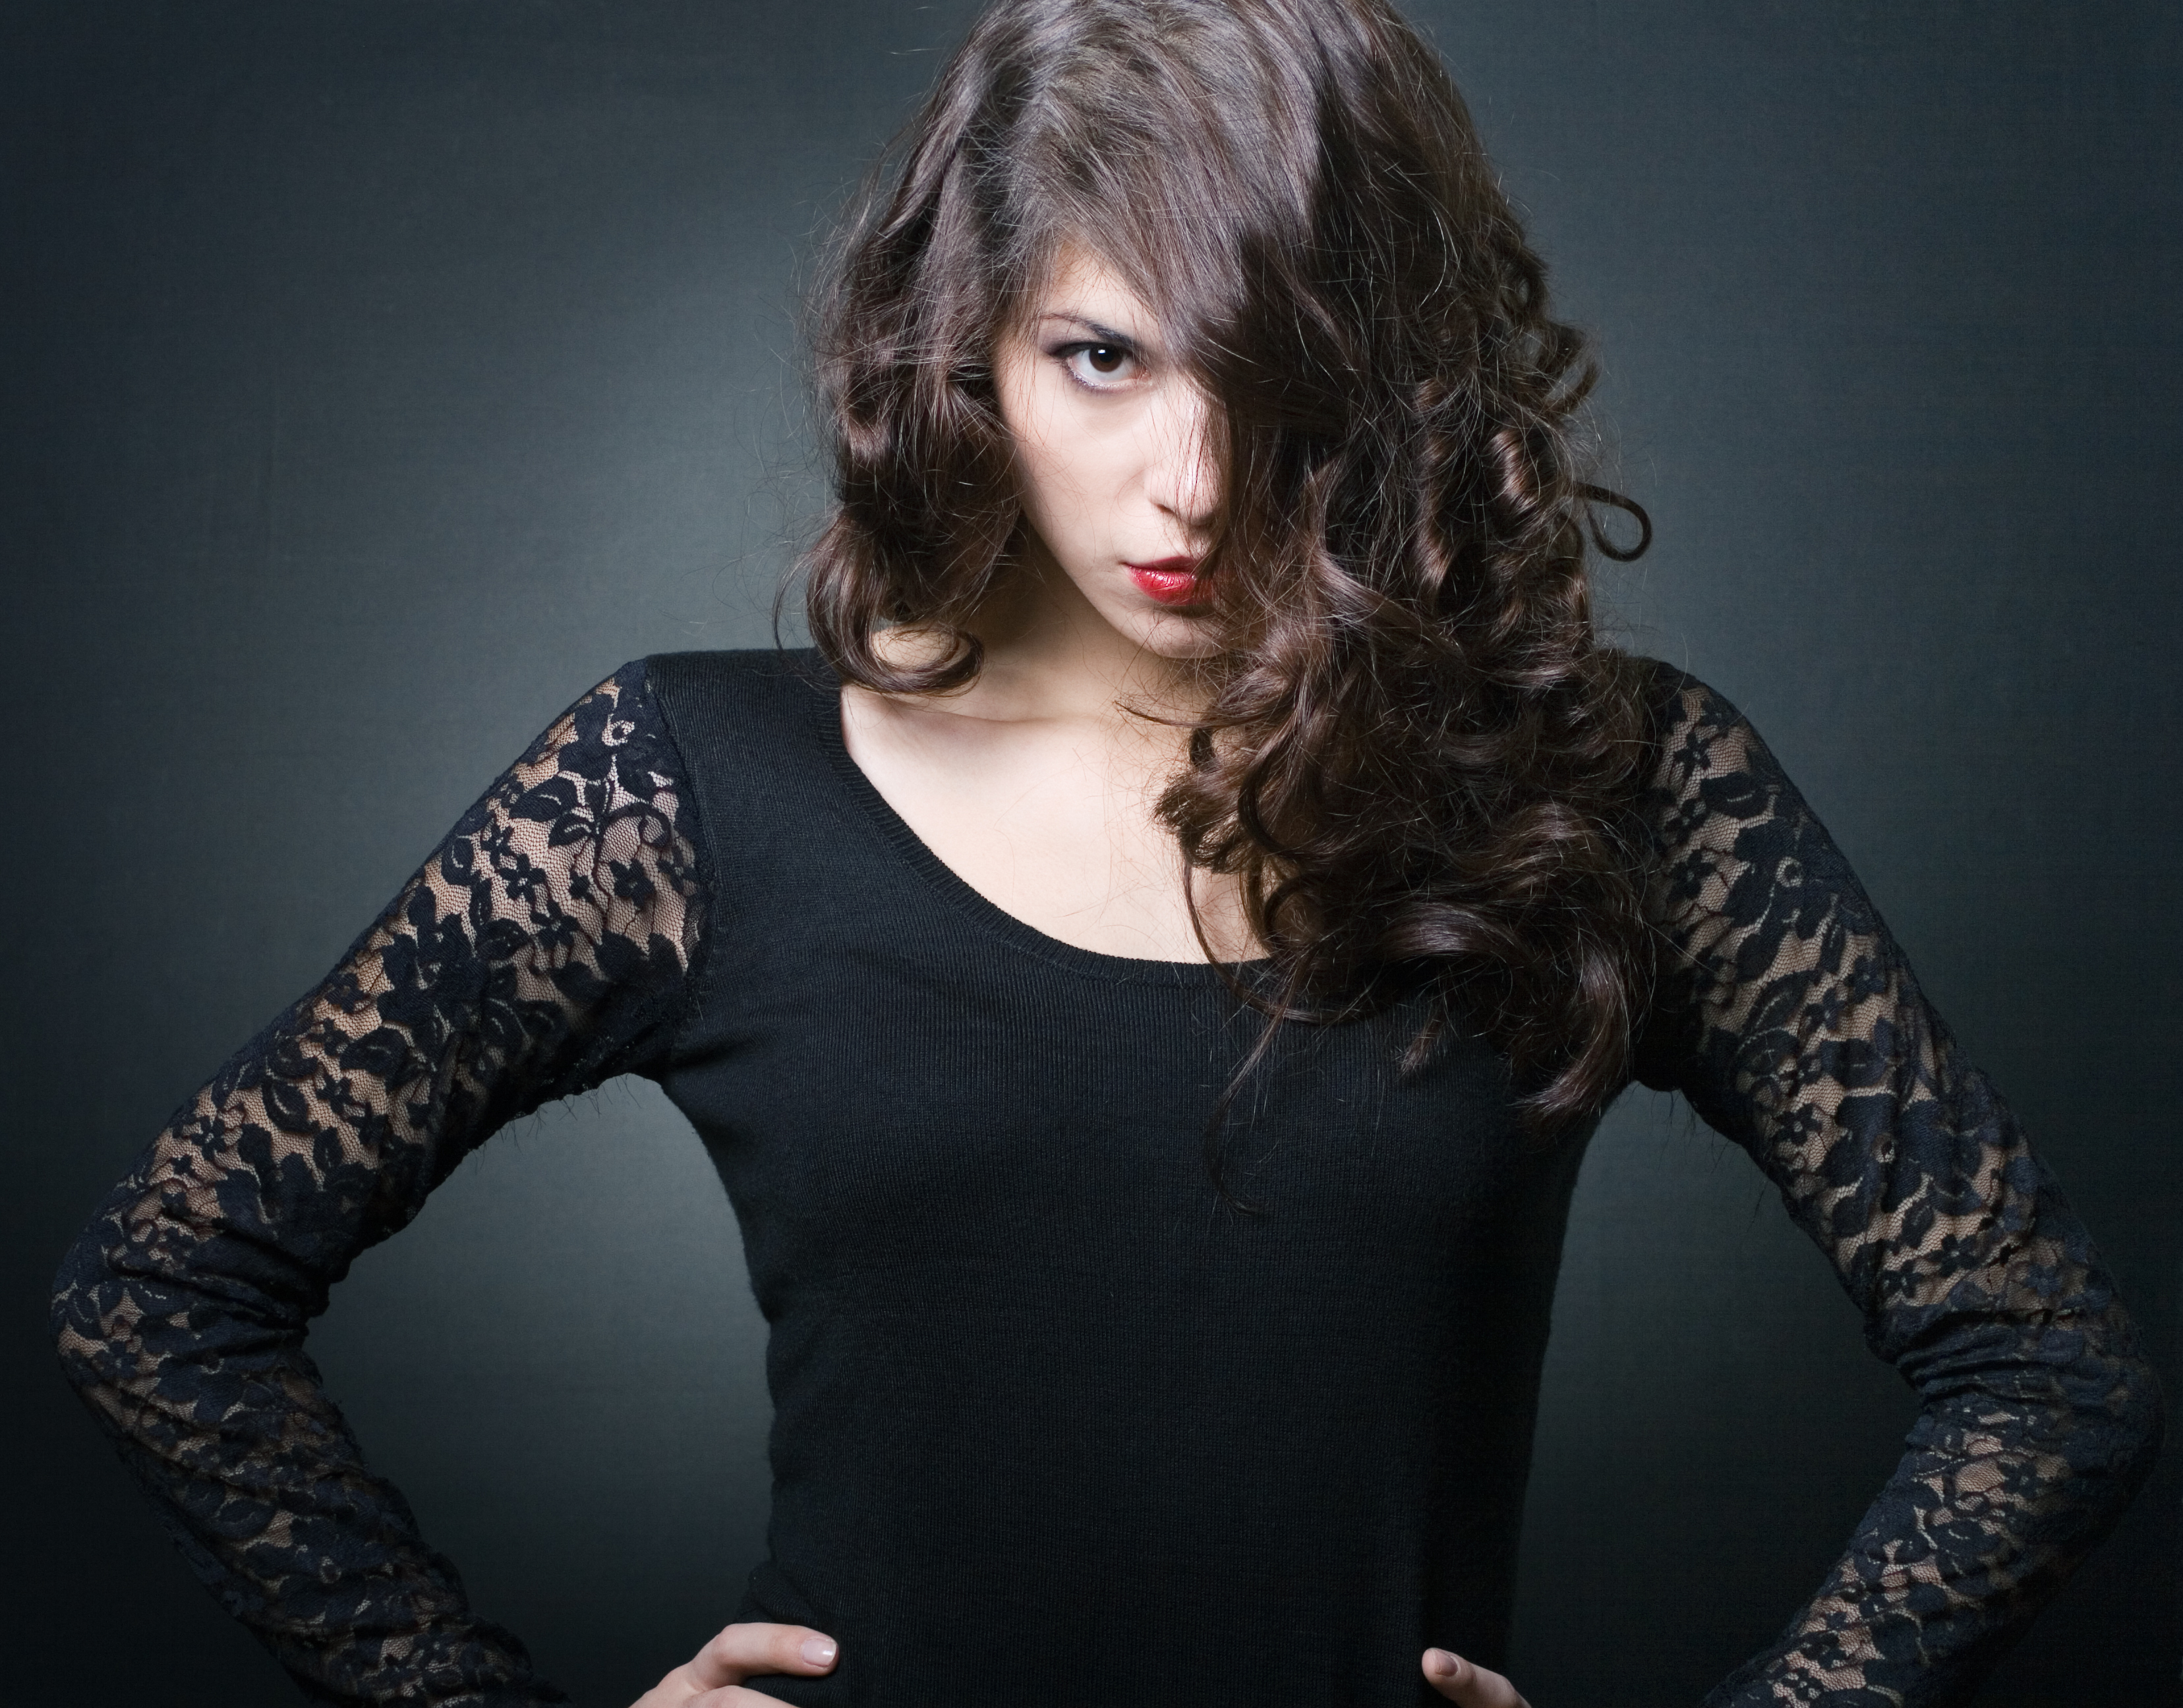
Every few months I get a message from someone who says their edited photos look “plasticky” or “over-processed,” and when I ask to see the file, it’s always the same story. They shot JPEG, pushed the exposure two stops, cranked the saturation, and then wondered why their highlights blew out into flat white puddles and their skin tones turned the color of a traffic cone. This is not a skill problem.