Every week I get an email from someone who flattened their entire composite, saved over the original, and is now asking me how to undo it. The answer, unfortunately, is that they can’t. That file is gone. And the painful part is that one checkbox, ticked at the right moment, would have saved them hours of work.
That’s the reality of learning Photoshop. The tool is extraordinarily powerful, but the beginner mistakes aren’t about fancy features. They’re about not understanding what’s happening to your file at a fundamental level. Once you get that, everything else starts to click.
Why Resolution Ruins More Photos Than Bad Technique
Before you open a single tool, you need to understand what you’re working with. Resolution is not about how big an image looks on your screen. It’s about pixel density, and it determines whether your final output looks crisp or like it was printed through a wet paper towel.
For print work, you want 300 PPI (pixels per inch). For web and screen use, 72 PPI is standard. The mistake beginners make is starting a document at 72 PPI, doing hours of work, and then trying to upscale it for print. Photoshop can’t invent pixels that were never there. When you go to Image > Image Size and crank the resolution up, you’re just asking the software to guess, and it guesses badly.
Start every project by setting your resolution correctly. Go to File > New, set your width and height in the units that match your output (inches for print, pixels for screen), and lock in your PPI before you touch anything else. A standard print document at 8x10 inches at 300 PPI will be 2400x3000 pixels. That’s a 20MB file before you add a single layer. That’s normal. Don’t let the file size scare you away from doing it right.
What Layers Actually Are and Why They Change Everything
Here’s the mental model I use when I teach this: think of your Photoshop document as a stack of transparent glass panes. Each layer is one pane. Paint on one pane, and the ones below it show through wherever you haven’t painted. Move a pane up or down in the stack, and it changes what sits on top of what.
This matters because it’s how Photoshop preserves your ability to change your mind. If you paste a subject onto a background and merge them into one layer, they become one pane of glass. You can no longer move the subject independently. You can no longer adjust its color without affecting the background. You’ve committed, permanently.
To create a new layer, use Ctrl+Shift+N (Cmd+Shift+N on Mac) or click the new layer icon at the bottom of the Layers panel. Name your layers immediately. “Layer 47” tells you nothing at 2am when you’re trying to find the drop shadow you added three hours ago. Call it “drop shadow - jacket” and you’ll thank yourself.
Layer Opacity and Fill are also worth understanding early. Opacity controls how transparent the entire layer is, including any layer styles applied to it. Fill controls only the pixel content, leaving effects like a stroke or drop shadow at full visibility. That distinction matters a lot once you start using layer styles.
Non-Destructive Editing: The Habit That Separates Beginners from Everyone Else
Smart Objects and Adjustment Layers are the two tools that keep your edits reversible, and I’d argue learning them early is more valuable than learning any effect or filter.
When you apply a filter directly to a pixel layer, it changes those pixels forever. When you convert that layer to a Smart Object first (right-click the layer > Convert to Smart Object), the filter is applied as a “Smart Filter” that sits below the layer like an attached note. You can double-click it to edit the settings anytime, or delete it entirely. The original pixels are untouched.
Adjustment Layers work the same way for color and tone corrections. Instead of going to Image > Adjustments > Curves and baking that curve into your pixels, add a Curves Adjustment Layer from the bottom of the Layers panel. It sits above your layer, affects everything below it, and you can go back and change the curve curve an hour, a day, or a year later. Stack multiple Adjustment Layers and you’ve built a fully editable correction stack.
The file size increase is real but manageable. A document with ten Smart Objects and five Adjustment Layers might run 150-200MB as a PSD. Save a flattened JPEG for delivery and keep the PSD as your working master file. That’s the professional workflow.
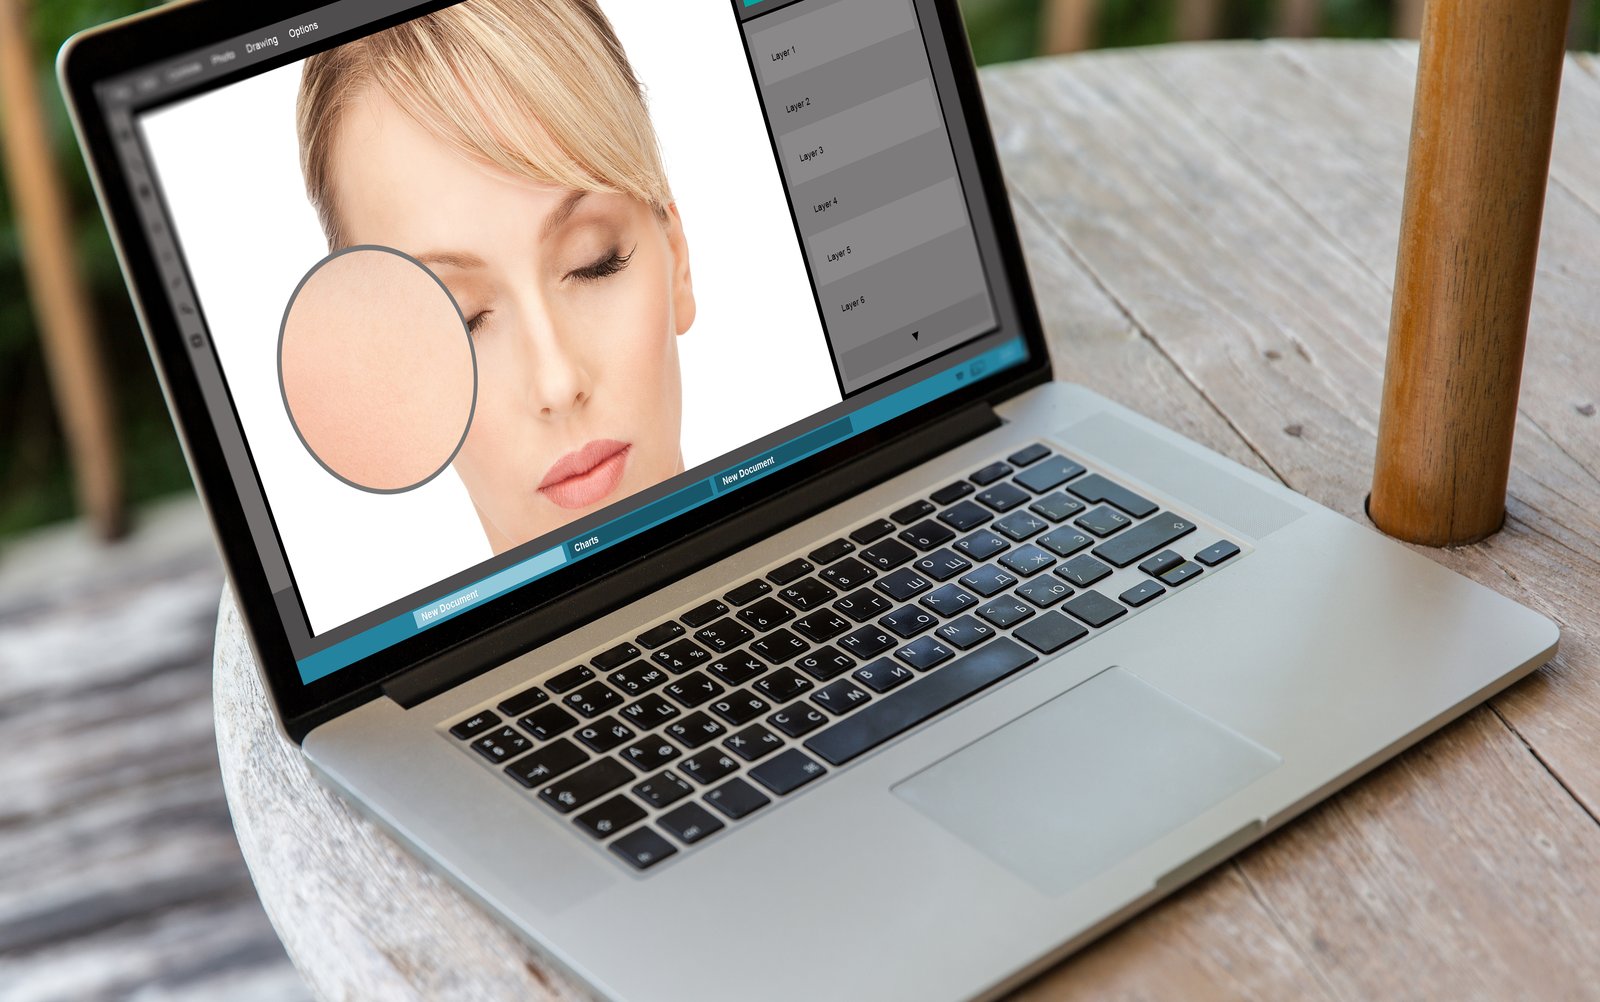
The Layer Mask: Your Most Important Tool for Clean Edges
A layer mask controls visibility without deleting pixels. Wherever the mask is black, the layer is invisible. Wherever it’s white, the layer shows through. Gray values create partial transparency.
To add a mask, select your layer and click the rectangle-with-circle icon at the bottom of the Layers panel. Paint on the mask with a black brush to hide areas of your layer, and a white brush to bring them back. If you accidentally erase something you needed, paint white over it and it returns. This is the core mechanic behind every clean cutout and every compositing job.
Press X to swap your foreground and background colors while painting on a mask. That single shortcut makes masking dramatically faster.
I started teaching this workflow after a conversation with my nephew a few Thanksgivings ago. He’d been using Photoshop for months and didn’t know what a mask was. He’d been deleting pixels with the eraser tool, which meant every mistake was permanent. Watching him realize he’d been working harder than he needed to, for months, made me want to make sure no one else skipped that lesson.
The most important thing you can take from Photoshop basics is this: protect your pixels. Use layers, use masks, use Smart Objects, and save your PSD. Every technique in Photoshop gets easier once you’re not afraid of making mistakes you can’t undo.
Comments
Leave a Comment