Color Correction
Why Your Colors Look Wrong After Editing (And How to Fix Them with Curves)
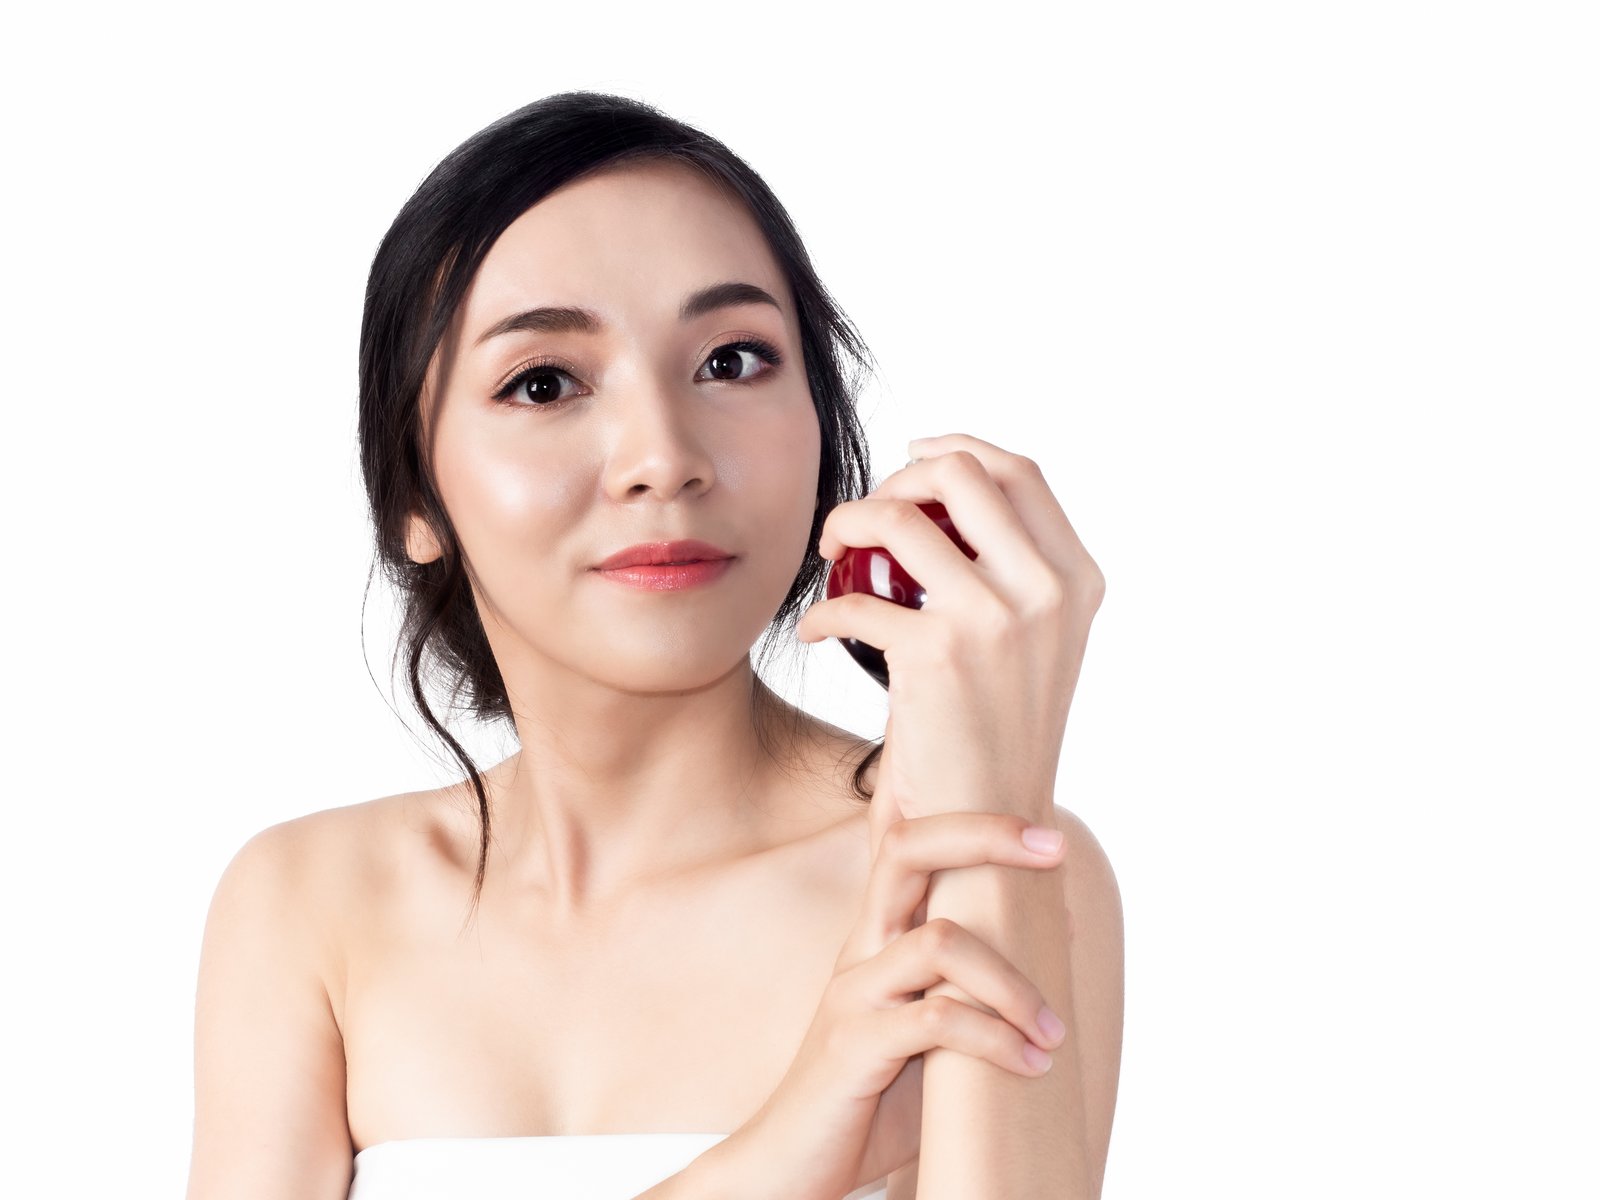
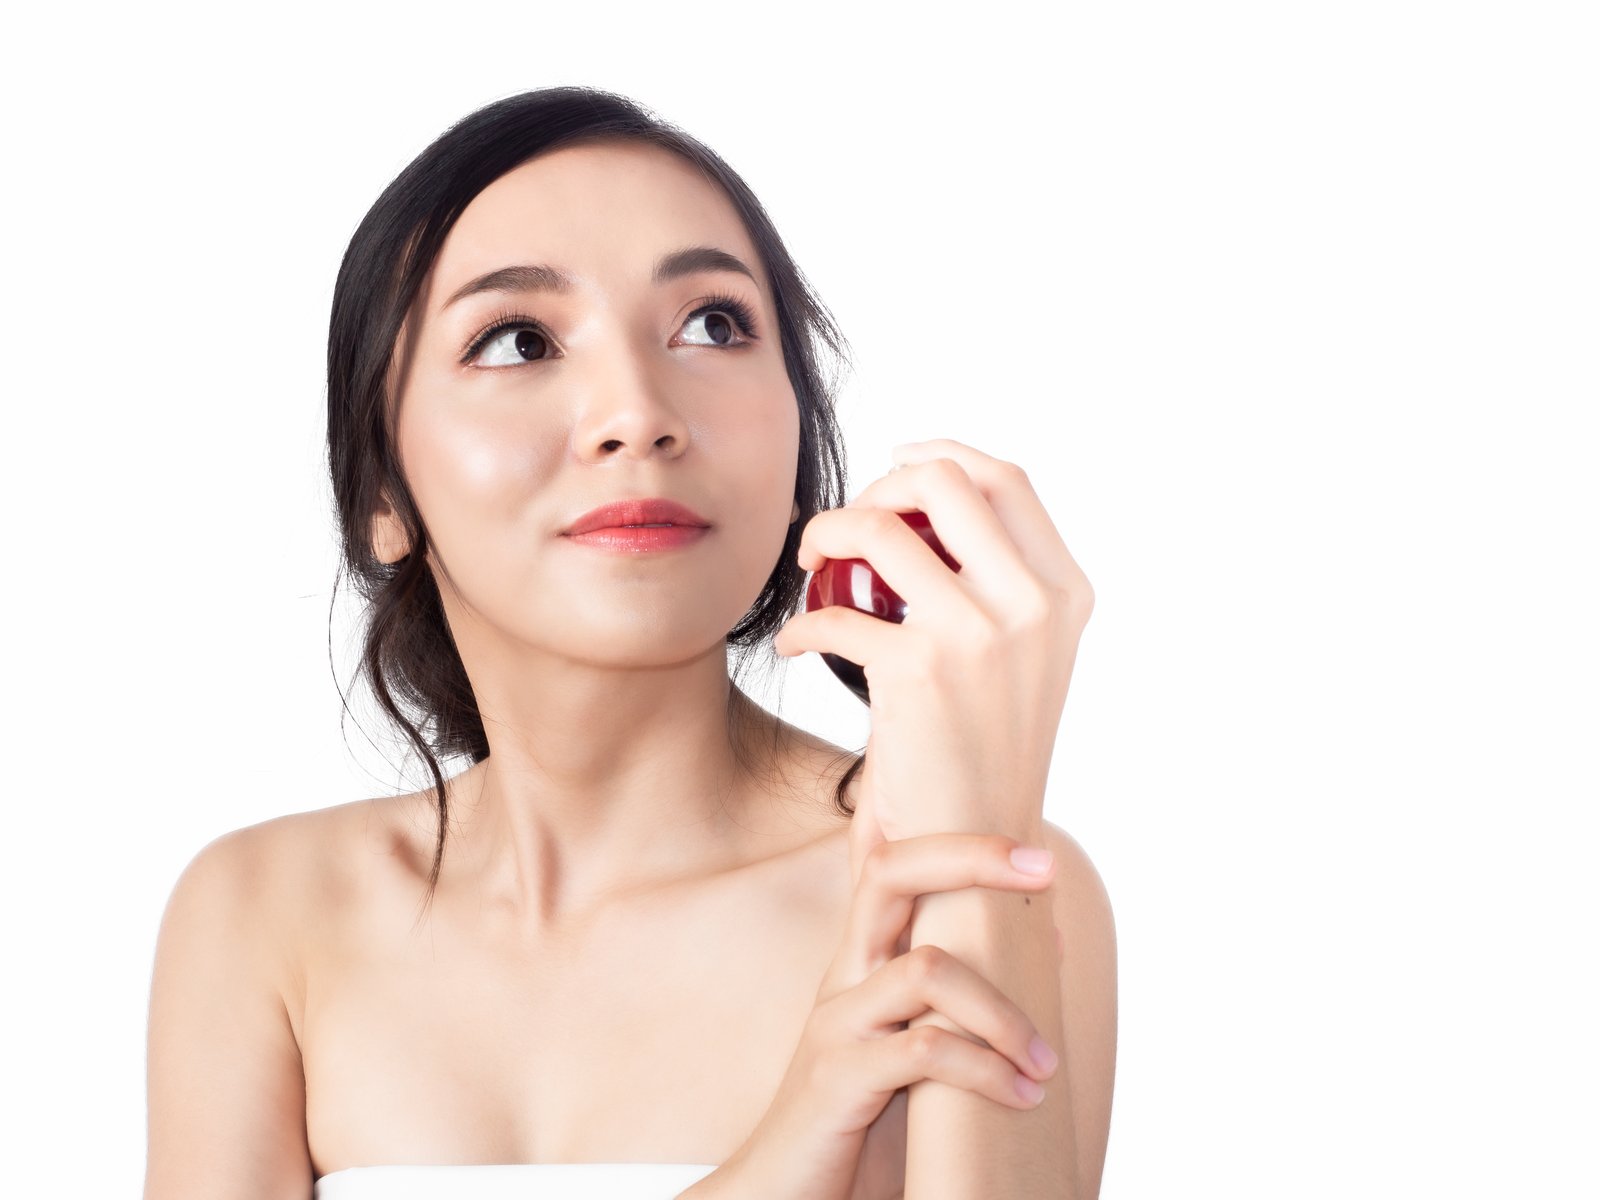
I had a client once send back a portrait I’d spent two hours retouching. The skin looked perfect on my screen. Warm, balanced, natural. She came back saying the subject looked “kind of green.” I pulled the file up on my laptop and she was right. The image had a green cast that my calibrated monitor had been hiding from me. That was the moment I stopped trusting my eyes alone and started building a correction workflow I could verify with numbers.