Retouching
Why Your Skin Retouching Looks Fake (And the Frequency Separation Fix That Actually Works)
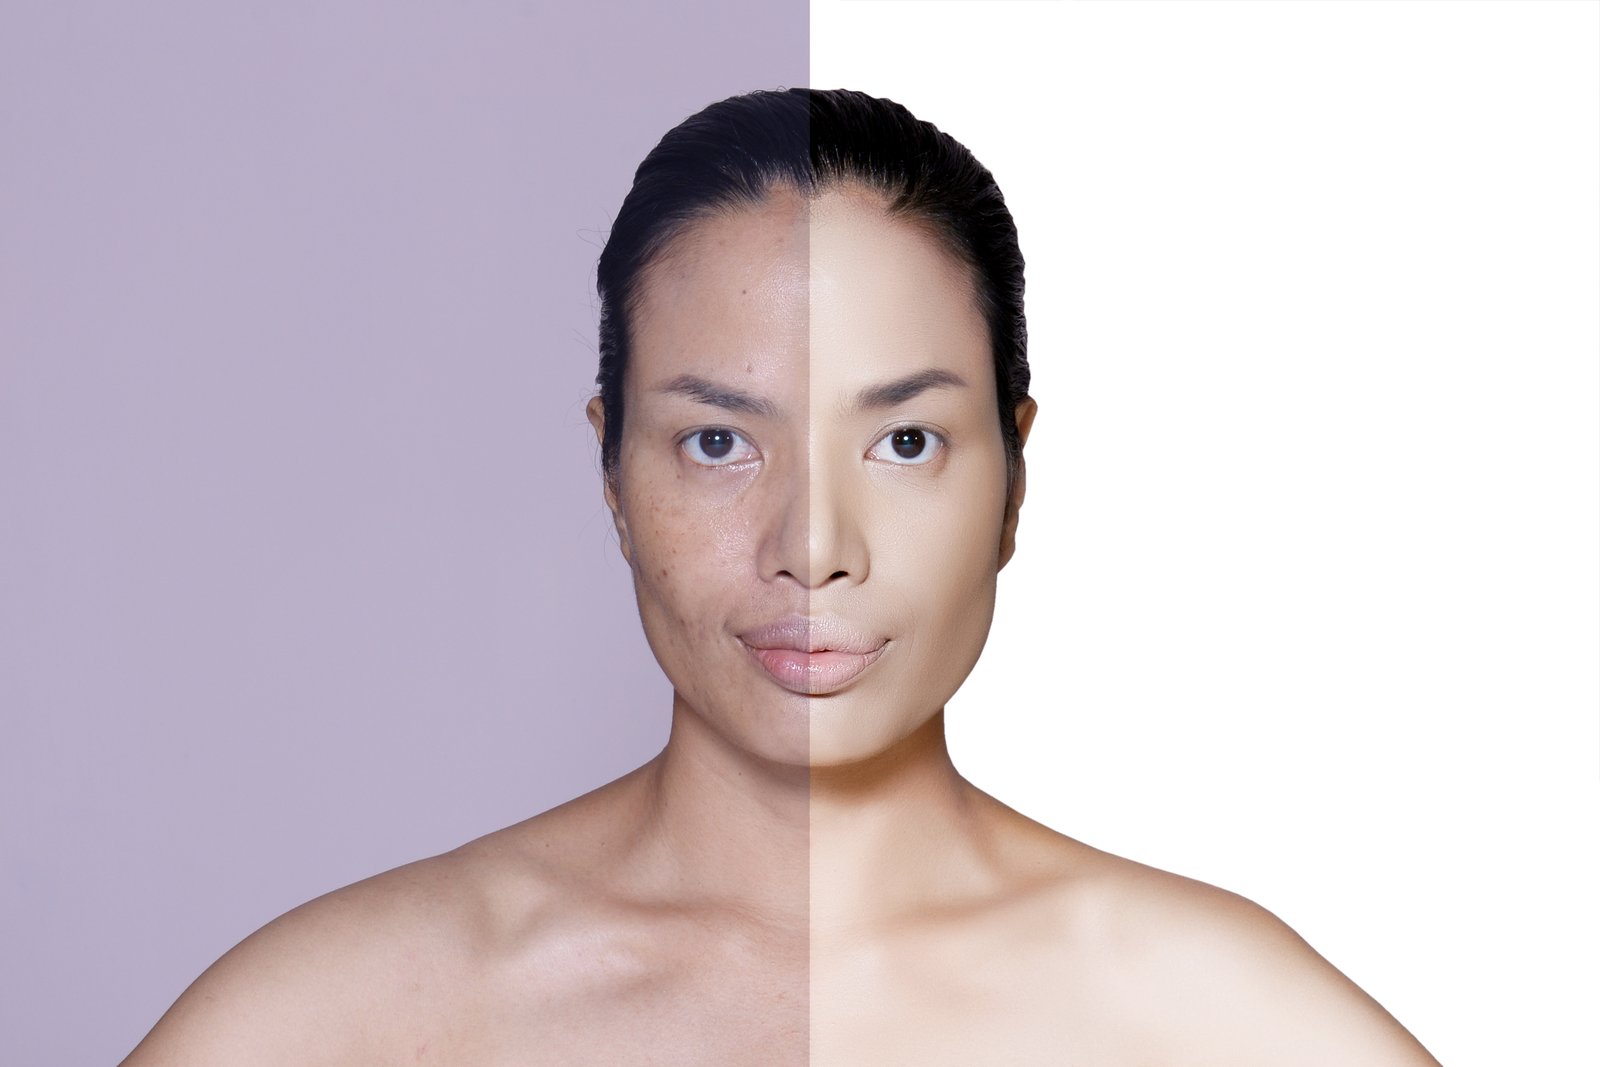
I once handed off a beauty retouch to a client and got back a single-line email: “She looks like a wax figure.” They weren’t wrong. I had smoothed the skin so aggressively that every pore, every fine line, every trace of human texture was gone. What was left looked like someone had stretched a flesh-colored balloon over a skull. I spent two hours fixing what I had spent four hours breaking.