Frequency Separation in Photoshop: Retouch Skin Without Destroying Texture

Frequency Separation in Photoshop: Retouch Skin Without Destroying Texture

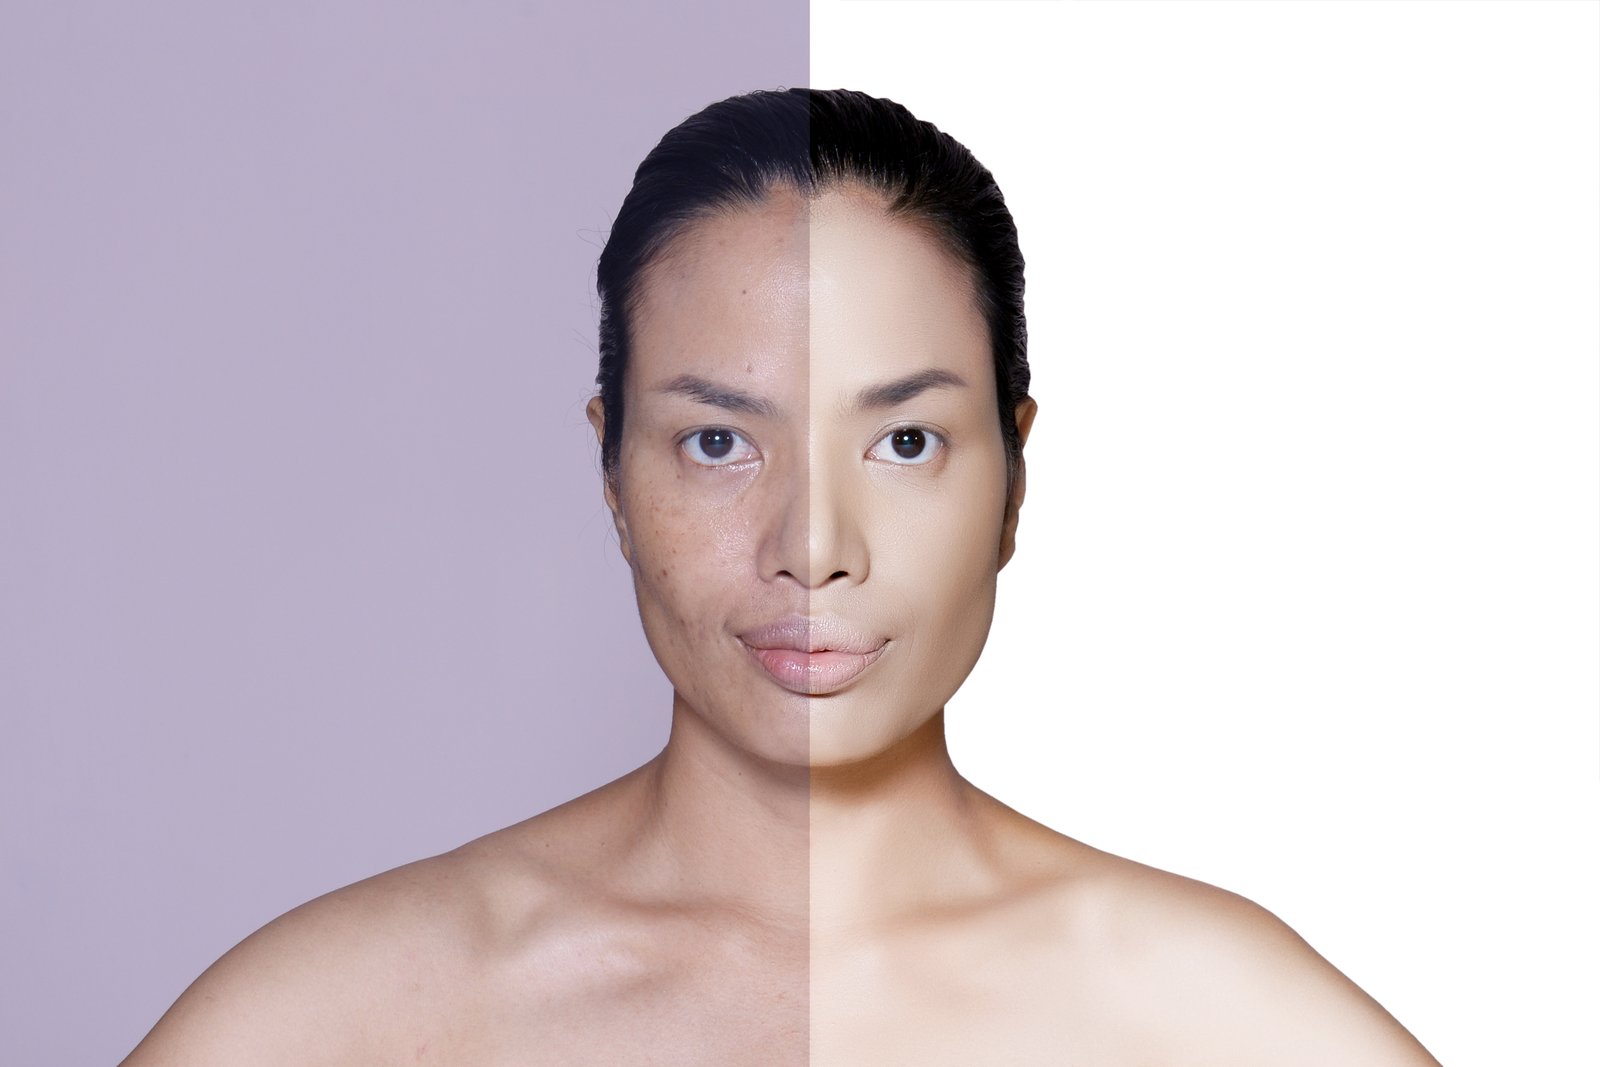
A few years back, a photographer sent me a portrait to retouch and asked me to “smooth the skin but keep it looking real.” I knew exactly what she meant, because I’d heard it a hundred times. What she didn’t want was that waxy, plastic look you get when someone just slaps a Gaussian Blur over the face and calls it done. That approach kills texture. It makes skin look like it was sculpted out of candle wax instead of, you know, a person.

Frequency Separation in Photoshop: Fix Skin Texture Without Destroying It

Frequency Separation in Photoshop: Fix Skin Texture Without Destroying It

The Moment I Realized I’d Been Wrecking Skin for Years Early in my agency days, I handed off a retouched beauty shot to the creative director and she immediately asked, “Why does her face look like a wax figure?” I had smoothed the skin using a heavy Gaussian blur on a healing layer, color-corrected on top of that, and called it done. It looked clean to me. To her, it looked like a mannequin wearing makeup.

Frequency Separation: The Retouching Technique That Changed How I Edit Skin Forever

Frequency Separation: The Retouching Technique That Changed How I Edit Skin Forever

I once sent a retouched portrait to a client and got back a two-word reply: “Looks plastic.” She was right. I had smoothed the skin so aggressively that her face looked like it had been rendered in a video game. I had wiped out every pore, every texture, every trace of what makes skin look like skin. The tones were clean. The person was gone. That was the moment I got serious about frequency separation.