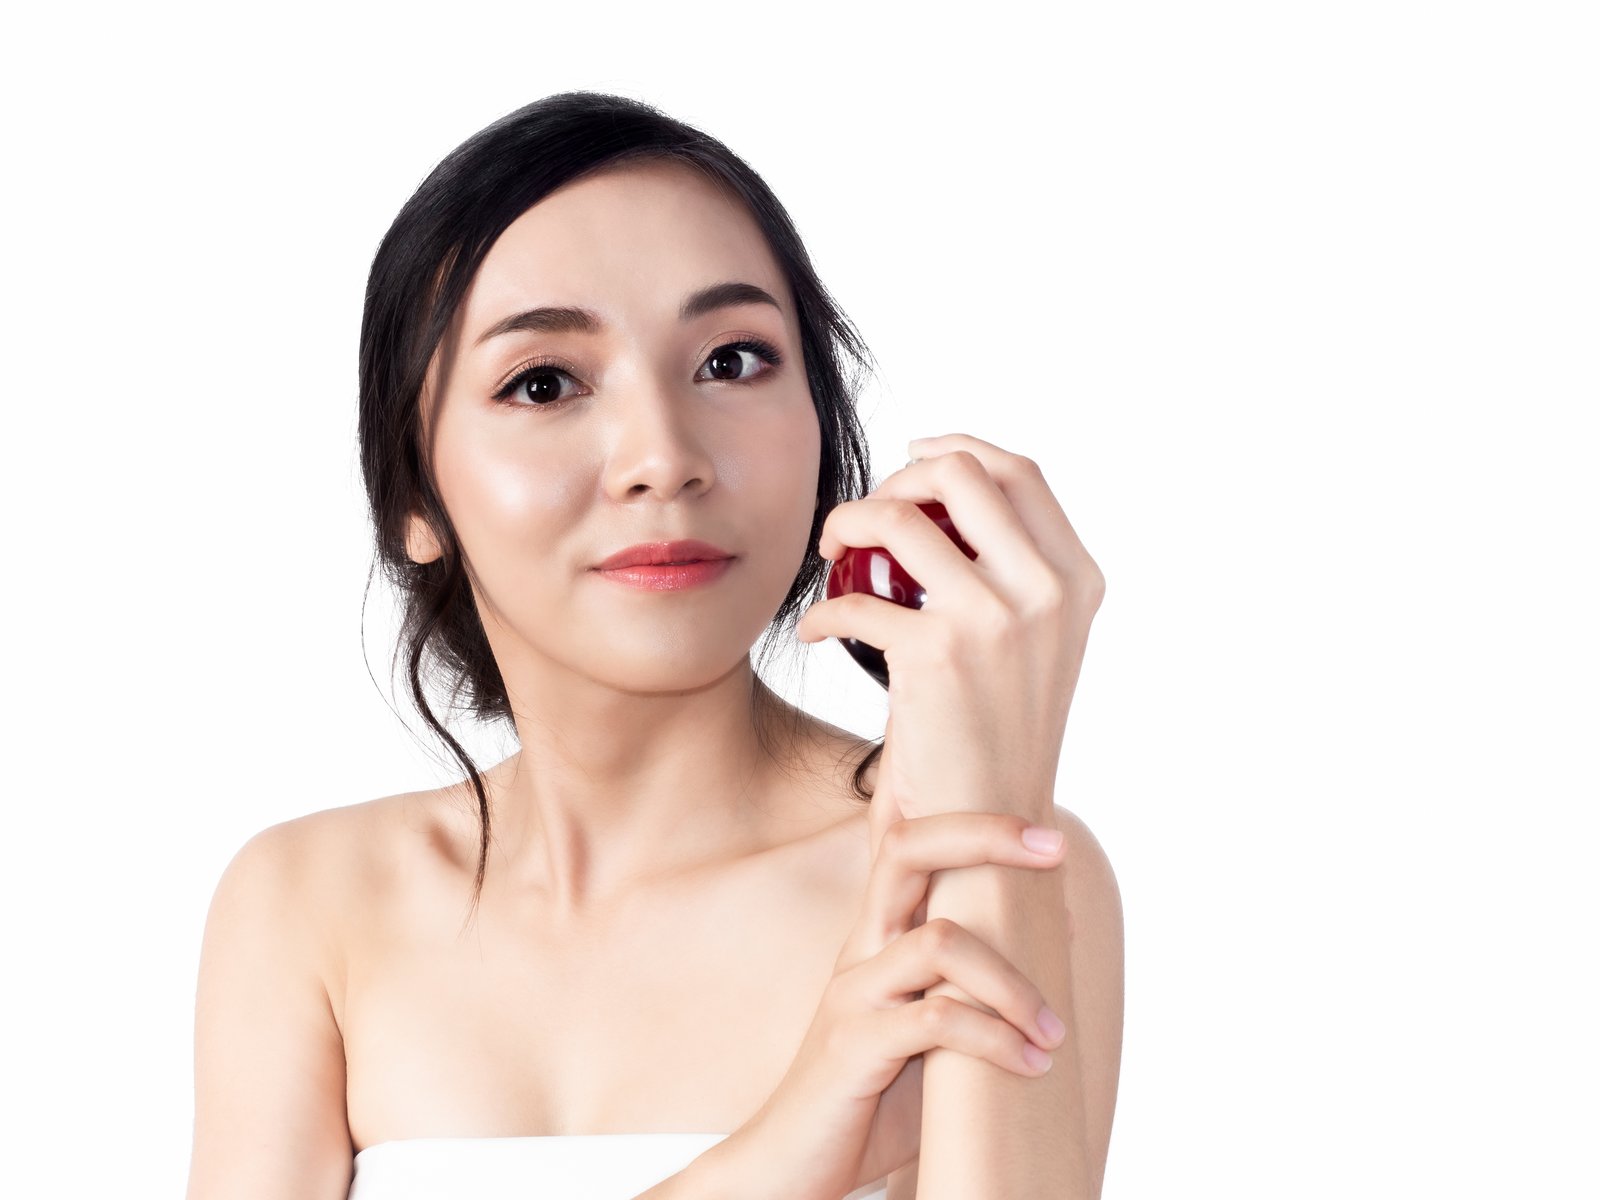
Every few months I open a portfolio submission from a student who has clearly put real effort into their retouching work. The composition is solid, the color grade is thoughtful, and then there it is: skin that looks like it was poured out of a mold. No pores. No texture. Just a smooth, slightly luminous surface where a human face used to be.
The instinct to fix blemishes by blurring or healing everything in sight is almost universal. I did it too when I was starting out at my first agency job in my mid-twenties. The problem is that when you blur skin tone and texture together, you erase the thing that makes skin look real: the micro-texture that catches light unevenly, the subtle valleys between pores, the way a cheekbone transitions from highlight to shadow. Smooth all of that away and you get a face that reads as CG, not clean.
The good news is that Photoshop has a workflow built around this exact problem. It is called frequency separation, and once you understand why it works, you will never go back to healing everything onto a single layer.
What Frequency Separation Actually Does to Your Image
Your image contains two kinds of information stacked on top of each other: tonal information (light, shadow, color variation, uneven skin tone) and texture information (pores, fine lines, hair follicles, surface detail). Most healing and cloning work scrambles both of those at the same time, which is why the result looks wrong.
Frequency separation splits those two layers apart. The low-frequency layer holds your color and tone. The high-frequency layer holds your texture. Once they are separated, you can smooth out blotchy skin tone on the low-frequency layer without touching a single pore. You can fix texture problems on the high-frequency layer without disrupting your tonal gradients. The skin stays looking like skin.
Setting Up the Layers Correctly in Photoshop
Here is the exact setup I use. Start with your base image on one layer. Duplicate it twice and name the bottom copy “Low Frequency” and the top copy “High Frequency.”
On the Low Frequency layer, apply Gaussian Blur at a radius between 4 and 8 pixels. For a high-resolution file (anything above 3000 pixels on the long edge) I usually land at 6 or 7 pixels. For a web-sized file, drop to 3 or 4. The goal is to blur enough that pores disappear but the general shape of the face still reads clearly.
Now select the High Frequency layer and go to Image > Apply Image. Set the layer to your Low Frequency layer, the blending mode to Subtract, the Scale to 2, and the Offset to 128. Click OK. Then change the blend mode of the High Frequency layer to Linear Light. Your image should look normal again. If it does not, check the Apply Image settings.
You now have two fully editable, separated layers.
Fixing Tone Without Destroying Texture
On the Low Frequency layer, use the Healing Brush or a large, soft Clone Stamp (around 0% hardness, 20-30% opacity) to even out red patches, under-eye discoloration, or uneven blush. Work in small strokes and sample from nearby areas with similar lighting. The key is to think about this layer like you are painting with color, not erasing imperfections. You are sculpting the light.
For stubborn discoloration, a Hue/Saturation adjustment clipped to the Low Frequency layer lets you pull back oversaturated reds selectively. Bring the Reds saturation down by 10 to 20 points, then use a black mask and paint in only where you need it. This keeps the overall warmth of the skin intact.
Fixing Texture Without Muddying the Tone
On the High Frequency layer, the Healing Brush becomes a precision tool. Because texture is separated from tone here, healing a blemish samples texture only. You do not get that muddy gray blob that appears when you heal over a shadow edge on a merged layer.
For spots that fall near a lighting transition, like a pimple sitting right on the edge of a highlight, this is where frequency separation earns its keep. Heal it on the Low Frequency layer and separately on the High Frequency layer. Two passes, five seconds each, and the transition stays intact.
I still use my 2015 Wacom Intuos for this work. I know there are newer tablets with better pressure sensitivity, but I have painted probably ten thousand retouching strokes on that thing and it just responds the way I think. Tool familiarity is underrated. Your retouch gets faster when you stop negotiating with your hardware.
How Long This Actually Takes on a Real Job
For a single portrait with moderate skin concerns, a proper frequency separation retouch takes me between 20 and 45 minutes depending on how much tonal variation I am working with. If you are currently healing everything onto a flattened layer and spending an hour, you are working harder and getting a worse result.
For a commercial headshot with a tight deadline, I also keep a Photoshop action that sets up the frequency separation layers automatically. The setup I described above, start to finish, takes about 30 seconds by hand. The action does it in two. If you are doing this regularly, that time adds up across a hundred images.
The single most important thing I can tell you is this: before you touch a single healing brush, separate your frequencies. Every other skin retouching technique you learn will work better when it operates on the right layer.
Comments
Leave a Comment