
In this tutorial, I’m going to walk you through the complete process of creating a photo composite in Photoshop — taking a studio-shot cowboy portrait and placing him into a dramatic western landscape. We’ll cover everything from selection to Camera RAW editing to final light matching.
You can download the source files here to follow along.
Step 1: Setting Up Your Files
Start by downloading the tutorial files. You’ll get two images: the cowboy portrait shot on a gray studio background, and a western landscape with a windmill.
Open both files so they’re ready in Photoshop. I like to work with RAW files when possible because they give us the most flexibility in Camera RAW later.
Step 2: Selecting the Subject
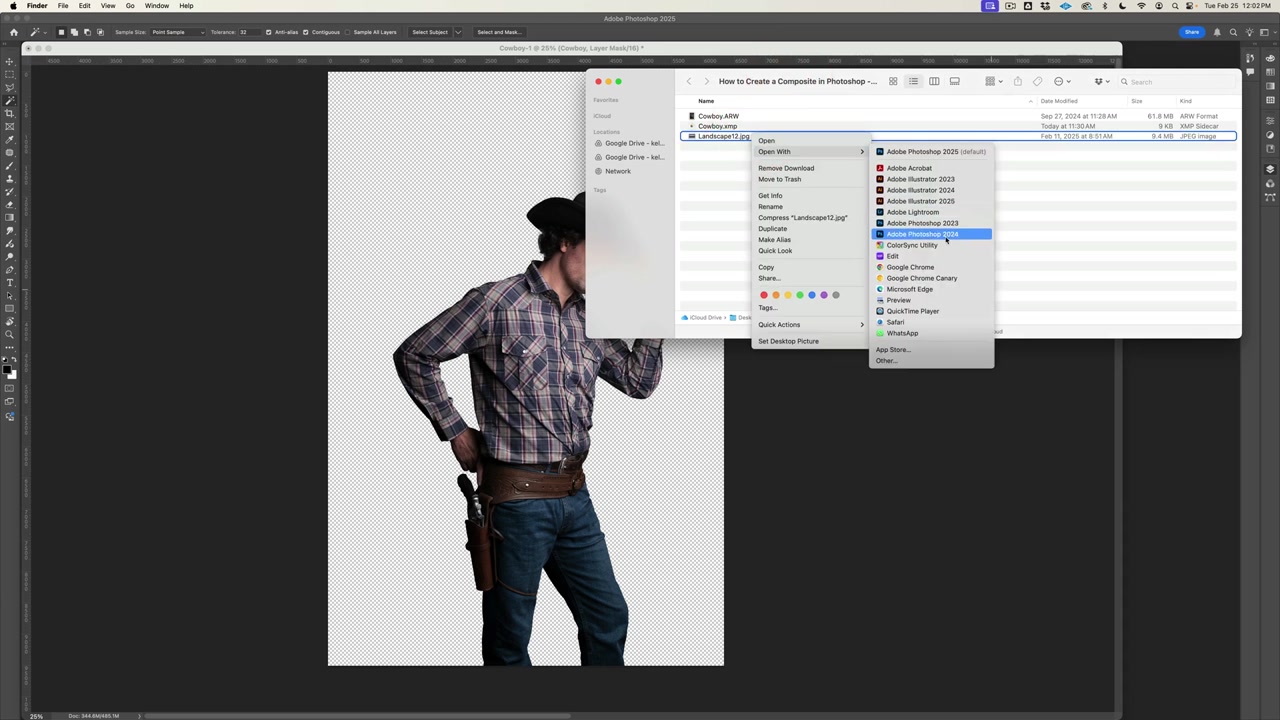
The first real task is extracting the cowboy from the gray background. I’m using Photoshop’s Quick Mask mode here combined with the brush tool to paint my selection.
Start with a rough selection using Select Subject or the Quick Selection tool, then switch to Quick Mask (press Q) to refine the edges with a brush. Paint in red to add to the masked area, or switch to white to reveal.
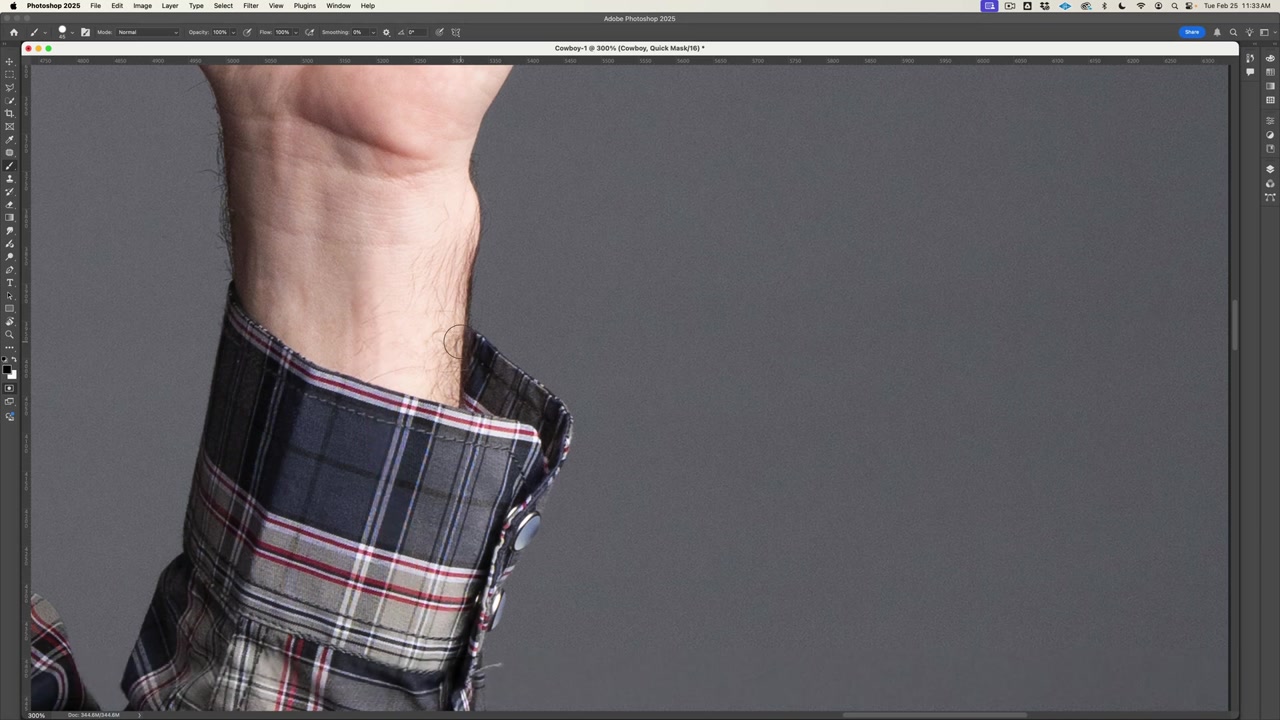
Step 3: Refining the Edges
This is where most people rush — and it shows. The edges around clothing, hair, and fine details need careful attention. Zoom in to at least 100% and work around the collar, sleeves, and hat brim.
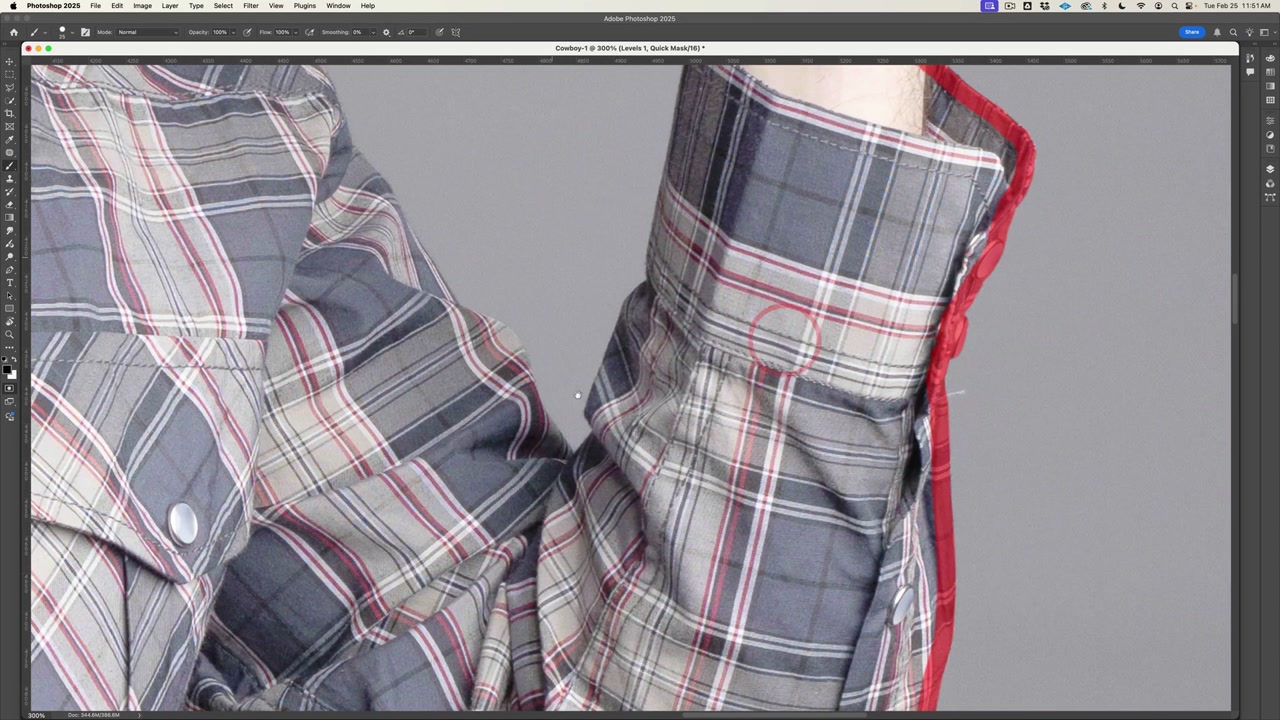
Use a small, soft brush around fabric edges. For the hat, use a harder brush. The plaid pattern on this shirt makes edge work especially important — any gray background bleeding through the pattern will be immediately visible in the final composite.
Step 4: Preparing the Background
Now open the landscape image. This western scene with the windmill and dramatic sky is perfect for our cowboy composite.
Before we composite, we want to edit this background in Camera RAW to get the mood right. The goal is a dramatic, slightly dark western atmosphere.
Step 5: Editing the Background in Camera RAW
Open the landscape in Camera RAW. Start by adjusting the overall exposure and white balance to set the mood. I’m going for a warm, golden-hour feel with deep shadows.

Key adjustments:
- Temperature: Warm it up slightly to push the golden tones
- Exposure: Bring it down a touch for drama
- Highlights: Pull back to recover sky detail
- Shadows: Open them just enough to keep foreground visible
- Clarity: Add a small amount for texture in the grass and clouds
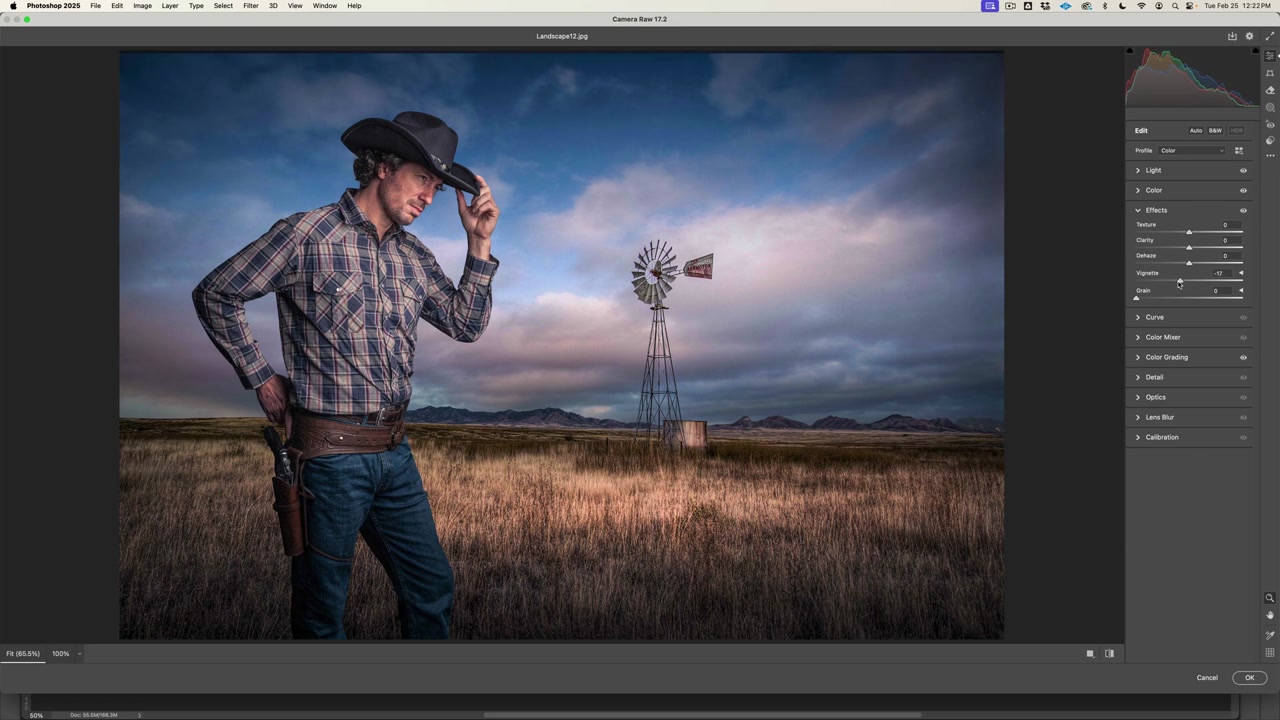
Step 6: Fine-Tuning the Background Tones
Continue refining the background. The sky and ground need to feel cohesive. I’m using the detail and effects panels to add a subtle vignette and sharpen the midground.
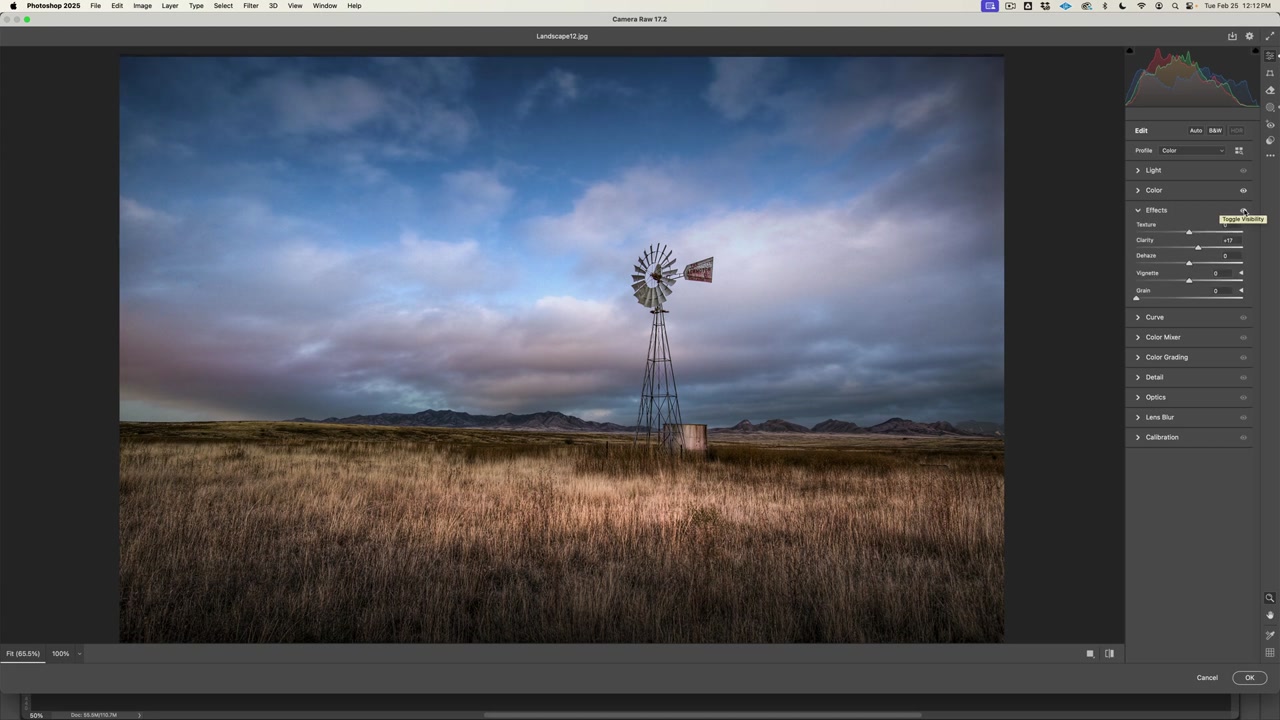
Don’t over-edit the background — remember, the subject needs to be the focal point. The background should support the story, not compete with it.
Step 7: Editing the Subject in Camera RAW
Now open the cowboy image in Camera RAW. This is where we start matching the subject’s lighting to the background.
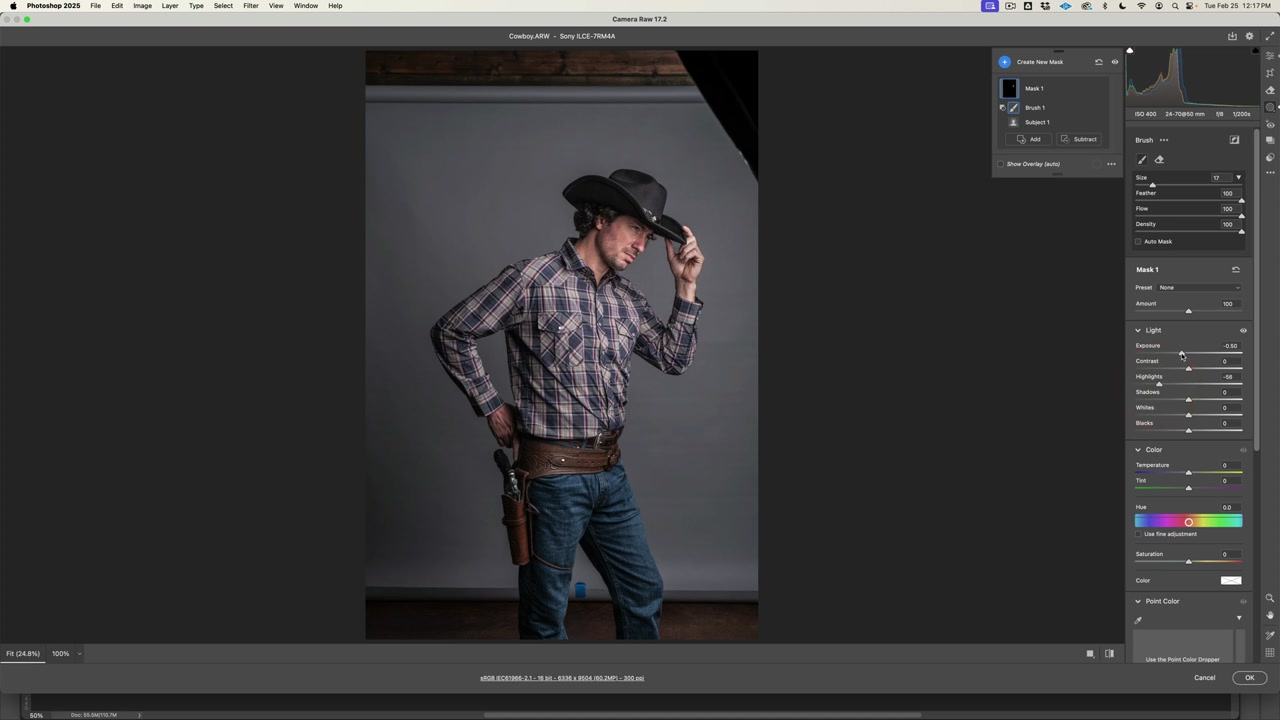
I’m using Camera RAW’s masking tools to selectively adjust different parts of the subject:
- Brush Mask: Paint over the subject to adjust exposure separately from the background
- Exposure: Darken slightly to match the moody landscape
- Shadows: Open them to maintain detail in the dark clothing
- Color Temperature: Warm it up to match the golden hour feel of the landscape
Step 8: Matching the Lighting
This is the most critical step in any composite — matching the lighting direction, color, and intensity between subject and background.
Look at where the light falls on the landscape (coming from the left in our scene) and make sure the subject’s lighting is consistent. In this case, the studio shot already has light from a similar direction, which is why I chose this background — always pick backgrounds that match your subject’s lighting.
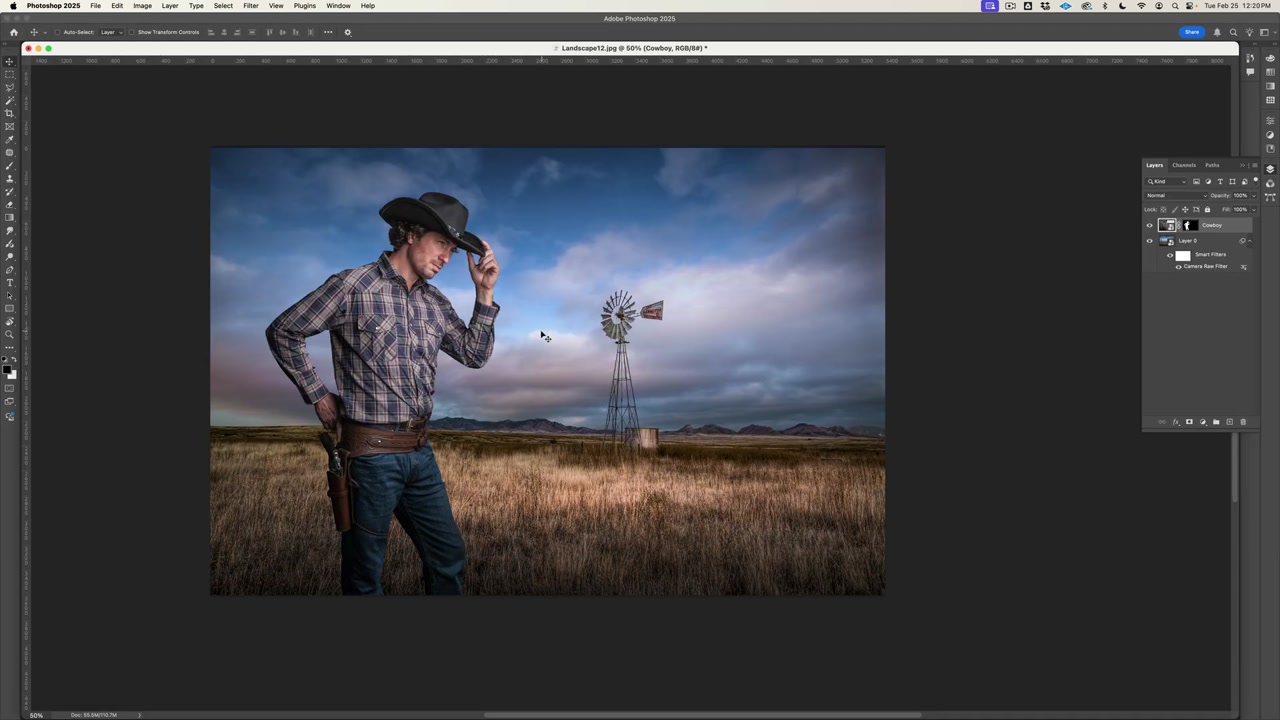
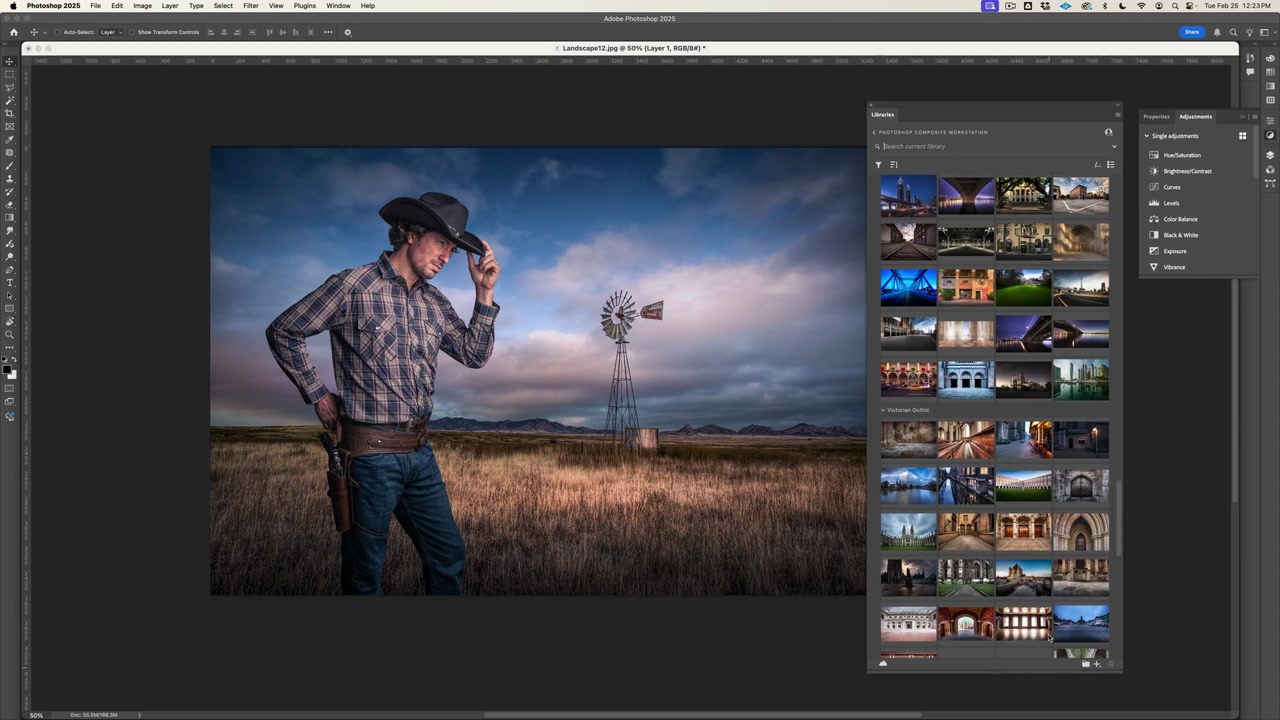
Step 9: The Final Composite
Here’s the result — the cowboy placed into the western landscape. The lighting matches, the color temperature is consistent, and the mood is cohesive.
The key to a believable composite is subtlety. The viewer shouldn’t think “that’s a composite” — they should just see a cowboy in a landscape. Everything we did in Camera RAW — the color matching, the exposure adjustments, the selective masking — serves that goal.
Step 10: Final Adjustments
The last step is the final polish. Add any remaining color grading, check the edges one more time at 100% zoom, and make sure the overall tone is consistent across the entire image.
Tips for your final check:
- Zoom to 100% and scan every edge of the subject
- Check that shadows on the subject match the background’s shadow direction
- Flatten the image and apply a final Camera RAW filter for unified color grading
- Step away from the screen and come back with fresh eyes
Watch the Full Video
Want to see every click and adjustment in real time? Watch the full tutorial video at the top of this article. You can also download the source files to practice along.
This is just one approach to compositing — in future tutorials, we’ll explore different techniques, more complex scenes, and advanced light matching methods.
Comments
Leave a Comment