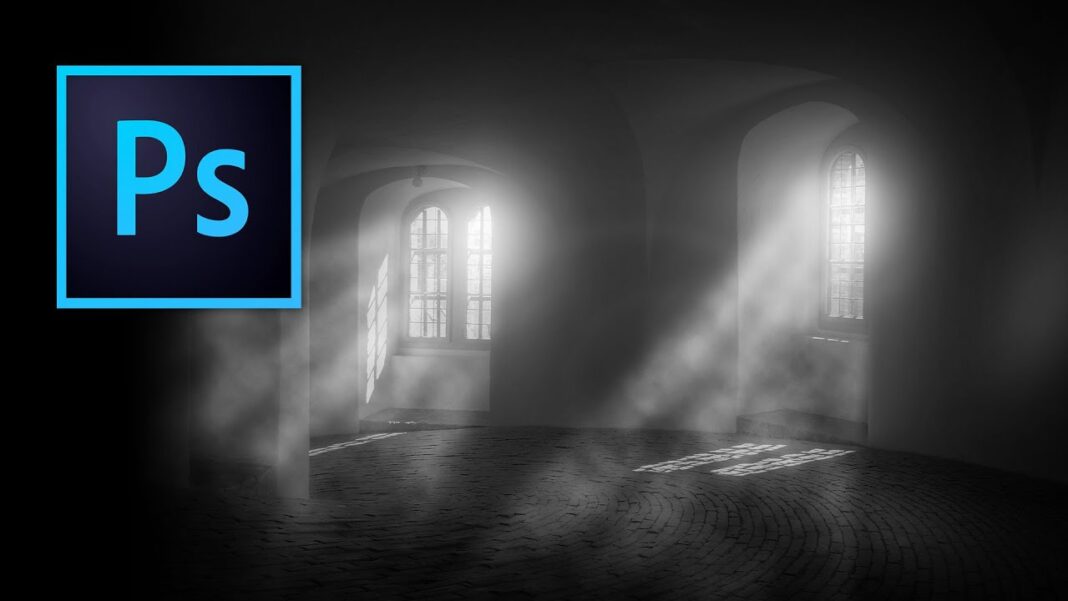
Learn how to add drama to any picture using Photoshop
In this tutorial, you will learn how to create dramatic lighting in Photoshop to give your images a completely new look. This technique involves adding light to a darkened image, simulating windows, lens flares, and manipulating the channels to create selections.
First Download the Free Source Files
You can follow along by downloading the sample file here. You can also watch the video by clicking here.
Convert to Grayscale and Lower Exposure
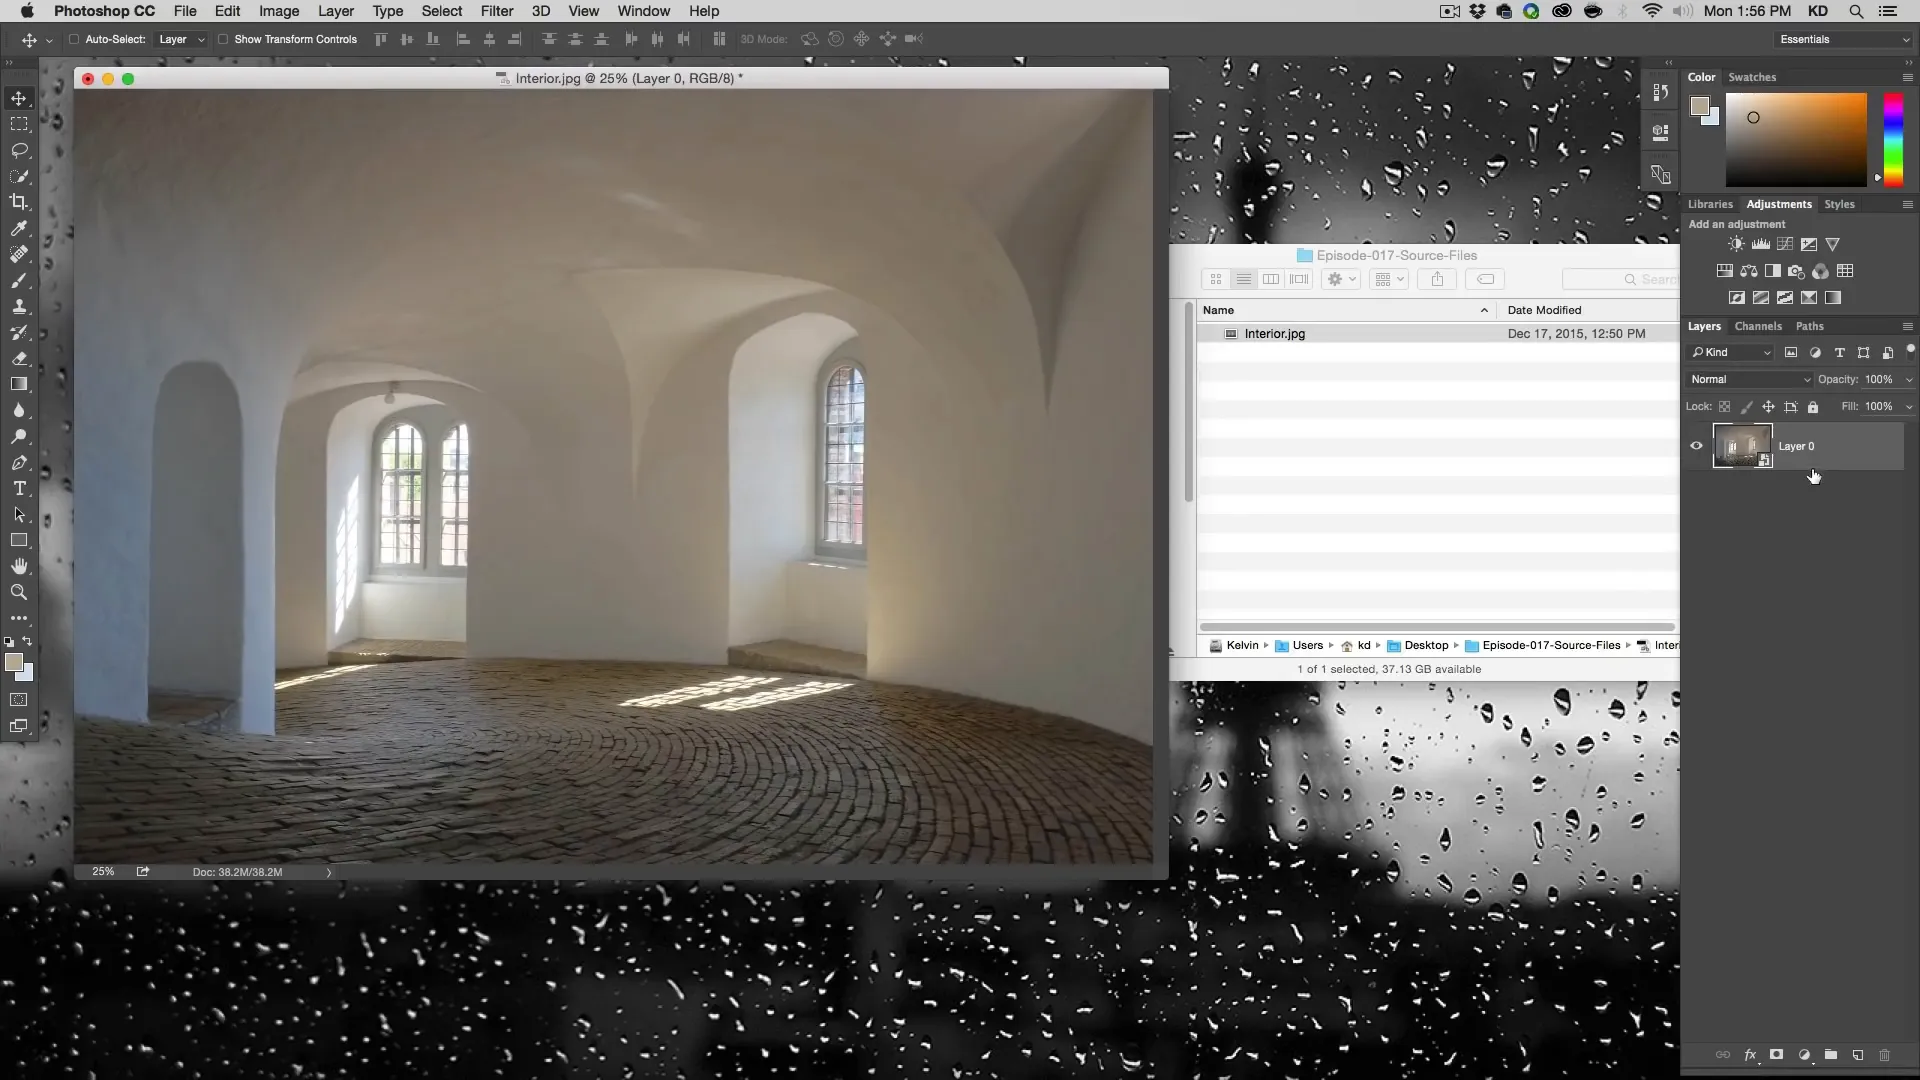
- Open the image in Photoshop.
- Right-click on the image and choose Convert to Smart Object. This allows us to apply filters and effects without altering the original pixels.
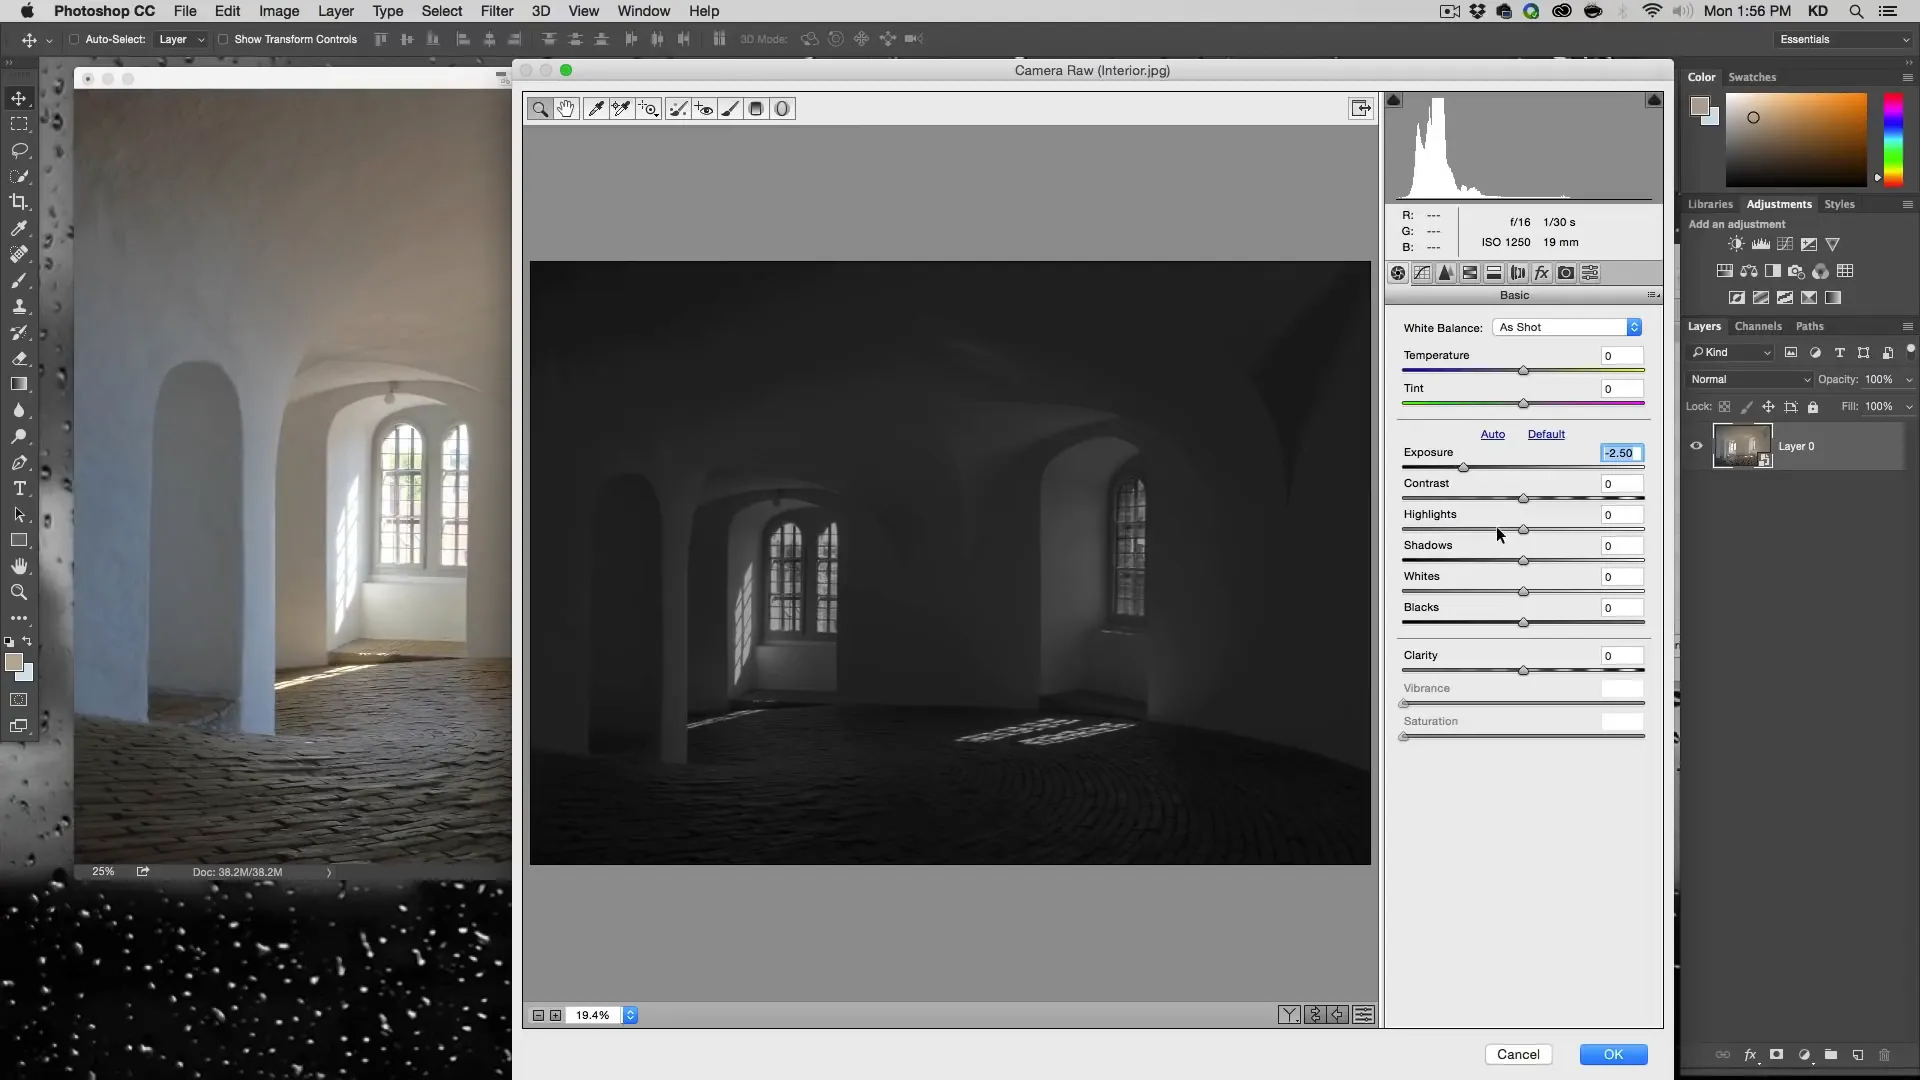
- Go to Filter > Camera Raw Filter.
- Click on the fourth panel (the grayscale panel) and choose Convert to Grayscale.
- Lower the exposure by about 2 to 2.5 points, simulating that the lights have been turned off. You can also lower the highlights if necessary.
Create Light Beams in Photoshop
- Create a new group and name it “lights”.
- In the new group, create a new layer.
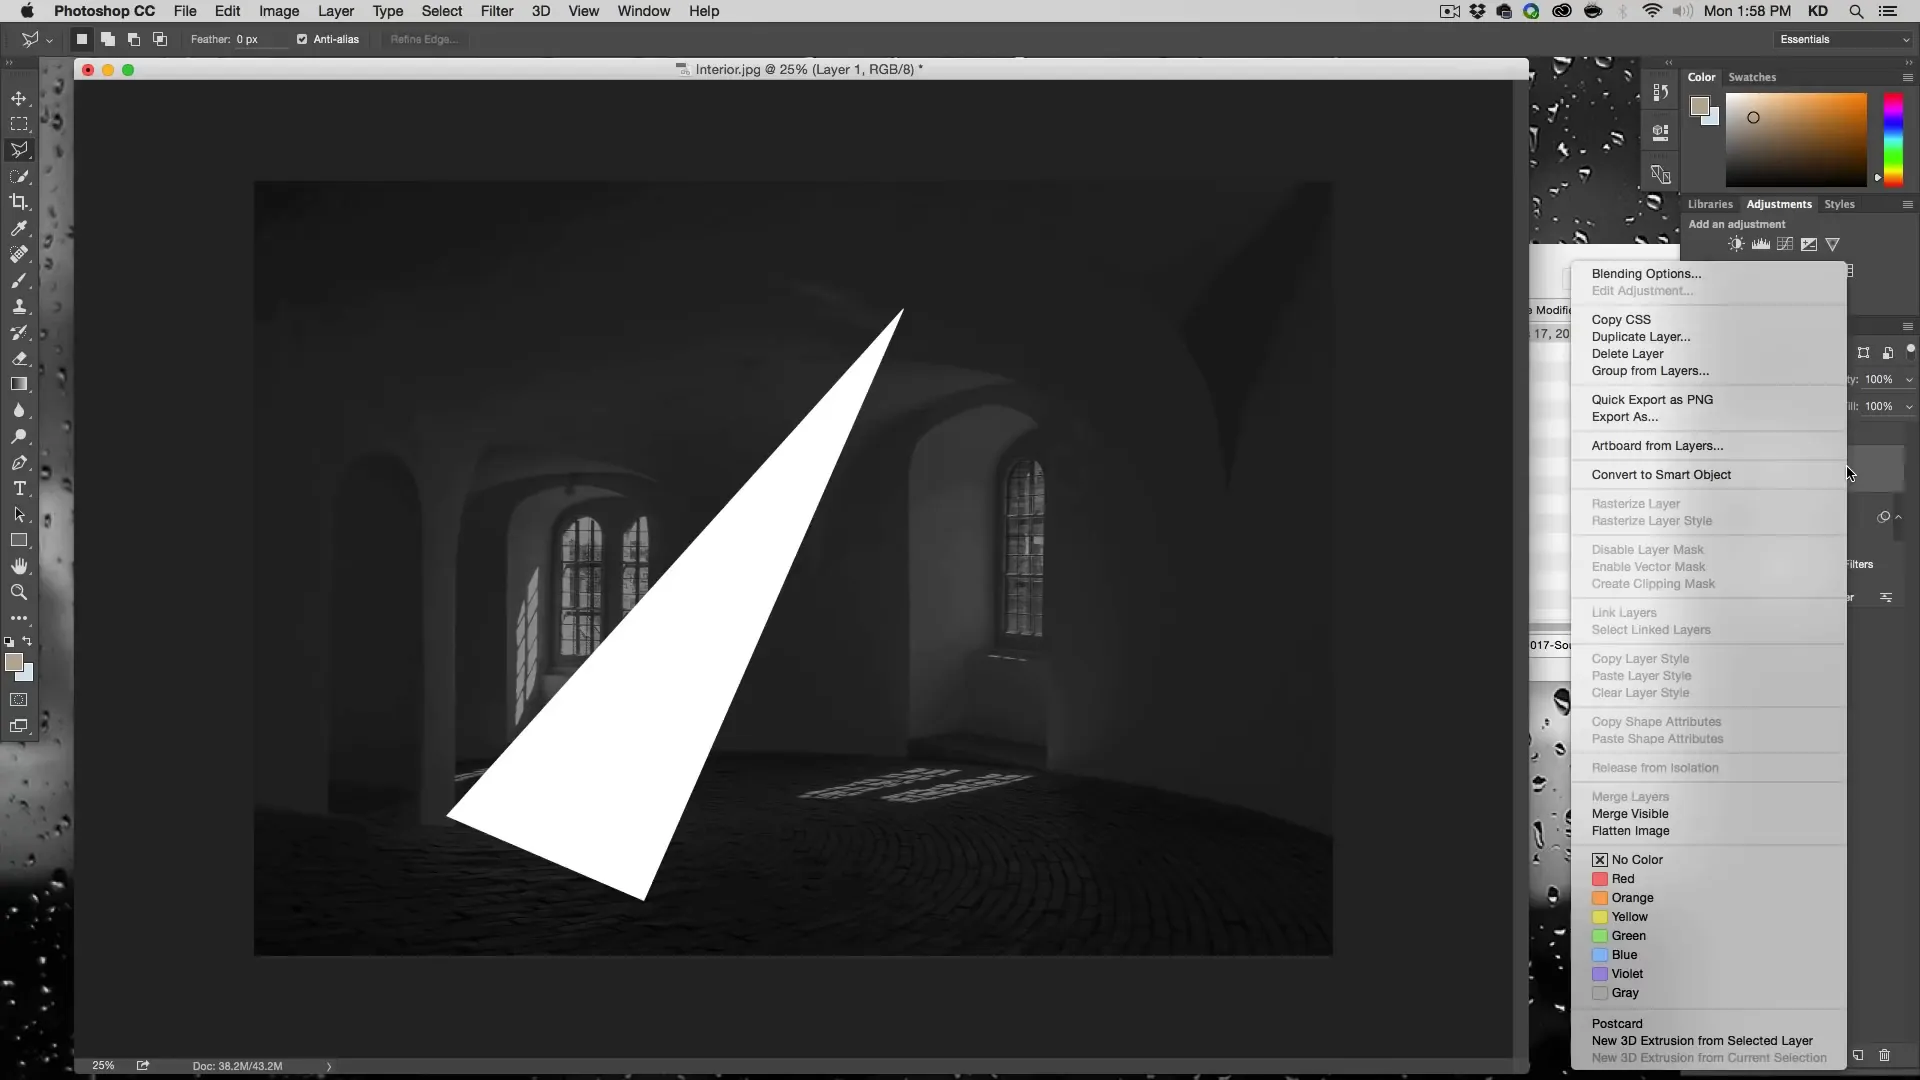
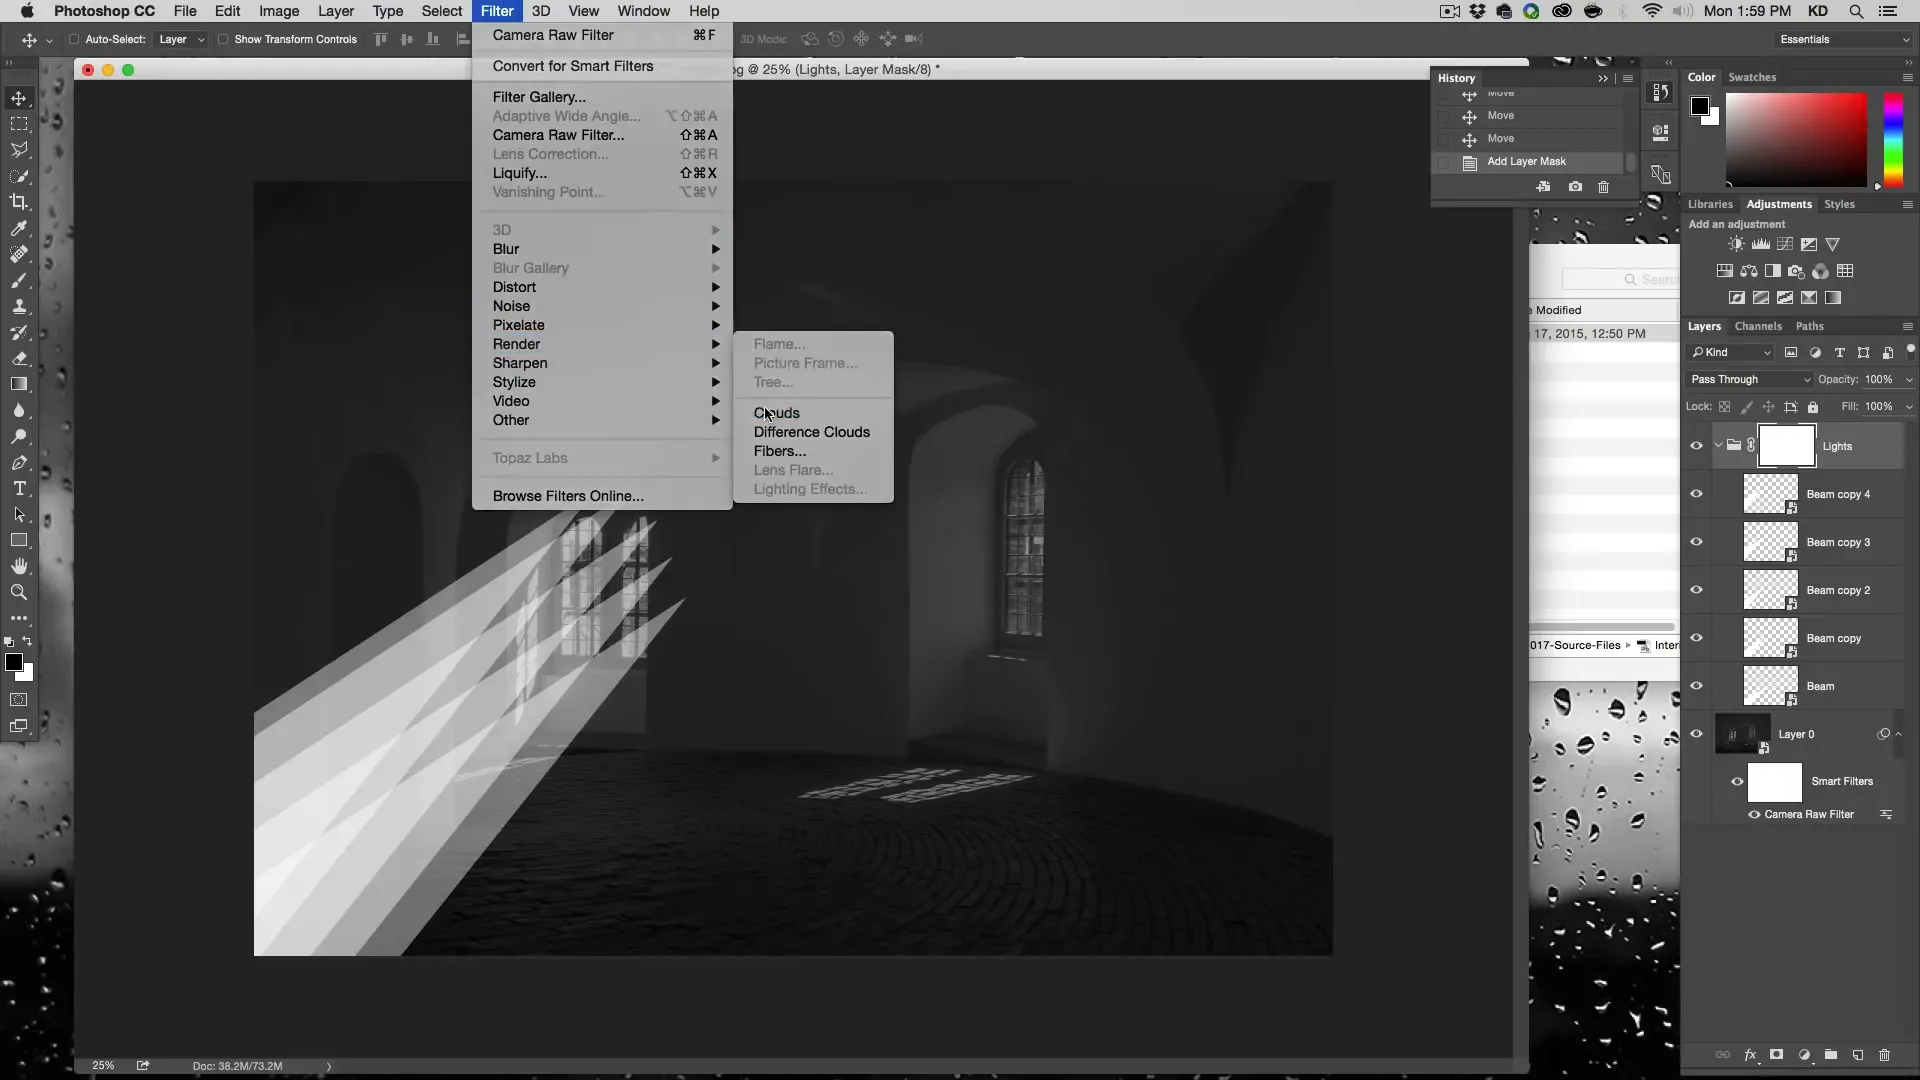
- Use the Polygonal Lasso tool to create a triangular beam of light.
- Go to Edit > Fill and choose White to fill the triangle. Deselect the selection (Command/Ctrl + D).
- Convert the triangle to a smart object.
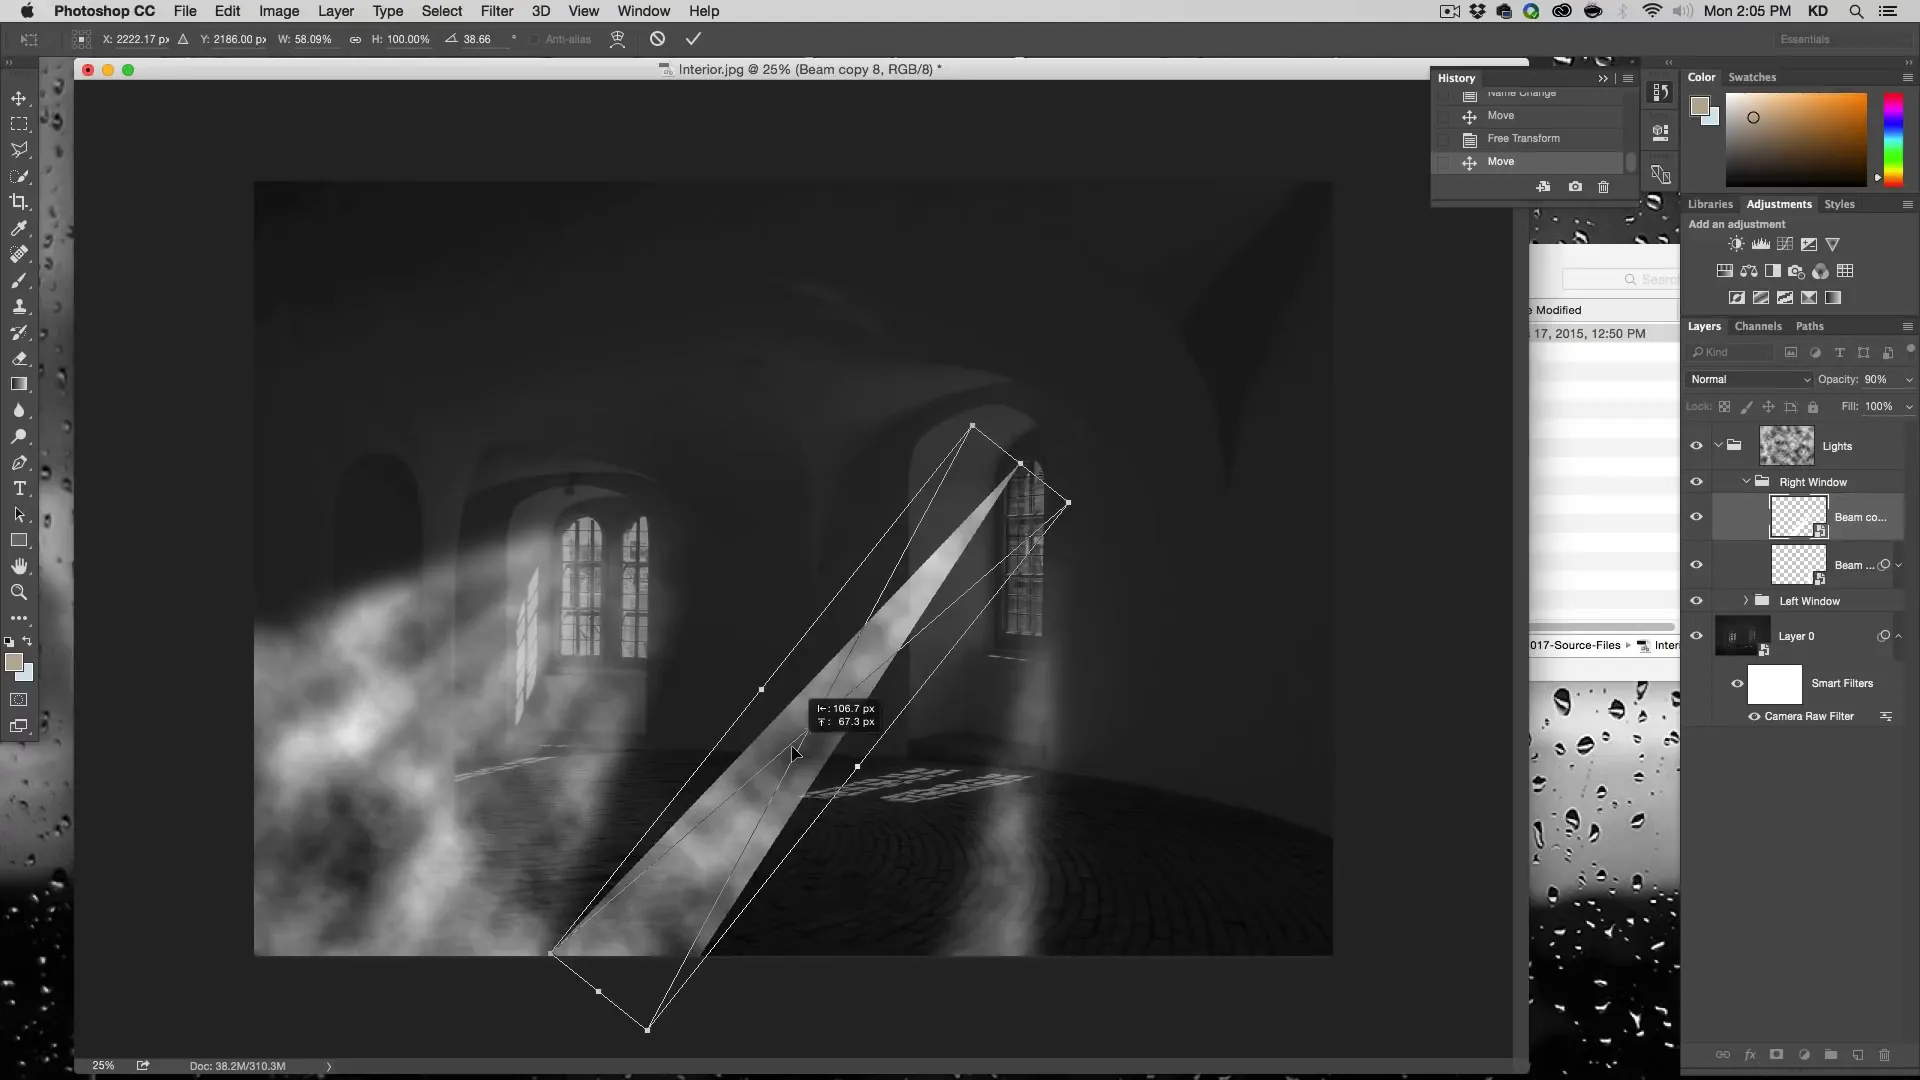
- Apply a Gaussian Blur filter with a radius of approximately 50 pixels.
- Use the Transform (Command/Ctrl + T) tool to position and resize the beam as needed. Create multiple copies of the beam and adjust them to achieve the desired look.
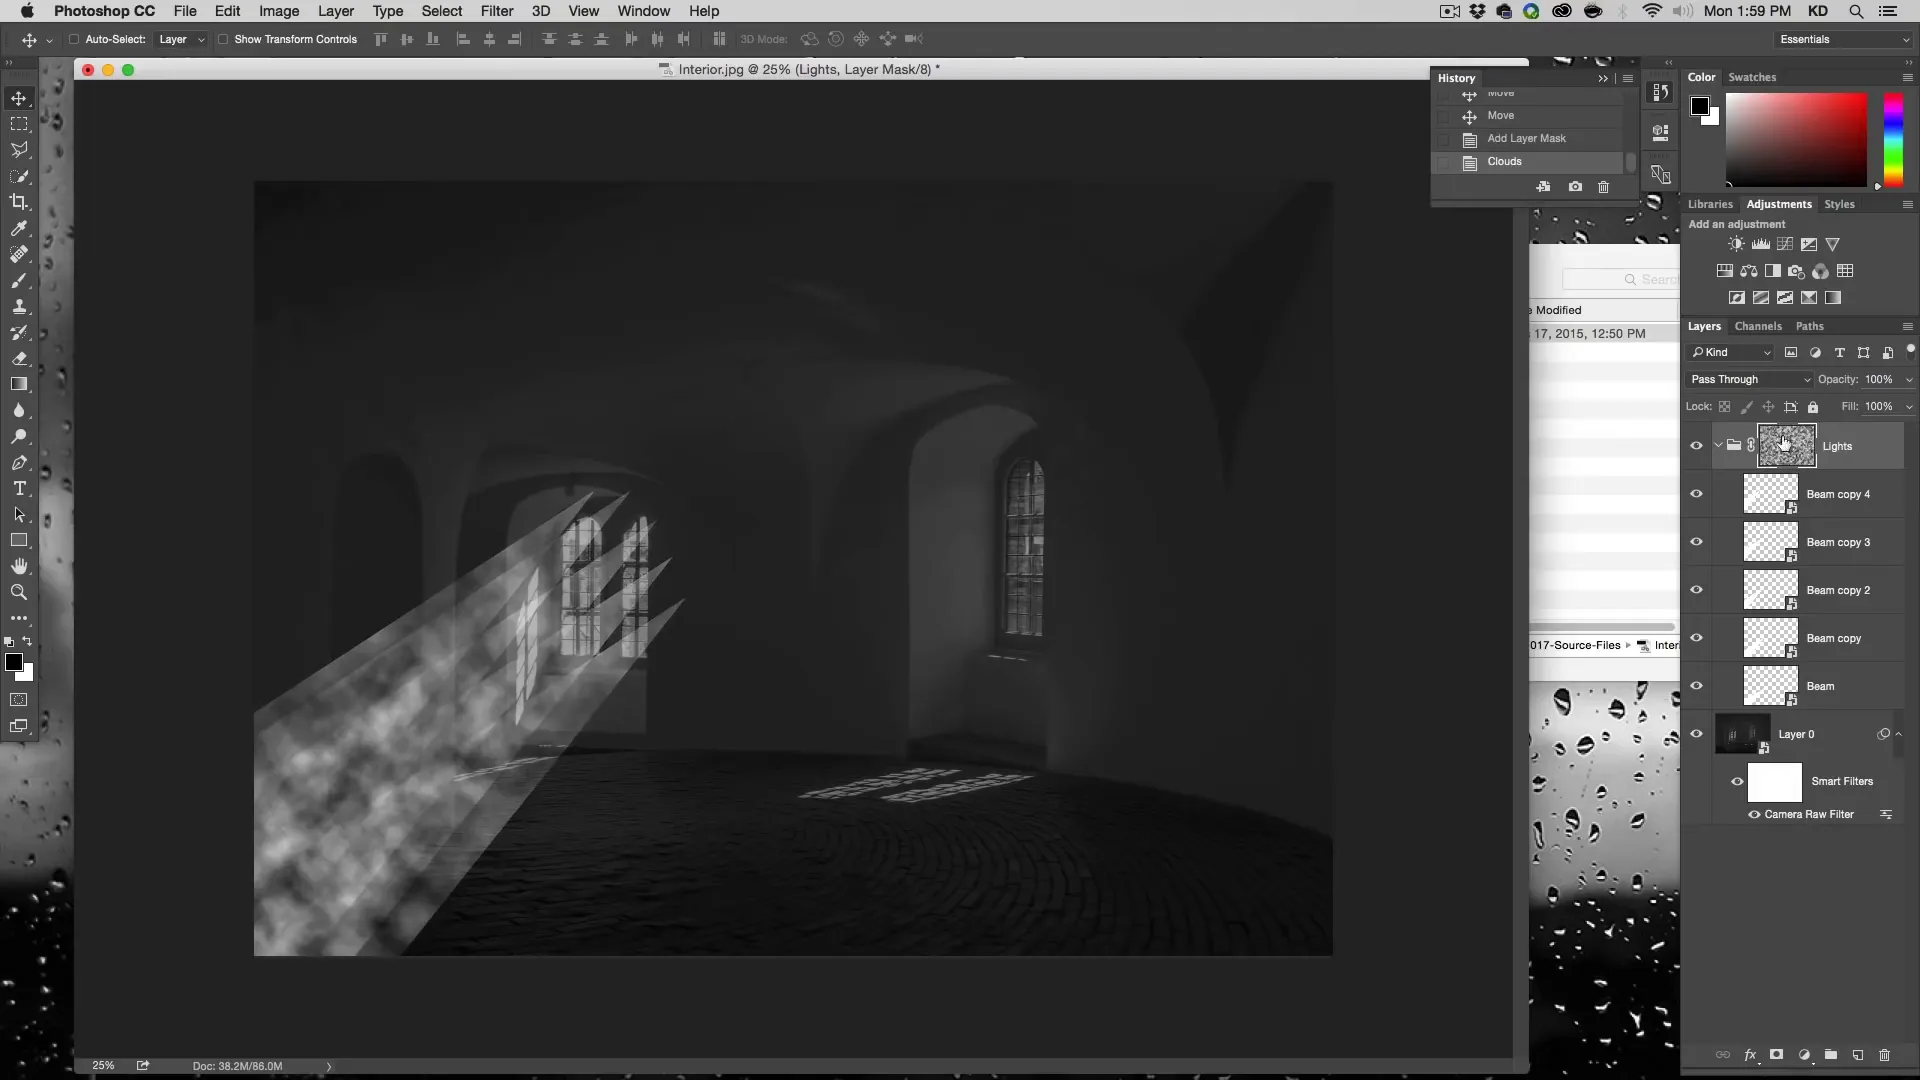
- Add a mask to the “lights” group and use Filter > Render > Clouds to create a smoky look.
Creating the triangle
Apply a cloud effect to the the smart objects
After adding the smart filter cloud effect
After adding Gaussian Blur effect and working on the next beam
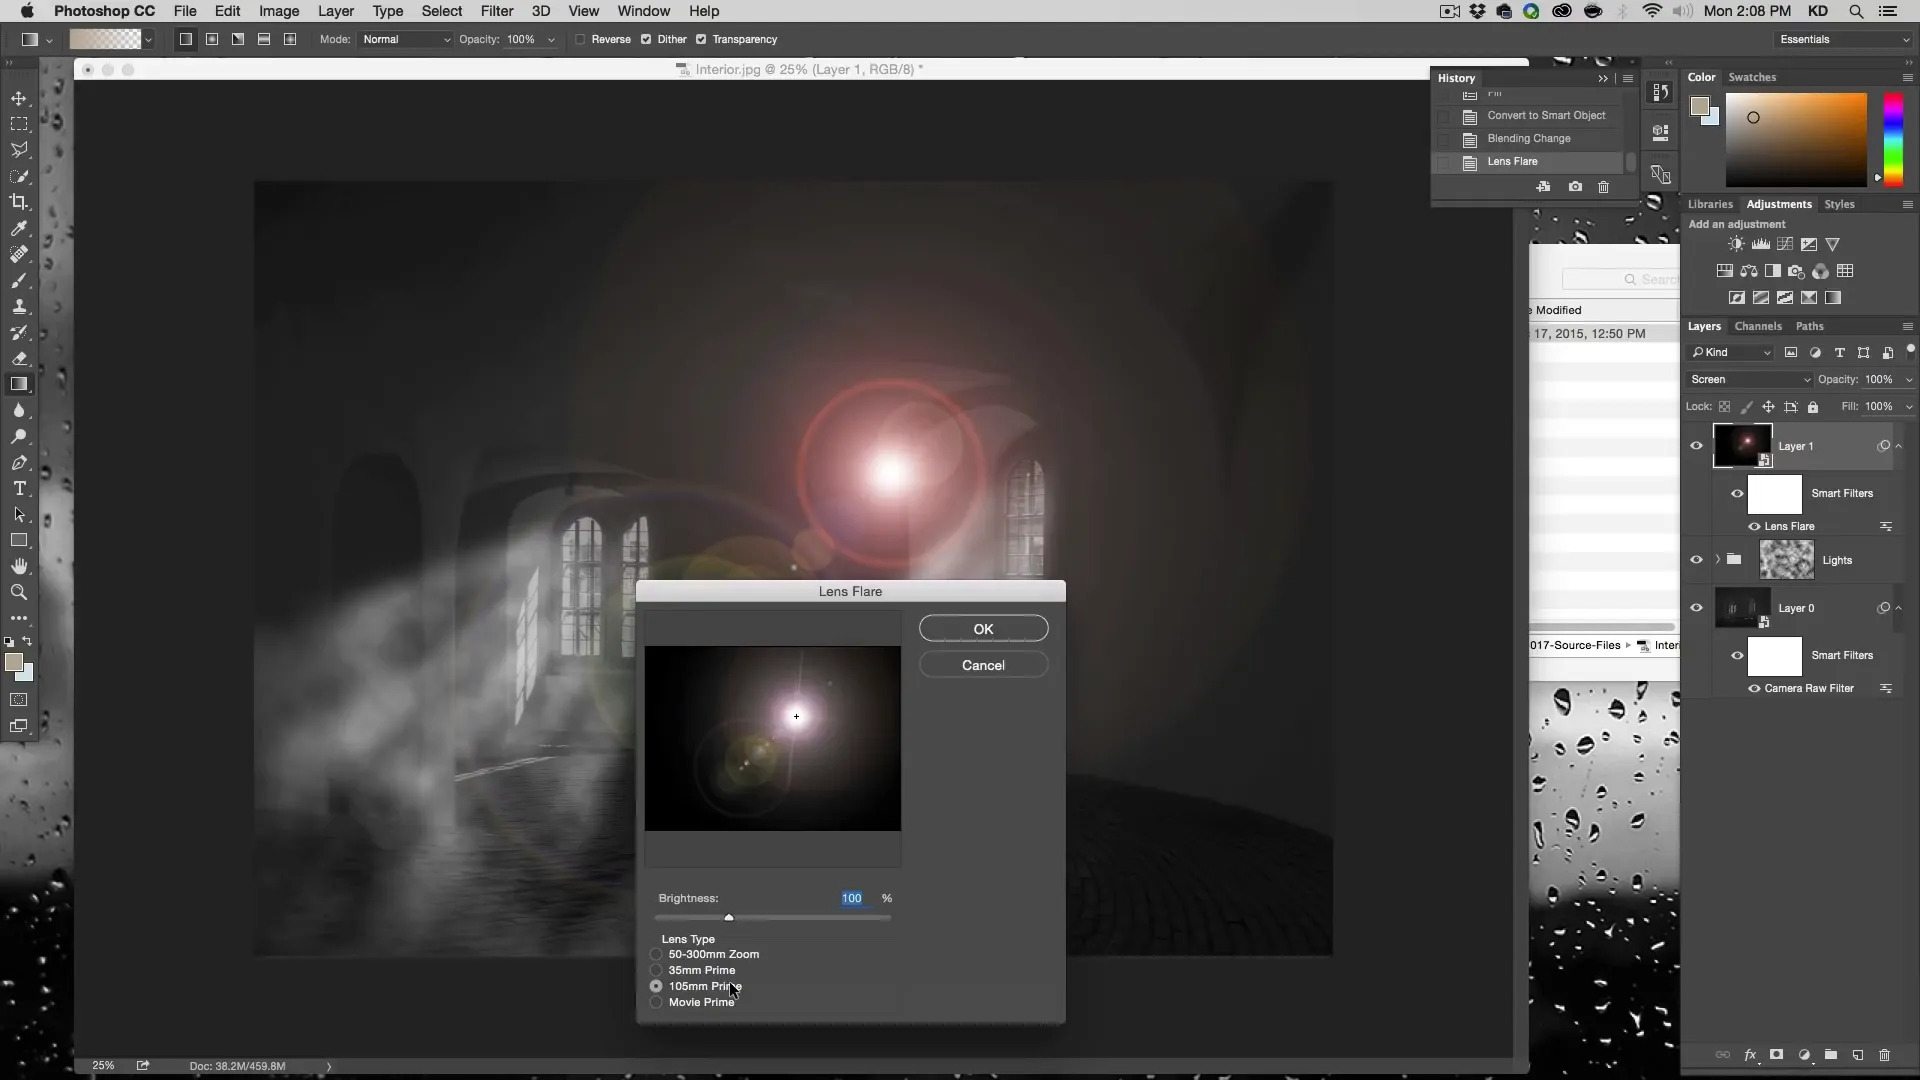
Add Lens Flares
- Create a new layer and fill it with black.
- Convert the layer to a smart object and set its blending mode to Screen.
- Go to Filter > Render > Lens Flare and choose the desired flare type and position. Repeat this step to add additional flares.
- Apply a Gaussian Blur to the lens flare layer, adjusting the radius to achieve a dusty look.
- Position the lens flare layer, making sure it aligns with the light beams.
- Adjust the opacity of the lens flare layer as needed, and create a mask if necessary to control the visibility.
Reveal Overexposed Image
- Duplicate the original image and place it above the “lights” group.
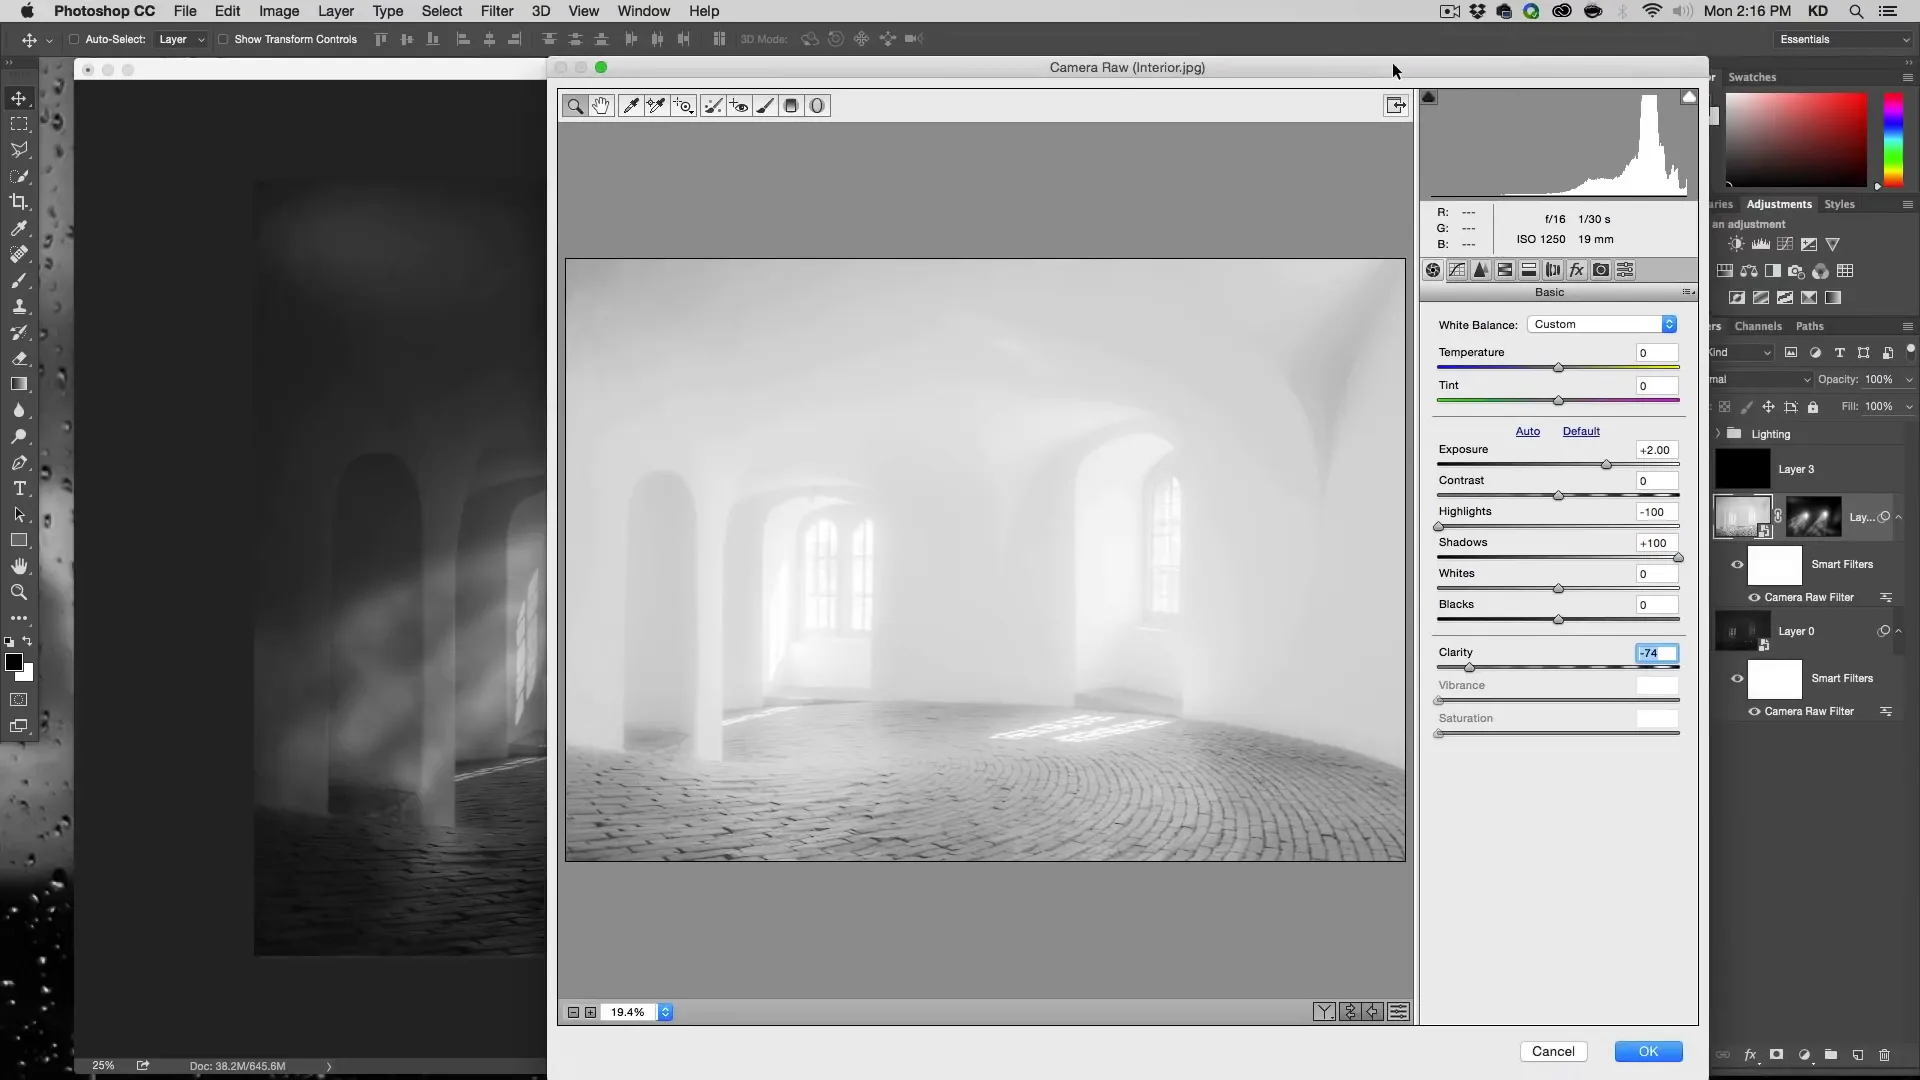
- Apply a Camera Raw filter, increasing the exposure and decreasing the clarity.
- Use the Channels panel to Command/Ctrl-click on the RGB channel, creating a selection of the visible pixels.
- With the selection active, create a mask on the overexposed image layer. This reveals the overexposed areas of the image based on the lighting effects.
- Adjust the mask using Curves (Command/Ctrl + M) if necessary.
Final Adjustments
- Create a new layer on top of all the others (Command/Ctrl + Alt + Shift + E).
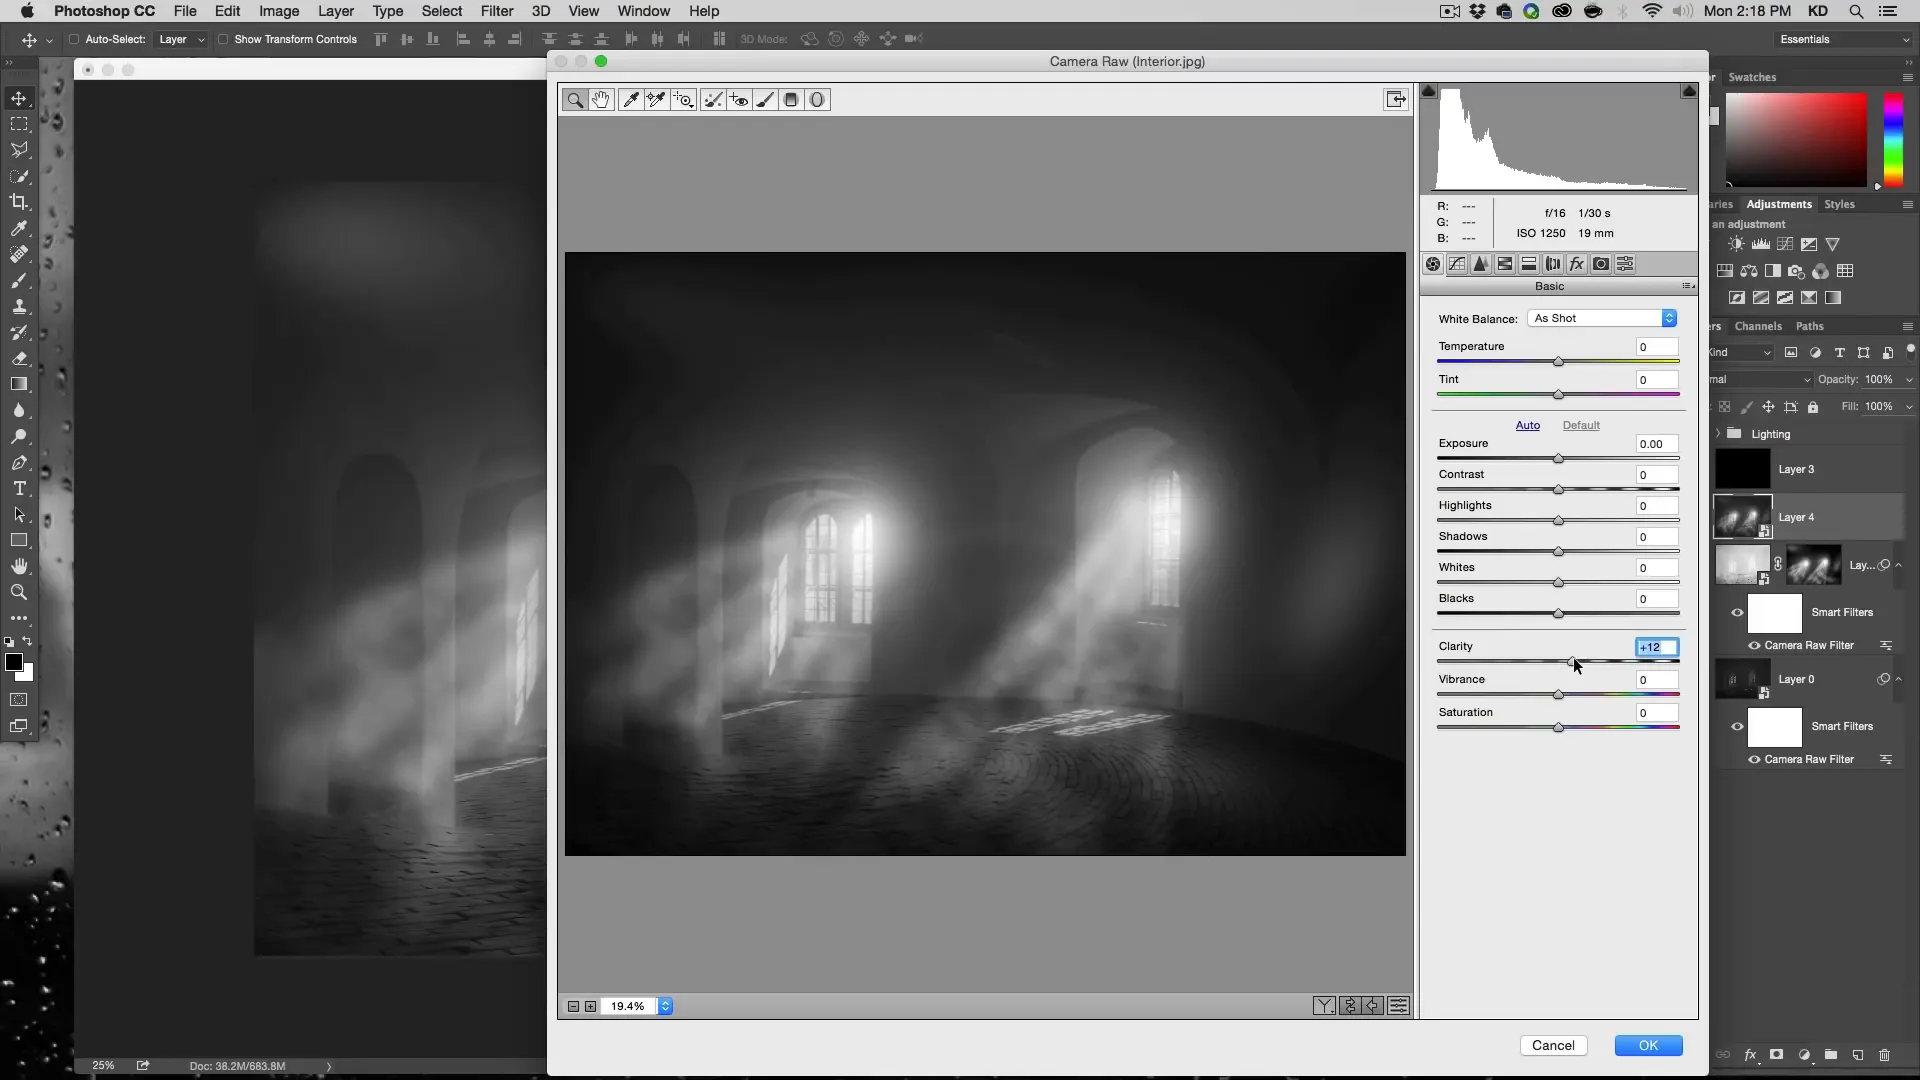
- Convert this layer to a smart object and apply a Camera Raw filter.
- Adjust the settings as desired, such as adding a vignette, increasing clarity, or adjusting exposure and shadows.
Final Result below:
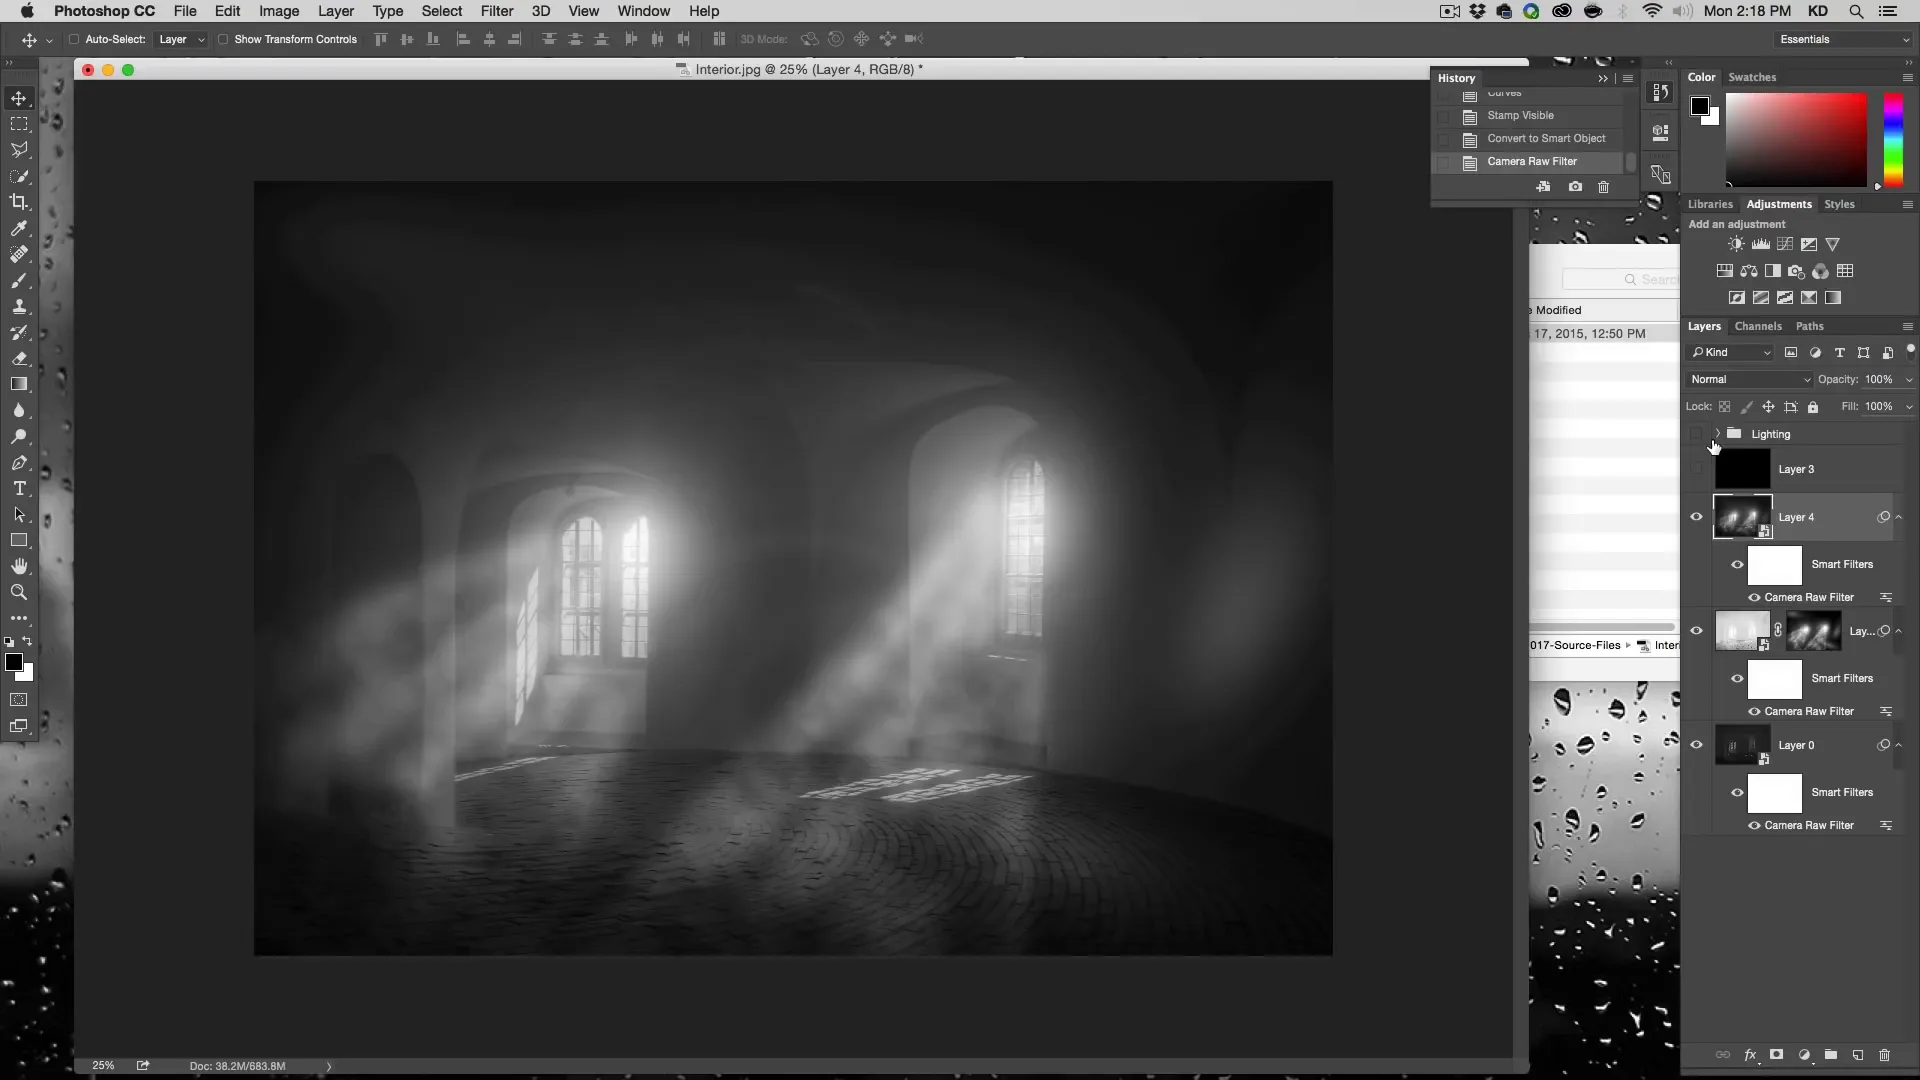
Following these steps, you can create dramatic lighting in your images, adding depth and atmosphere. Don’t forget to experiment with different effects and settings to achieve the perfect look for your image. Happy editing!
If you like this article then check out How to Change the Colour of Anything in Photoshop.

