Photo Editing
Raw Editing Fundamentals: Why You Should Start in Camera Raw
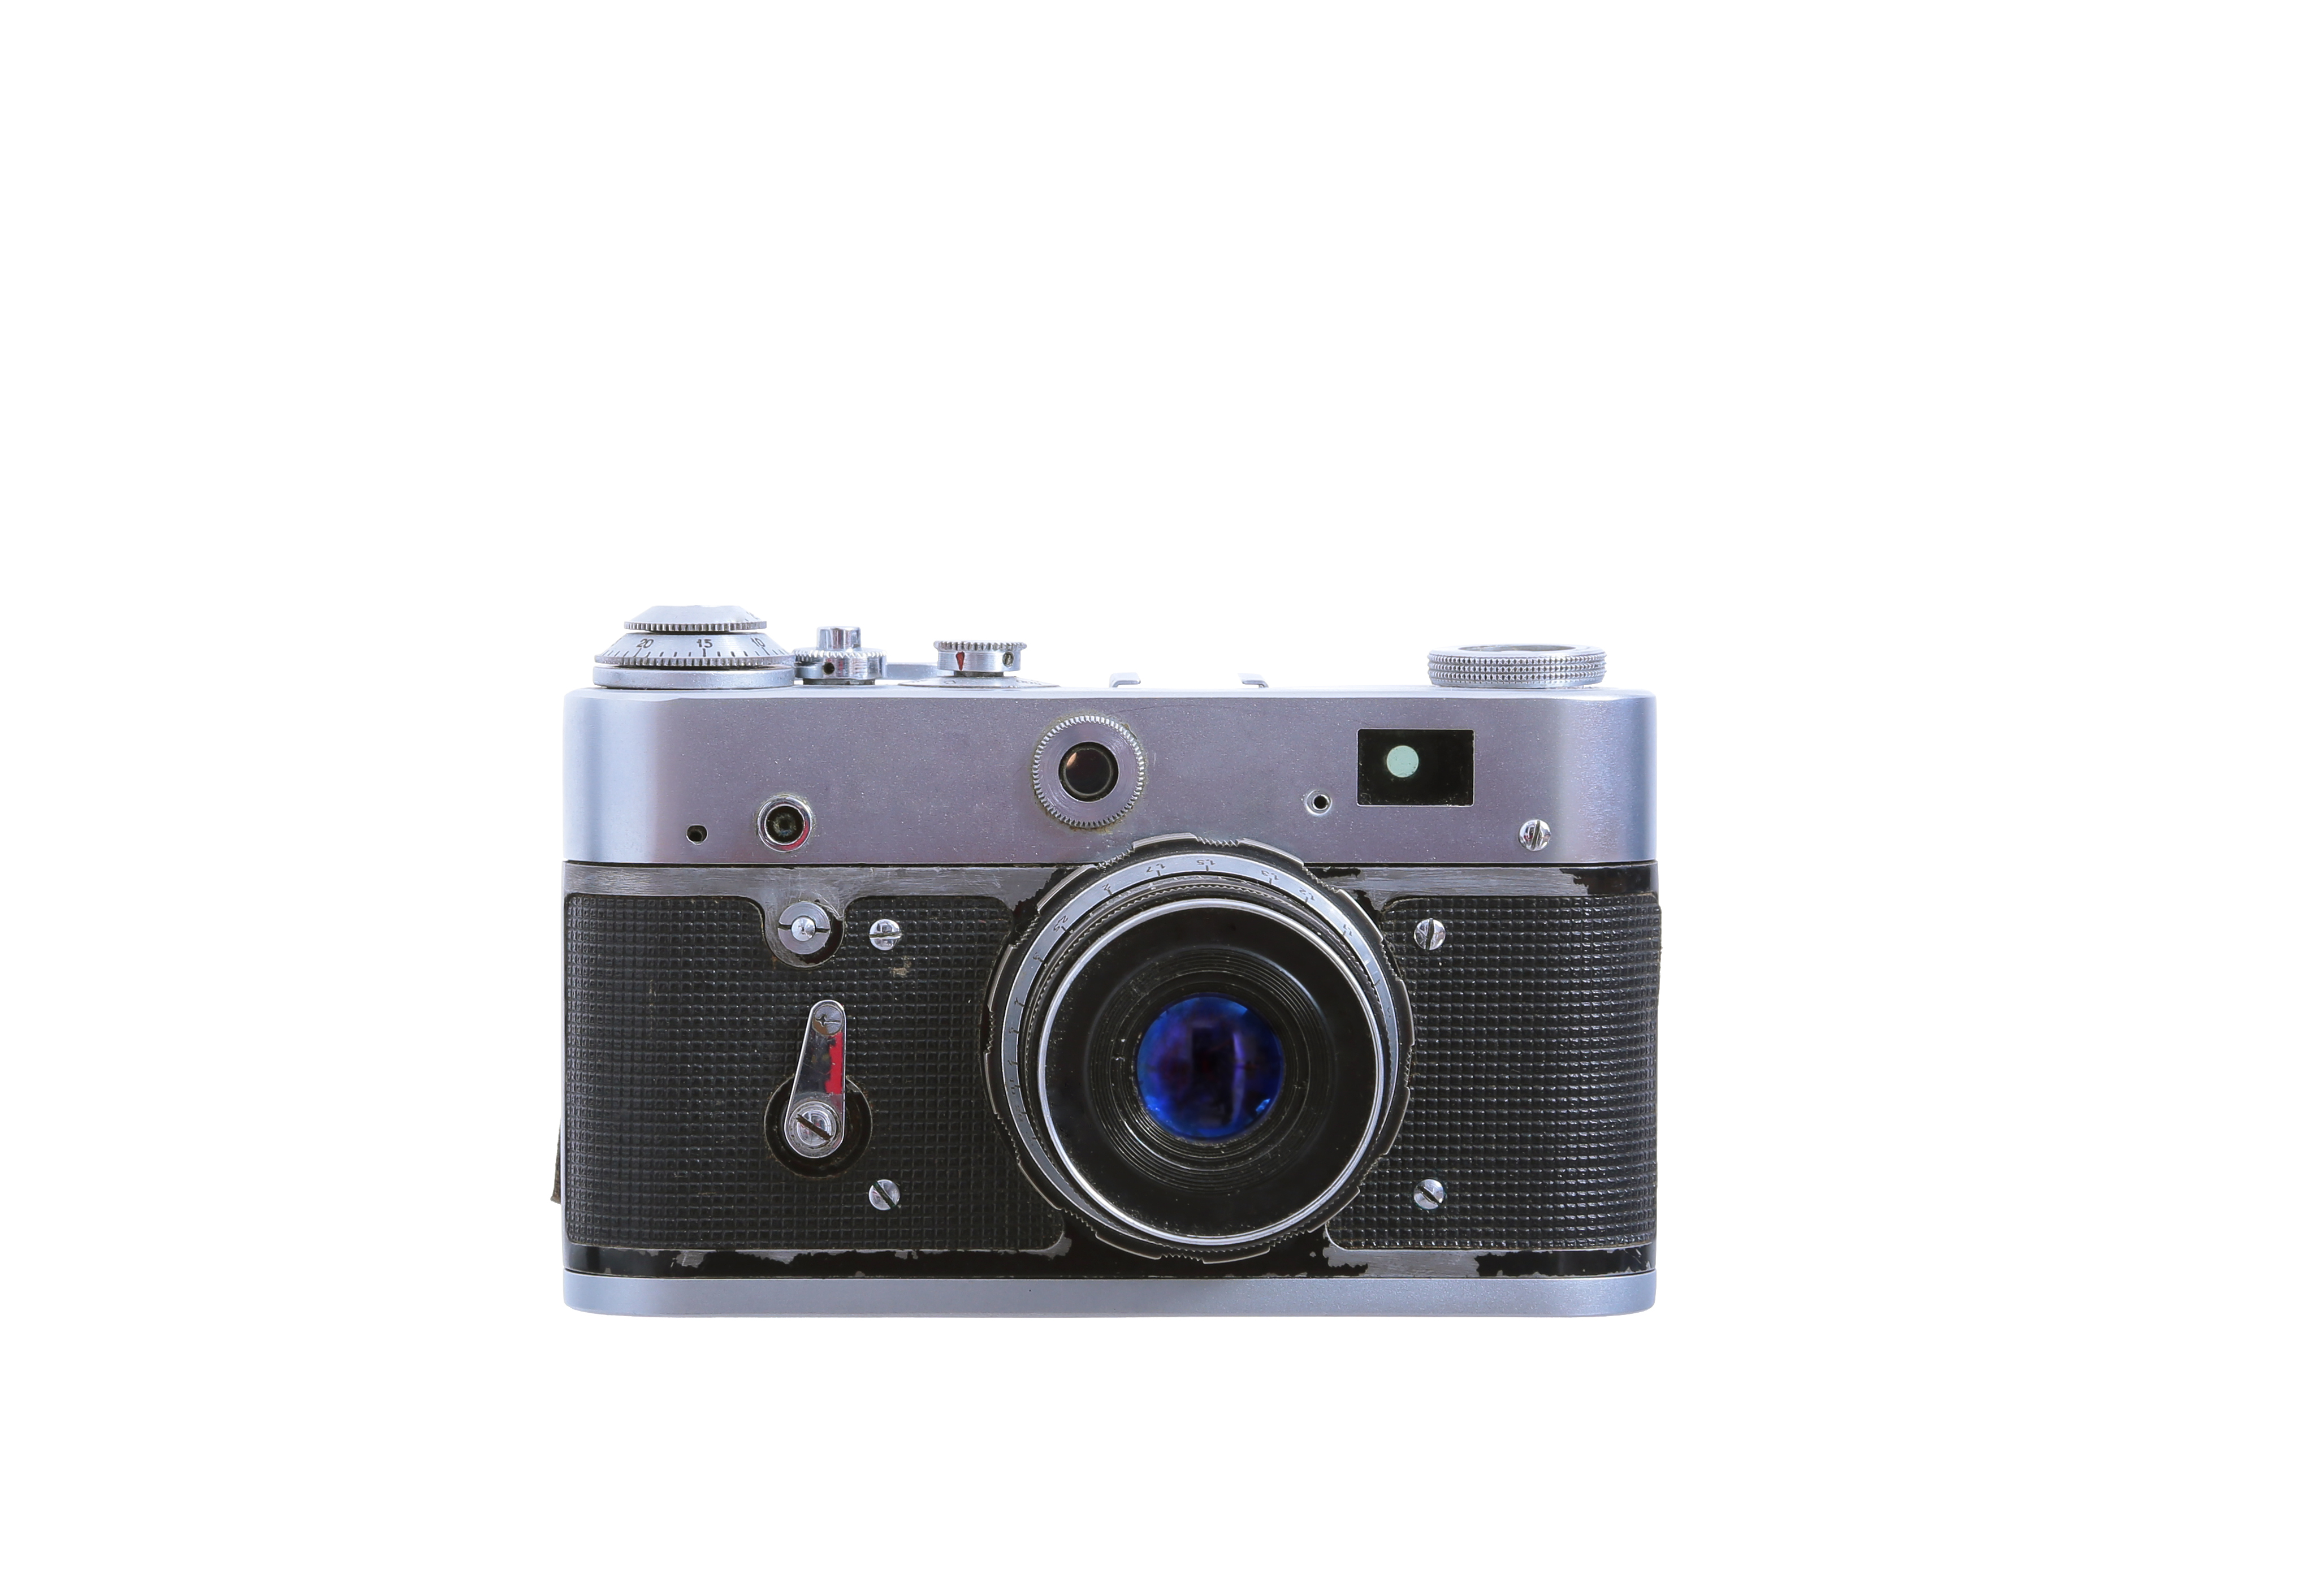
Raw Editing Fundamentals: Why You Should Start in Camera Raw When I first switched from shooting JPEG to RAW, I thought I was just getting bigger files. I was wrong. What I actually gained was complete creative control over my images before they ever entered Photoshop. If you’re skipping the raw editing stage, you’re leaving significant quality and flexibility on the table. Let me walk you through why raw editing matters and how to do it right.