Every few months I get an email from someone who followed a skin retouching tutorial, applied it to their portrait, and ended up with a result that looks like the subject is wearing a latex mask. The colors are smooth. The pores are gone. The person in the photo no longer looks like a person. And the question is always some version of: “What did I do wrong?”
Nothing, technically. The problem is that most basic retouching tutorials teach you to blur skin without explaining why skin looks real in the first place. Once you understand the underlying structure, the whole thing clicks.
What Your Eyes Are Actually Reading as “Real Skin”
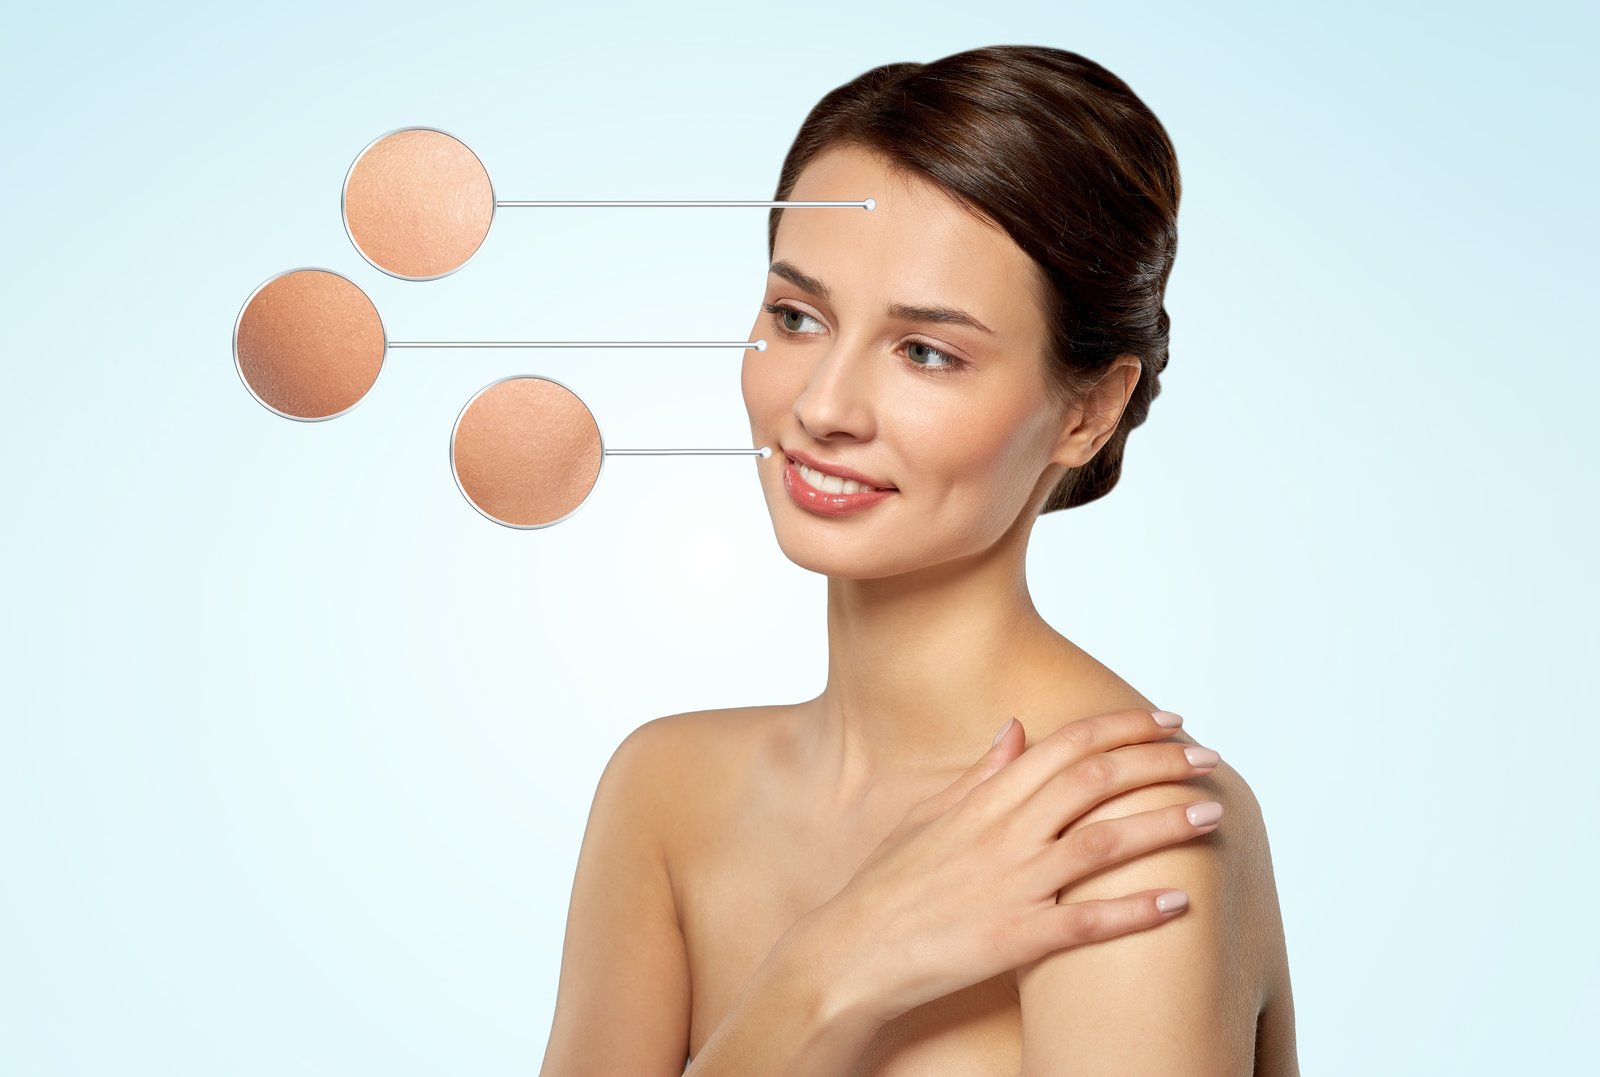
Human skin has two layers of visual information that your brain reads simultaneously. The first is tone and color: the warm pink of a cheek, the slight yellow in an olive complexion, the uneven blush around the nose. The second is texture: pores, fine lines, the micro-bumps that scatter light and give skin its tactile quality.
When you run a healing brush or a blur across someone’s skin without thinking about this, you flatten both layers at once. The color smooths out and the texture disappears together. That’s the latex mask. Your brain knows something is wrong even if you can’t name it immediately.
Frequency separation solves this by letting you edit those two layers independently. Low frequency holds your color and tone information. High frequency holds your texture. You can even out a blotchy complexion on the low frequency layer without touching a single pore. You can clone or heal texture on the high frequency layer without shifting the underlying color at all.
Setting Up Frequency Separation in Photoshop
Here’s the exact setup I use. Duplicate your background layer twice. Name the bottom copy “Low Frequency” and the top copy “High Frequency.”
Select your Low Frequency layer and go to Filter > Blur > Gaussian Blur. For a portrait shot at 200-300 DPI, I use a radius of 4-6 pixels. You want to blur until the texture disappears but the tonal shapes, the shadows under the cheekbone, the color shift across the nose, are still clearly visible. If your image is at 72 DPI for web use, drop that radius to 2-3 pixels.
Now select the High Frequency layer. Go to Image > Apply Image. In the dialog box, set the Layer to your Low Frequency layer, set Blending to Subtract, Scale to 2, and Offset to 128. Click OK. Then change the blend mode of the High Frequency layer to Linear Light. What you’re looking at now is pure texture information, separated from the color and tone underneath it.
Working the Low Frequency Layer Without Destroying Texture
This is where most of the color correction and tonal evening happens. Select the Low Frequency layer and use the Mixer Brush tool set to Wet: 10%, Load: 1%, Mix: 75%, and Flow: 100%. Those settings give you an almost imperceptible drag that blends adjacent tones without creating obvious strokes.
Paint over areas where the skin color is uneven. Redness around the nostrils, a splotchy forehead, the uneven shadow under the eyes from a slightly rough lighting setup. Because you’re only touching the low frequency layer, the texture above it remains completely intact. The skin still reads as skin.
For more significant tonal correction, I’ll use a Curves adjustment layer clipped to the Low Frequency layer. A slight S-curve can add contrast back to the skin if the blending has made it look a little flat.
Healing on the High Frequency Layer
Blemishes, small scars, and distracting texture irregularities live on the High Frequency layer. Select it, grab the Healing Brush (not the Spot Healing Brush), and make sure Sample is set to Current Layer. Alt-click to sample from a nearby area of similar texture, then paint over the spot you want to fix.
Because you’re working on texture data only, the healing brush matches texture without pulling in color from your sample area. This is a huge deal. Anyone who has tried to heal a blemish near a tonal boundary, like the edge of a shadow, knows how easily the standard healing brush creates a muddy smear. On the high frequency layer, that smear mostly disappears.
I keep my brush hardness between 85 and 95 percent on this layer. Softer brushes blend the texture too much and you lose that natural grain. Keep it crisp.
The One Thing That Saves You From Overdoing It
Early in my agency days, I used to push every retouch as far as I thought it could go, because I assumed polished meant better. It took one art director circling a model’s arm in a printout and writing “WHERE ARE HER PORES” in red marker to recalibrate my thinking.
I still do my retouching on a duplicated merged layer and then dial the opacity back. I finish the full retouch, then reduce the entire layer’s opacity to somewhere between 65 and 85 percent. That single step reintroduces just enough of the original unretouched image to make everything look like it belongs to a real person. You get the clean, even skin you worked for, but with a thin veil of reality back over the top. It takes two seconds and it has saved more of my portraits than any single technique I know.
The goal of skin retouching is not to remove evidence that someone has skin. Done right, nobody should be able to point to your retouch and name it. They should just think the subject looks great.
Comments
Leave a Comment