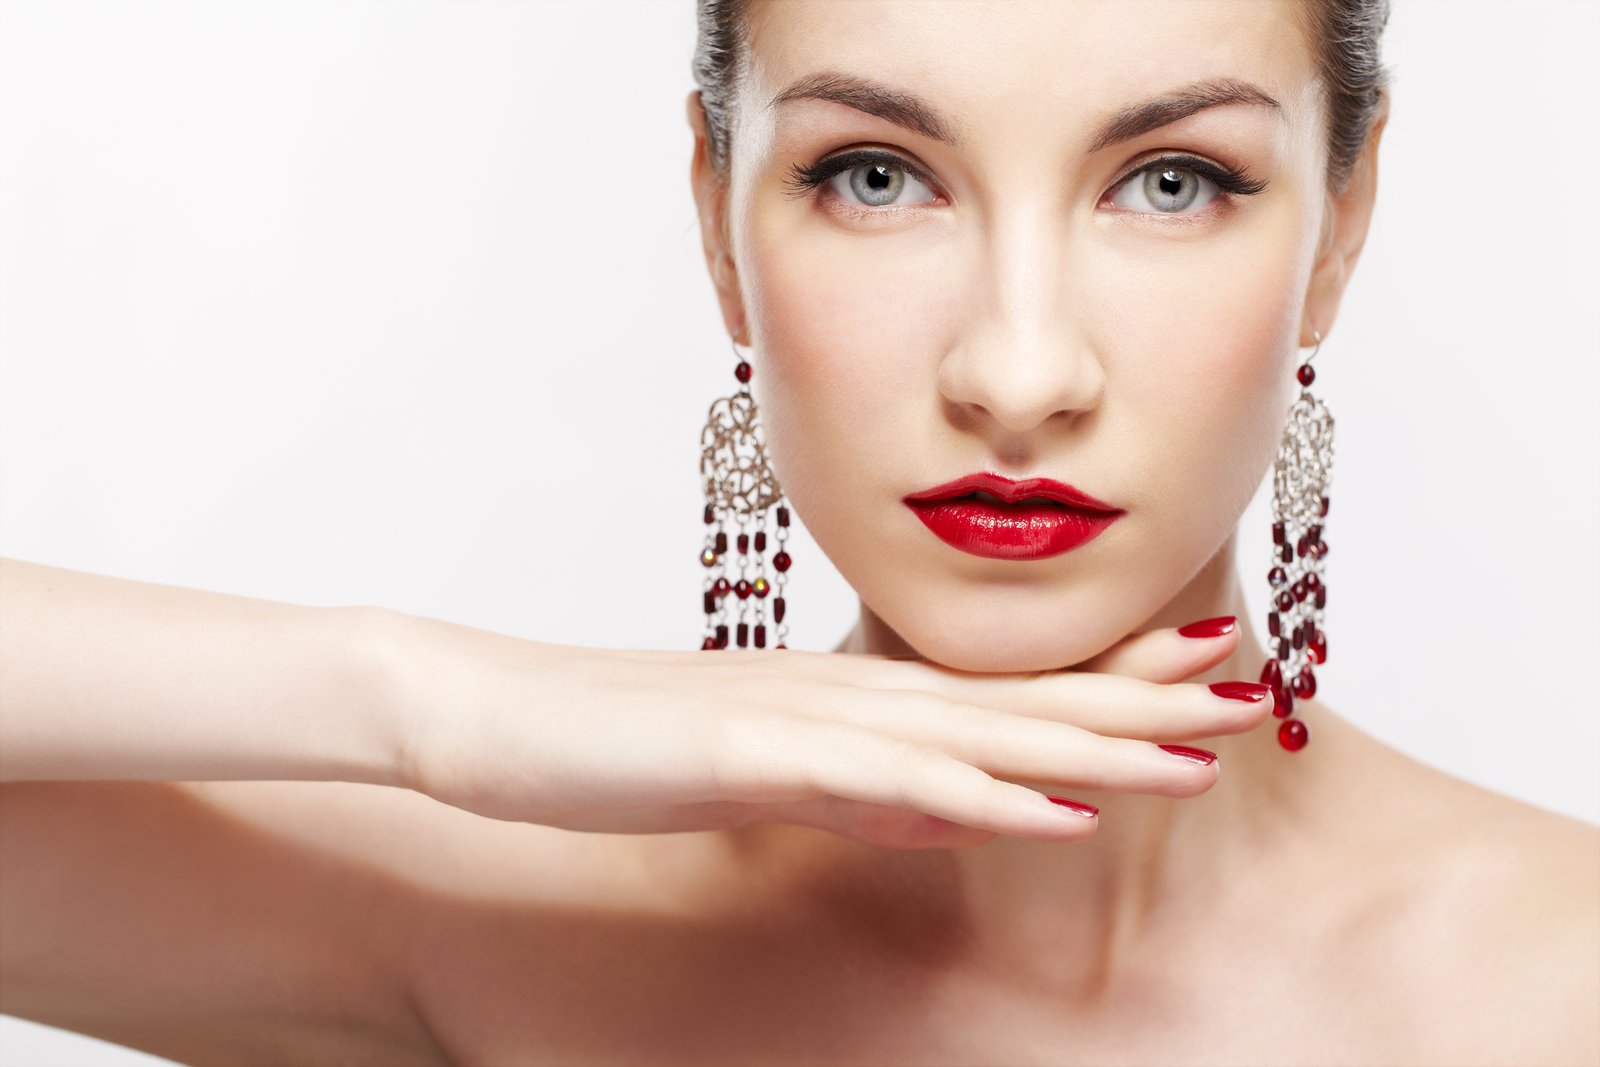
A student once told me that curves was better than dodge and burn for everything. I disagreed. He pushed back. I made a whole follow-up video. Then another one. Three tutorials later, we’d basically written a thesis on tonal control together, and I still stand by my original position: for sculpting light on a subject’s face, nothing touches dodge and burn done right. Curves is powerful, but it works globally. Dodge and burn works locally, and that difference is everything when you’re trying to make a flat photo feel three-dimensional.
What Dodge and Burn Is Actually Doing to Your Pixels
The names come from darkroom photography. “Dodging” meant blocking light during an exposure to make an area lighter. “Burning” meant adding extra light to darken an area. Photoshop’s Dodge and Burn tools do the same thing, but they do it destructively by default, which is why most professionals don’t use them directly on the image.
What you’re actually doing when you dodge and burn is manually painting luminosity. You’re telling Photoshop: this area should be brighter, that area should be darker. When done subtly, your brain reads those light and dark shifts as three-dimensional form. A highlight on a cheekbone, a slight shadow under the jawline, a bit of depth in the eye socket. None of that comes from a filter. It comes from you deciding where light lives in the image.
The Non-Destructive Setup You Should Be Using
Never use the Dodge and Burn tools directly on your photo layer. Once you burn a shadow into a pixel, it’s gone. Instead, create a new layer, fill it with 50% gray, and set the blend mode to Soft Light. At 50% gray, Soft Light is completely neutral, meaning it disappears. Paint white on that layer to dodge. Paint black to burn. Your original image stays untouched.
Here’s the exact setup:
- Create a new layer above your subject (Layer > New > Layer).
- Hold Alt/Option and click OK to skip to fill options, or just go Edit > Fill and choose 50% Gray.
- Set the blend mode to Soft Light.
- Grab your Brush tool. Set it to a low Flow, around 3 to 5%, and use a large, soft brush, something in the 200-400px range depending on your canvas.
- Paint with white at low opacity to lift highlights. Paint with black to deepen shadows.
The low flow is critical. You’re building tone gradually, the way a painter would. If you go in at 30% and make one stroke, it’s going to look like a mistake. Three percent, twenty passes, that’s control.
Reading the Light Before You Touch the Brush
This is where people skip ahead and then wonder why their dodge and burn looks muddy. Before you make a single stroke, study where the light is already coming from in your image. If the key light is coming from the upper left, your dodge strokes belong on the upper-left-facing planes of the face: the forehead, the top of the nose, the cheekbone, the upper lip. Your burn strokes belong in the receding areas: under the cheekbone, the sides of the nose, the neck under the chin.
A quick trick I use: desaturate a duplicate of your image and look at it in black and white. It strips away color so you can read the luminosity values cleanly. Then toggle back to color while you paint on your gray layer. You’re sculpting the light, not coloring it.
Where Beginners Go Wrong (And How to Catch It)
The two most common mistakes are going too dark too fast on shadows, and dodging highlights until they clip to pure white. Both kill detail and make the retouch obvious.
Set a hard rule for yourself: check your dodge layer by toggling it on and off every few minutes. If the difference is dramatic when you toggle it, you’ve gone too far. The goal is for someone to look at your finished image and feel that it has great light, not to see your brushwork.
I keep my gray layer at around 60 to 70% opacity until I’m done, then decide if it needs to come down. Most of the time I land between 65 and 80% for portrait work. For product shots or composites where I need more controlled depth, I sometimes run two separate gray layers, one for shadows and one for highlights, so I can adjust them independently at the end.
One More Layer That Changes Everything
After your dodge and burn is done, add a Hue/Saturation adjustment layer and clip it to your gray layer (hold Alt and click between the two layers in the Layers panel). Slightly desaturate the burned areas, maybe minus 10 to 15 points. When you deepen a shadow on skin, Photoshop can make it go slightly orange or red, depending on the subject’s tone. That clipped desaturation layer neutralizes the color shift without touching the luminosity you just built.
It adds about 30 seconds to your workflow and removes one of the most visible signs of amateur retouching.
I still do this step on my Wacom, the 2015 Intuos that I refuse to retire because the pressure sensitivity is dialed in exactly the way I like it after years of use. New hardware is great, but some tools just become extensions of your hand. The gray layer setup has been part of my process for nearly a decade, and I trust it on everything from beauty campaigns to product composites.
The single most important thing to take away here: dodge and burn is not a filter you apply, it’s a skill you develop by studying light. Get your setup right, paint slowly, and check your work constantly.
Comments
Leave a Comment