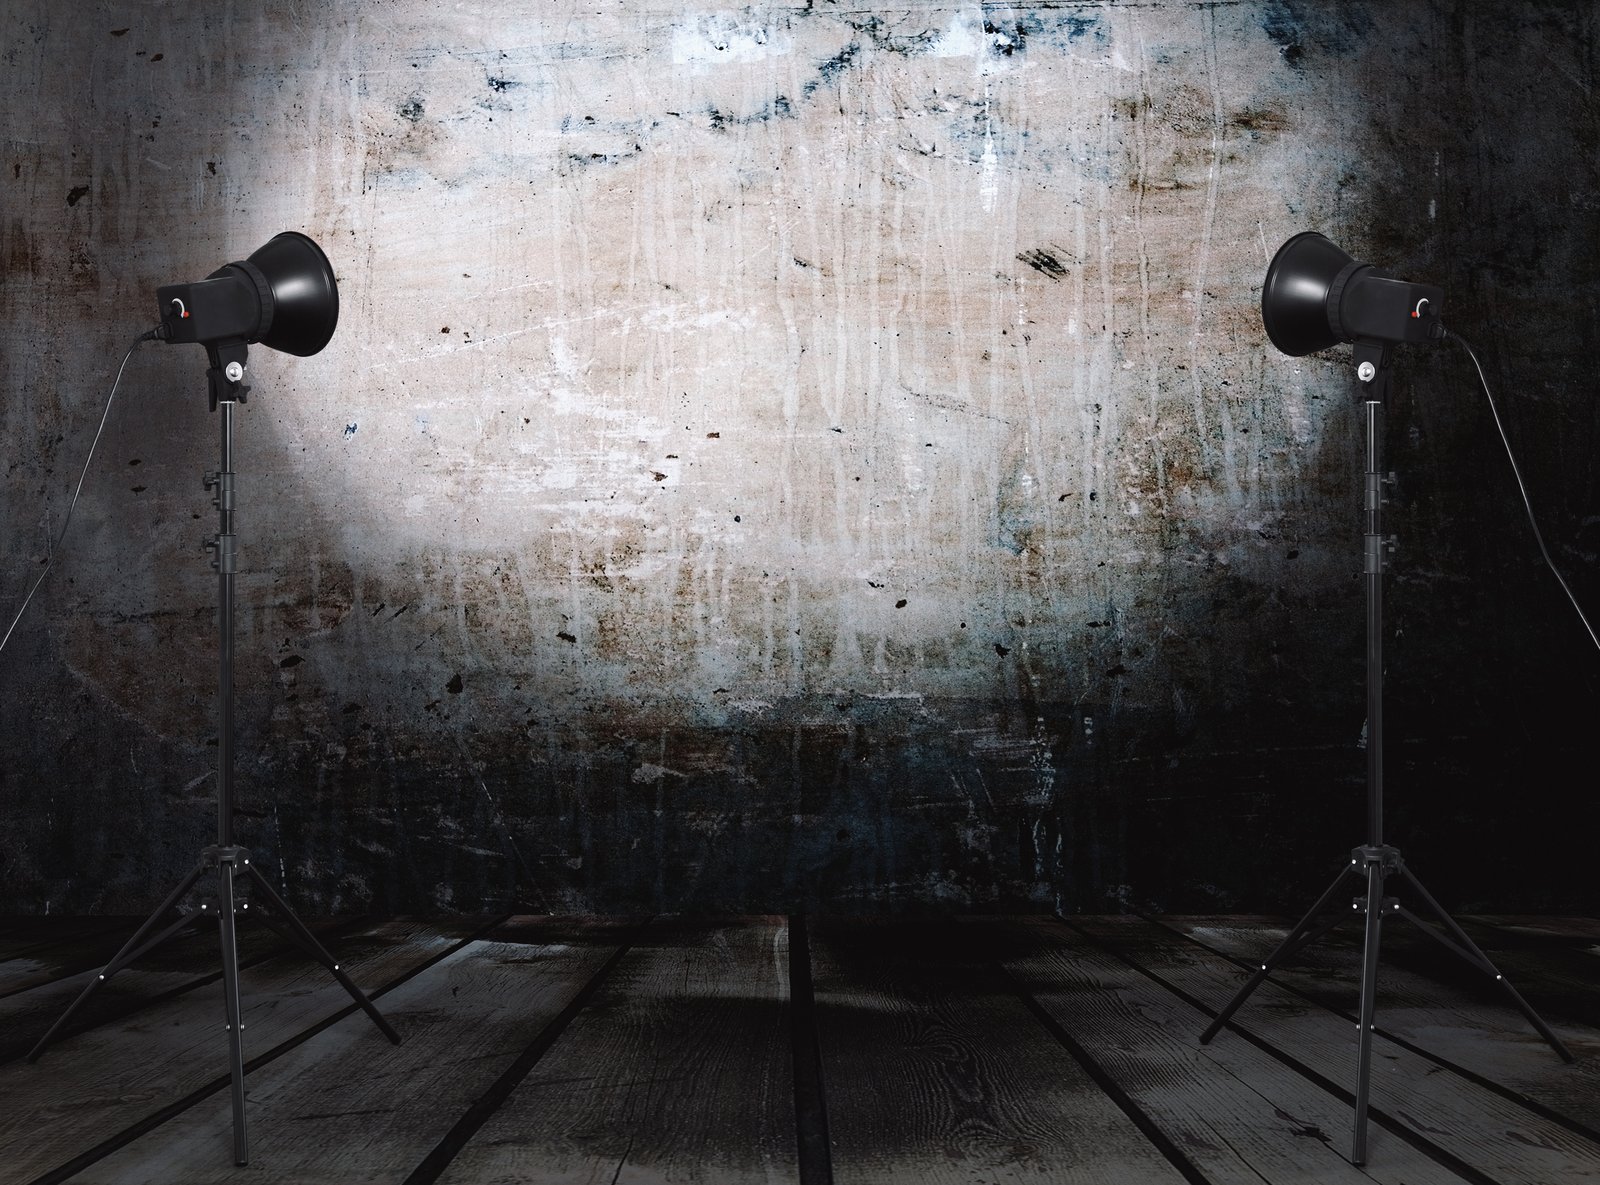
A few years back, a student sent me a composite she’d spent a full weekend on. The cutout was clean, the color grading was beautiful, and she’d even matched the grain. But something was deeply wrong, and she couldn’t put her finger on it. I spotted it in about four seconds: the light on her subject was coming from the left, and every single background element was lit from the right. The image looked like a hostage photo taken on a movie set.
This is the most common reason photo manipulations fail, and it has nothing to do with masking skill or color theory. It’s a physics problem.
The Reason Your Brain Rejects the Image Before Your Eyes Do
Human vision is wired to detect inconsistent lighting at an almost unconscious level. We’ve been reading light since before we could read words. When the highlight on a subject’s nose points left and the shadows in the background stretch right, your brain flags it as wrong before the viewer can even articulate the problem. They just say “it looks fake” and move on.
What’s actually happening is a mismatch in light direction, light temperature, and light falloff. These are three separate variables, and you need to match all three. Most beginners fix color temperature and stop there. That’s why their work still reads as a composite.
Light falloff is the one people skip. In a real photograph, light loses intensity over distance following the inverse square law. A subject standing six feet from a light source gets four times less light than one standing three feet away. When you paste a studio-lit portrait onto an outdoor background, the light on your subject has almost zero falloff because it was shot in a controlled environment. The background light, captured by a camera lens, has natural falloff baked in. The two worlds do not match, and your viewer feels it.
How to Read the Background Light Before You Place Anything
Before I place a single element into a composite, I spend five minutes doing a light audit on the background image. Open the image and create a new layer set to 50% gray, blending mode Overlay. Use the Brush tool at low opacity, white to paint highlights and black to paint shadows. This gray layer acts as a map you can refer to throughout the entire build.
Look for three things. First, where is the primary light source? Check the brightest specular highlights on any hard surfaces in the frame. Second, what color is the light? Use the Eyedropper on a highlight area and note the hex value. In golden hour scenes, you’ll often see values around F4C07A. In overcast outdoor shots, expect something closer to D6E0E8, a cool, desaturated highlight. Third, how hard is the light? Sharp shadow edges mean a small, direct source like the sun. Soft gradients mean an overcast sky or bounced light.
Write these three values down, literally. I keep a sticky note on my second monitor with light direction, highlight color, and shadow softness for every composite I build. It sounds obsessive, but it’s saved me from ruining more finals than I can count.
Matching the Light on Your Subject, Layer by Layer
Once your subject is masked and placed, the real work starts. Here’s my exact workflow, in order.
First, create a Curves adjustment layer clipped to your subject. Pull the midtones down slightly, around 10 to 15 points on the output value, to reduce the studio flatness. This simulates ambient light falloff.
Second, add a Solid Color fill layer clipped to the subject, set to Color blending mode at 15 to 25% opacity. Sample the highlight color from your background using the eyedropper and use that as your fill color. This warms or cools the subject to match the scene’s light temperature without blowing out the values.
Third, and this is the step most people skip, add a new layer clipped to your subject in Soft Light blending mode at 30 to 40% opacity. Paint the edge of the subject that faces the light source with a large, soft white brush. Then paint a subtle shadow on the opposite side with black. This recreates the directional push of the light and is the single biggest thing that sells a composite as real.
The 40-Hour Composite That Taught Me Everything
The first time I got a real agency job, it was off the back of a composite I built over a long weekend. I’m not exaggerating: I tracked my hours and it was 40 hours of work on a single image. I must have rebuilt the lighting on the main subject six or seven times before it finally sat in the scene correctly. At the time I thought I was just being slow. Looking back, I was learning the exact lesson I’m writing about right now. Every hour I spent adjusting that light, I was building a physical intuition for how illumination behaves in a photograph versus in a studio. There is no shortcut for that process, but there is a faster map. That map is the workflow above.
The composite got me hired. The 40 hours got me the education.
When the Light Is Corrected But the Image Still Feels Off
If you’ve matched direction, temperature, and falloff and the image still reads as fake, check your shadow. A subject without a contact shadow has no relationship to the ground plane. It floats. Create a new layer beneath your subject, set it to Multiply at 40 to 60% opacity, and paint a soft shadow with a dark brown or deep cool tone, not pure black. Sample the darkest shadow tone in your background for accuracy. The shadow should be softest at the outer edges and darkest directly under the contact point.
Most compositing problems are lighting problems in disguise.
If you fix the light, you fix the image. Everything else, the masking, the grain matching, the color grade, is just supporting work around that one central truth.
Comments
Leave a Comment