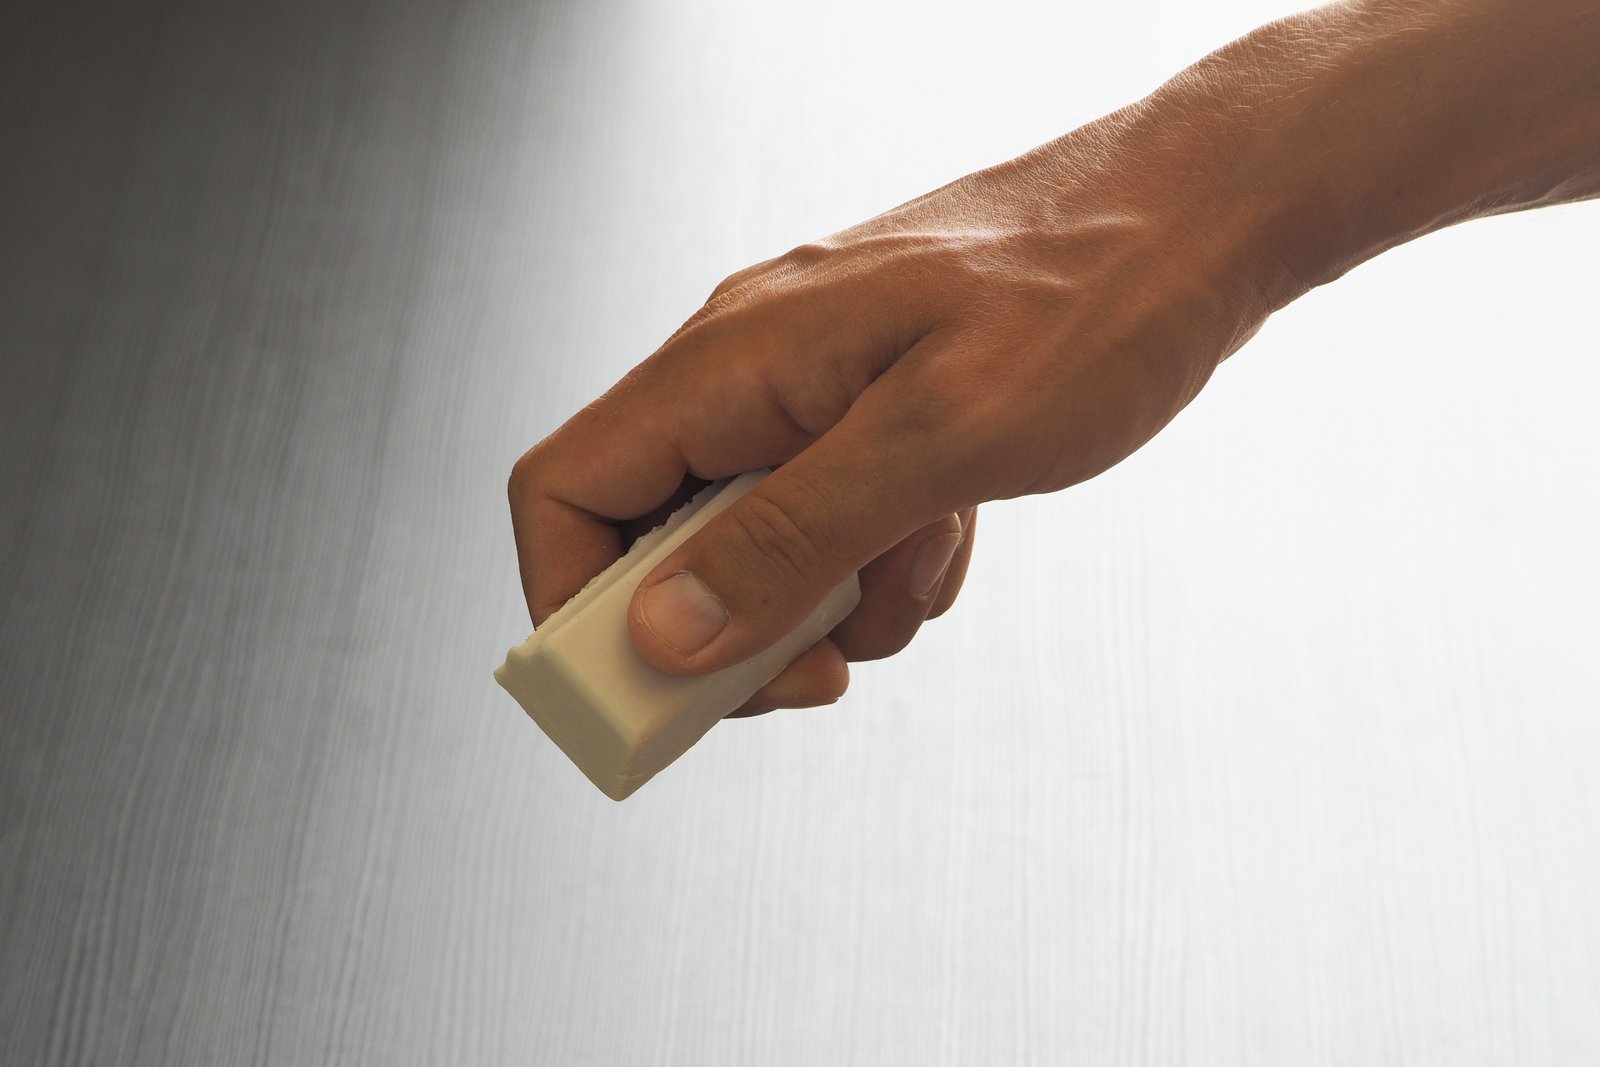
I spent the better part of my first two years in Photoshop erasing things. Background removal? Eraser tool. Cleaning up a cutout? Eraser tool. It felt efficient. It felt decisive. It was also quietly destroying my work every single time I saved the file.
When I finally understood layer masks, it wasn’t like learning a new feature. It was more like realizing I had been writing on paper when I could have been writing on a whiteboard. Everything before that point had been permanent. Everything after was adjustable.
What a Layer Mask Actually Does to Your Pixels
Here is the core idea: a layer mask does not delete anything. It hides it.
When you apply a layer mask, Photoshop attaches a grayscale channel directly to your layer. White areas on that mask reveal the layer. Black areas conceal it. Gray areas create partial transparency, proportional to how dark the gray is. A 50% gray will render your layer at 50% opacity in that region.
Your actual pixel data stays completely intact underneath. You can paint black over something to hide it, then paint white to bring it back. You can do this ten minutes later or ten months later, and nothing is lost. The eraser tool offers no such mercy. Once those pixels are gone, they are gone.
This is what non-destructive editing actually means in practice, and it is why layer masks are foundational to professional compositing and retouching work.
Adding a Mask and Making Your First Edit
To add a layer mask, select your layer in the Layers panel and click the rectangle-with-a-circle icon at the bottom of the panel. Photoshop adds a white mask thumbnail to the right of your layer thumbnail. The mask is now active, and you can begin painting on it.
Make sure you have the mask selected, not the layer itself. Click directly on the mask thumbnail to confirm. You will see a thin border appear around it. Now grab the Brush tool (B), set your foreground color to black, choose a soft round brush, and paint over any area you want to hide. Switch to white and paint it back.
A few settings that matter here: for clean cutouts, start with a brush hardness between 0% and 20%. For hard-edged subjects like product photography, go up to 80-90% hardness. Opacity at 100% for hard removal, or drop it to 20-40% for gradual blending, which is critical in portrait retouching when you want to transition skin smoothly.
One shortcut worth memorizing: press X to toggle between black and white foreground colors while you paint. You will use this constantly.
Using Masks to Blend Instead of Cut
Most beginners think of masks as a removal tool. That framing is too narrow.
In compositing, masks are how you blend. If I am placing a subject onto a new background, I do not just want a hard cutout. I want the edges to breathe. I want motion blur on a running figure to actually blend into the new environment, not sit like a cardboard cutout on top of it.
Here is how I handle this: after making my initial selection with the Subject Selection tool, I go to Select and Mask (Alt+Ctrl+R on Windows, Option+Command+R on Mac). I run the Refine Edge Brush over the hair or fur or any complex edge. Then I output directly to a Layer Mask. From there, I fine-tune by painting on the mask with a 15-20% opacity brush to soften areas that feel too sharp.
For the actual blend with the background, I sometimes add a second adjustment layer, clip it to my subject layer, and use a black-to-transparent gradient on its mask to fade the lighting adjustment in from one direction only. That kind of control is only possible because masks are independent, paintable channels.
When a Mask Should Be Luminosity-Based
There is a whole category of masks that most intermediate users skip over entirely: luminosity masks. Instead of painting by hand, these masks are generated from the tonal values of the image itself.
Photoshop does not have a one-click luminosity mask button in its default interface, which is part of why people overlook them. To build one manually, go to the Channels panel, hold Ctrl (Command on Mac), and click the RGB composite channel. That loads a selection based on the luminance of the image. Bright areas are fully selected, dark areas are not, and midtones fall in between. Add a layer mask with that selection active and you have a luminosity mask.
I use these most often in landscape edits, where I want to brighten a sky without affecting the darker foreground. A luminosity mask does the blending automatically based on the actual tonal structure of the image, and it holds up far better than any gradient I could draw by hand.
The Mistake That Cost Me Three Hours on a Client Job
Early in my freelance years, I was working on a product composite for a skincare brand. Eight layers, careful lighting, a lot of time invested. I merged the layers mid-session because I thought I was done. I was not done. The client came back with revisions and I had no masks left to adjust, just a flat merged image and a sinking feeling.
I rebuilt it from scratch in about four hours, and I added a rule to my workflow that day: I do not merge layers with masks until the client has signed off in writing. That rule has held for years. I also keep a version of every PSD with all masks intact, archived separately. Storage is cheap. Rebuilding a composite is not.
Layer masks are not just a technique. They are a philosophy. Protect your decisions until you are certain you will not need to undo them, because in photo editing, certainty usually arrives later than you expect.
Comments
Leave a Comment