Retouching
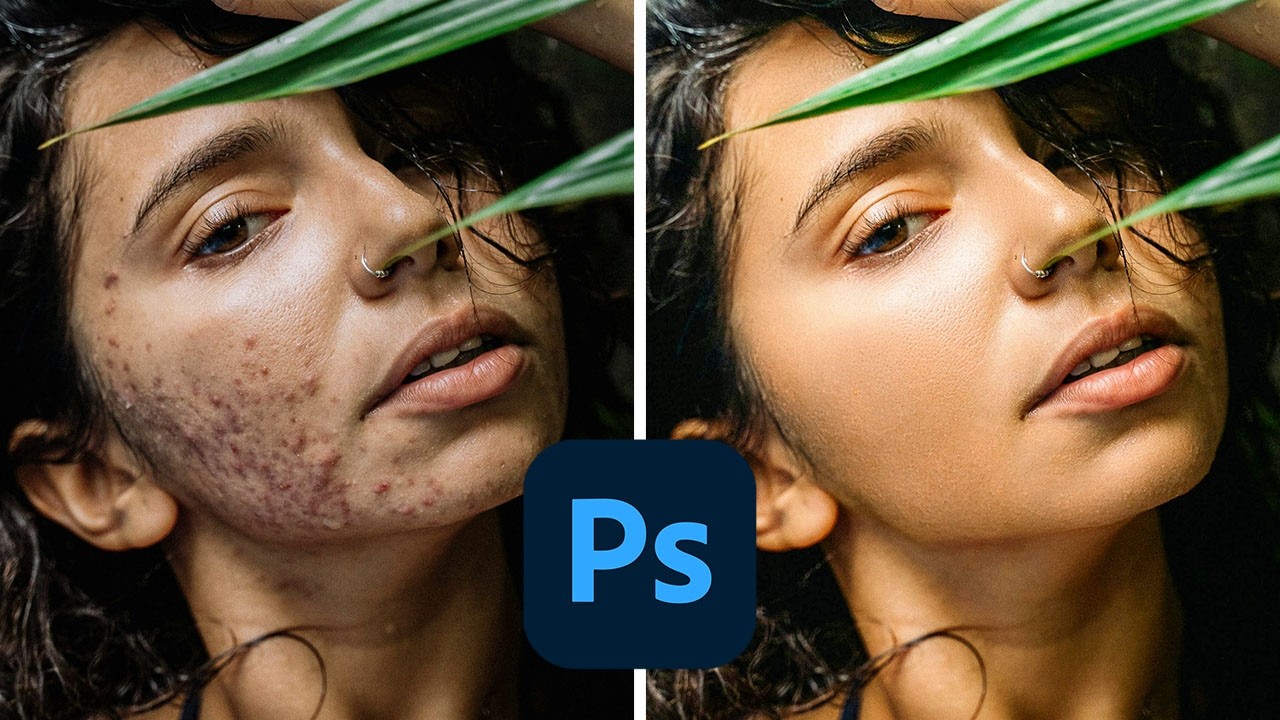
Skin Retouching in Photoshop: The Non-Destructive Method That Actually Works
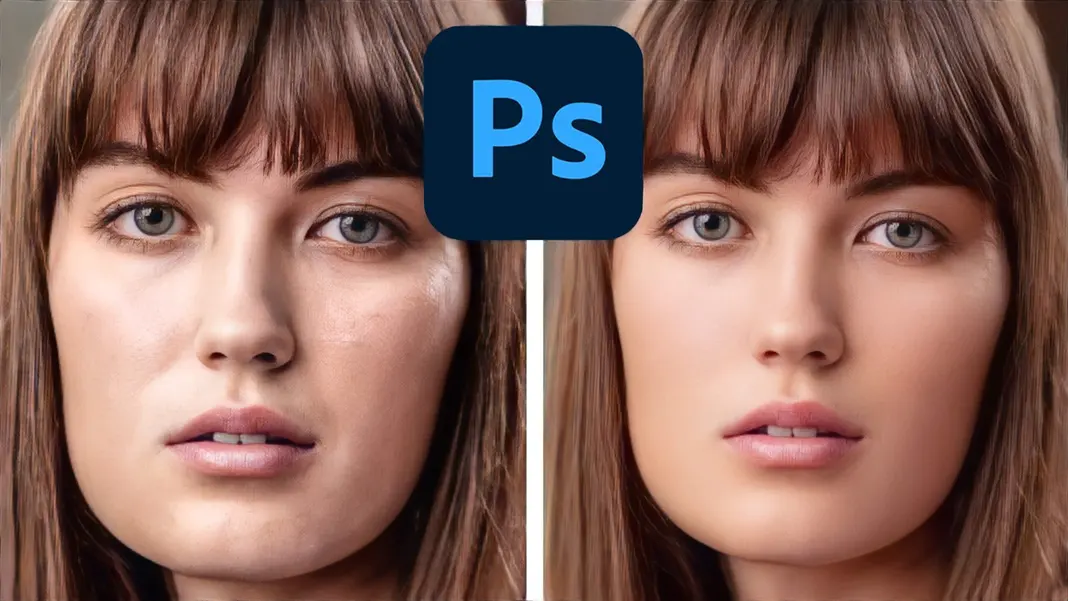
Skin Retouching in Photoshop: The Non-Destructive Method That Actually Works When I first started retouching skin, I made every mistake possible. I’d clone directly on the original layer, oversharpen, and create that plastic, obviously-edited look that screams “I used Photoshop.” After years of refinement, I’ve developed a workflow that delivers natural results while protecting your original image. I’m sharing exactly what I do. Why Non-Destructive Retouching Matters Here’s what I learned the hard way: destructive edits limit your flexibility.