Photo Editing
Why Your Raw Files Are Losing Data Before You Even Open Photoshop
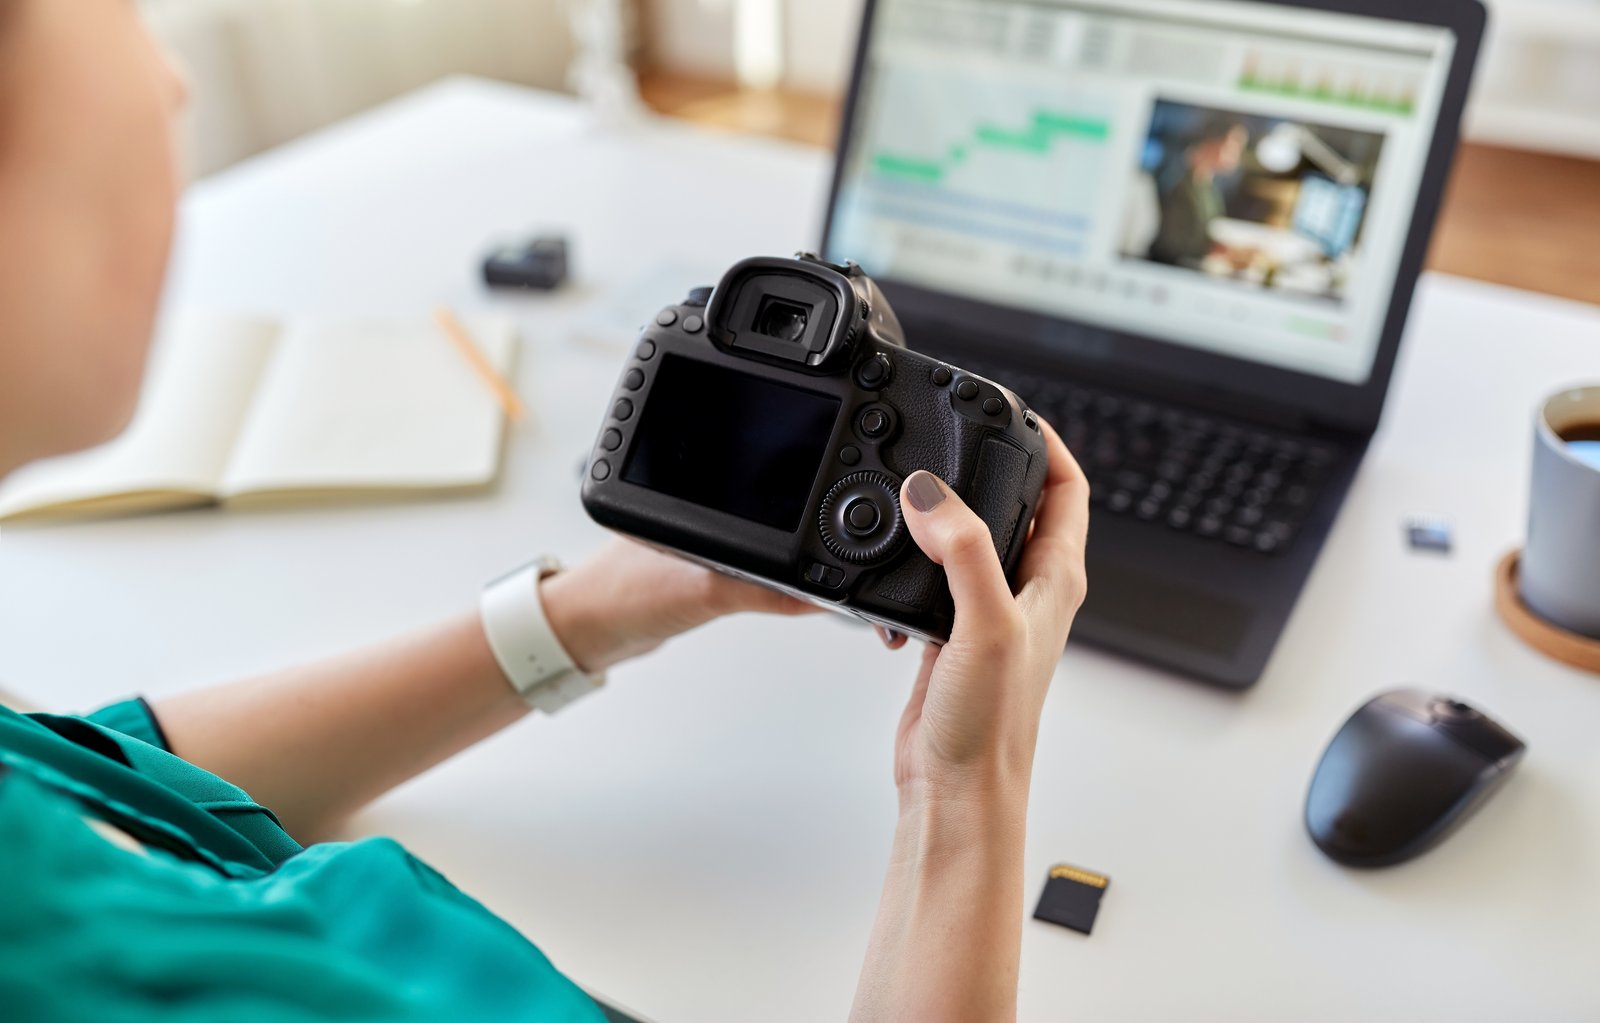
I used to bring raw files straight into Photoshop, do a quick exposure tweak in Camera Raw, click Open, and get to work. For years, I thought the real editing happened in Photoshop. Camera Raw was just the door I had to walk through first. That assumption cost me hours of unnecessary work. I was rebuilding in Photoshop what I should have been building in Camera Raw, fighting blown highlights that didn’t need to be blown, and pushing shadows so hard in curves that I was introducing noise I’d then have to clean up separately.