Photo Editing
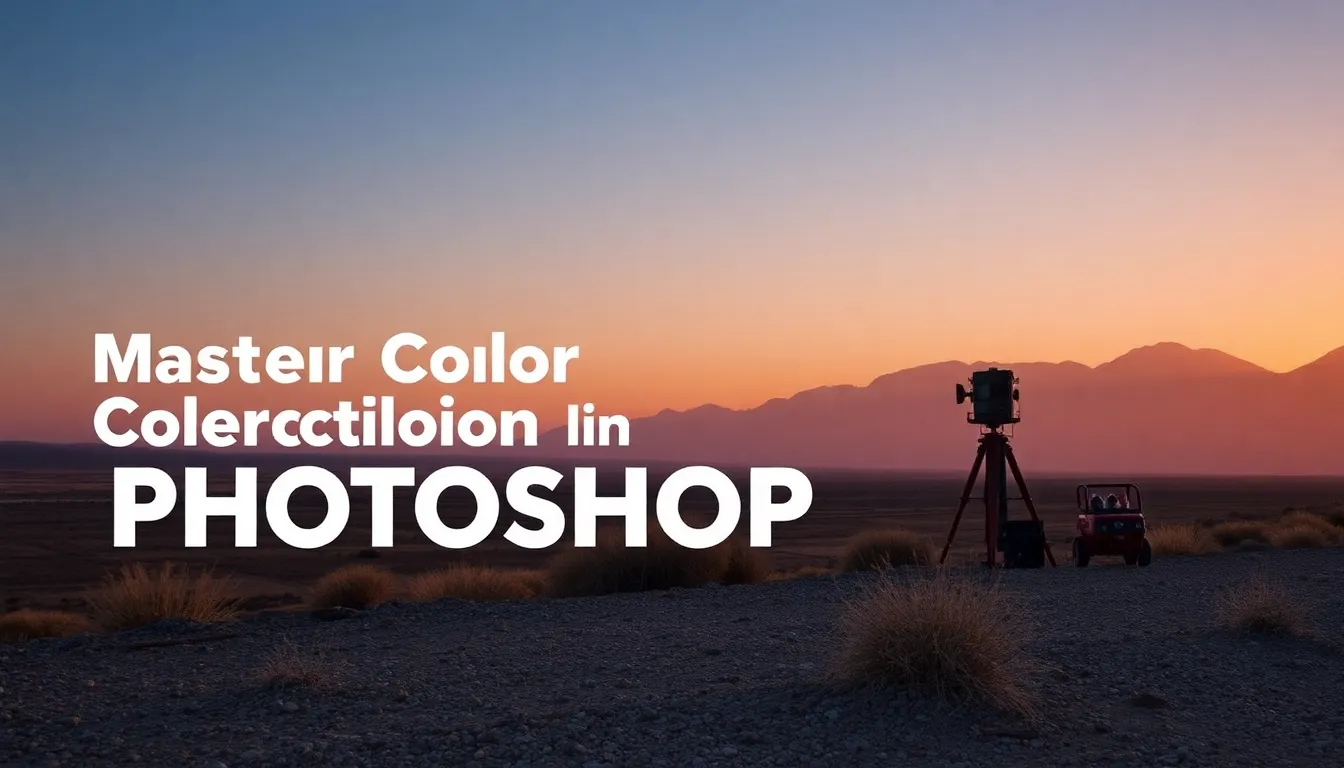
Master Color Correction in Photoshop: A Practical Guide to Perfect Every Image
Master Color Correction in Photoshop: A Practical Guide to Perfect Every Image Color correction is one of the most powerful tools I use in my retouching workflow. Whether you’re fixing a photo shot under bad lighting or preparing an image for compositing, getting the colors right transforms everything. I’m going to walk you through the exact techniques I rely on daily. Why Color Correction Matters Before Any Other Edit Here’s what I’ve learned: you should always color correct before you do detailed retouching work.