
Photoshop Beginner Tutorial: Select Literally Anything in Photoshop with One Click

My name is Christina Sherk and I am a professional retoucher, Photoshop educator, and portrait photographer. Today, I am going to share with you an unbelievable tip that will change the way you work in Photoshop forever — regardless of if you are a portrait photographer, landscape photographer, or anything else. This trick is that great!
This tip will allow you to save so much time by enabling you to select literally ANYTHING in Photoshop with just ONE CLICK.
In this tutorial, you’ll learn professional techniques to master Selections in Photoshop. We’ll dive deep into the power behind Photoshop’s Object Selection Tool, Object Finder Button, and Mask All Objects. You’ll learn how to customize your command and create Actions to take your tedious workflow to the next level.
Required versions and image files
First, make sure that you are working in at least Photoshop 2022, which is version 23.0.0 or above. This new technology was only rolled out in that version.

Next, you can download the image that I am using so you can follow along step-by-step.
Use the Object Selection Tool to Select Anything with ONE CLICK
Using this new Photoshop technology, we are going to select anything and everything we need with just one click.
How is that even possible?
Well, the first thing we need to do is activate our Object Selection Tool. With the select subject Photoshop tool you speed up your workflow tremendously.
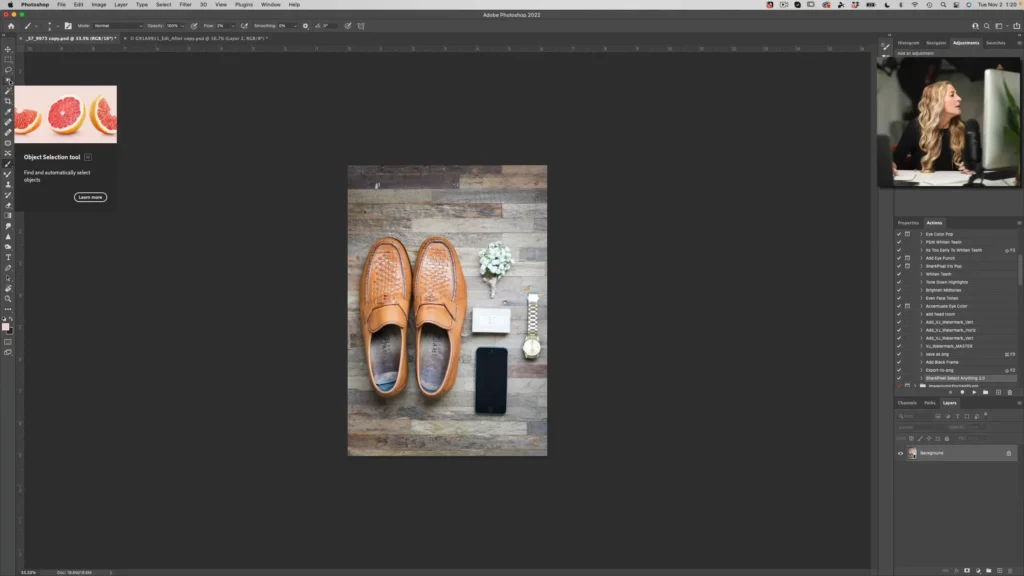
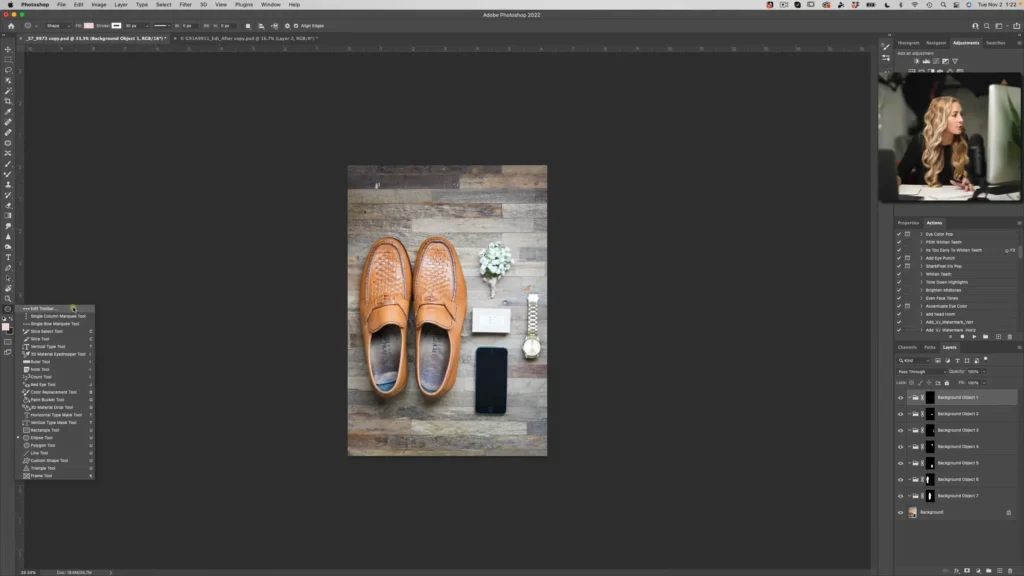
If you don’t see it on your tool bar over here it may be hidden down in the flyout menu with all of your other tools.
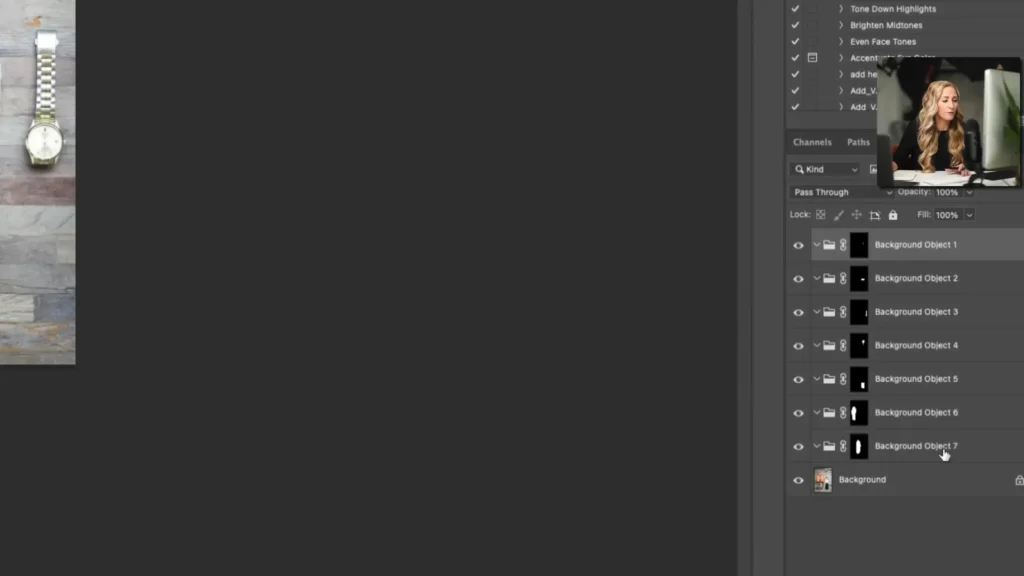
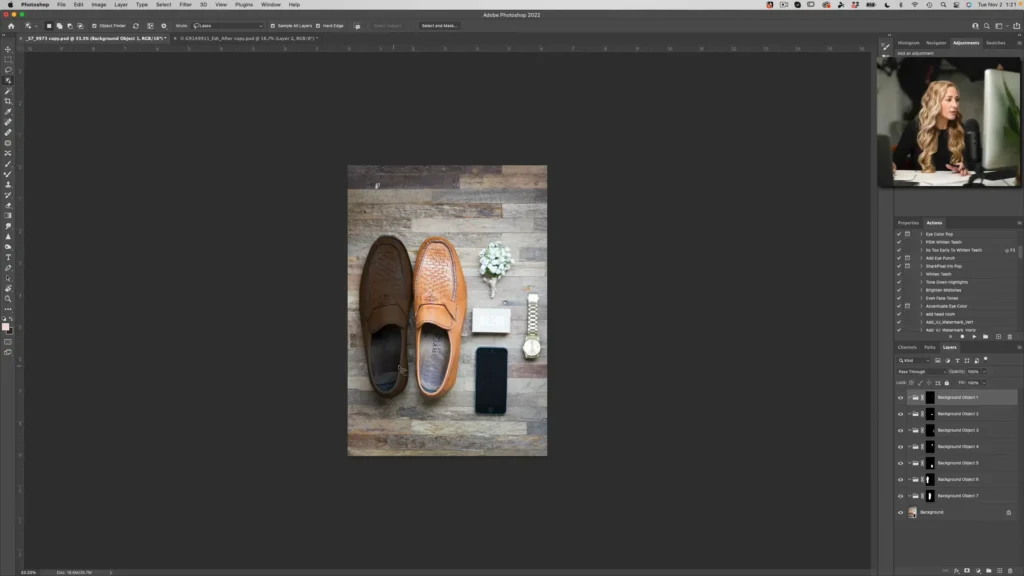
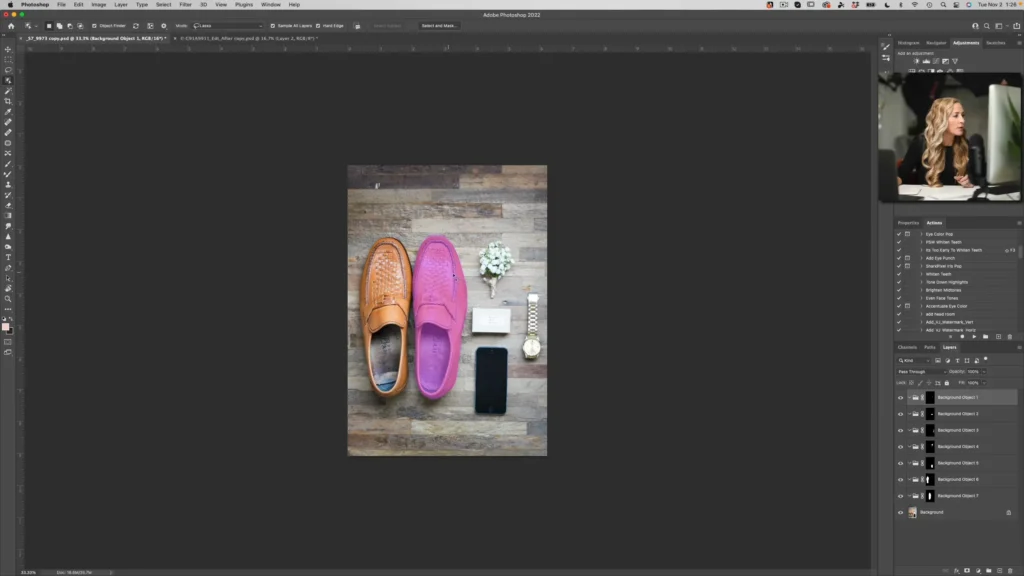
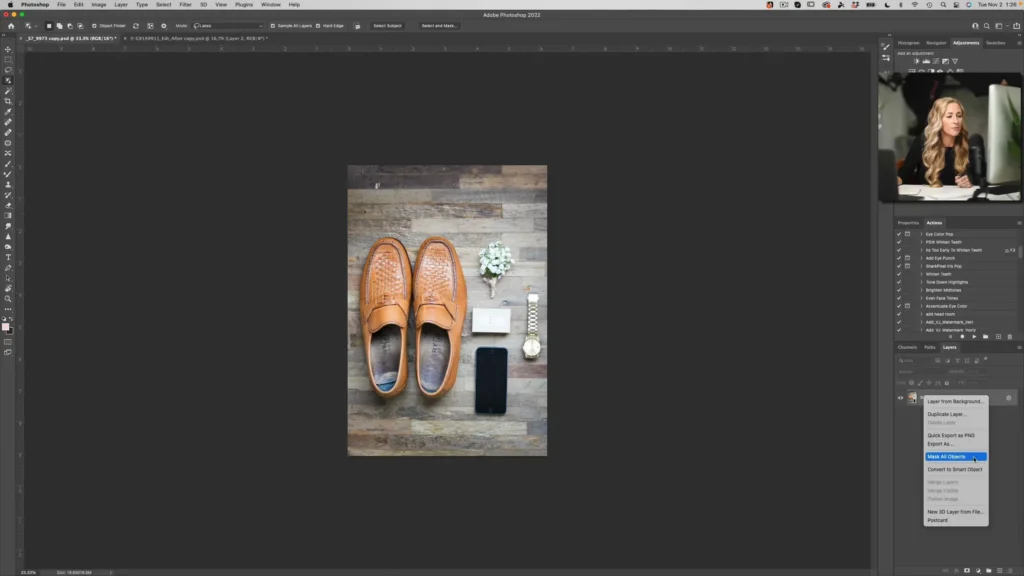
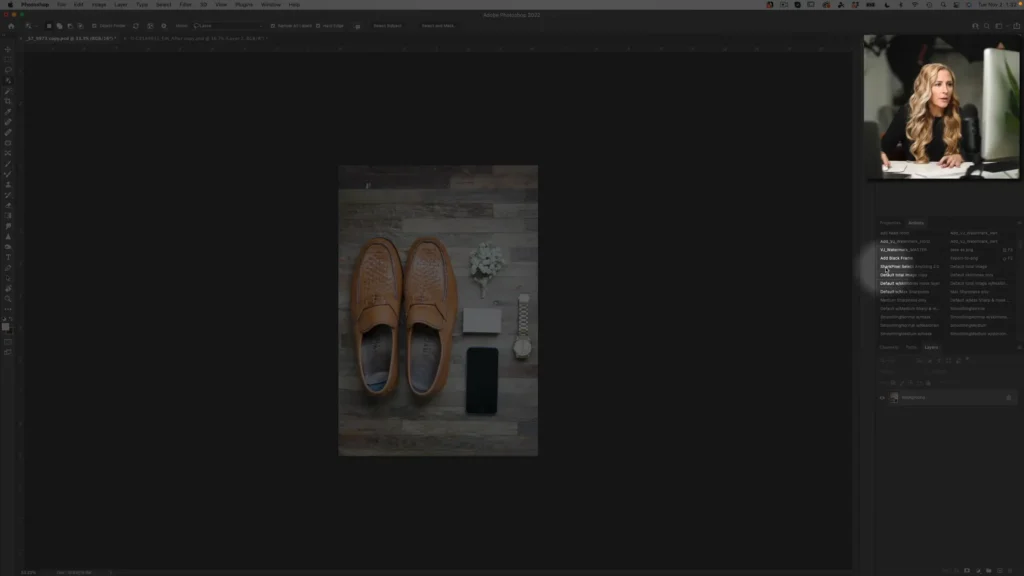
Next, come down to the Layers palette and right-click on the empty space of the layer you want to work in. Choose Mask All Objects. This is when the magic happens!
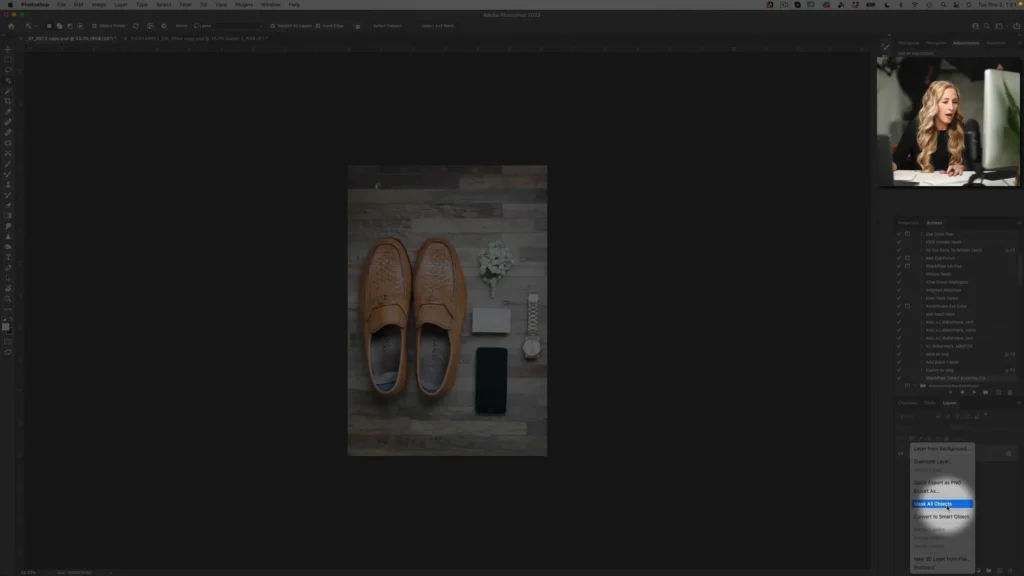
What Photoshop has done here in a fraction of a second is use their new object finder or some call it select subject tool to create independent masks for every single item on this image and created a folder for each. How cool and easy is that?
Ok, it was technically three clicks, but still — incredible!
While this tool is super simple and easy to use, there is a lot you can do to make it even better. Next, we will go over how to customize the tool to your preferences and needs, and then at the end I will show you how to get this Photoshop trick to select objects in literally just one click.
It doesn’t get any easier than that!
Customize the Object Selection Tool
This new Object Selection technology or call it Subject Selection technology revolutionizes the way that this Photoshop tool works. It utilizes Adobe Sensei technology, their machine learning engine, to identify different elements in your image.
With its default settings, this technology will totally revolutionize the way you use Photoshop. But, you can take it a step further and really customize how this tool works for you.
First, just note that when you hover and roll over each object, you can select each object with one click. You can also hold down the Shift key to select multiple items manually or hit Command or Control + d to deselect the objects.
Now, there are a few different elements that you can customize to personalize how you use this Object Selection Tool.
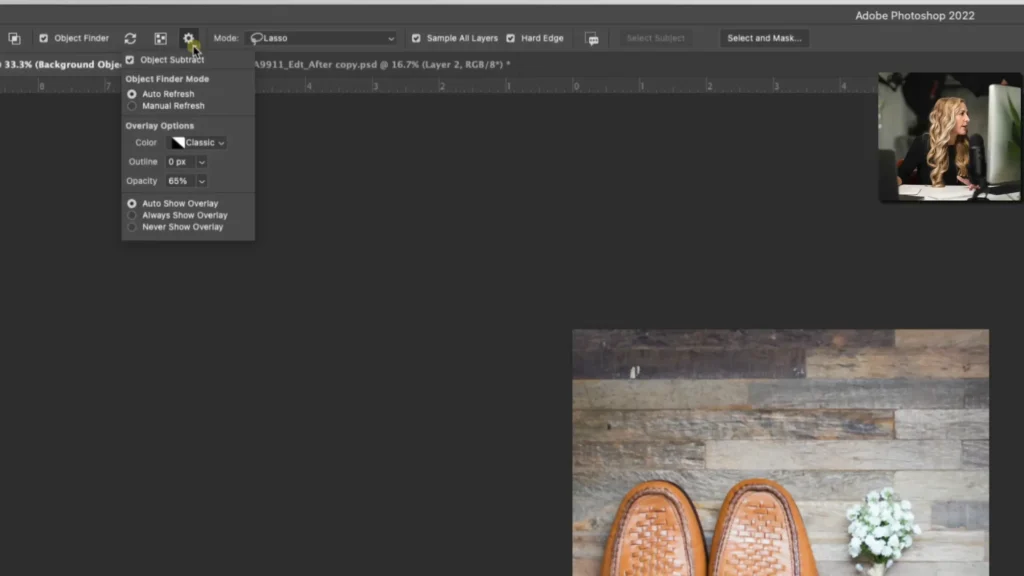
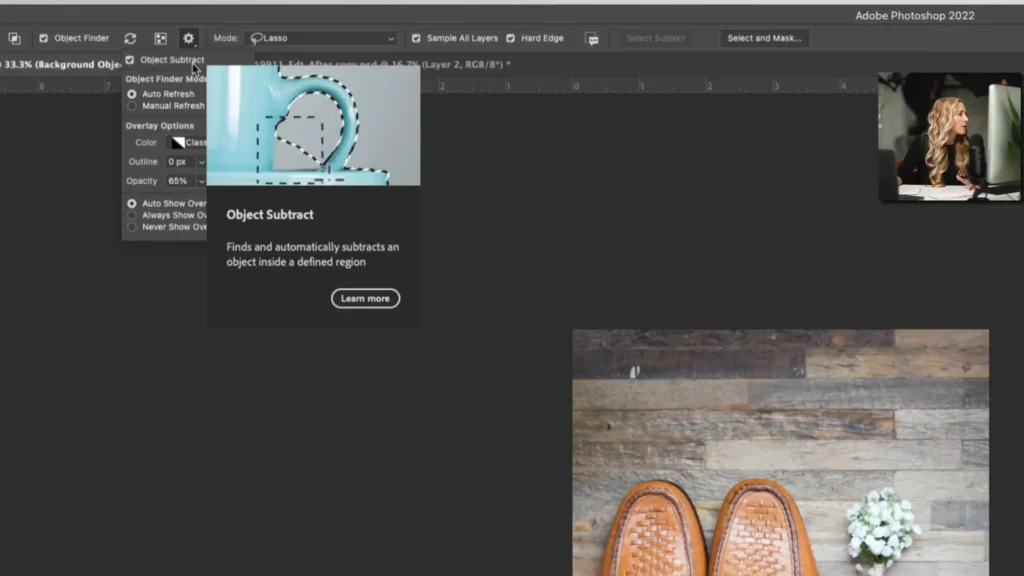
Go to the Object Finder Settings. Here you can hit Object Subtract where you can go in and remove sections from your selection.
Next, there is Object Finder Mode, which can be set to Auto Refresh or Manual Refresh. I leave this set on Auto Refresh, which means it will refresh your object selection any time you open a new image.
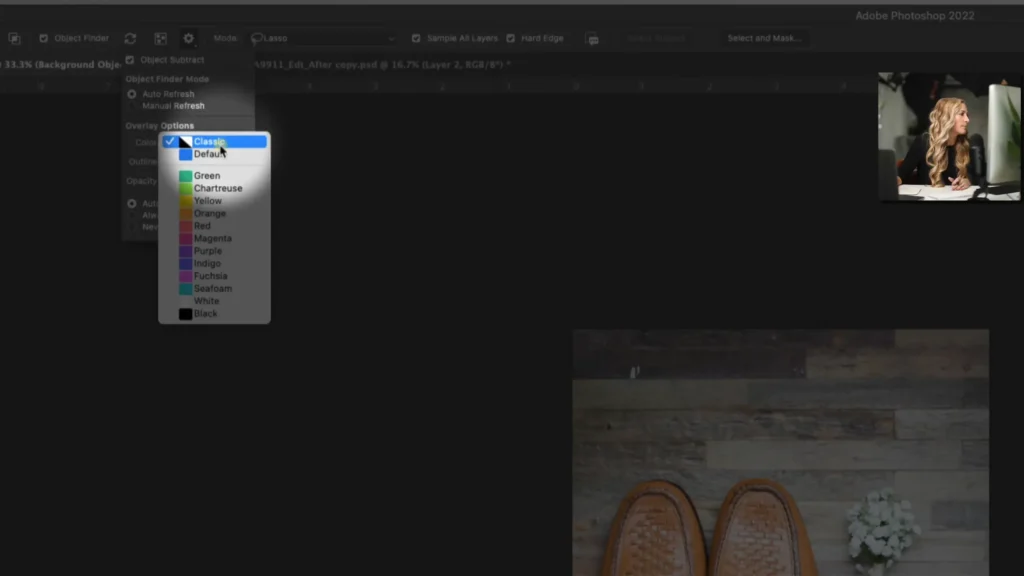
You can also change the color overlay for the object selections. The default is grey, but you can change it to be your preferred color. I went with Fuchsia.
Lastly, you can set it to Auto Show Overlay so that it only shows when you hover over the object, Always Show Overlay, or Never Show Overlay. In most situations, Auto is the most beneficial setting. You also have the option to create an outline around the object selection, increase the pixel range, and adjust the overall opacity, which might be helpful for seeing different objects on certain photos.
Photoshop Trick: Select Any Object with Just ONE CLICK
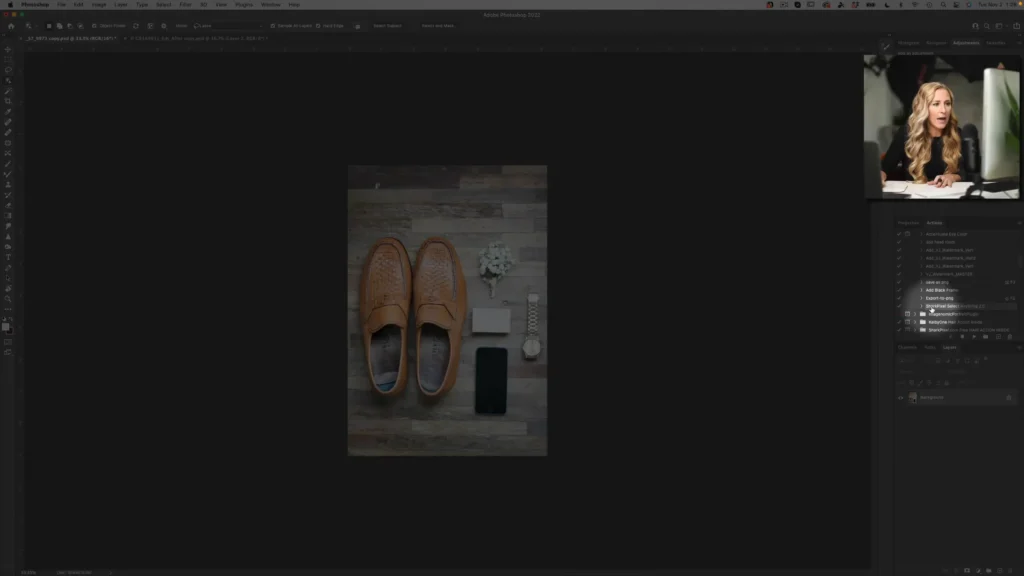
So, just to recap, here are the easy steps we have covered: Right click on the empty space of your background layer or whichever layer you are interested in masking the objects.
Next, click Mask All Objects and then OK.
This process is so quick and easy, but how do we get that down to one click?
I have created an action that takes this from three clicks to just one click. It’s called SharkPixel Select Anything 2.0. I’m so excited to share this with you, so it’s free to download.
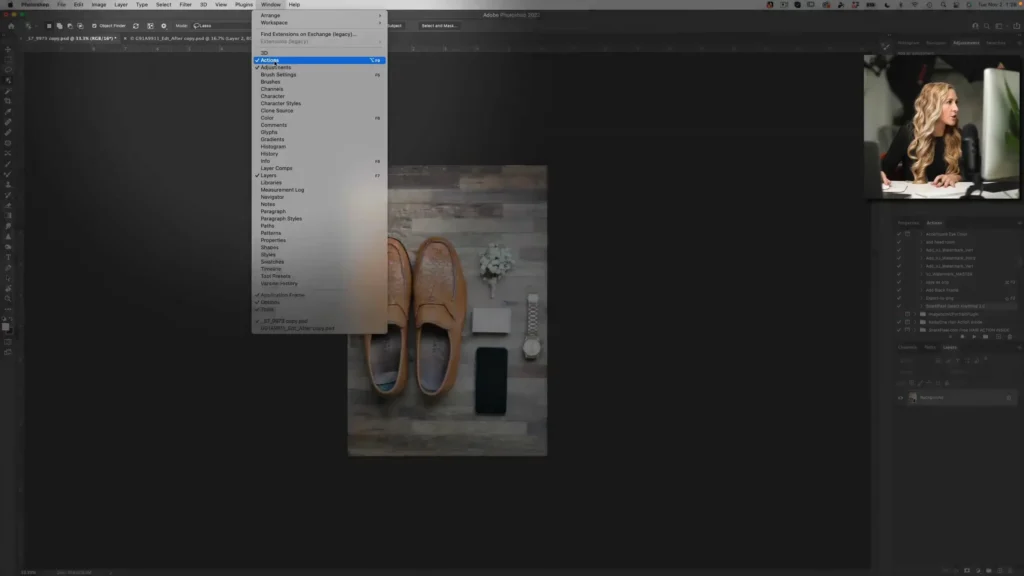
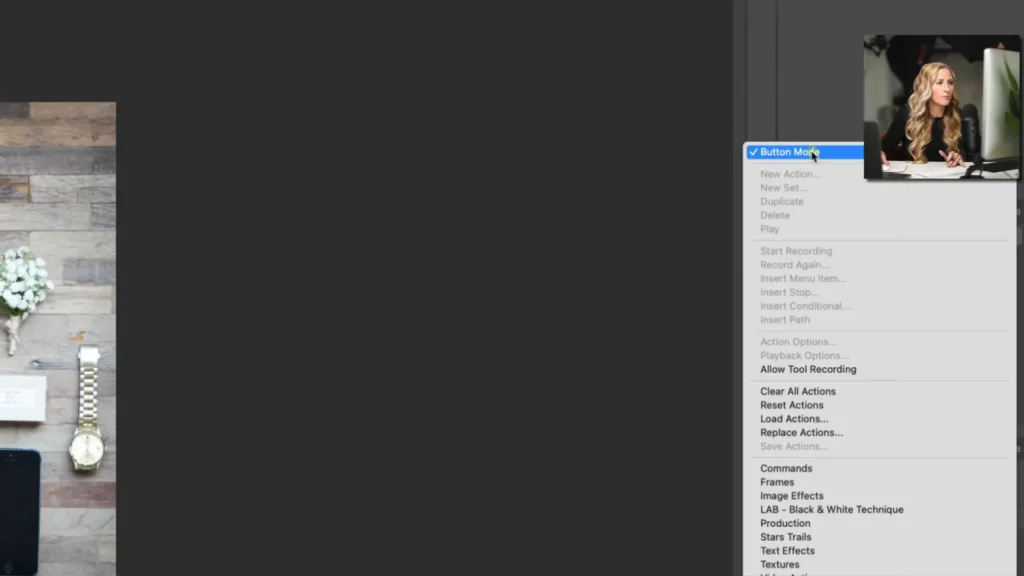
To use this, go to the Actions palette or go to Window and Actions. Make sure it has a checkmark next to it.
Then, click on this little square to change your Actions from Normal Edit Mode to Button Mode. That allows us to visualize the actions as buttons and just click them once when we want to use them.
So, once that is all set up, just click the Shark Pixel Select Anything 2.0 Action button and it is going to automatically run and generate all of the masked layers like we did before — but this time it does it in just one click!
Download This One-Click Action Now
Using Photoshop Actions in Button Mode is such a great Photoshop Hack to help you work efficiently and save time. If you use Photoshop 2022 Version 23 for any reason, you have to download this action! It will help automate your work, save you so much time — and you don’t even have to learn any new Photoshop commands. Download it today!
If you want to see more of this Photoshop hack in action, you can watch my full video and subscribe to my YouTube channel for more Photoshop tutorials and tricks.