
In this Photoshop tutorial, you are going to learn how to shoot a portrait.
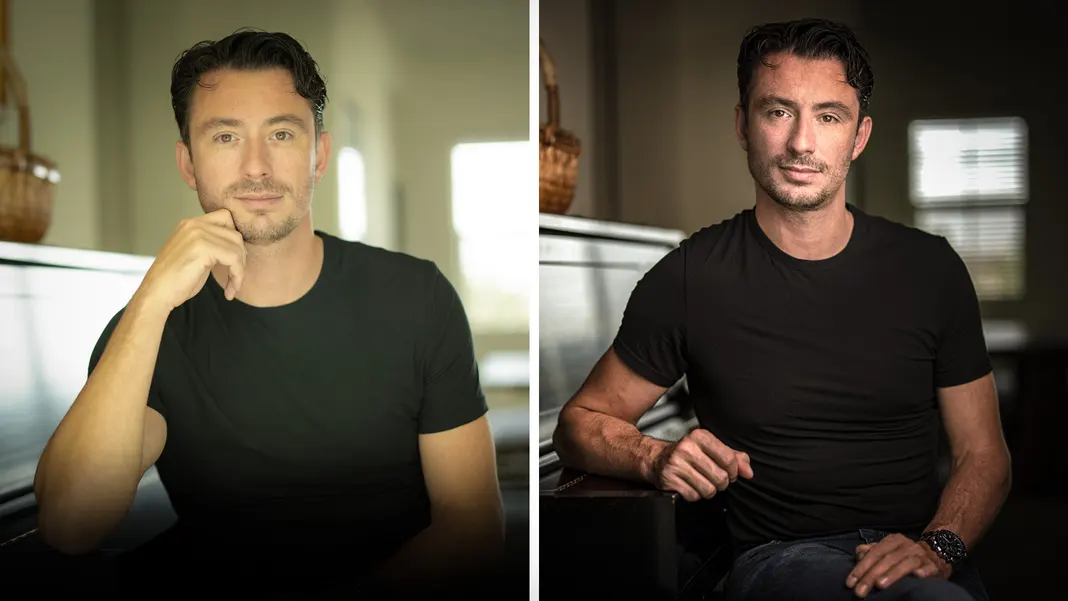
You can watch the video by Clicking here or simply just follow the steps outlined below. Now I will show you how to shoot a portrait photo. You can see the before image on the left and the after image on the right.
Let’s start with a Natural Portrait
If you want to shoot a portrait its very simple. I am going to start with a natural light scenario. All I need is one strobe, one modifier and I will shoot in a cross light scenario.
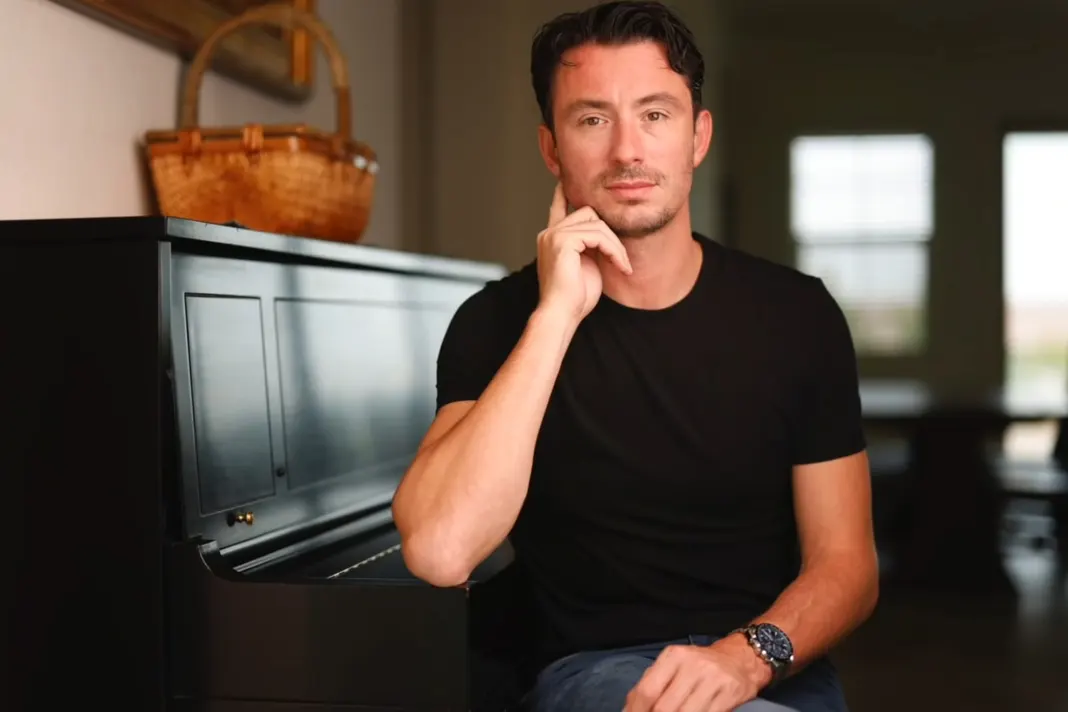
I am going to take a portrait of Kelvin who loves to sit by the piano as he is a piano player and let’s say I am going to photograph Kelvin’s album cover.
I have Canon RF 50mm which is set at 1.2. Let’s take a natural shot.
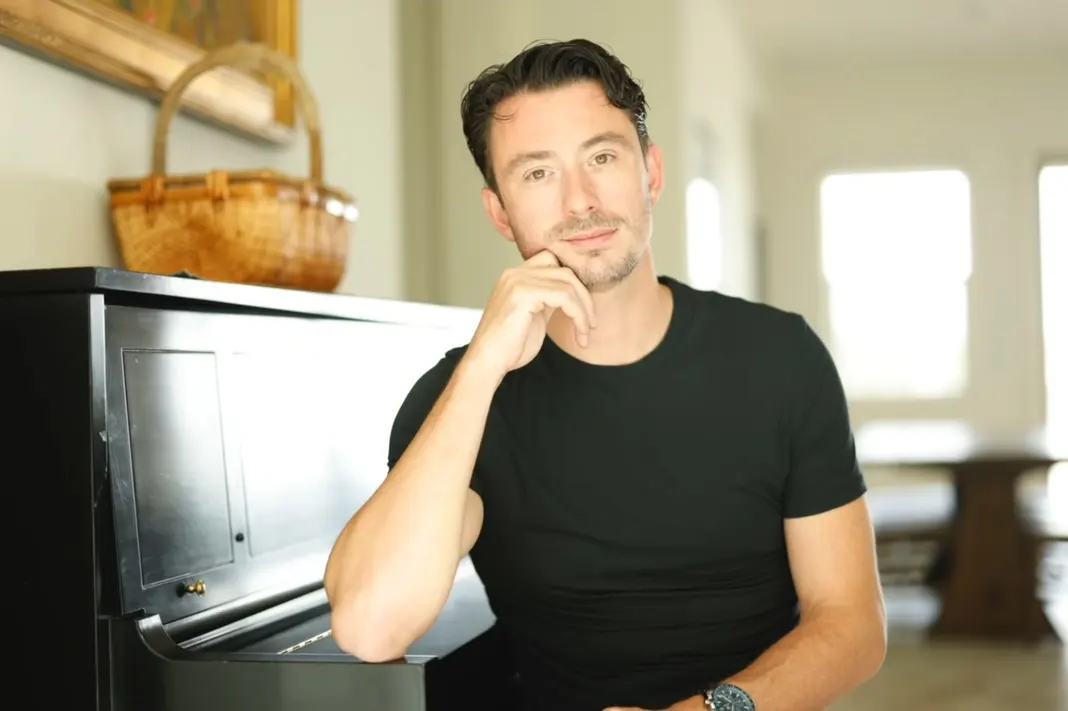
As you can see, the location is not perfect and light is blown out of proportion. But I have to find a way to do it in this natural light without a strobe. So, I will shoot again by setting the lens at 1.4
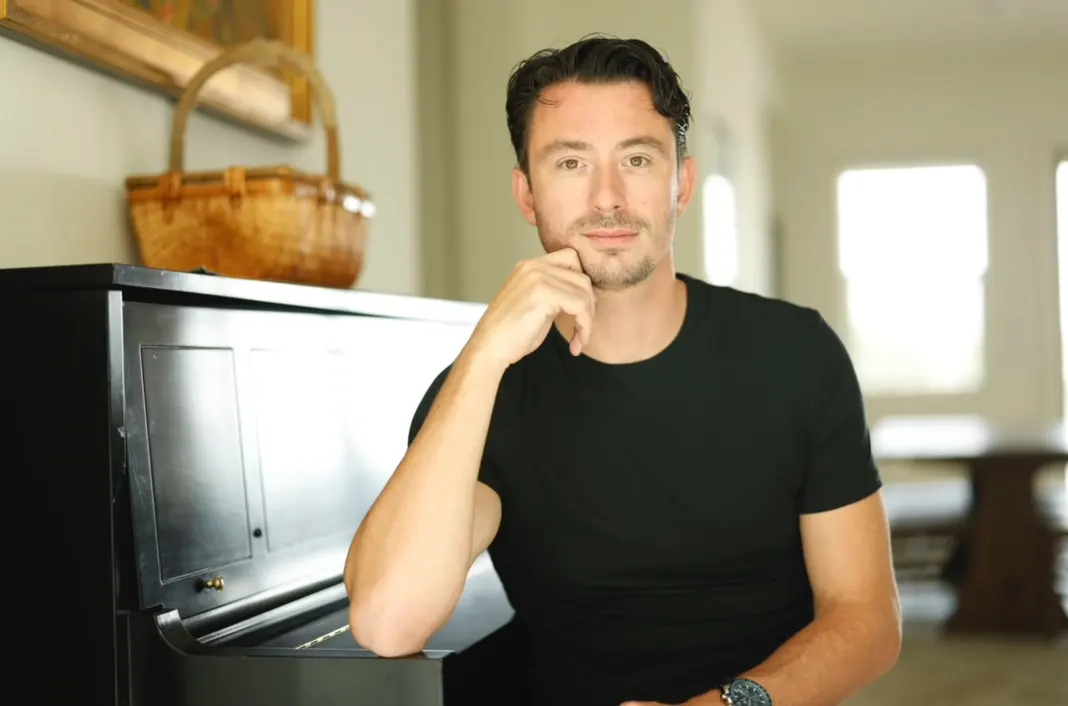
I have taken a good shot but I want to take a shot that looks more dramatic. To darken the background I am going to use a Westcott FJ400 strobe with a three-by-four softbox which is going to push the light toward Kelvin’s face.
Now, I am taking another shot after setting up a strobe. I am gonna go to 1/800 of a second which is way above sync speed to get that background knocked down. Let’s see.

As you can see, the image is a bit flat which I don’t want but I am rather going for a more dramatic portrait.
Now let’s create a more dramatic Portrait shot
As I am doing a dramatic portrait and I am missing the shadowed side of Kelvin’s face which you can see in the shot below.
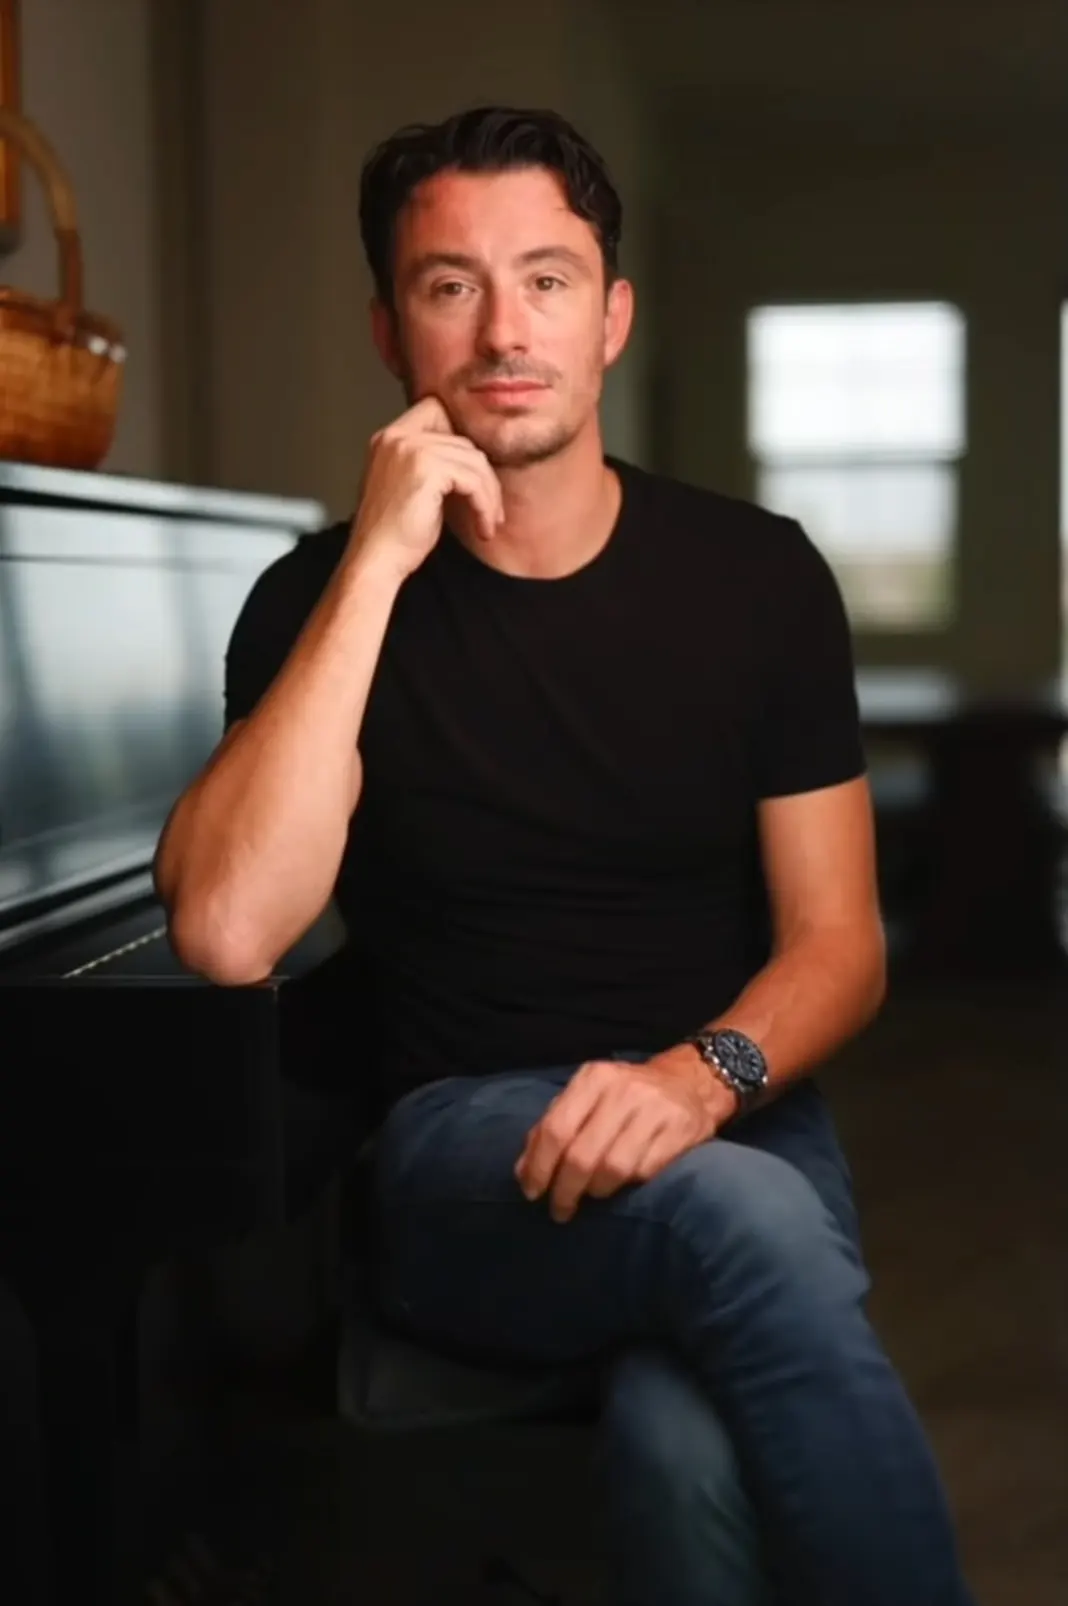
Here is the current shot for demonstration purposes.
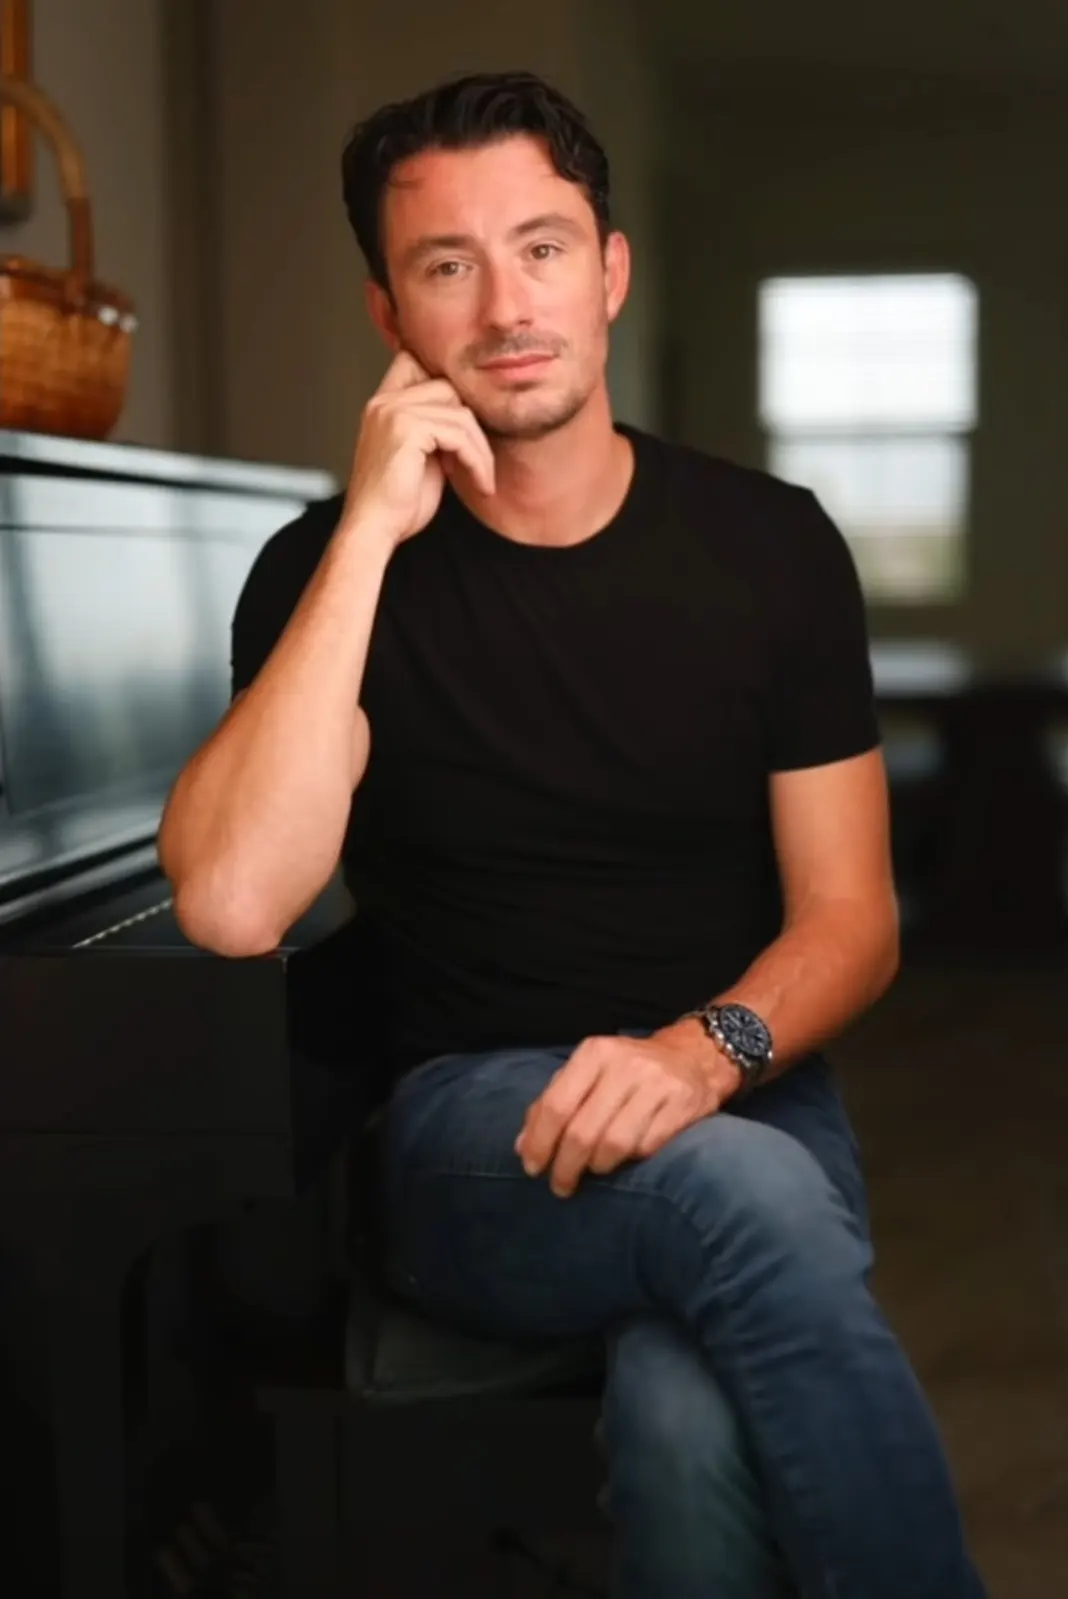
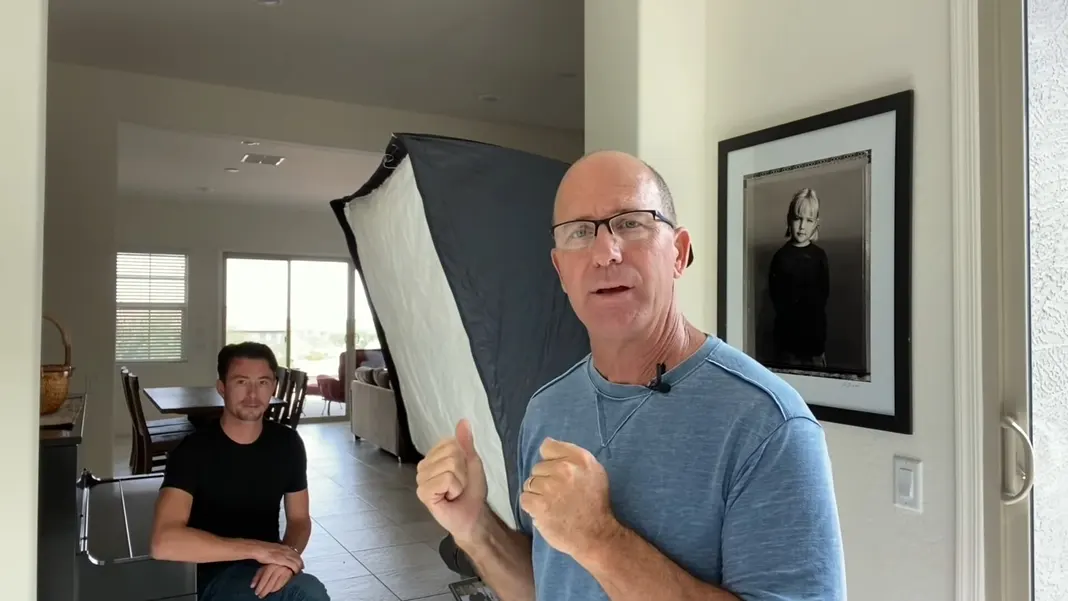
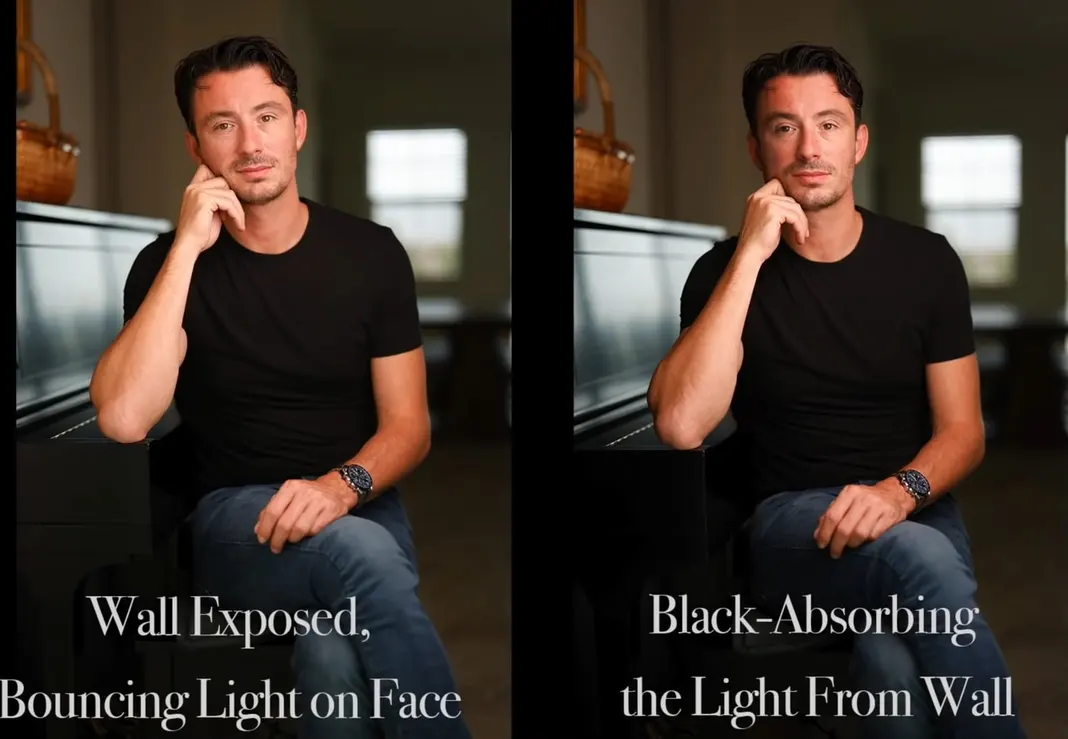
To add a cross-light and drama to Kelvin’s face, I will add a black piece of foam core to block the light.
Let’s take a shot after setting up our black foam core. You can also use a black piece of cloth to hang on the wall or simply tape it on the wall to absorb the light.
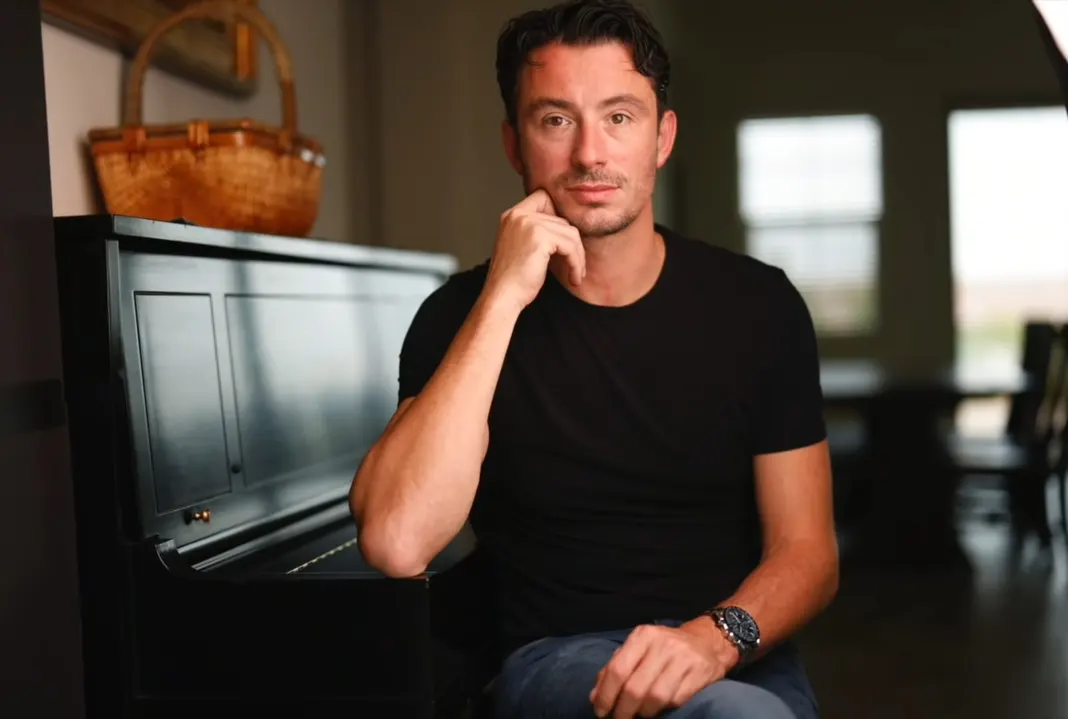
Here is the new Portrait!
Absolutely gorgeous! The shadowed side is creating a Rembrandt triangle (a little triangle of light on the left cheek) to give the image more drama using our wrap-around lighting.
Let me show you the bouncing light and absorbing light shots side by side.
That is stunning. One thing I love about being a photographer is people telling me how I make them look great!
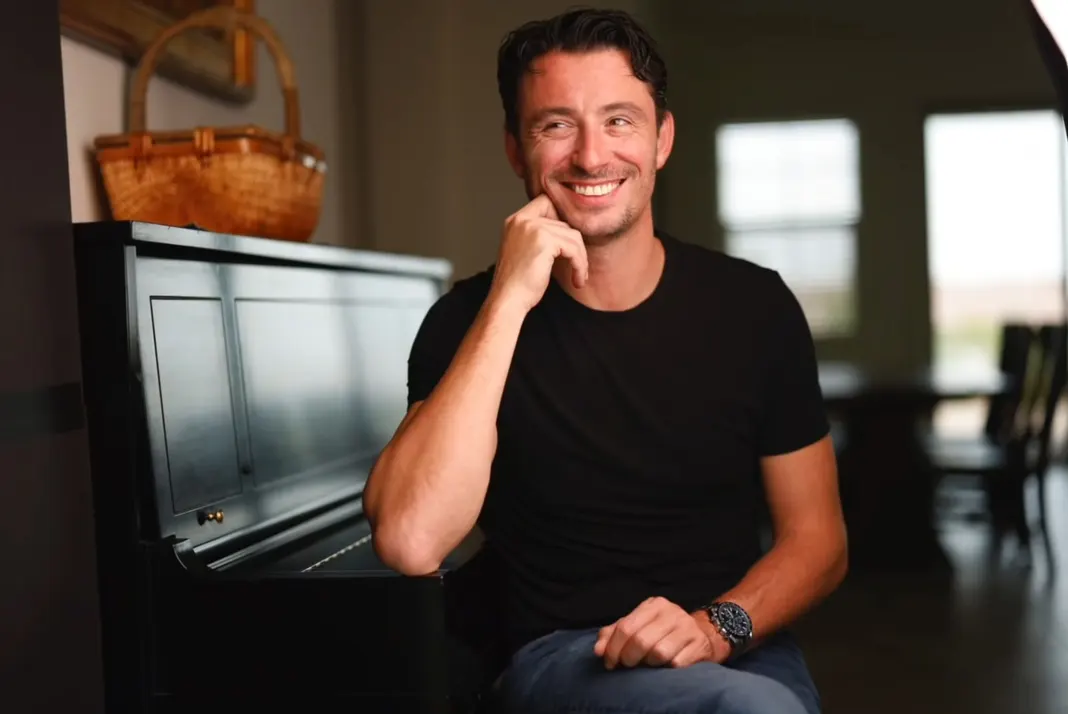
Let’s take another shot of Kelvin smiling this time.
Just incredible.
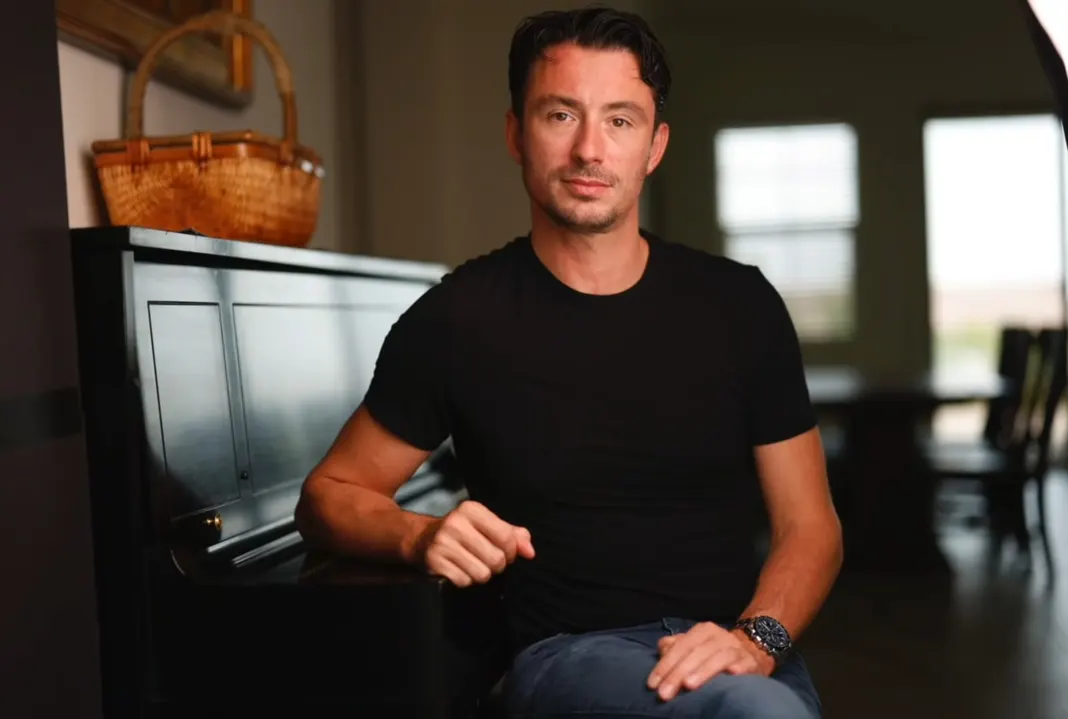
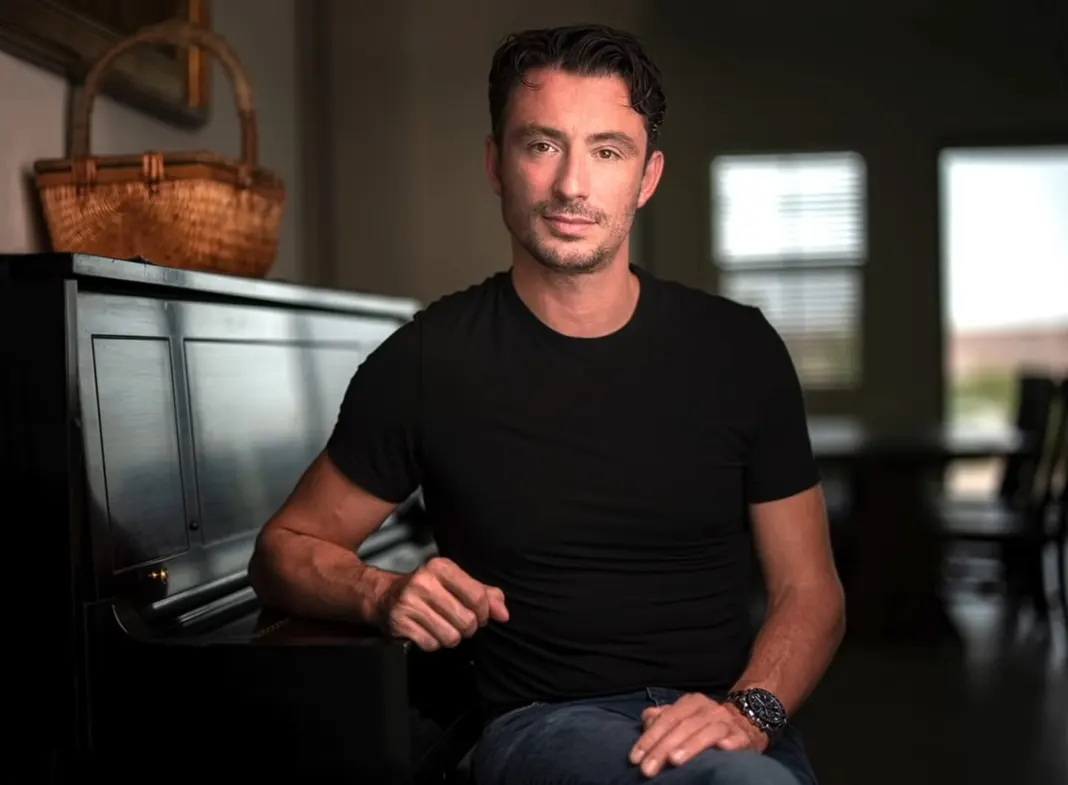
Now I am taking another shot of Kelvin in a relaxed posture with one hand on the piano and another one on his leg, all relaxed.
Conclusion
So what we learned today is that it is really easy to add drama to a portrait.
All you need is one strobe, one modifier, a piece of black foam core or a black cloth (to create a shadowed side) and a cross light to result in this Rembrandt type of a Portrait. I have used a high-speed sync for these portraits and a 1.4 lens for a super shallow depth of field. When using these little techniques, you can shoot dramatic portraits that you are going to love.
Hopefully, this gave you a good look at how to create more dramatic Portraits. The trick was using shadows to create a Rembrandt Triangle and thereby adding more drama to the Portrait. If you learned something new and would like to learn more about Photography, get my free ebook by clicking here or find more content by subscribing to my YouTube channel and sharing it with your friends.
I’ll see you all next time!