
In this Photoshop tutorial, I’m going to teach you some crazy tricks for adding, retouching, and manipulating hair in Photoshop. Some of these techniques you may already know, but I’m sure there will be some workflows tips you’ve never seen before! Watch the video or just follow the steps as outlined below.
In this tutorial, I’m going to teach you how to add and retouch hair in Photoshop. I will be covering both a general method for hair retouching, as well as a new way to do it using my custom SharkPixel hair brushes which you can download for free here. Once you’ve downloaded the brushes, keep reading!
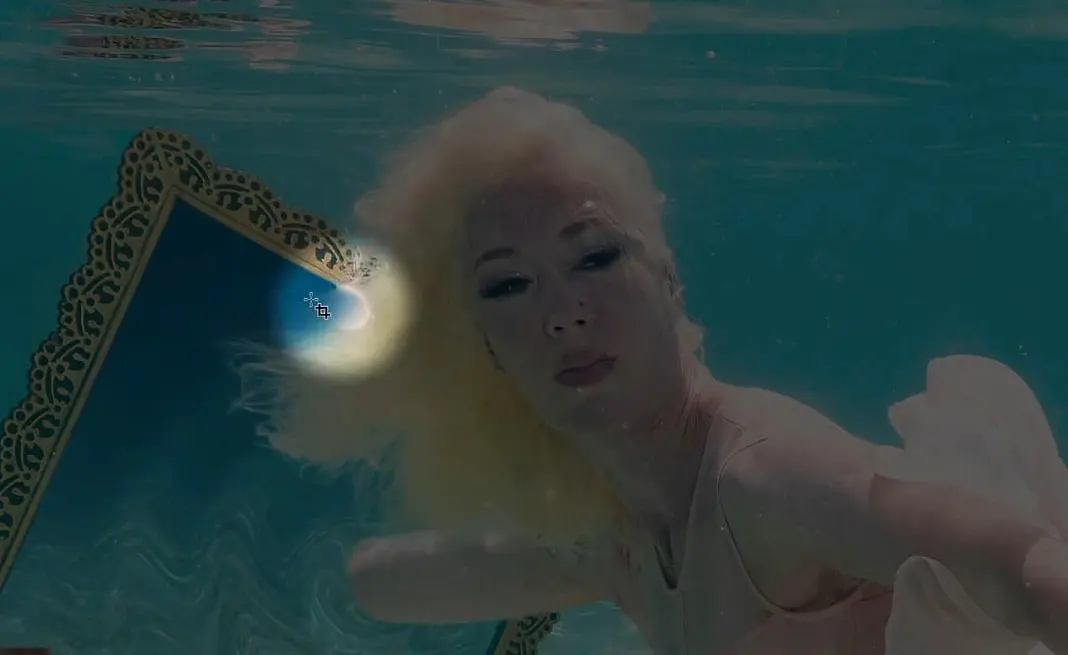
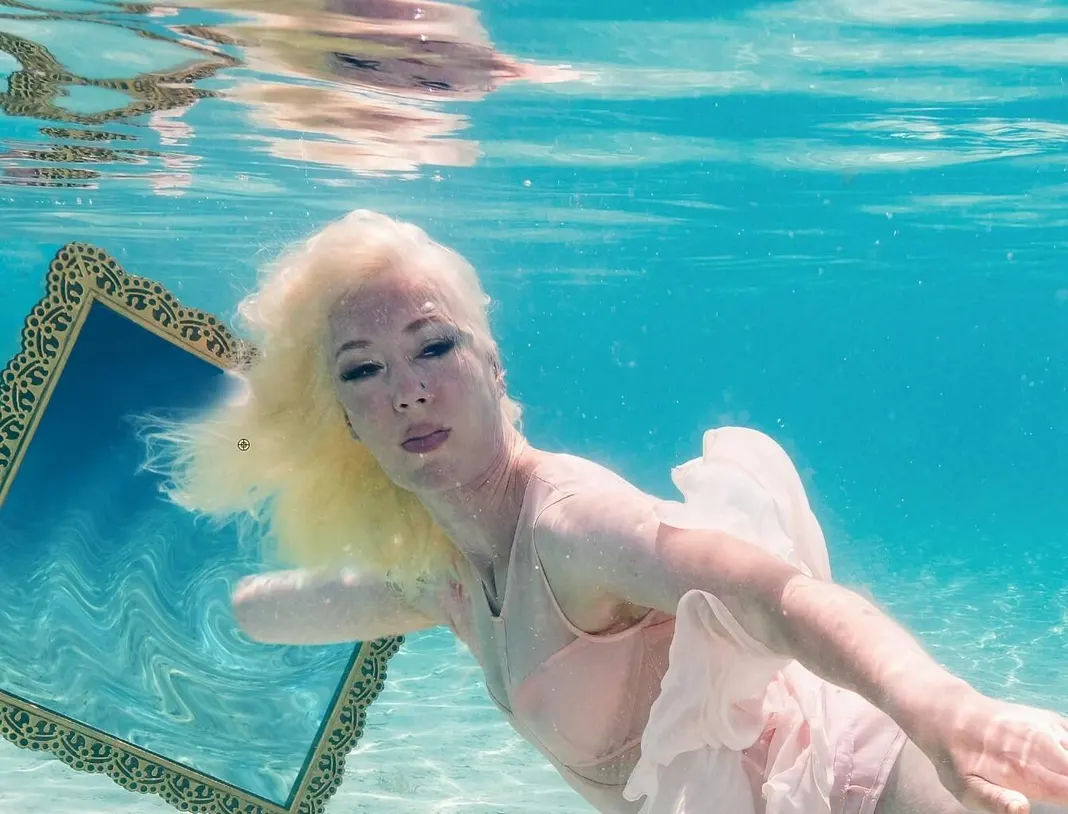
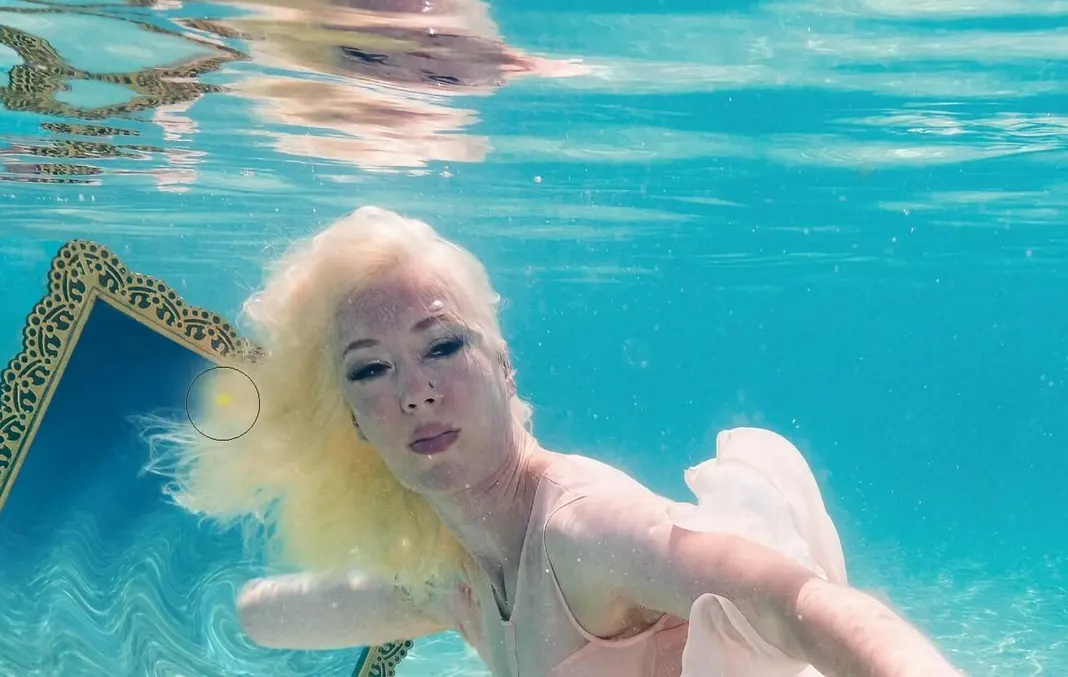
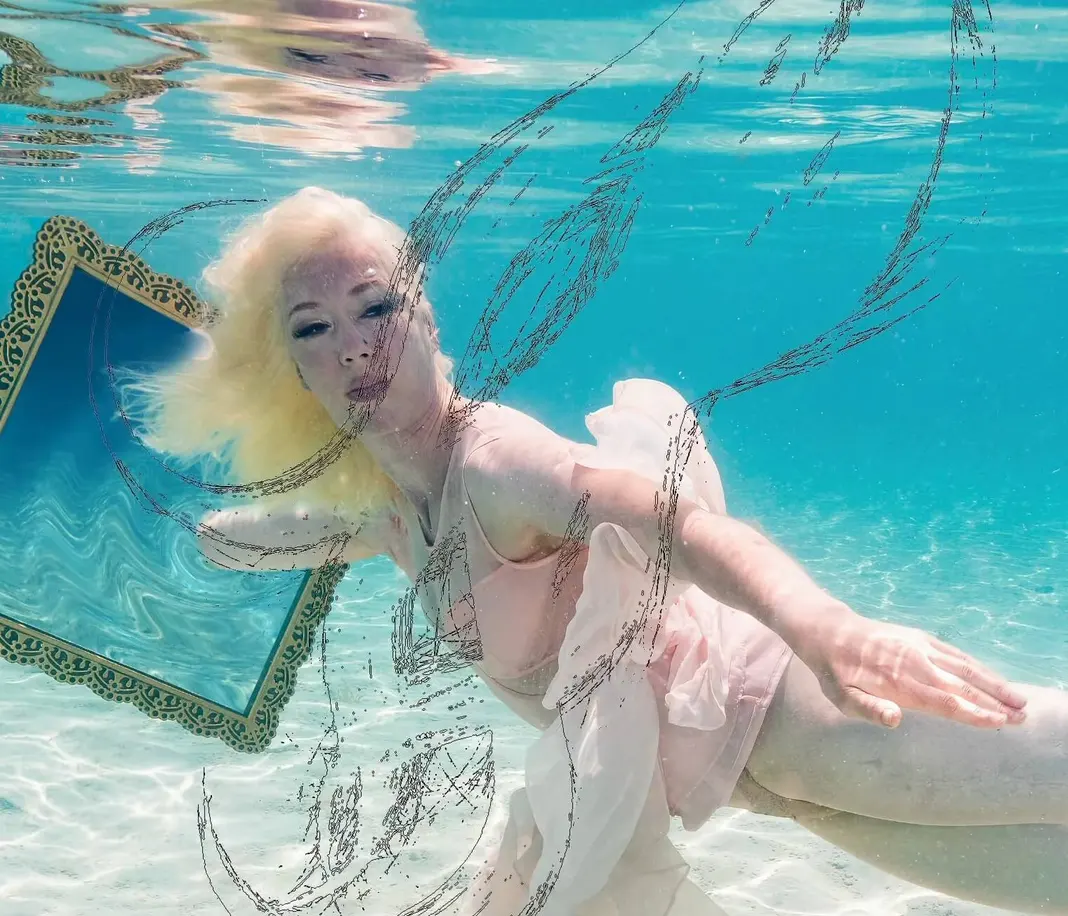
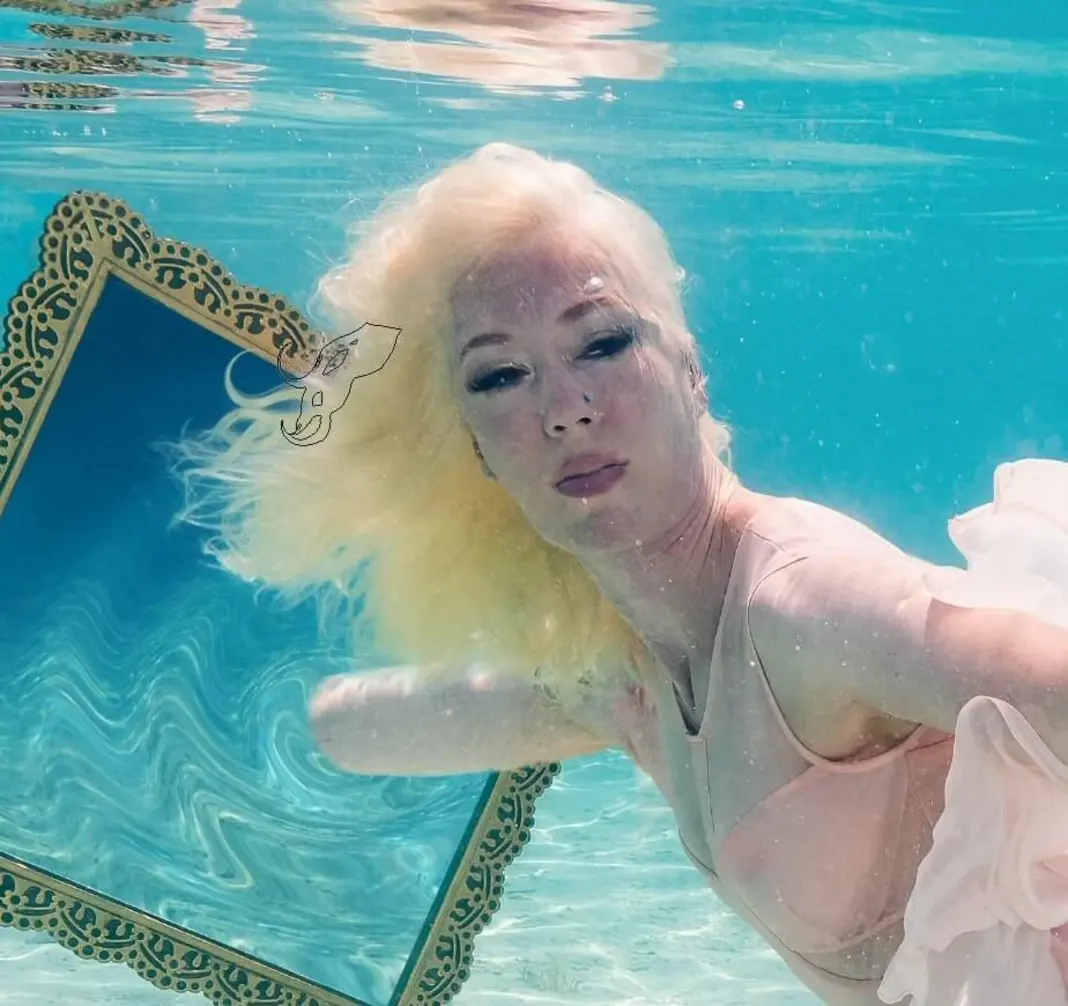
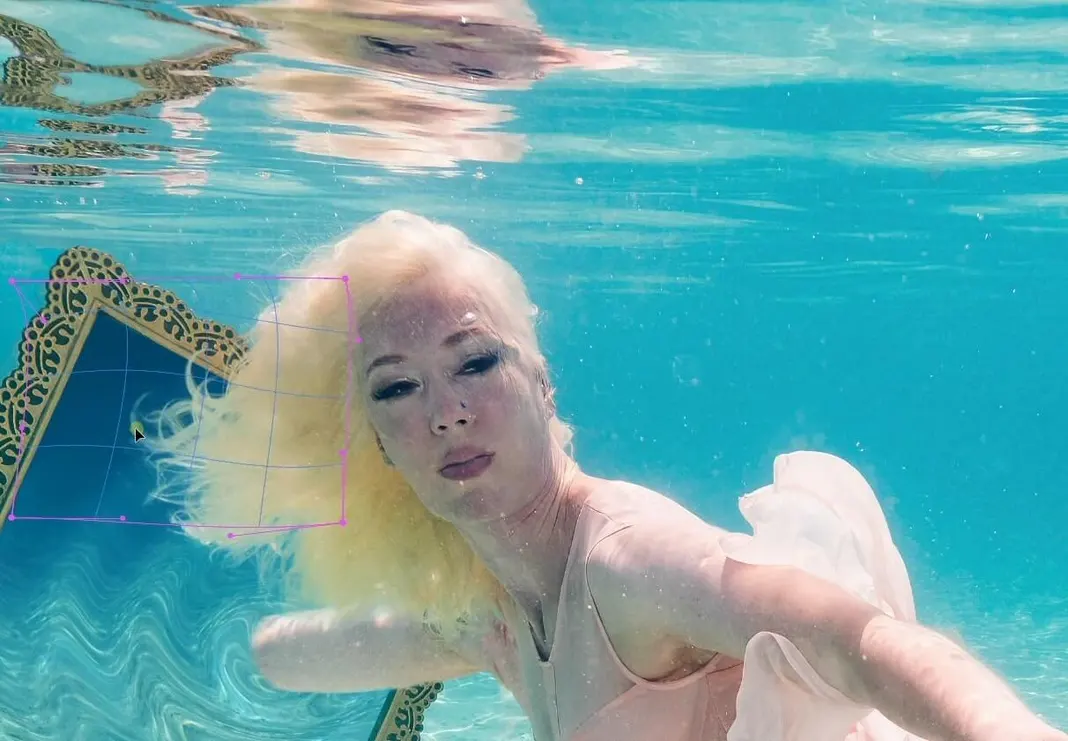
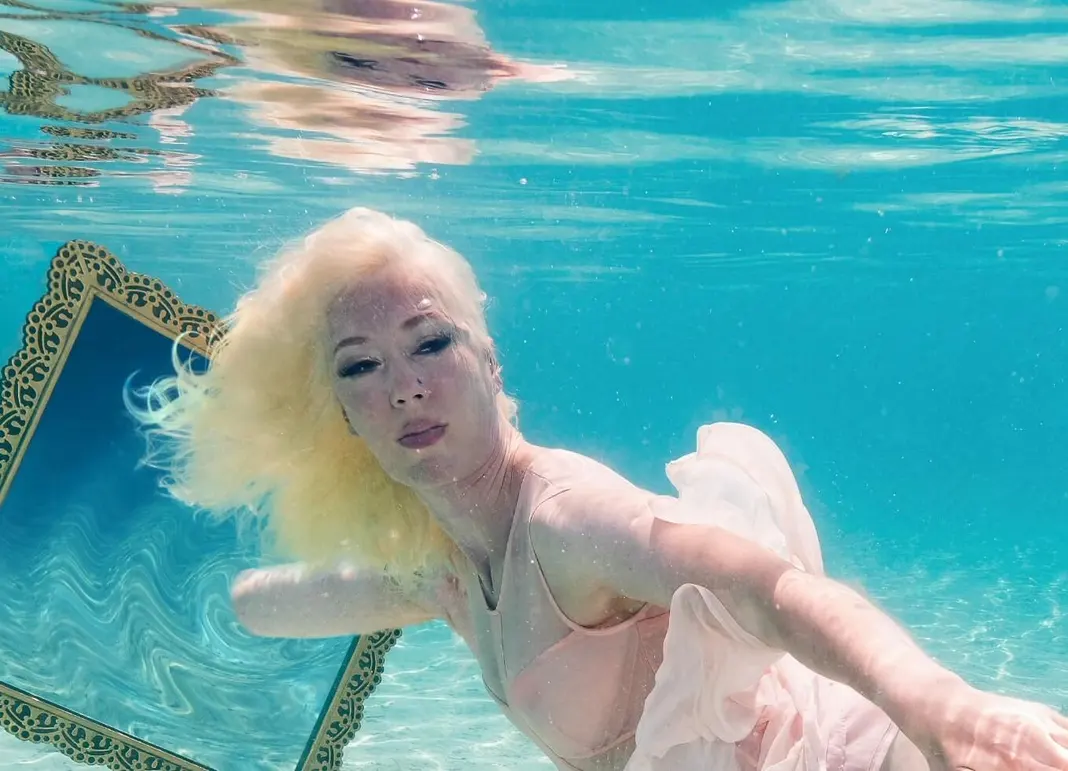
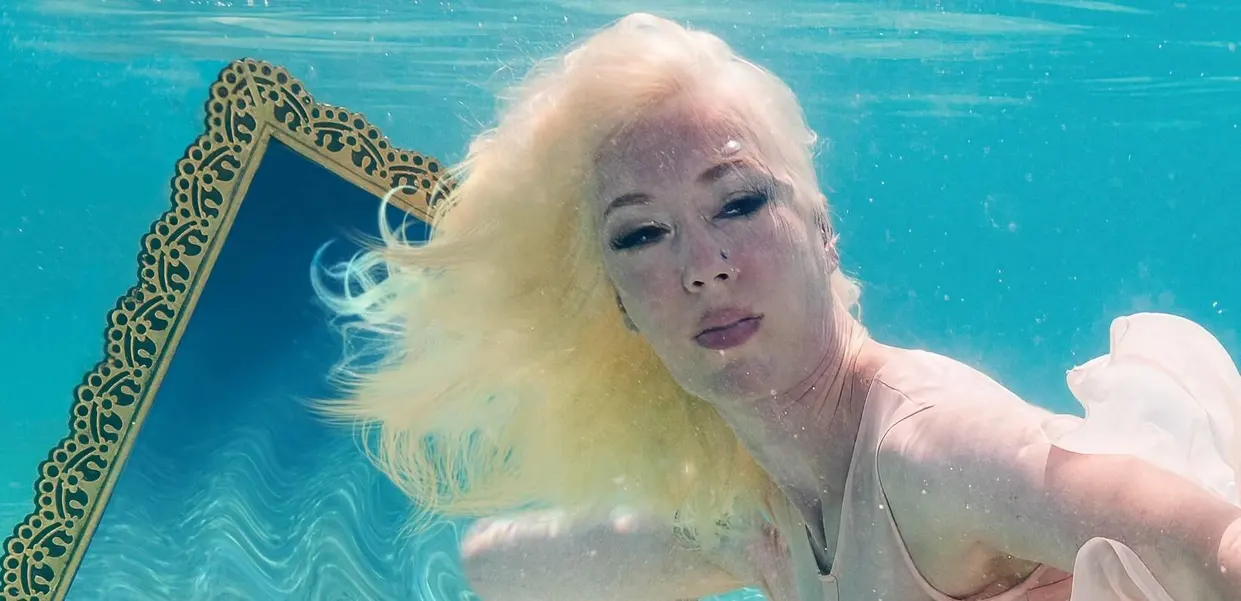
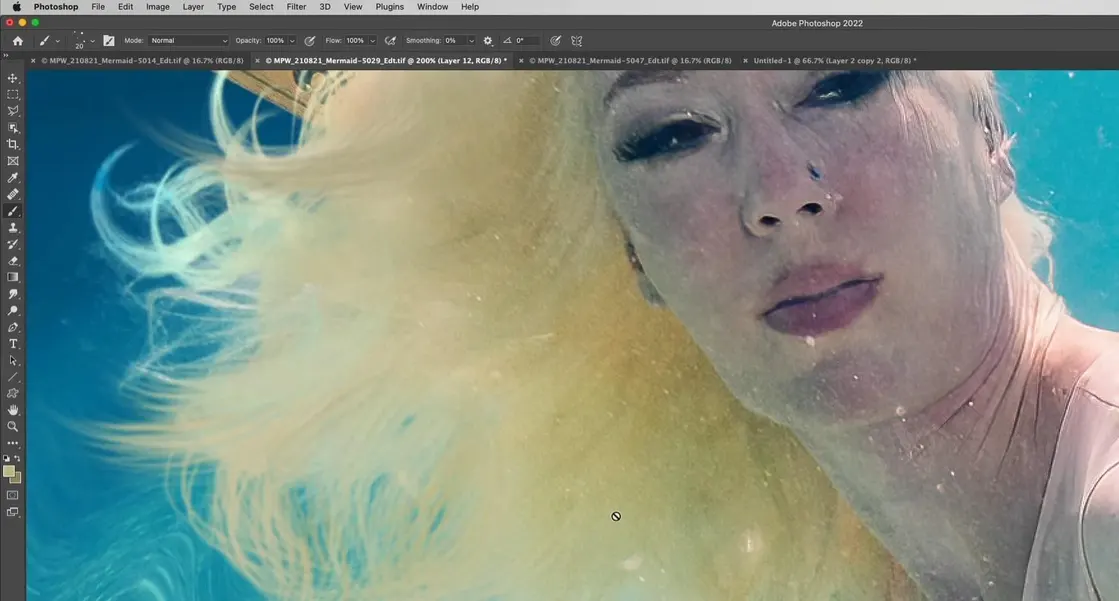
Here is the image that we will be working with in this tutorial to add hair to, cropped to highlight the model’s hair.
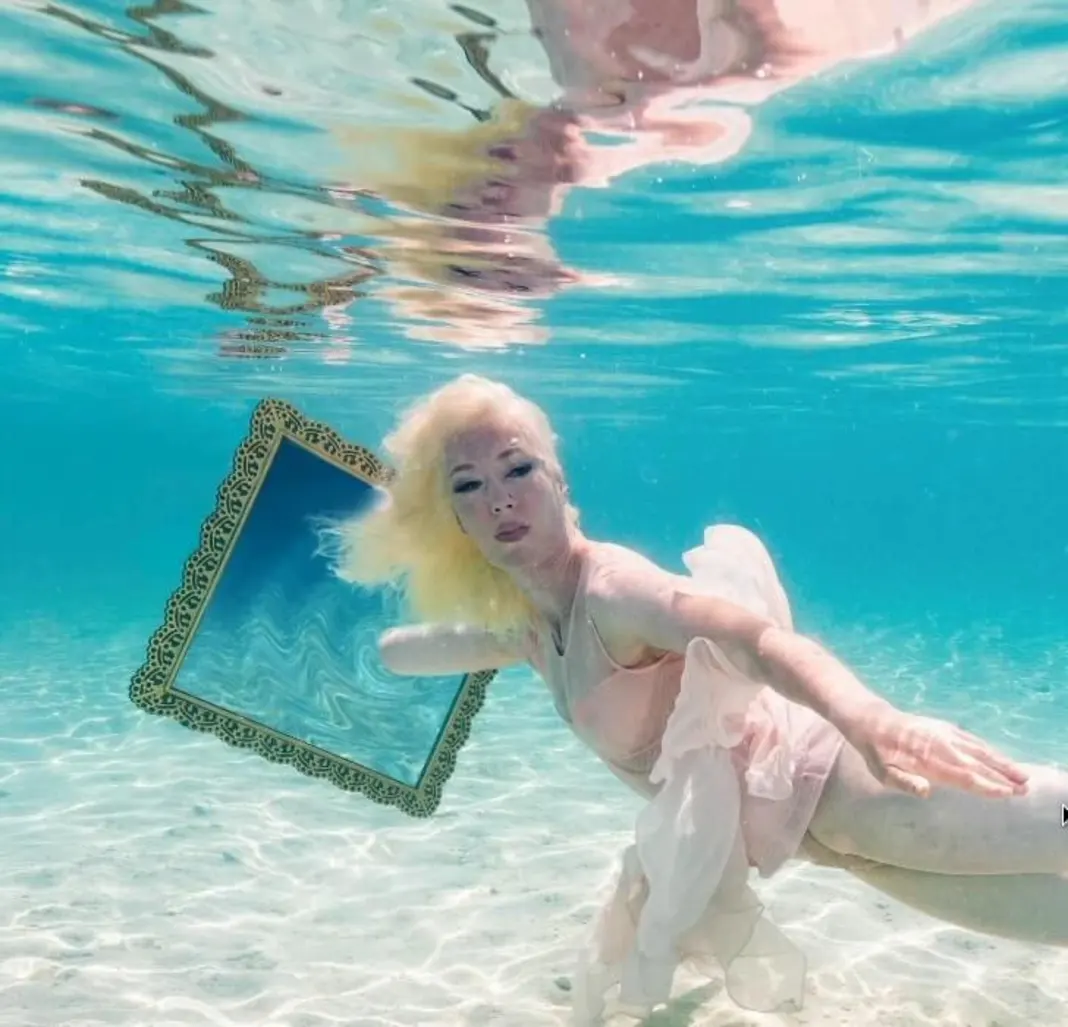
The above version of the image is before any changes have been made. You can see in this area in particular that I could add some hair and fluff it out a bit.
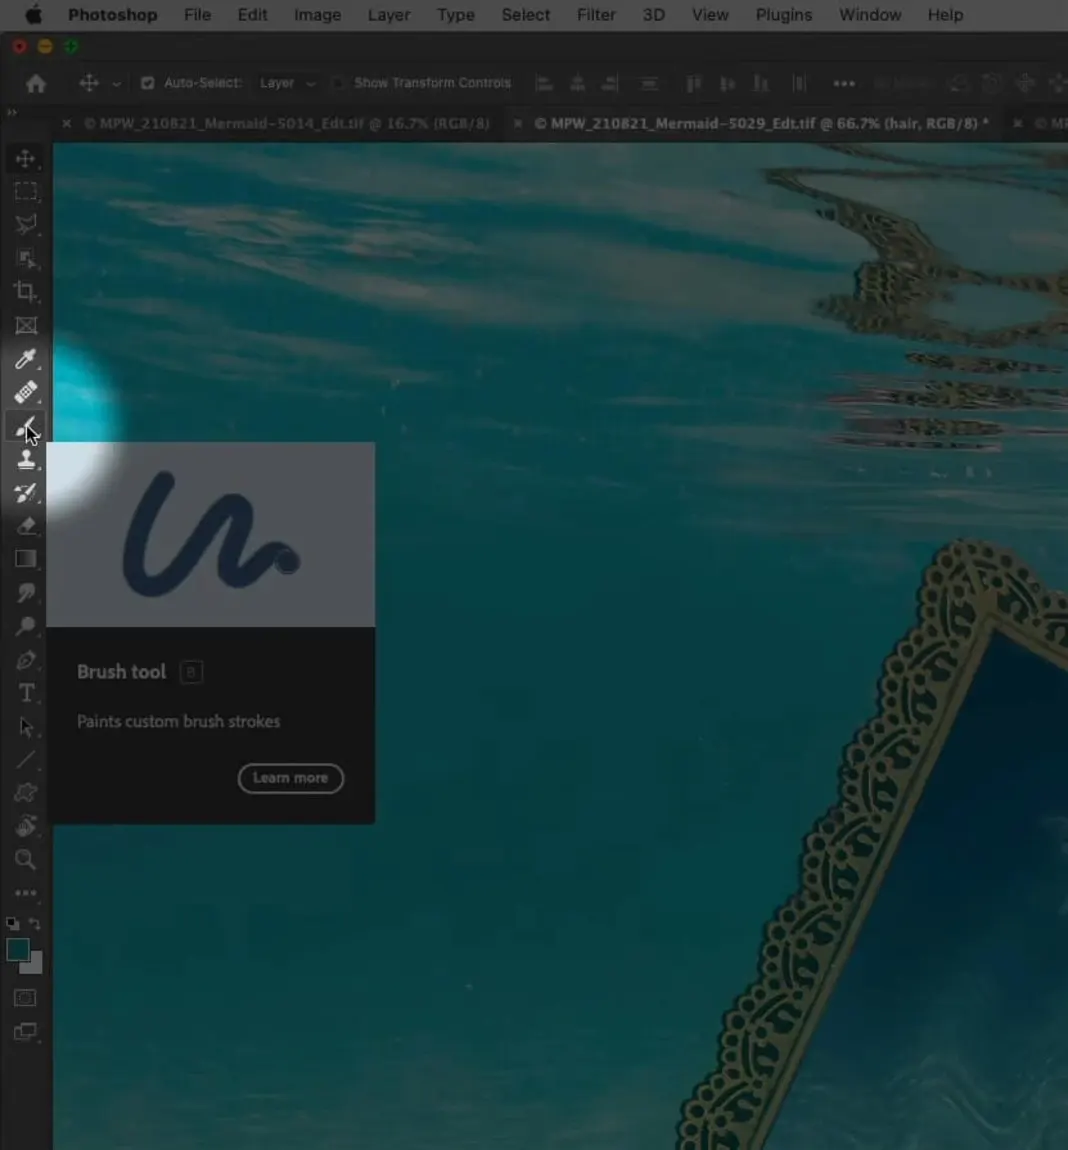
Now, when using the hair brushes, most people might think the first step is to just paint with them regularly using a specific color. We can do this by activating our brush tool.
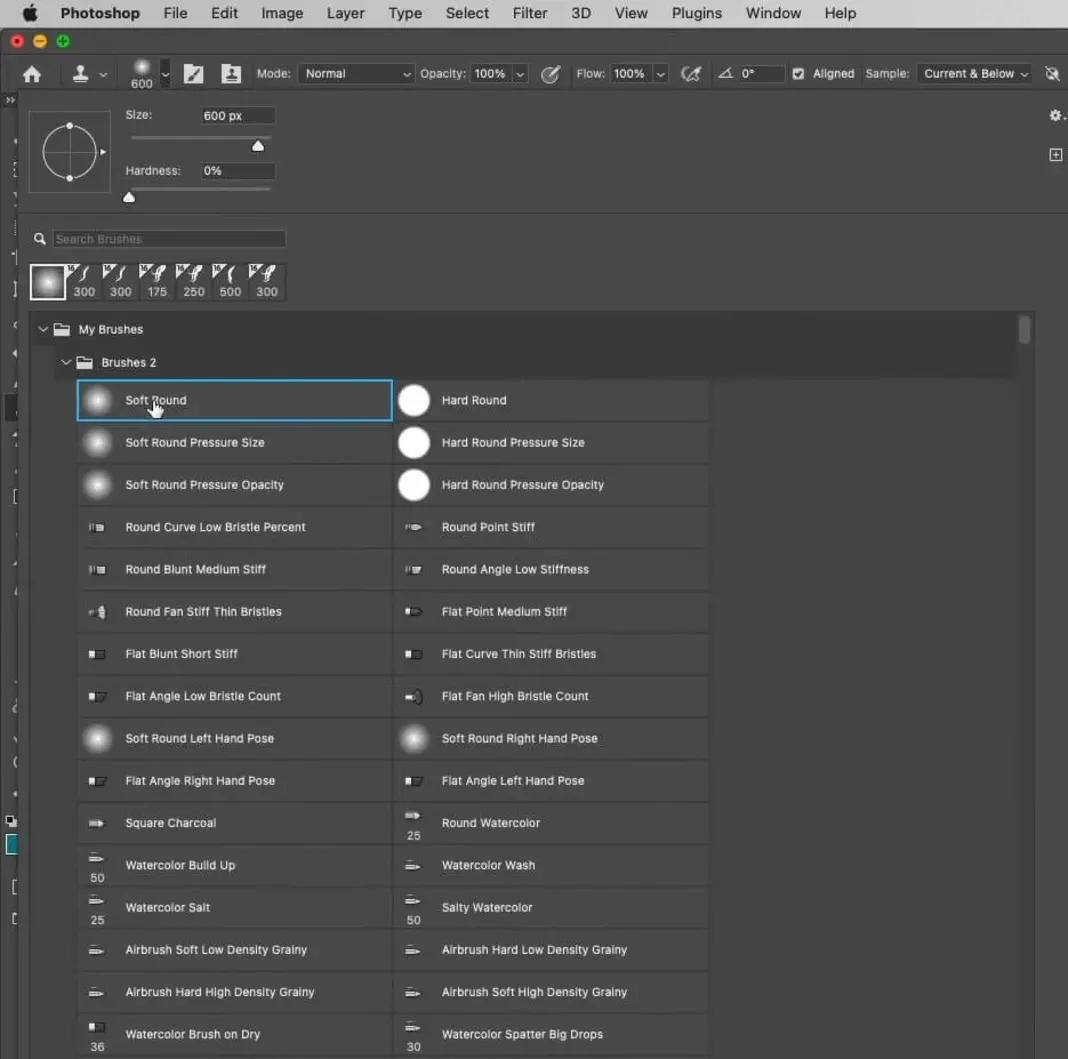
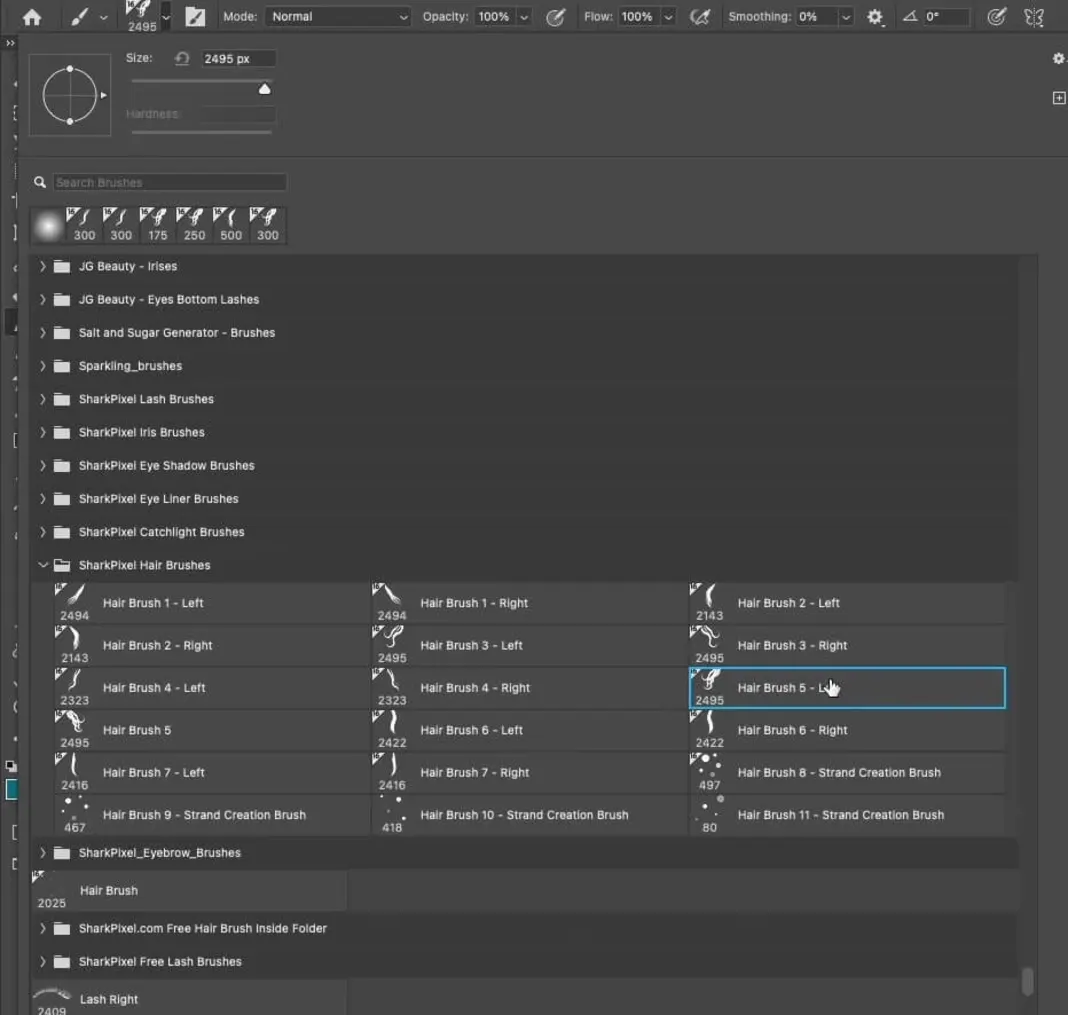
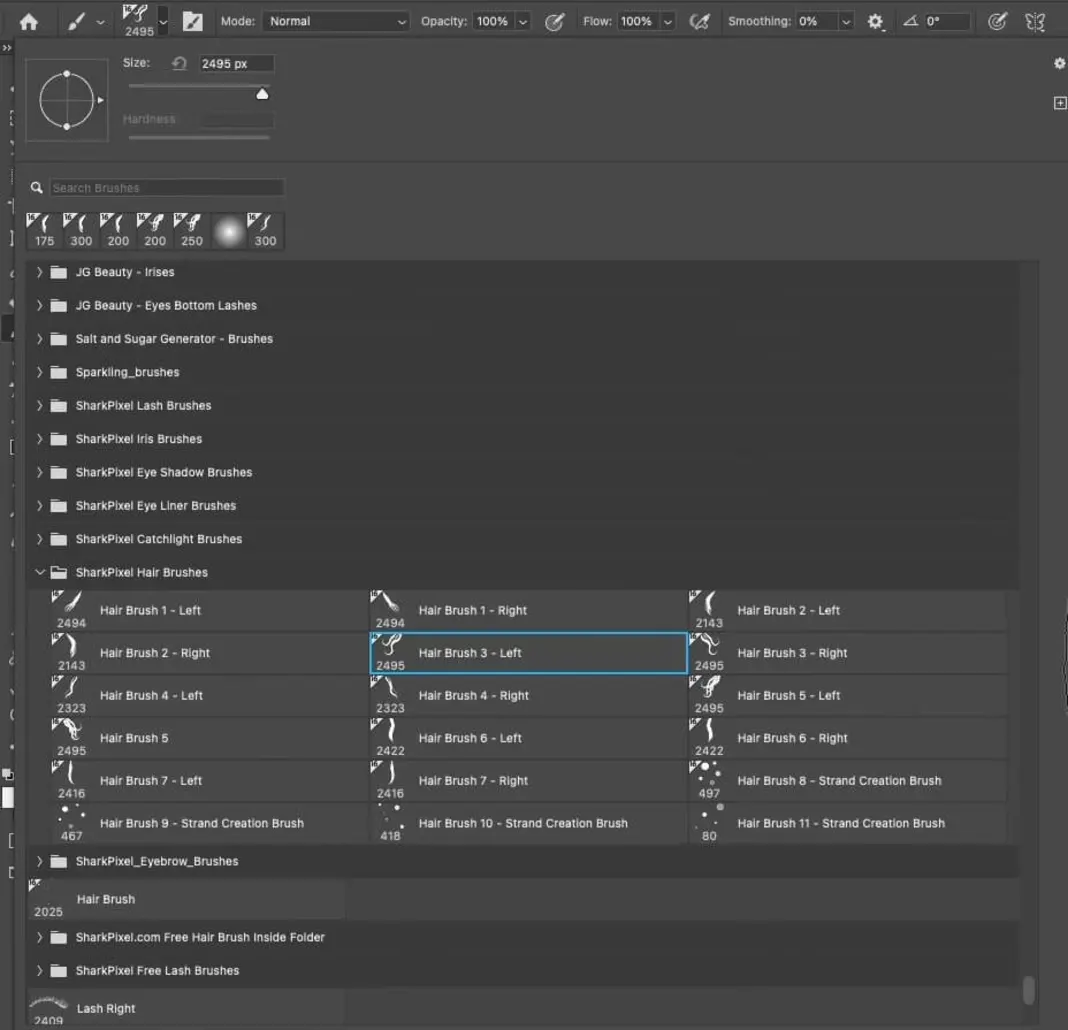
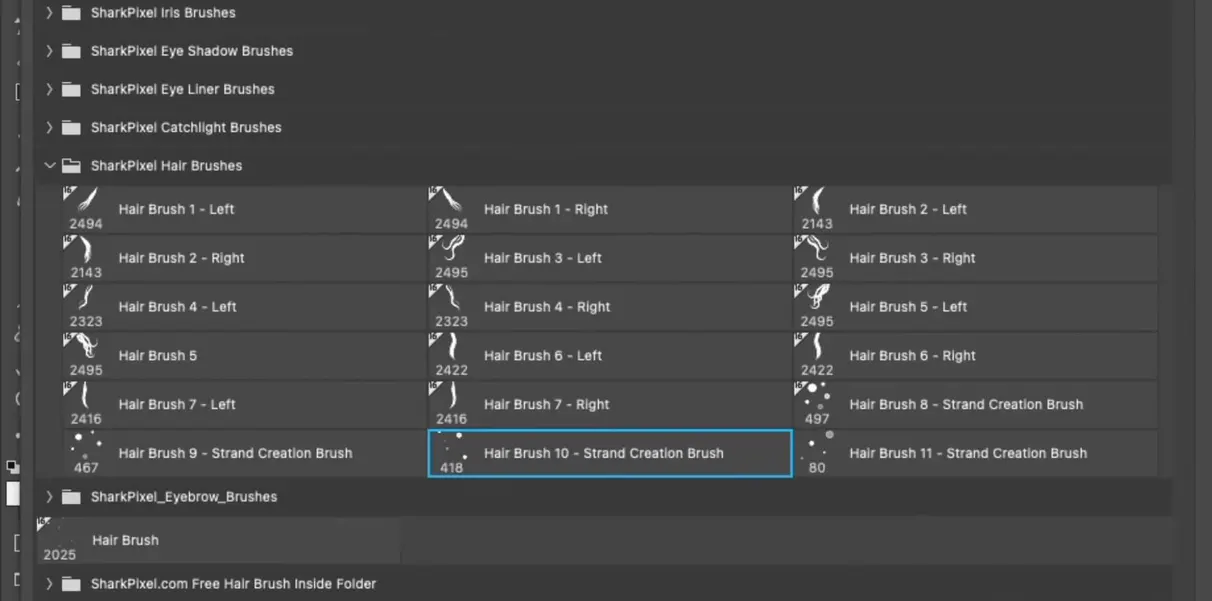
If you have already installed your custom SharkPixel hair brushes, you should be able to find them in the following pack. You may only have one or two of these since those are available for free, but the full pack contains many brushes as you can see here.

If you have downloaded the brushes but they aren’t installed into your Photoshop, just take the .abr file, double-click it, and the brushes will be auto-installed.
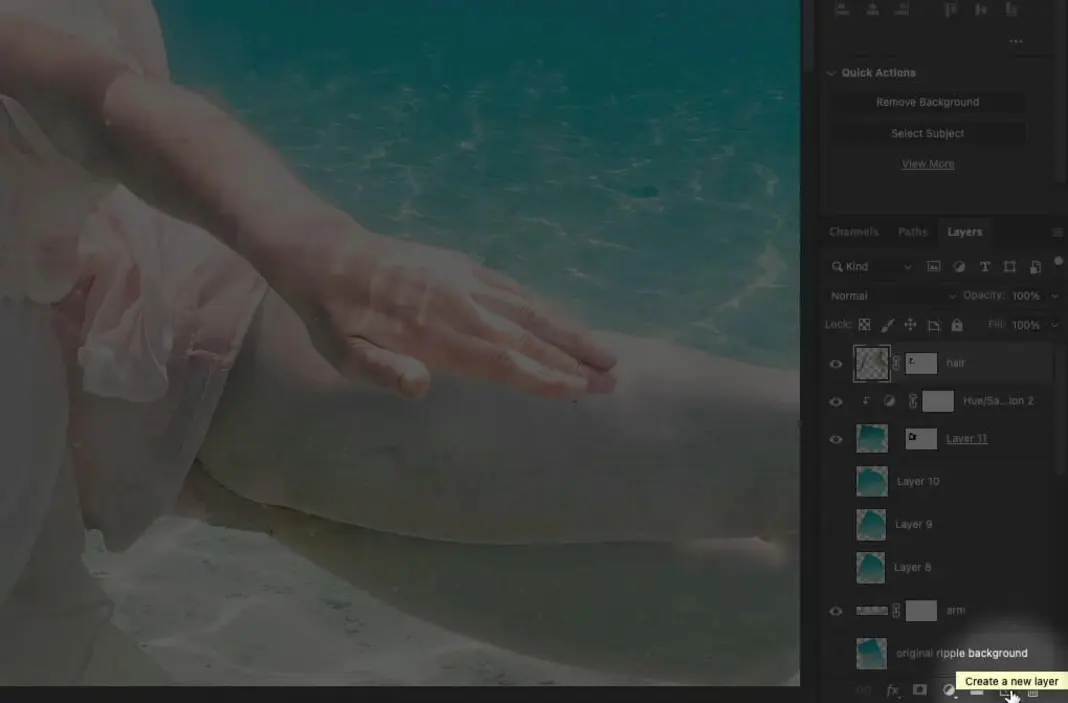
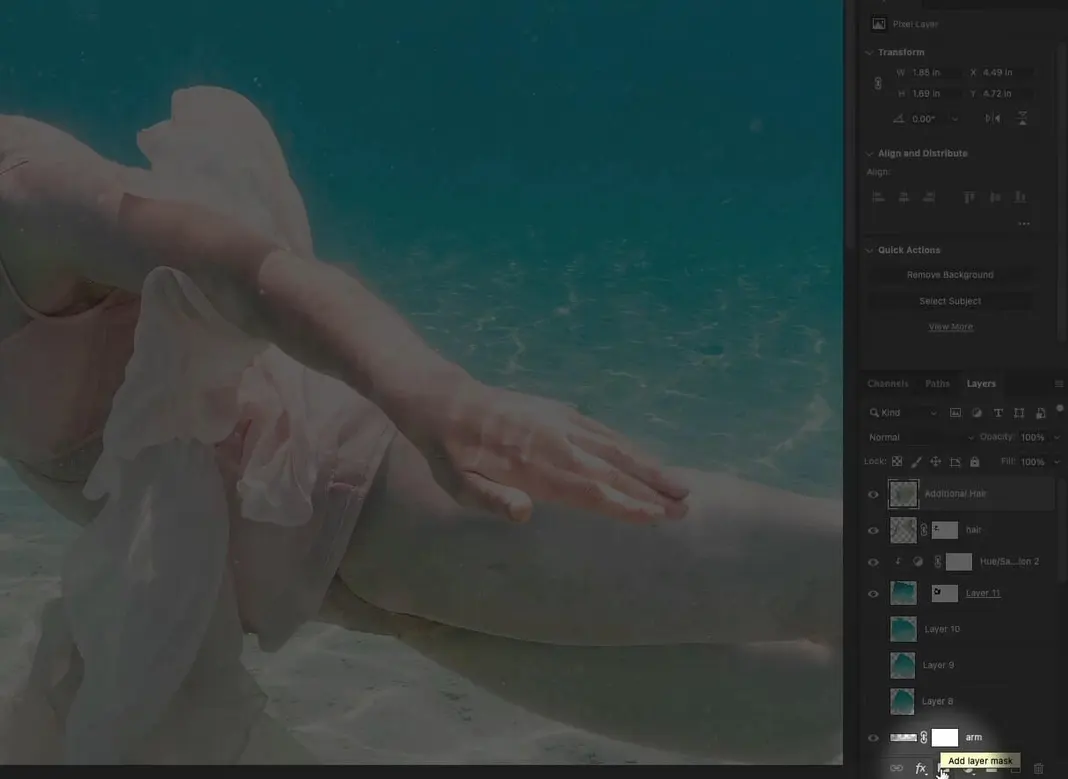
The first thing we’ll do for this image is create a new layer using the Add New Layer button at the bottom of our layers palette. We can name this layer “Additional Hair.”
But personally, instead of painting with the hair brushes using a specific color, I recommend starting this retouching process using the clone stamp.
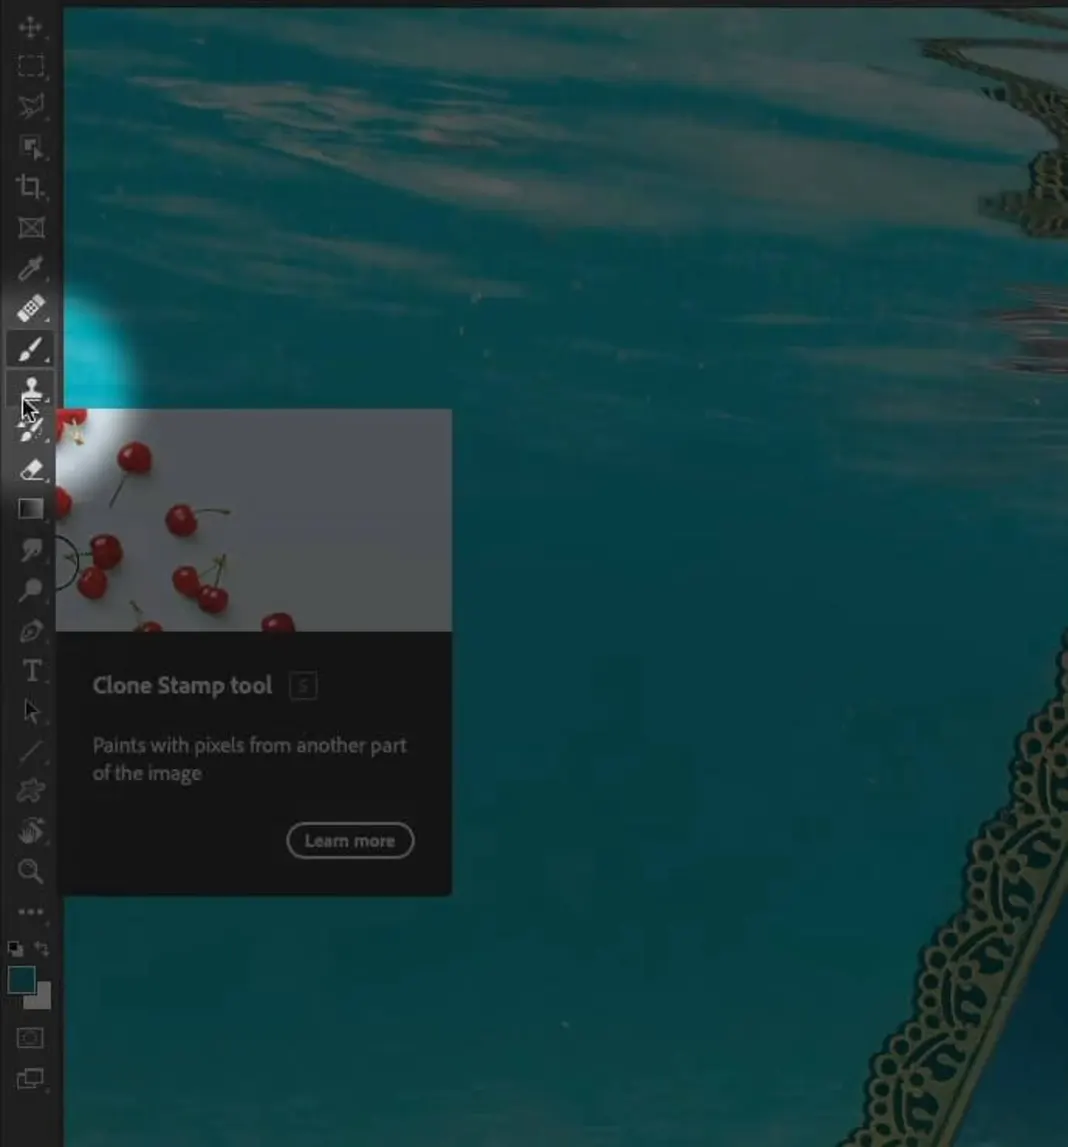
Once we’ve activated the clone stamp, we can use a regular soft round brush.
We’re going to make sure that our opacity and our flow are both at 100%.
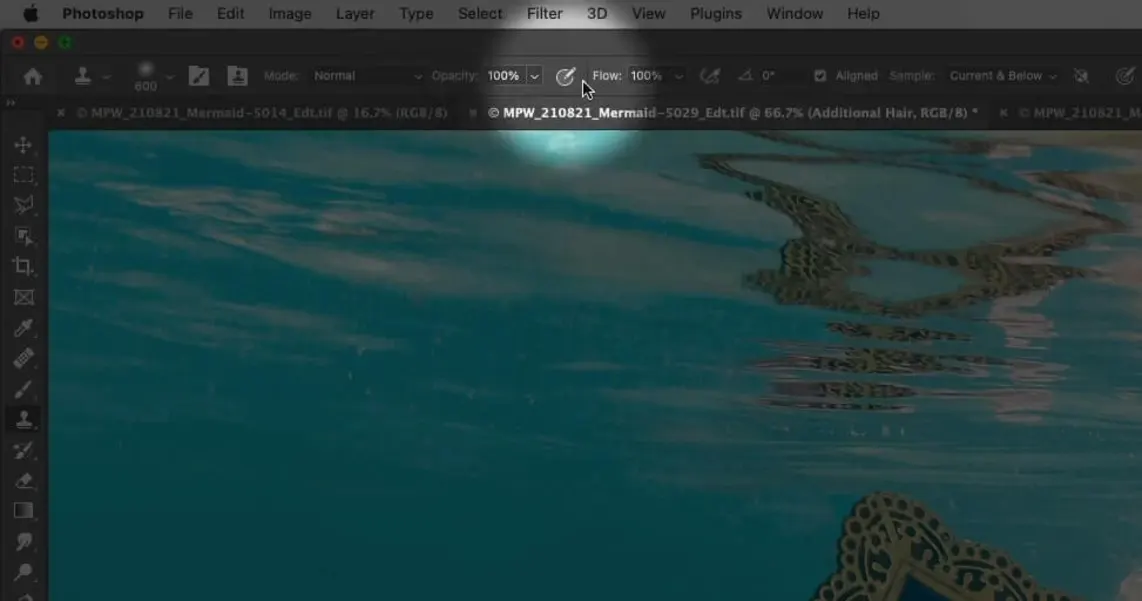
At this point, I need to add the base, which will just be the color and the tone from the existing hair. So I’ll go ahead and sample an area of the hair.
And then I’ll just use the clone stamp to paint the hair in.
This will look really clunky and rudimentary for now, but if you bear with me and trust the process it will end up looking really fabulous. I’ll continue sampling different areas of the hair and painting them in. This process reflects that when it comes to hair, there will definitely be multifaceted colors that will change from location to location. You can see an example in that near the top here the hair is quite platinum white.
But down here the hair has a darker yellow tonality.

So keep that variation in mind when you are cloning and adding your hair in: you want to add the brighter colors near the ends, and you want to add the darker colors closer to the root.
My final result for this step is something like this.
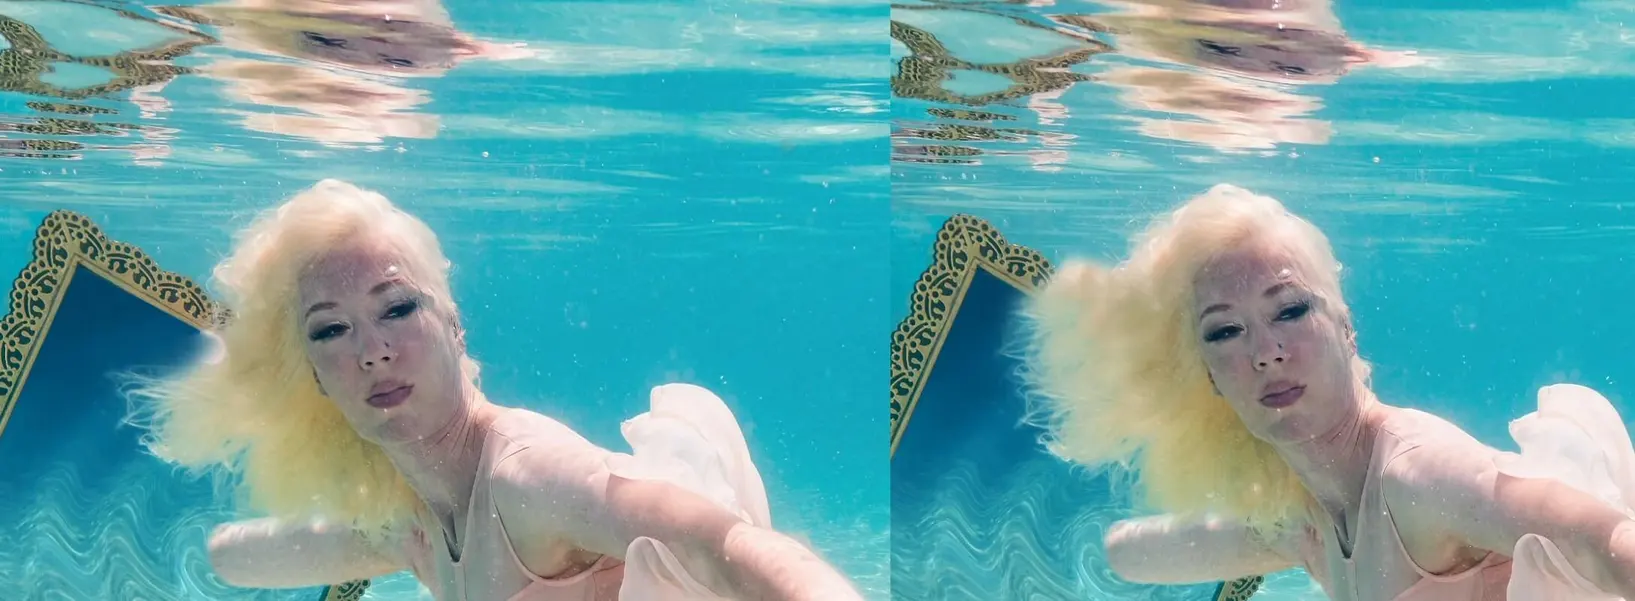
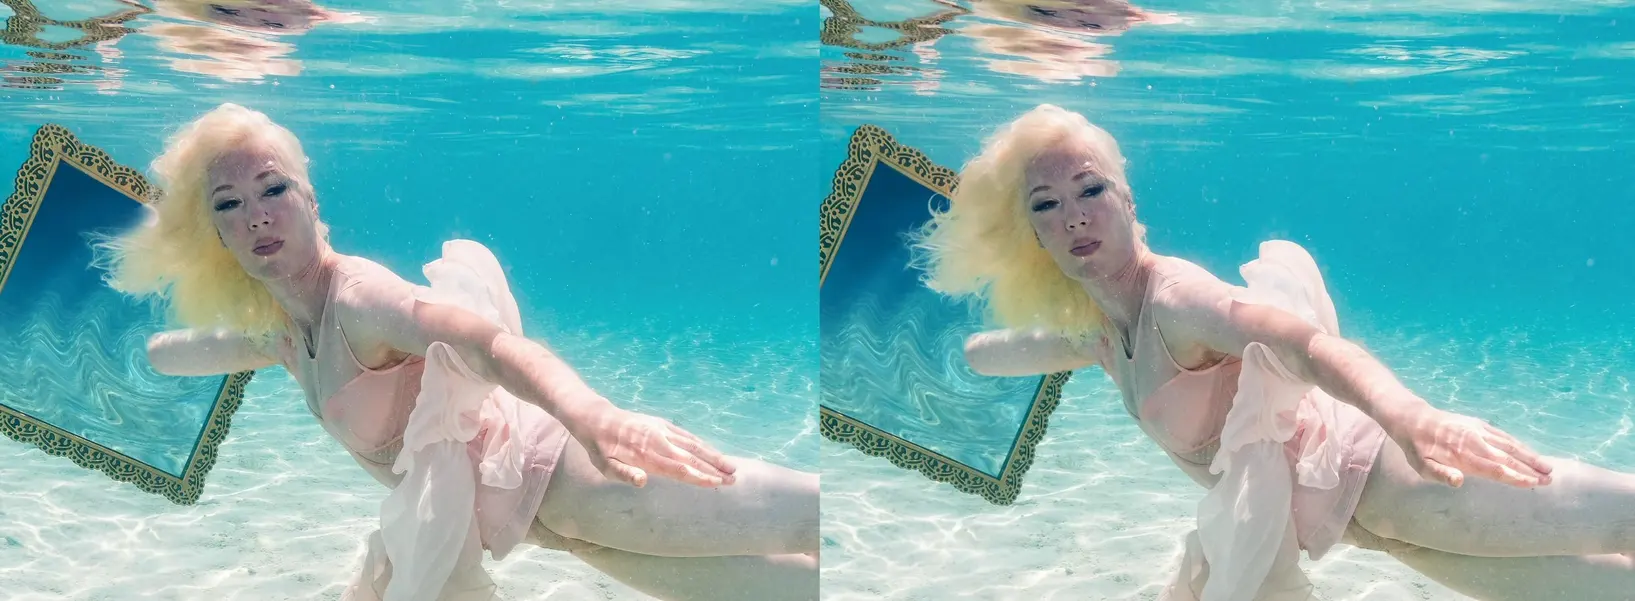
We can toggle the “Additional Hair” layer on and off to see the before (left) and after (right) as shown below. It looks okay but not great, but remember that this is just our starting point for the hair.
Here’s where we start to incorporate the custom brushes. Let’s activate the brush tool by hitting the “B” key on our keyboard. Then we can activate one of the custom hair brushes; we’ll start with “Hair Brush 5 – Left,” which is included in the free brushes.
I’ll add a black mask to my Additional Hair layer by holding down Option or Alt and clicking the Add Layer Mask button at the bottom of my layers palette.
That will hide everything that’s on our Additional Hair layer behind a black mask.

Now if I hover my brush over the image, you can see how gigantic this custom hair brush is.
So I’ll use my bracket keys to make it much, much smaller and make it fit within the image that we’re working on.
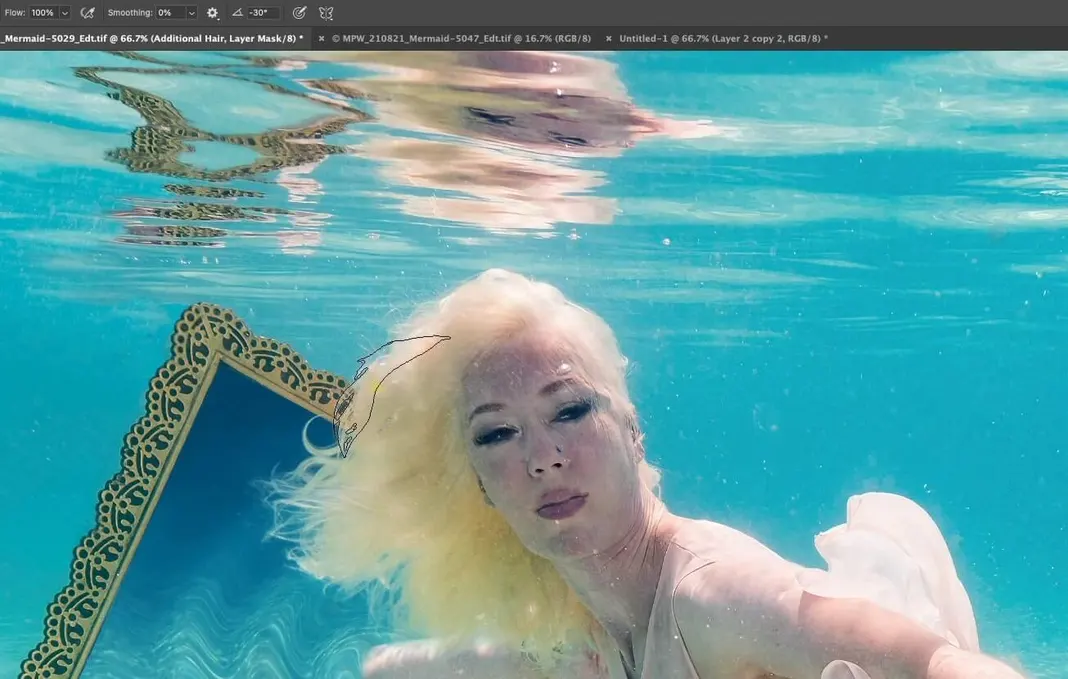
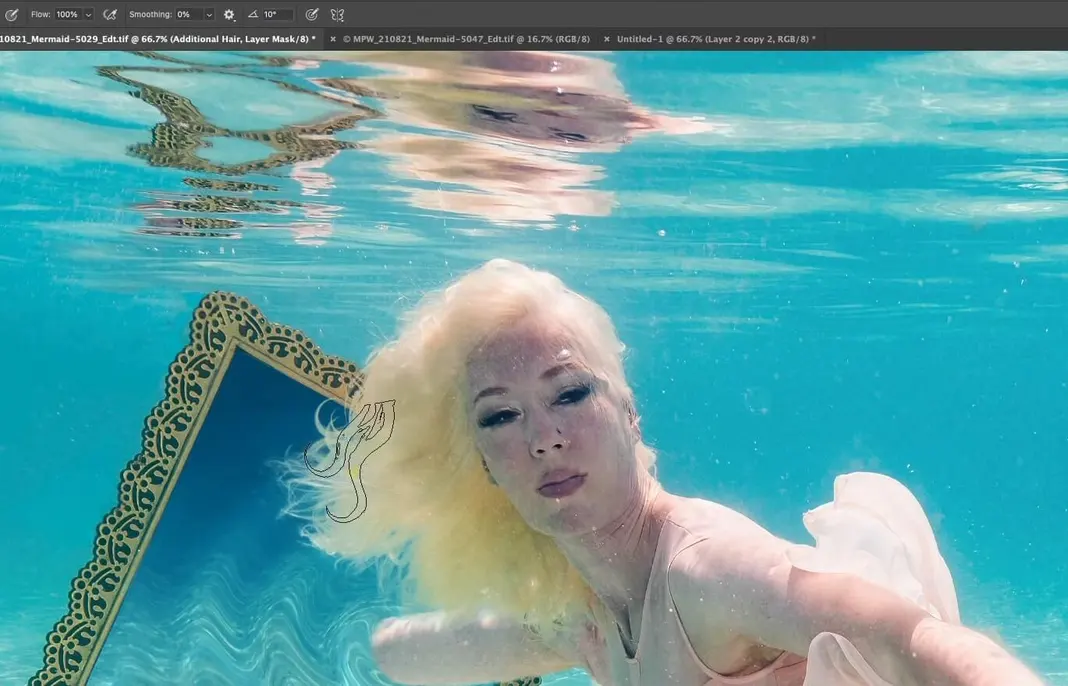
Before we paint in or stamp in the additional hair, you can see that the angle of the hair here is not necessarily the direction in which the native hair in the image is going. So that means I need to rotate or tilt the brush, and the easiest way to do that is the tilt arrow in your tools settings bar.
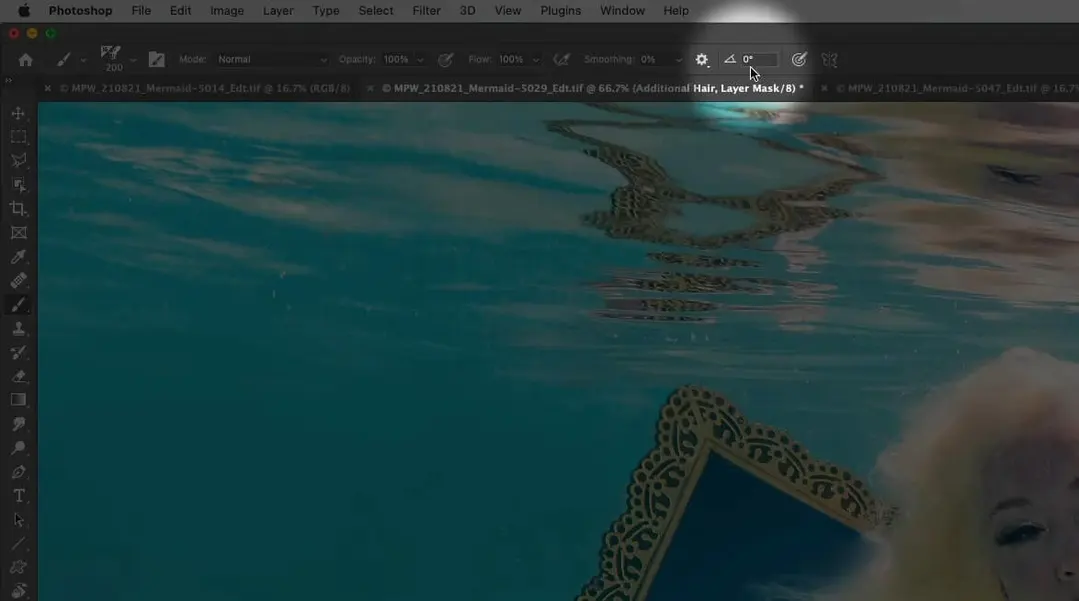
So I’ll select the value within this box. Then I’ll hover my brush over an area where I can preview it, hold down Shift, and use the up and down arrow keys to rotate the direction of the hair brush. I now have the brush at a value of -50 degrees of rotation, and that looks to be accurate in terms of the direction that the hair would be flowing (because at the end of the day this is an underwater image).
Now I’m just going to click once, and that will add some flowing hair to my image.
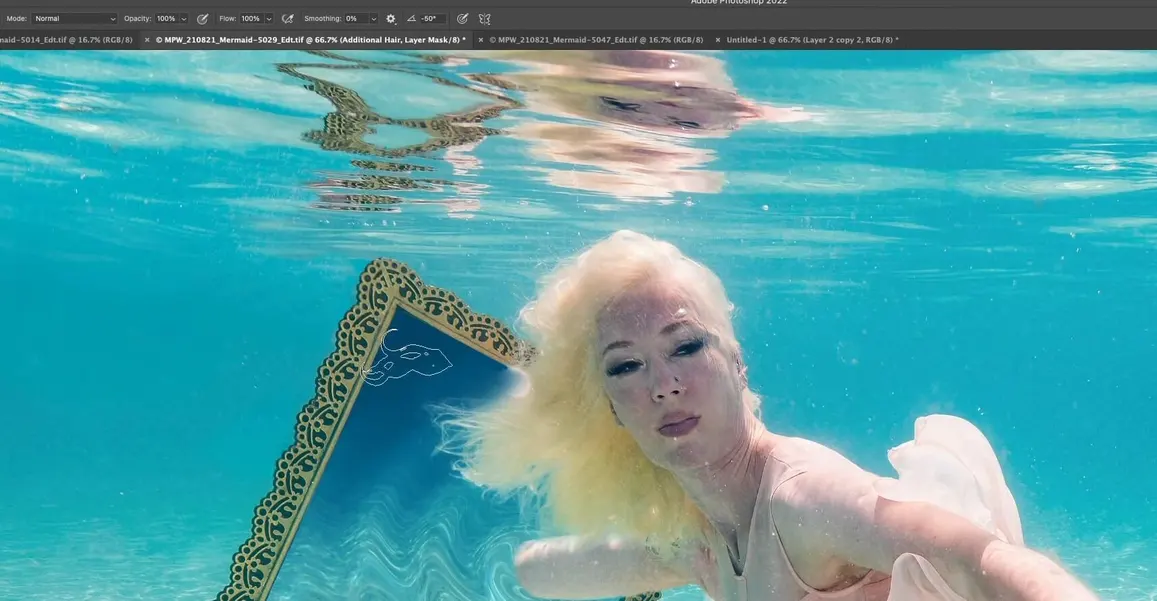
For comparison I’ll add a new layer and show you off to the side, here is what it would look like if I had just picked a specific color to paint the hair in (instead of using the clone stamp tool and then using the hair brush on the mask of the layer).
Hopefully you can see that the one using the clone stamp tool has a little more variation in tonality and looks a lot more realistic than the single color as a result. So that’s really where the benefit lies when you use these custom brushes on the mask of the layer instead of using it with a single color.
The next thing I want to do is change the size and the rotation of the brush for our next stamp. I now have a rotation of -10 degrees on our brush.
Make sure that the mask on the Additional Hair layer is selected, and then stamp it again once.
Now I’m going to start to add a little bit of variation by adding a different brush. So far we have used “Hair Brush 5 – Left,” so now we can try “Hair Brush 2 – Left.”

These brushes are really beneficial when you’re doing a composite and you need to easily and seamlessly, in a split second, create a natural and realistic hairline. So that’s why I created the brushes this way, because nobody wants to be painting in those hairs one at a time.
Once again I will rotate and resize my brush and stamp a few more times. This is my final result with this brush after stamping three times.
And we’ll add one more variation using “Hair Brush 3 – Left.”
You know the drill by now: resize, rotate, and stamp a few times. Here’s my final result with this brush.
Here’s our before (left) and after (right).
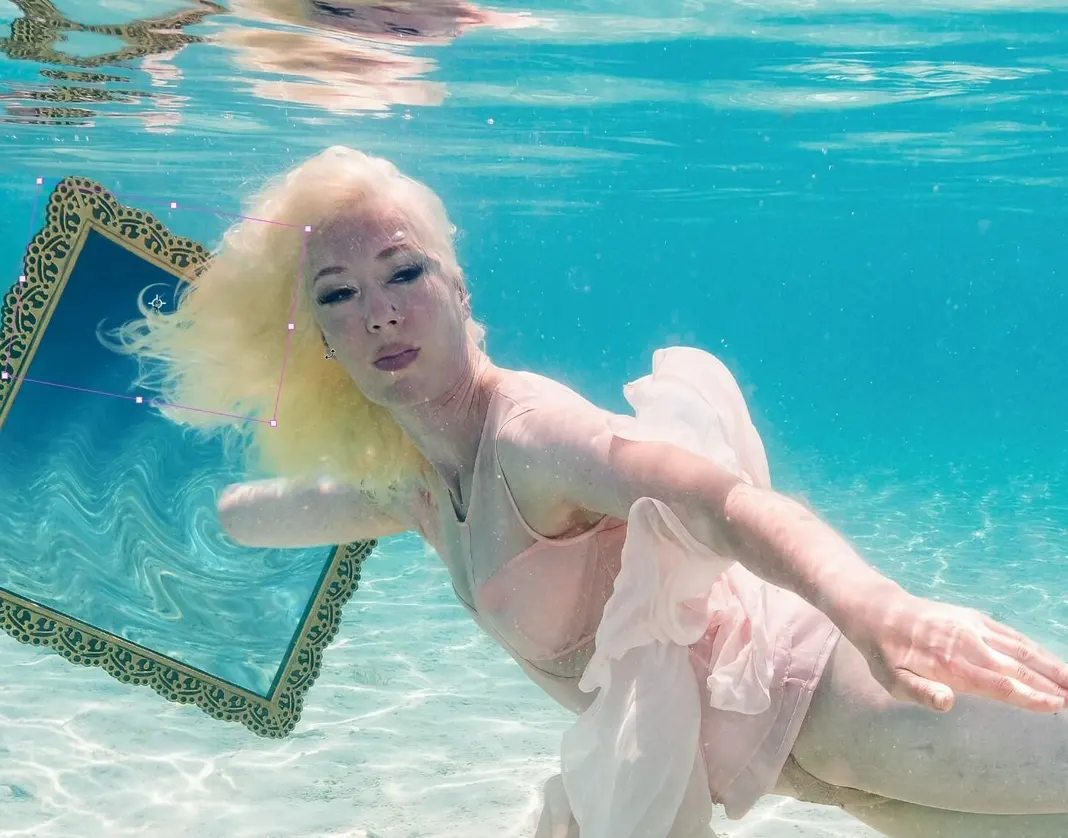
We’re definitely getting to a point where the hair is starting to look nice and realistic. There are two more things that I want to do to blend this nicely with the underlying image. The first thing is going to be transforming the mask and the hair that I have on the underlying image. So my first step is to select the Additional Hair layer’s icon in the layers palette.

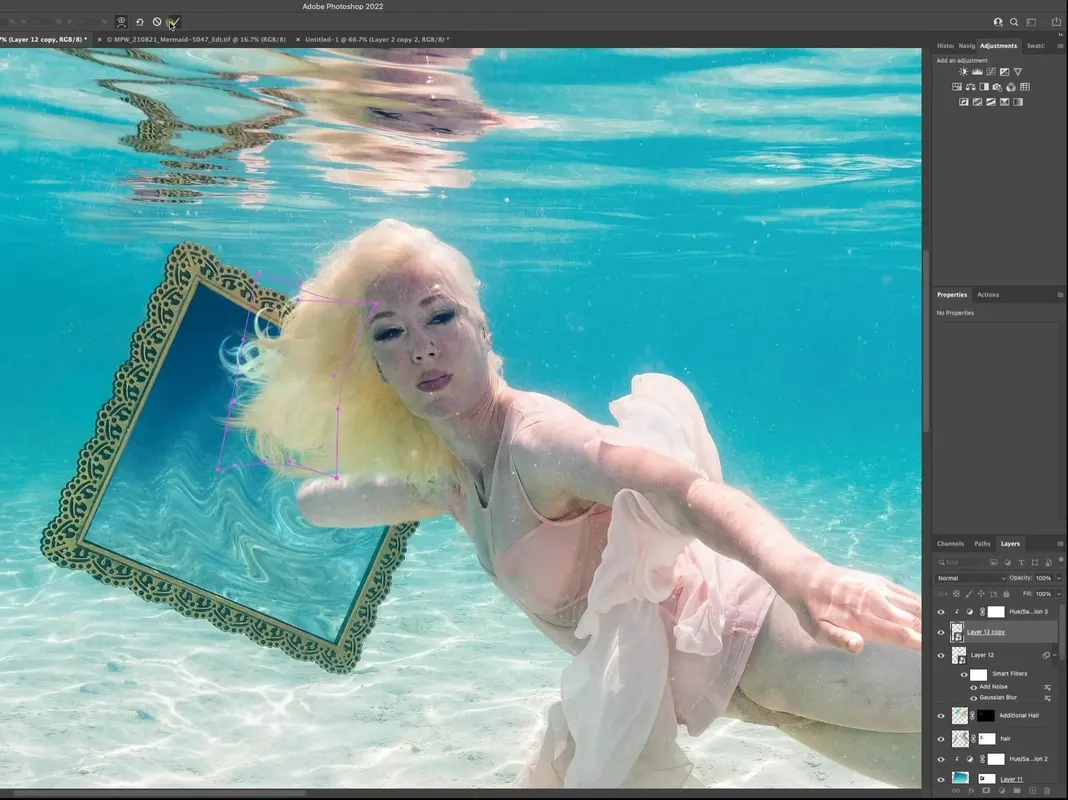
Then I’ll hit Cmd+T or Ctrl+T. At this point, I can easily morph it, pull it out, make it look more flowy, rotate the hair, move it, etc, using the transform tool as shown below.
But I also have the option to actually warp this selection, which can be found in the toolbar after you’ve hit Cmd+T or Ctrl+T and activated the transform tool, as shown below.
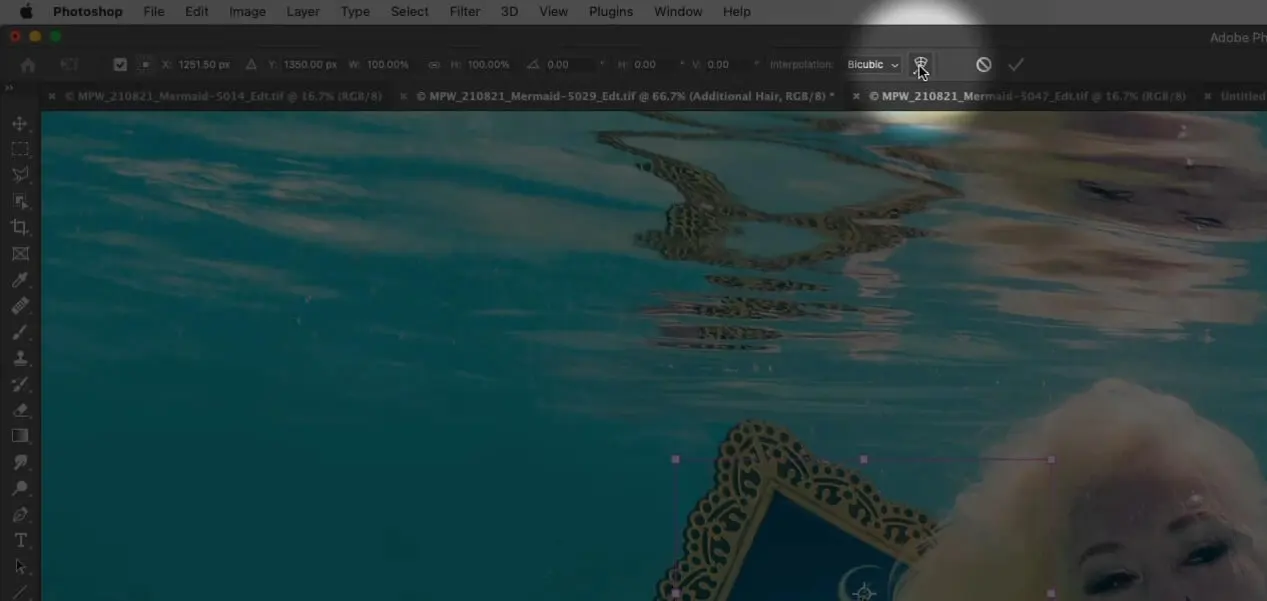
With the warp selected, you can see that the box changes to allow you to relocate and stretch and modify your layer as if it was printed on silly putty. This is my final result with the warp tool.
I’m pretty happy with this, but I want to make this look a little bit more realistic by taking into account some of the natural characteristics of the hair that are on the underlying image. You can see that the tips of the hair are much brighter than the internal portion of the hair closest to the scalp, so that means I need to brighten the tips of our added hair. There’s a couple of different ways to do that, but for this specific example, even though it’s going to be a bit of a destructive method I’m just going to use the dodge tool in order to do this.
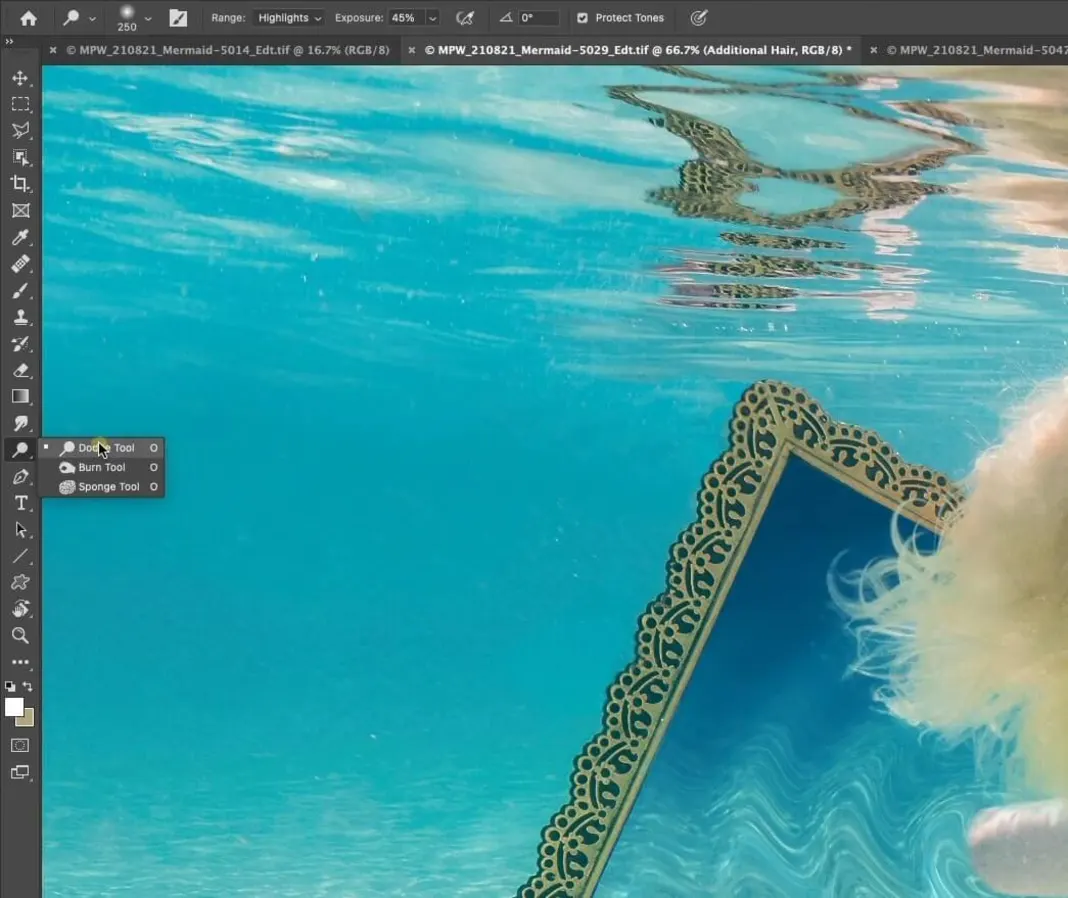
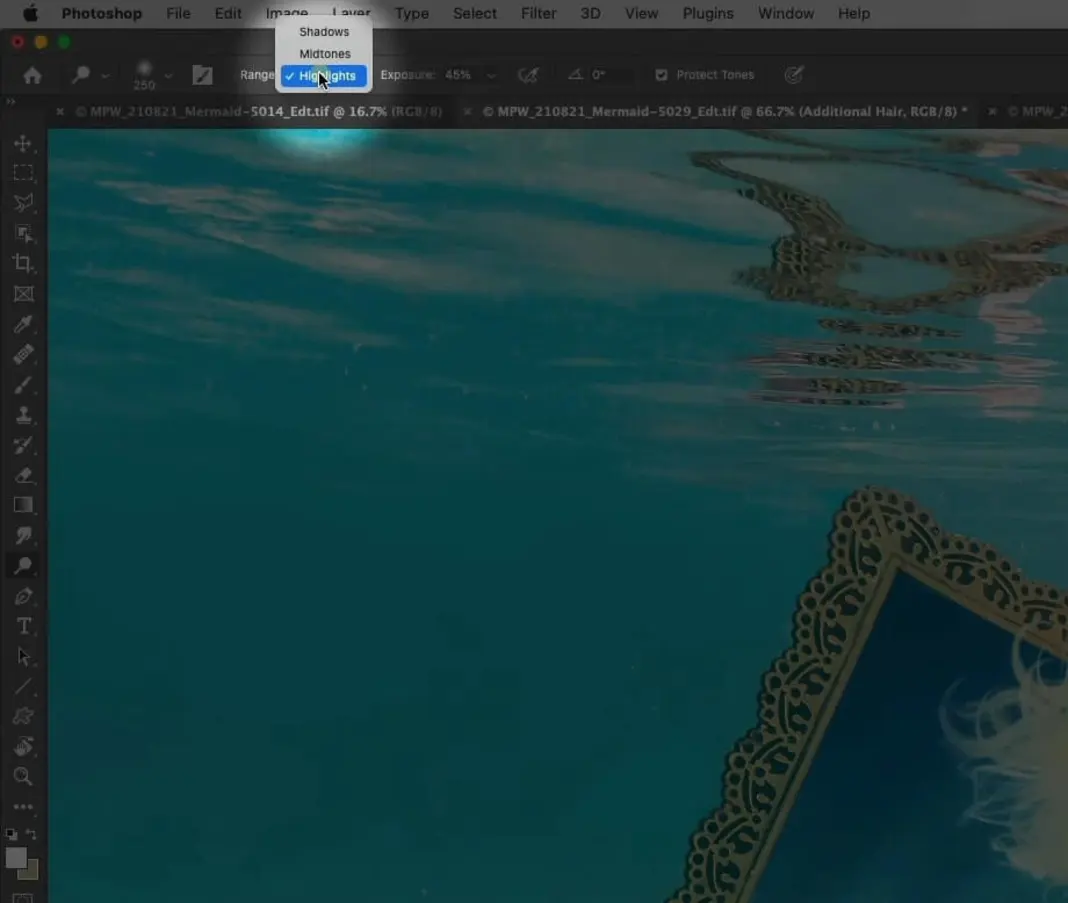
With our dodge tool activated, I want to make sure that the range in which it’s modifying is set to Highlights.
And then I’d like to set the exposure to 25% so that we can build it up little by little.
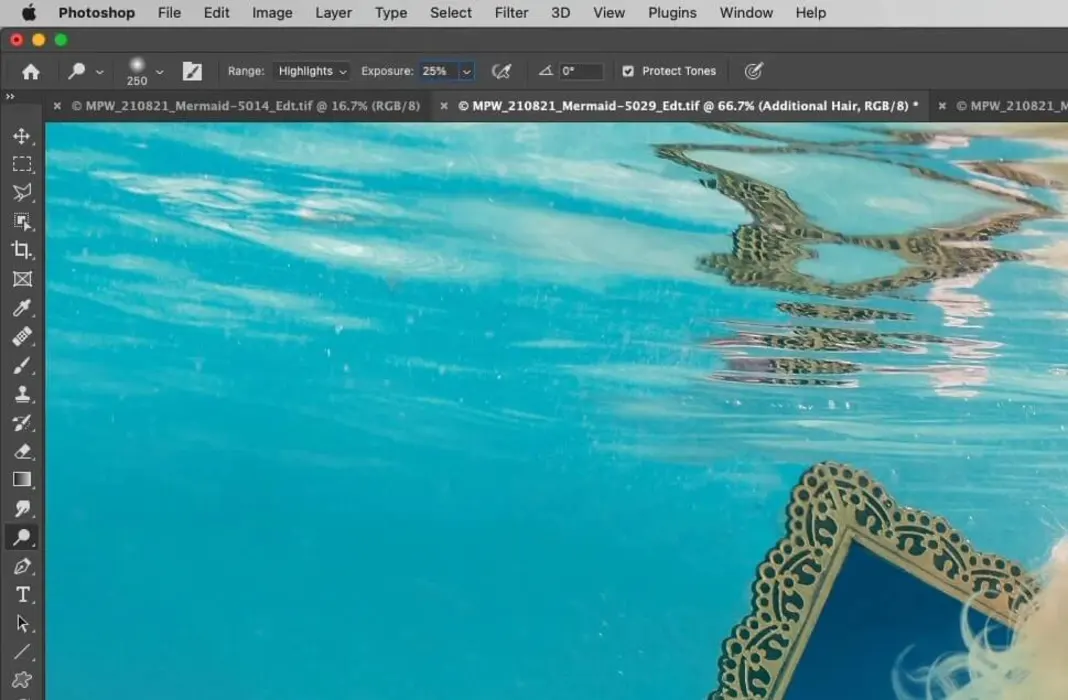
Then, making sure the Additional Hair layer is still activated, I’m just going to click around the edges of the added hair, which will brighten up those tips so that they match the surrounding hair a bit more. This is my final result.
That looks nice and realistic. So we were able to add quite a bit of natural curls. Now, if you wanted to really make it look nice, you could go over the entire edge of the hair, but I think that, for a quick addition of hair and adding some volume, this works really well.
I have a couple of other hair brushes that I just want to point out, three of which are included in the free brushes you downloaded. So the “Hair Brush 10 – Strand Creation Brush” is a bit of a different brush than some of the stamp-type brushes that you see above.
So we’ll start by creating another layer, and this time we are going to use the brush itself to add in the strands of hair. But there are some settings that are extremely important that I want to go over. So because I’ve created this brush, I know that the brush is actually going to incorporate the colors that you have in your foreground color swatch and your background color swatch boxes.
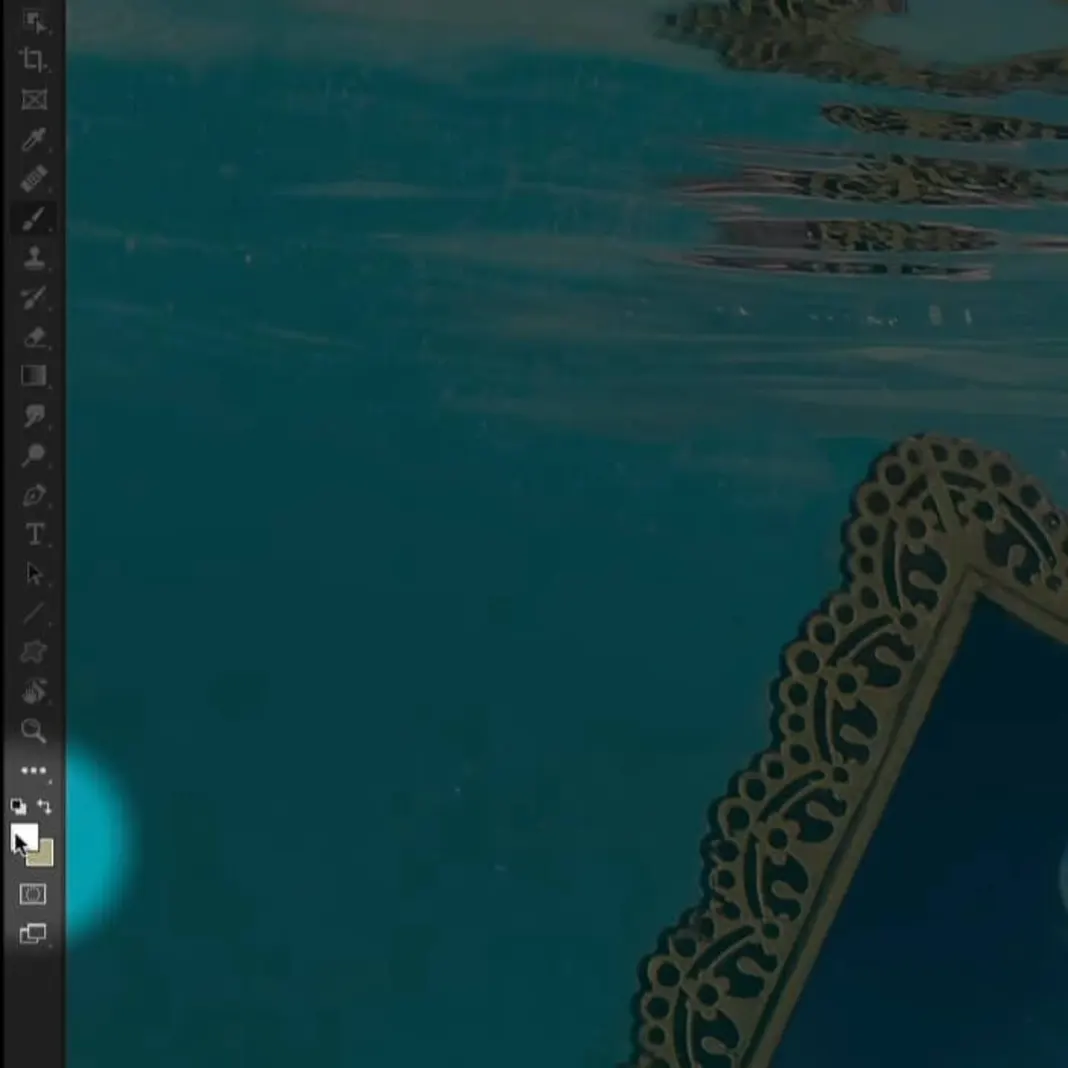
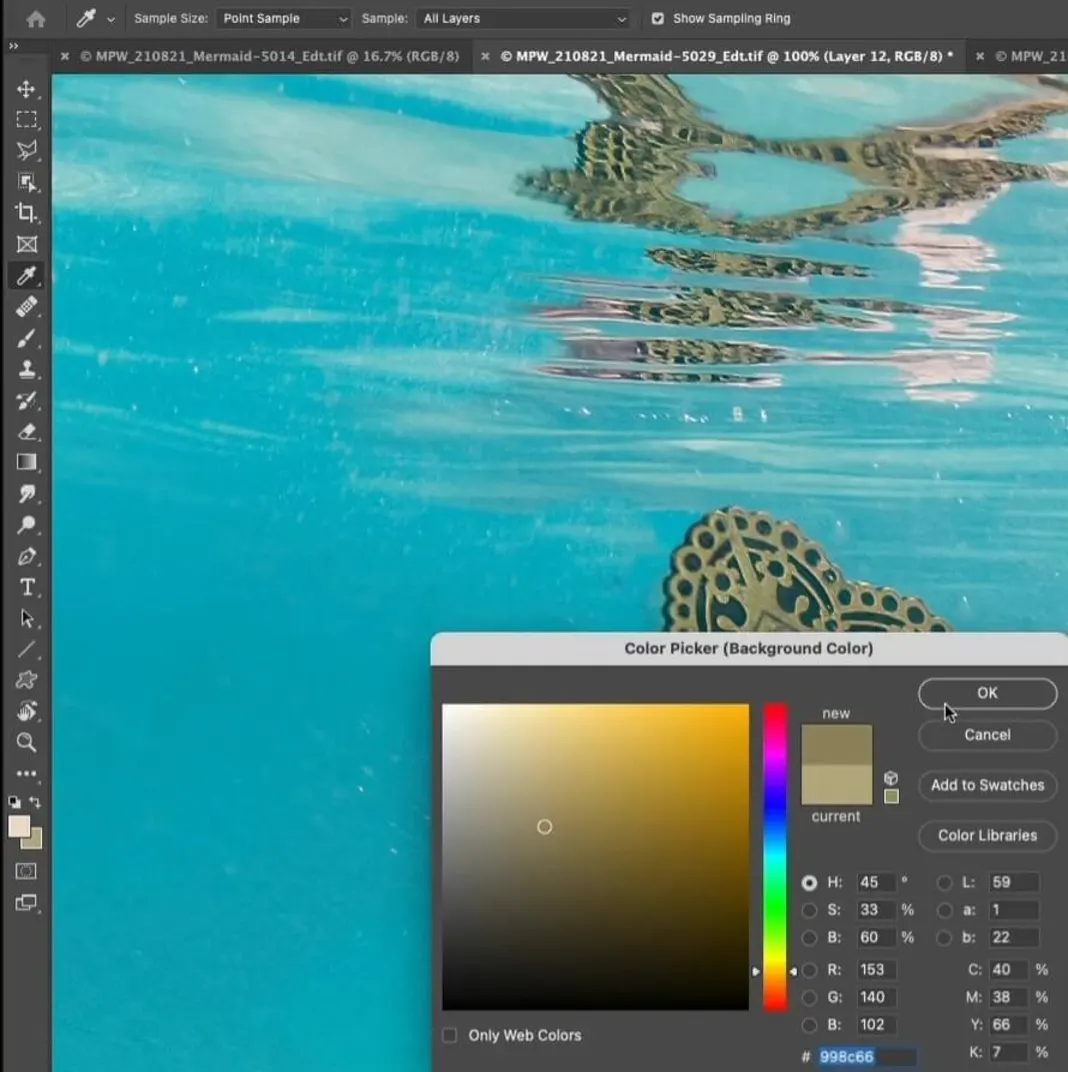
So that means we need to make sure that these colors are representative of the colors that are in the hair. So I’m going to click on my foreground color picker, and I’m going to select a bright blonde.
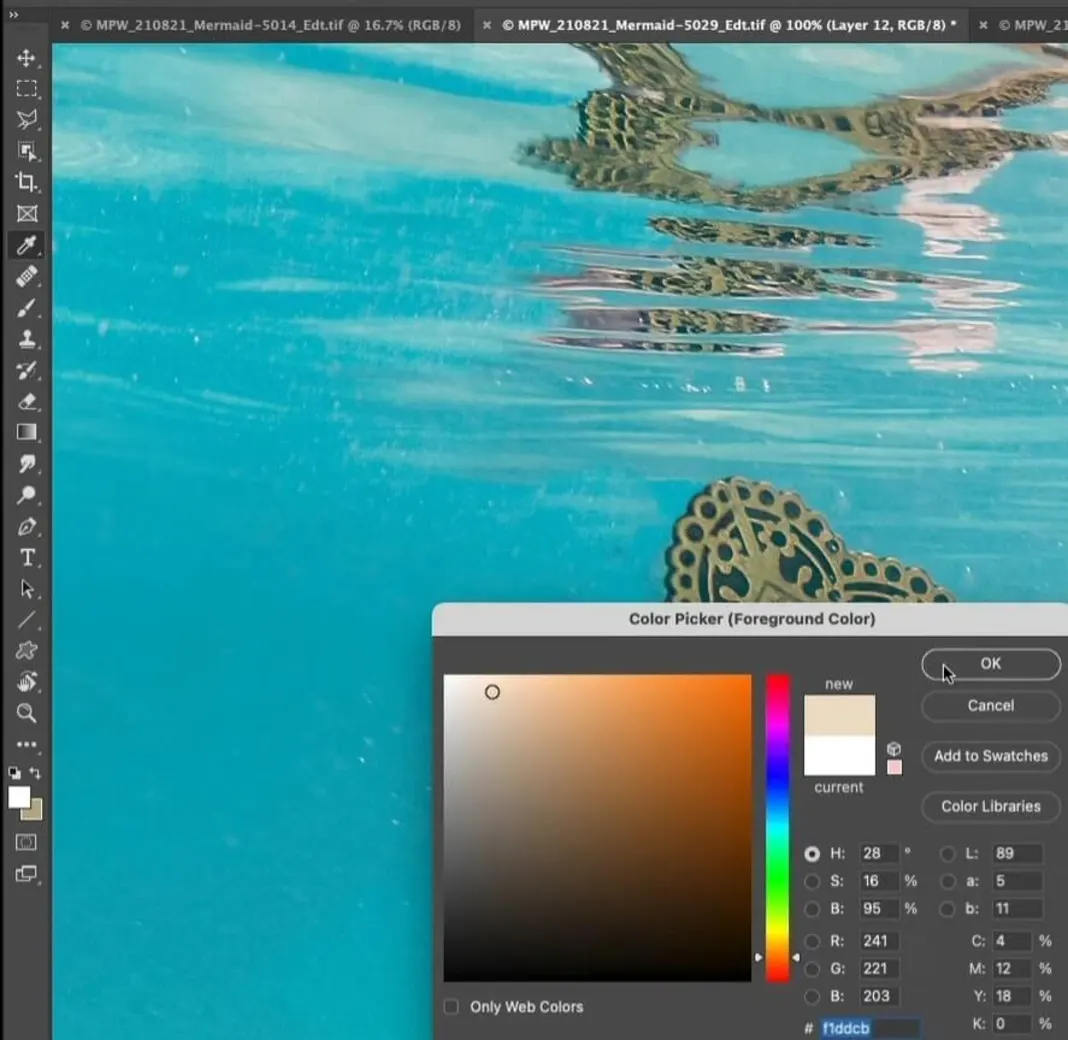
And then I’m going to click on my background color picker, and I’m going to select a dark blonde tonality.
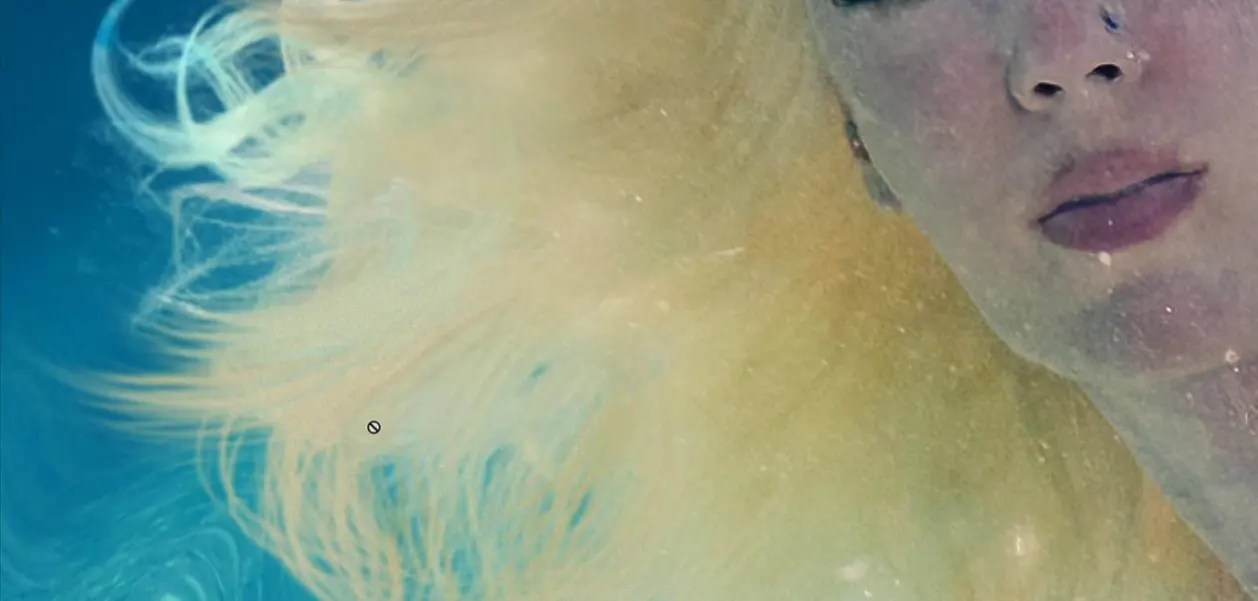
At this point I’m going to make the brush extremely small (around 10 pixels), and I’m going to start painting in some freehand hairs. Don’t be afraid to modify the colors that you’re painting with; it’s important when you’re using this specific brush to make sure that you’re constantly changing the colors that you’re painting with, because hair is quite multifaceted and every single strand has a slightly different color. So if that’s the case we’re going to have to really make sure we’re incorporating in the colors that are native to the image. Here is my final result after using the strand creation brush.
Now, this hair that we’ve just added using the strand creation brush does not necessarily match the rest of the image, so we need to make some modifications to this layer to make sure that it blends in with the rest of the image around it.
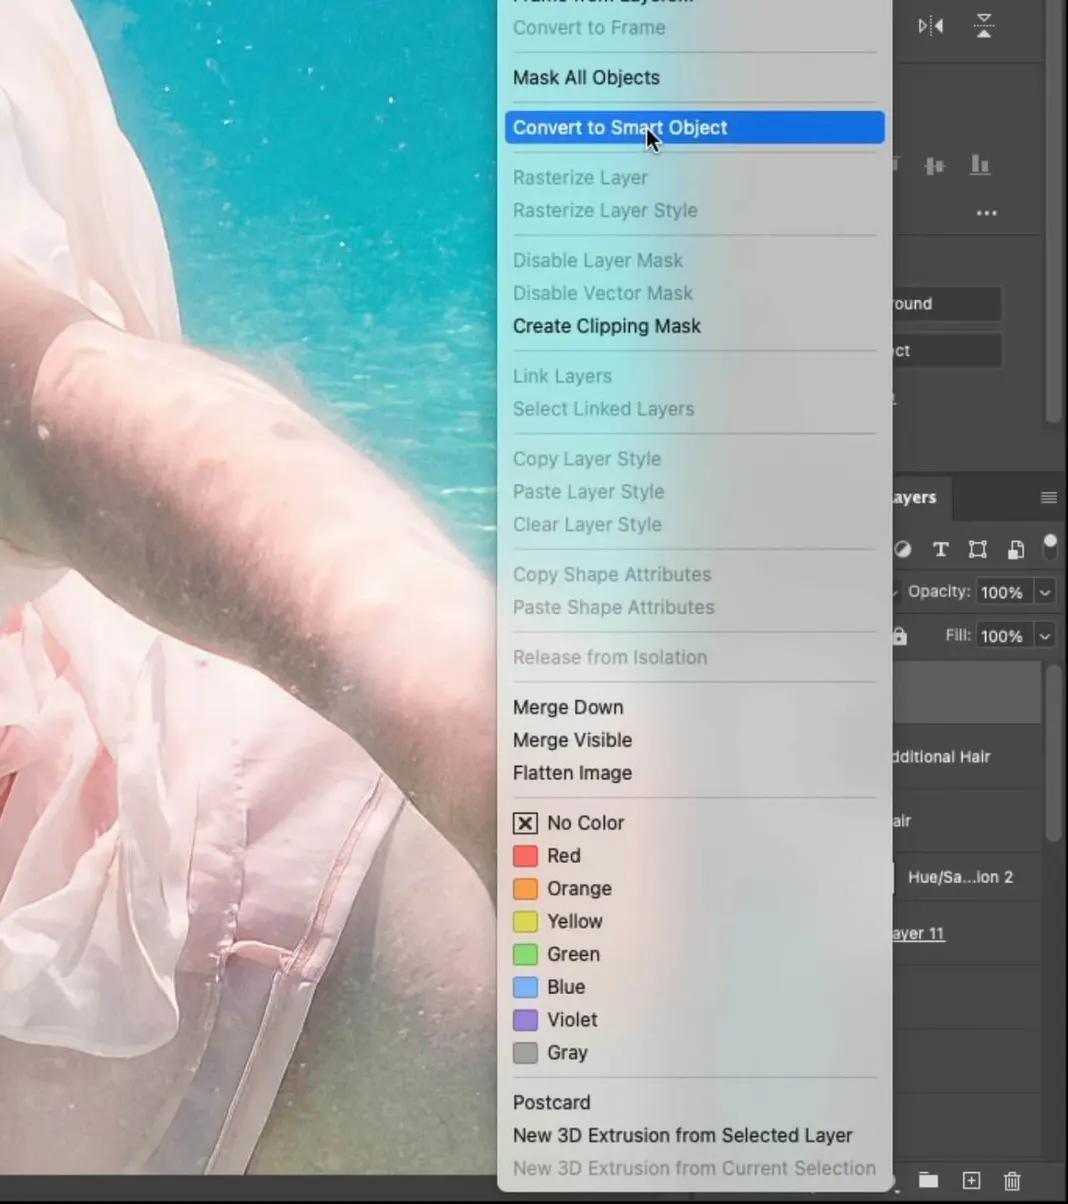
The first thing I can see is that the surrounding image has noise in it while the added hair does not, so we need to add noise to our added hair. So the first step in doing that is going to be converting Layer 12 (the layer with the added hair strands) and turning it into a smart object.

Let’s right-click on this layer and choose “Convert to Smart Object.”
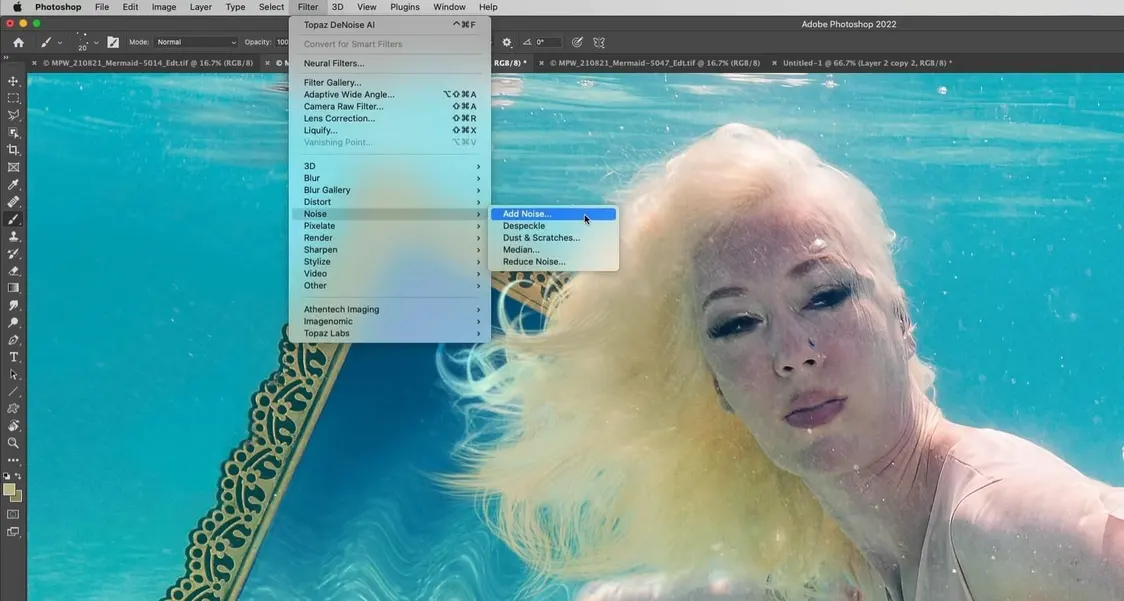
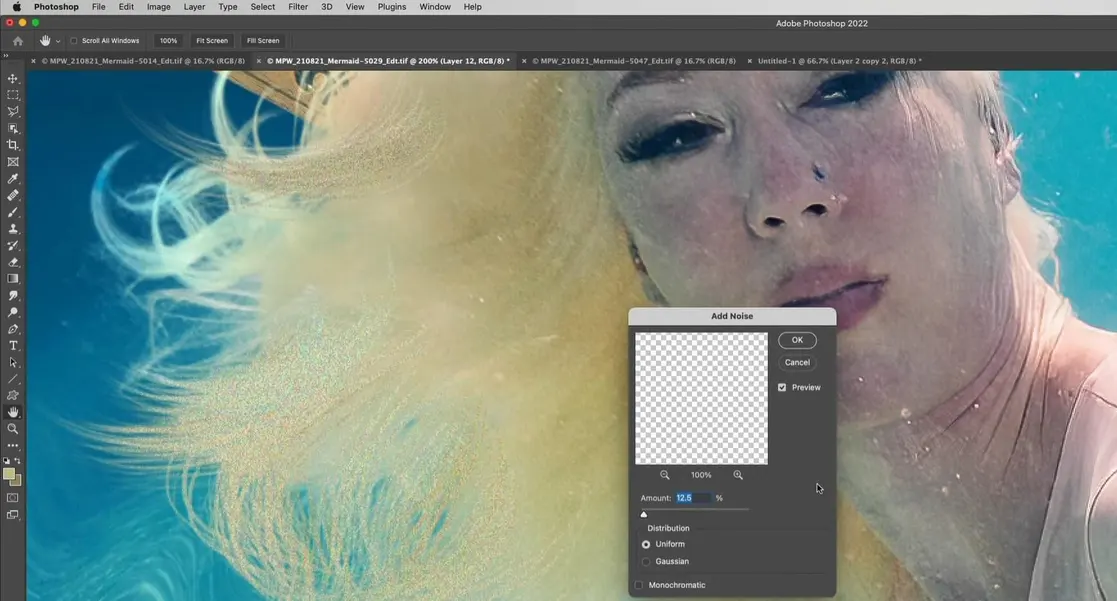
Now we can add the noise to this specific layer by navigating to Filter > Noise > Add Noise.
We can see right off the bat that the default added noise is way too high.
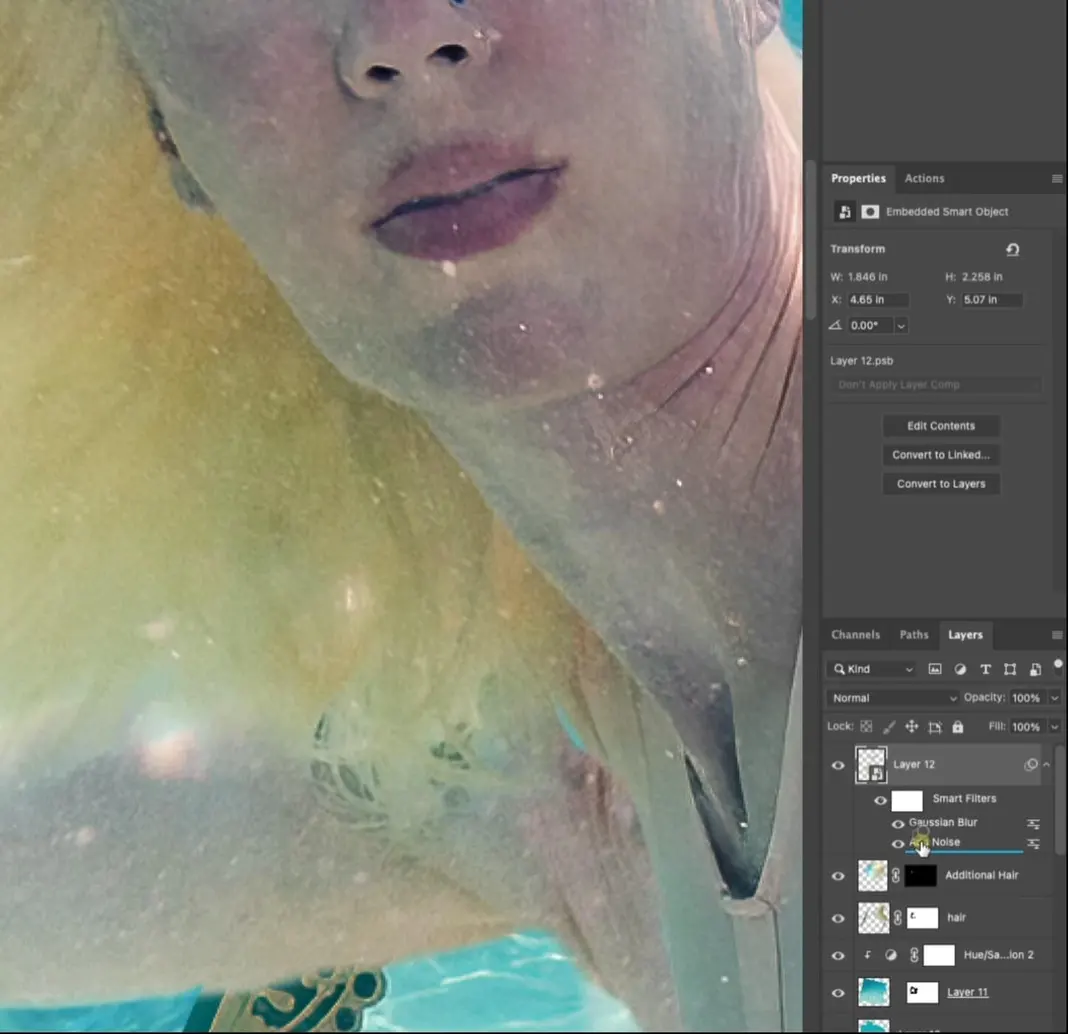
After playing around with the settings, I’ve settled on using an amount of 2%, a Gaussian distribution, and the Monochromatic option deselected.
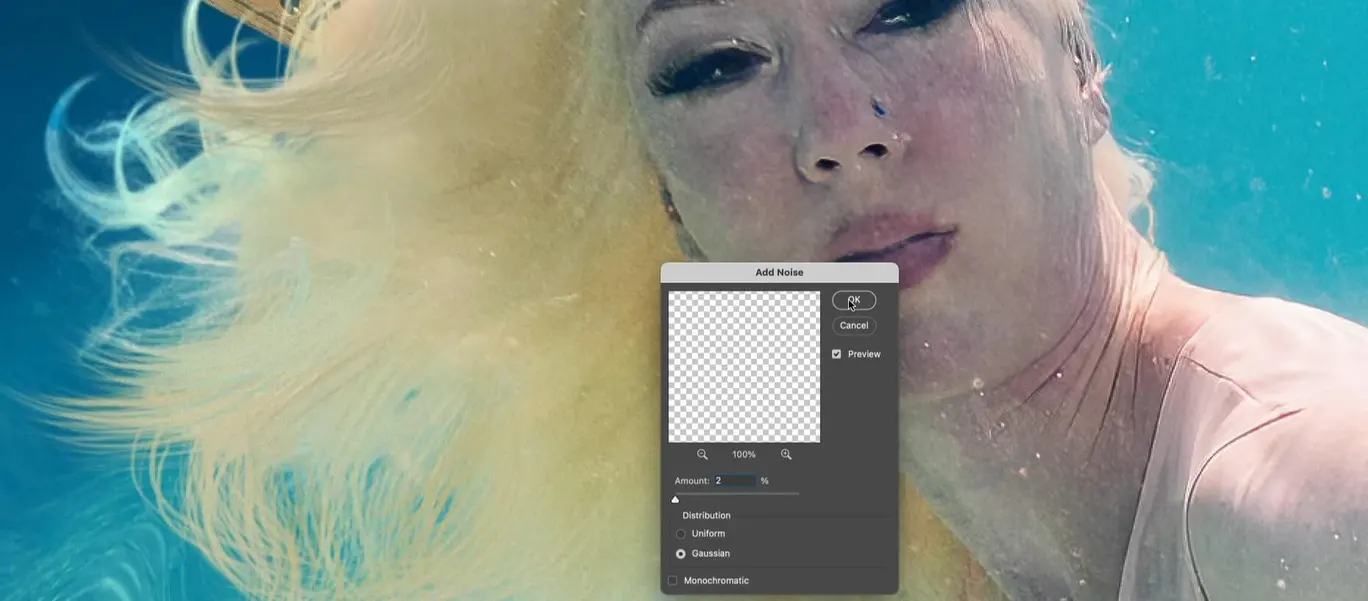
So now you can see that our added hair now has noise, adding realism to the elements that we created.
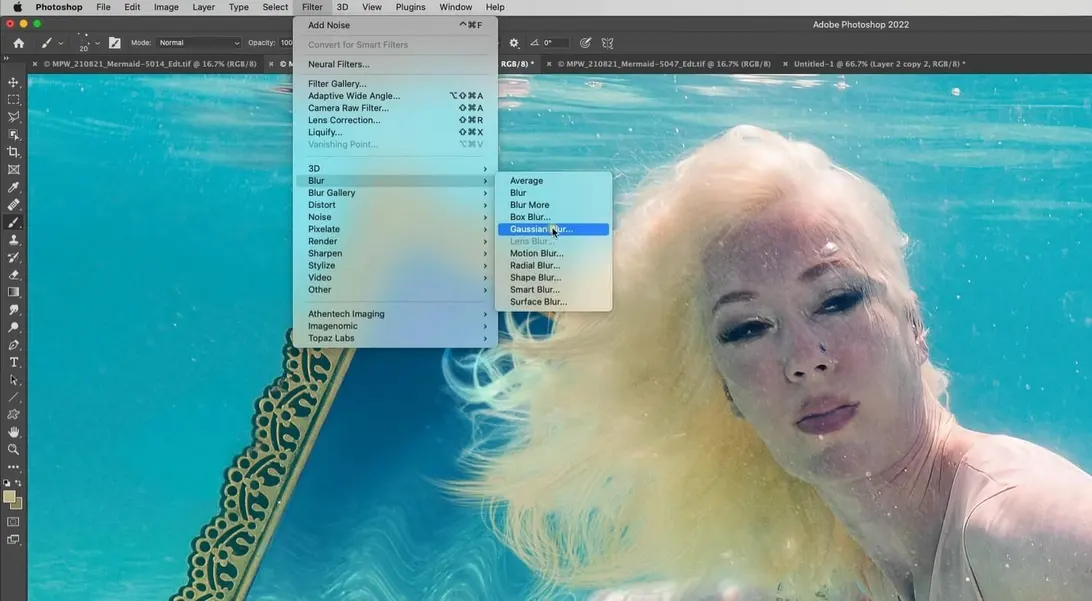
Our last step to make it look less painted in is to take the layer and just slightly blur it. So with our Layer 12 selected, we can navigate to Filter > Blur > Gaussian Blur.
Once again, the default setting of a 75 pixel radius is too high, as you can see here.
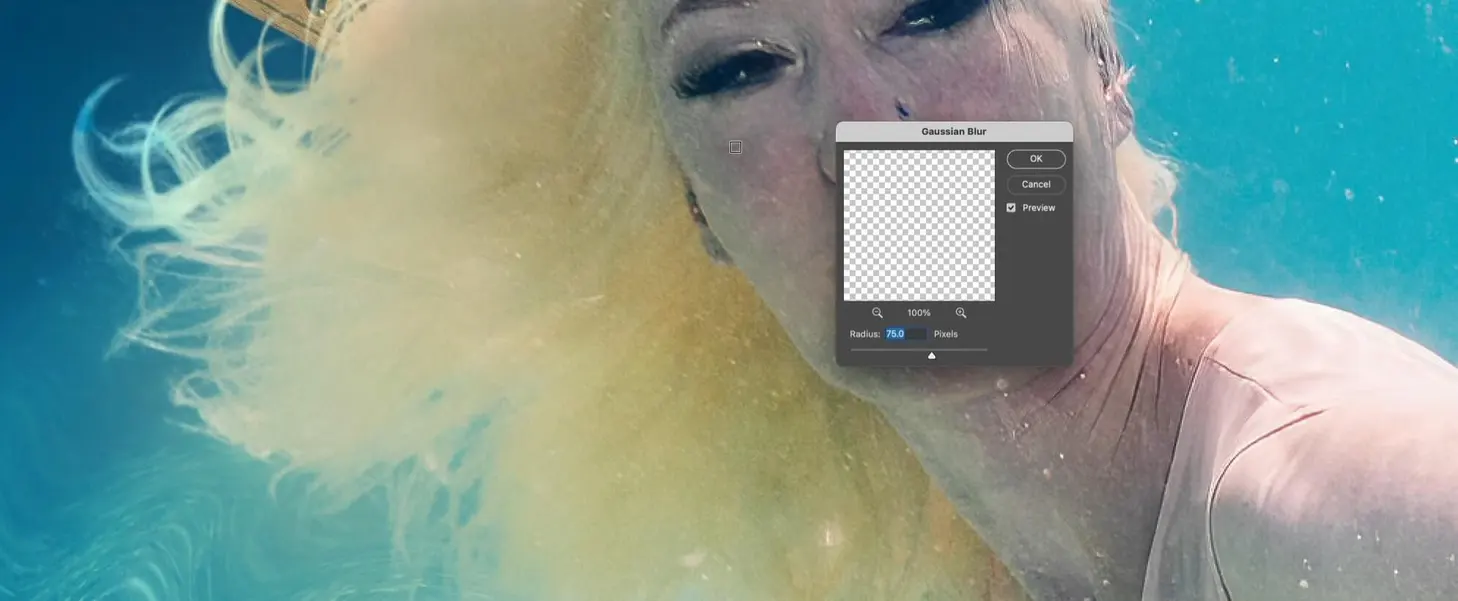
Turning the radius all the way down to 1 pixel looks much better, just subtly blurring the layer to match the hair with the rest of the image, so we can stick with that.

At this point, here is what the image looks like.
I really like both the noise and the blur that we’ve added, but here’s the thing: when we added both of these adjustments to our layer using Smart Filters, we lost a lot of the noise because it is actually laying underneath the Gaussian blur.

So to resolve this we can click and drag the Smart Filters to put the Gaussian Blur filter underneath the Add Noise filter.
Now you can see that this change has brought back our noise significantly which is what we were hoping for.
The hair needs to be a little bit blurry because it’s moving, but then it should also be a bit noisy because you do have to use a higher ISO when shooting underwater, and the changes we’ve made accomplish that.
Now if you wanted to, you could duplicate this layer using Cmd+J or Ctrl+J to add more of the Strand Creation Brush hair we’ve added.
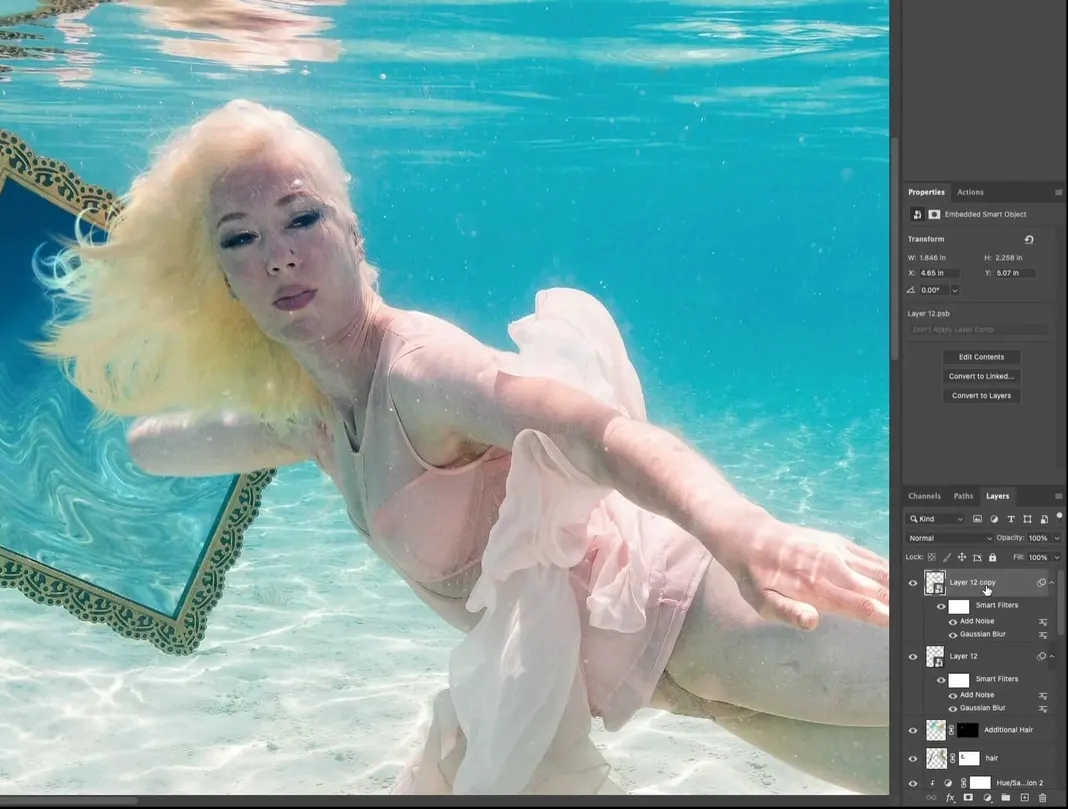
You could then change the color and lightness of the added hair on this layer using a Hue/Saturation adjustment as shown here.
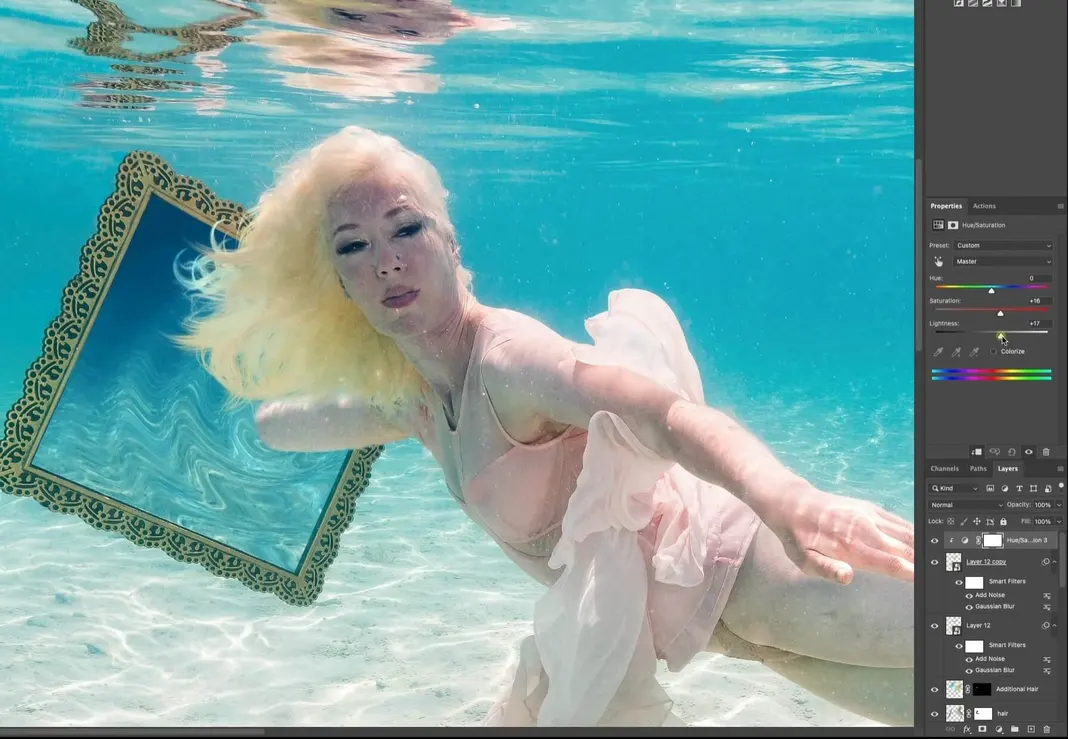
And then using Cmd+T or Ctrl+T to switch to the Free Transform tool like we did before, we can rotate, resize, and even warp the duplication of the added hair to vary it from our first layer and make it blend in.
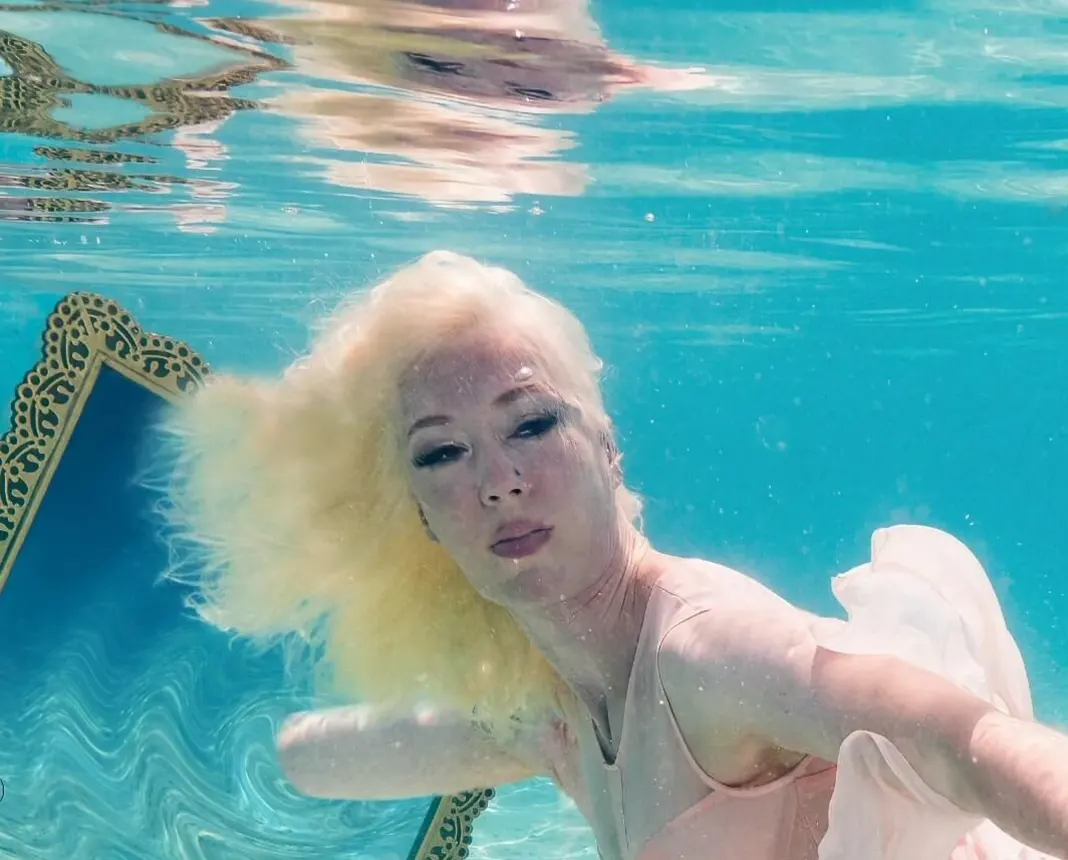
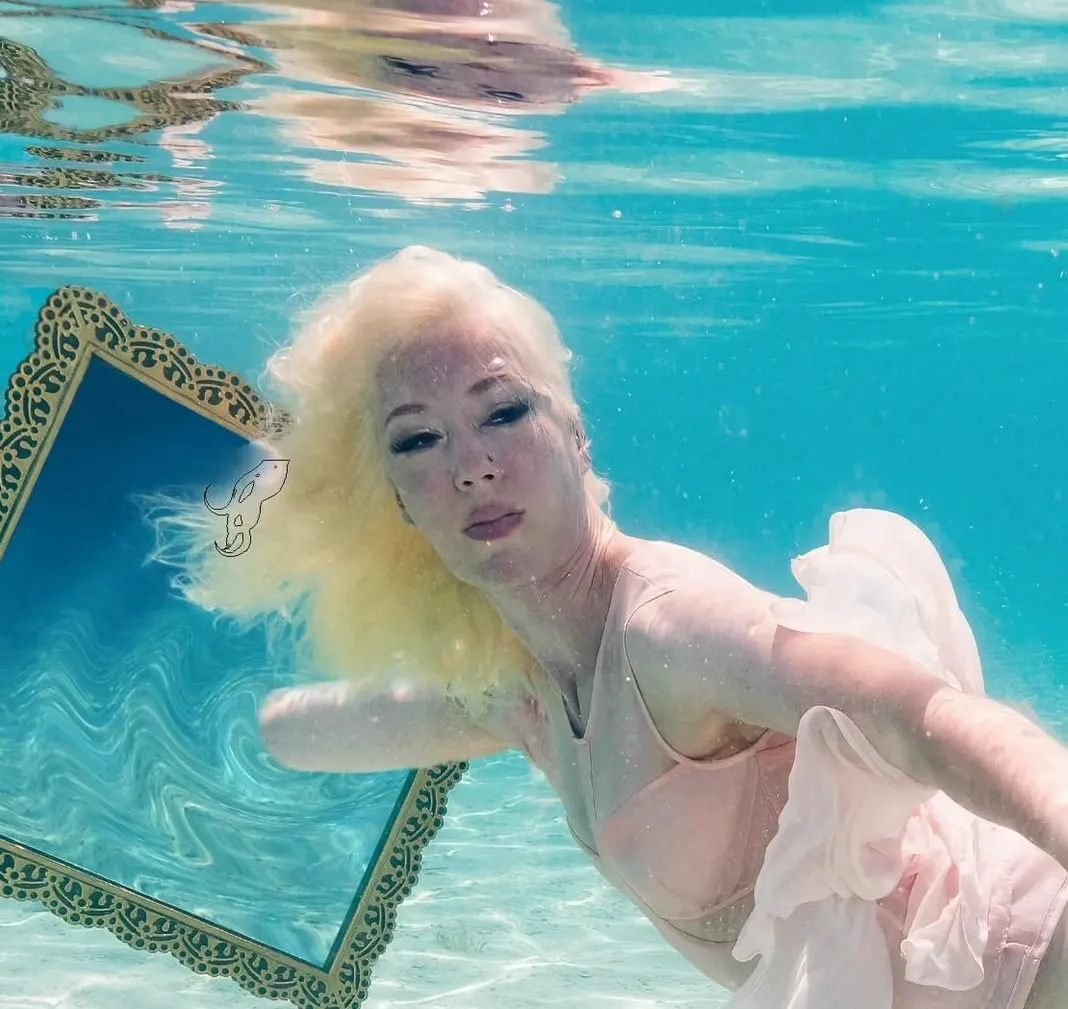
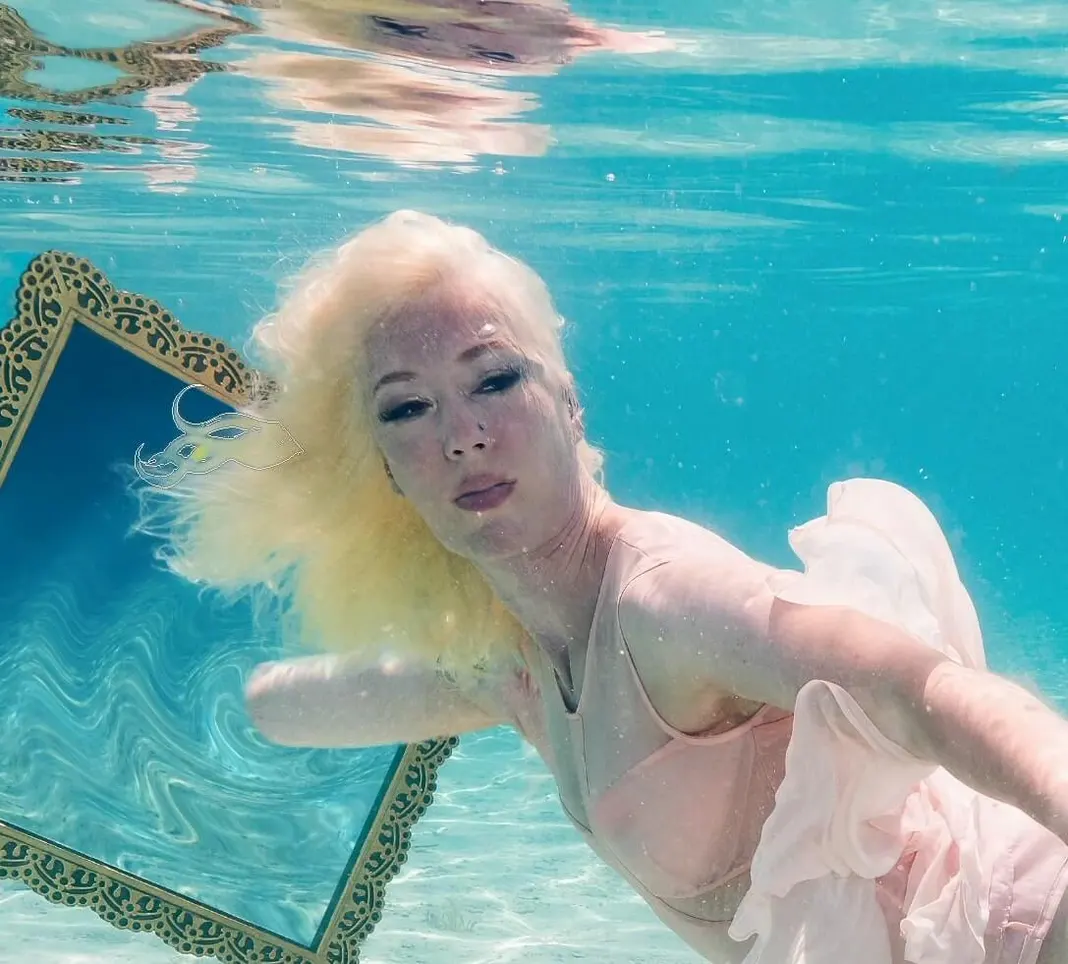
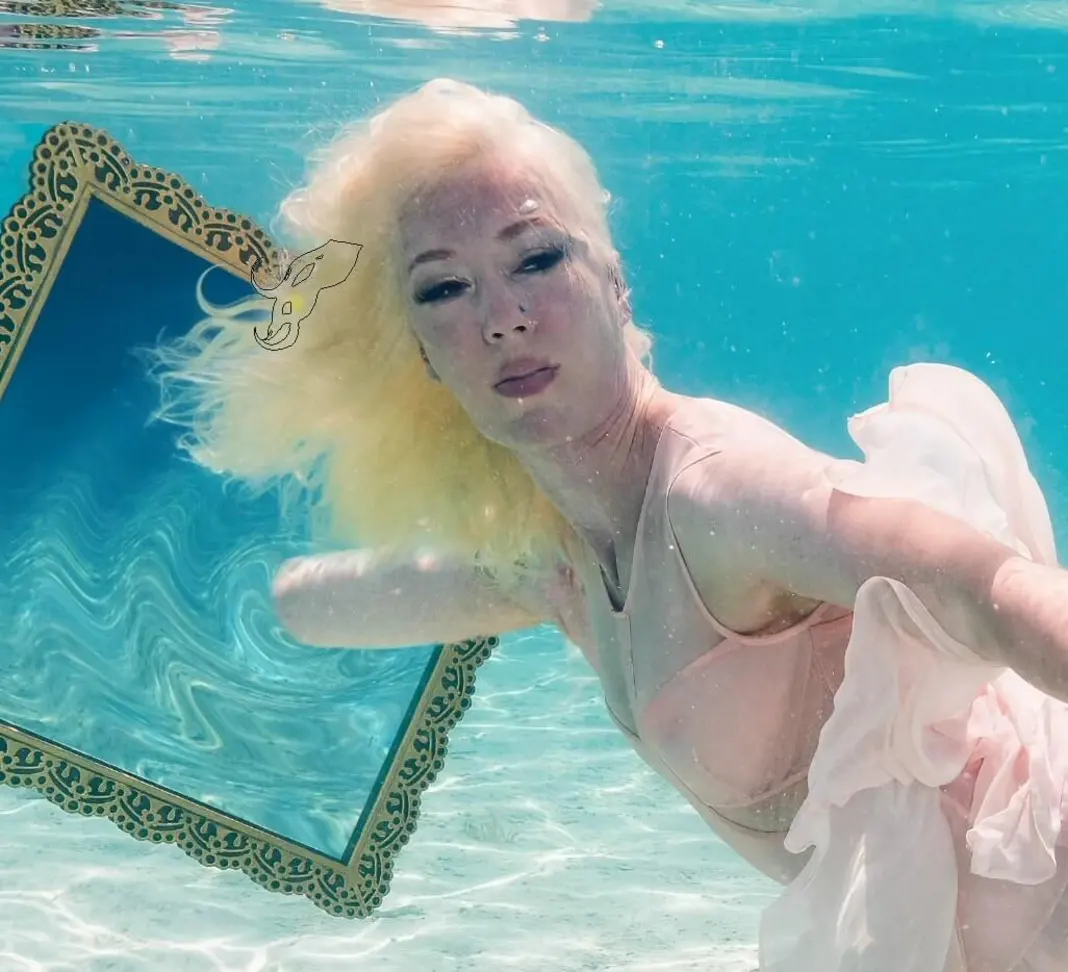
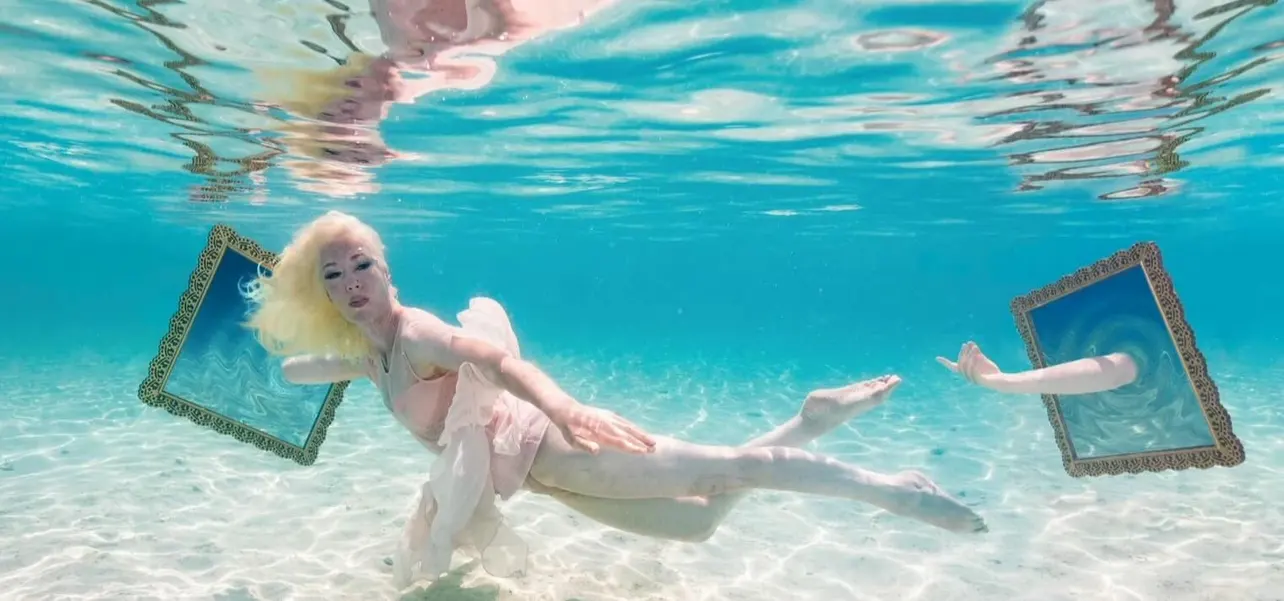
You can start to see that the applications of adding hair are really endless. For comparison, here is the original image.

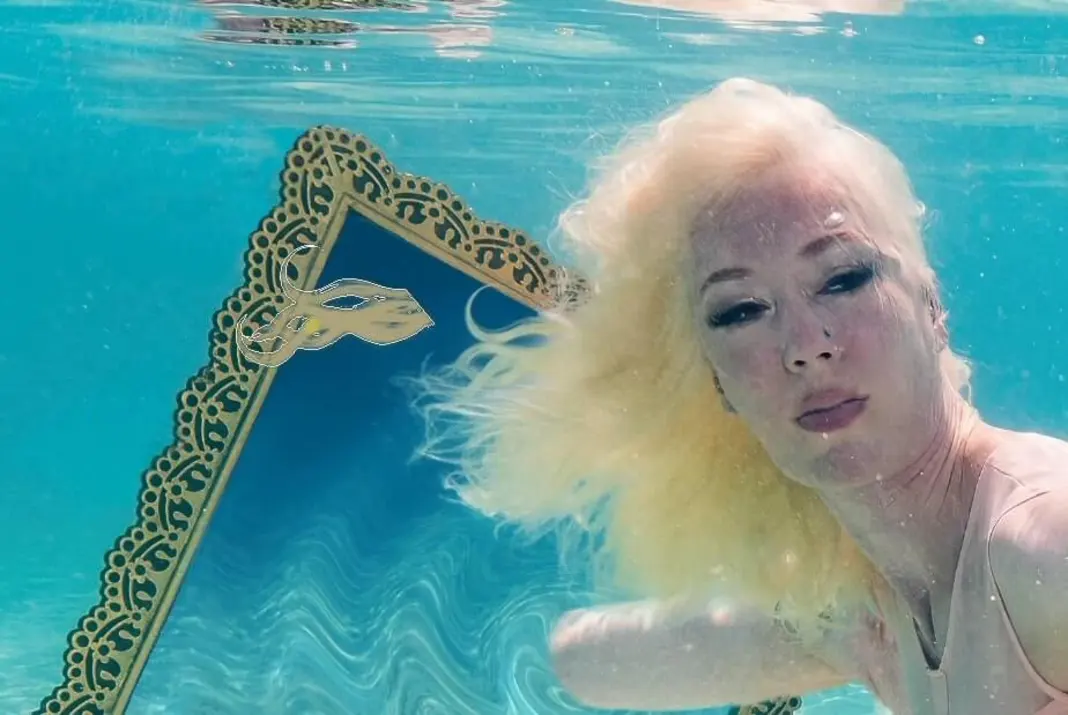
And here is the after image with all of our changes.
Now I’m not necessarily sold on the added strand creation that we did to be honest, but I definitely like the hair that we added using the custom brushes, and hopefully this whole process gave you an idea of how to add and retouch hair in general as well as how to use the custom SharkPixel hair brushes in particular. If you learned something, you can find more on my YouTube channel, so please subscribe and share with your friends.
I’ll see you all next time!